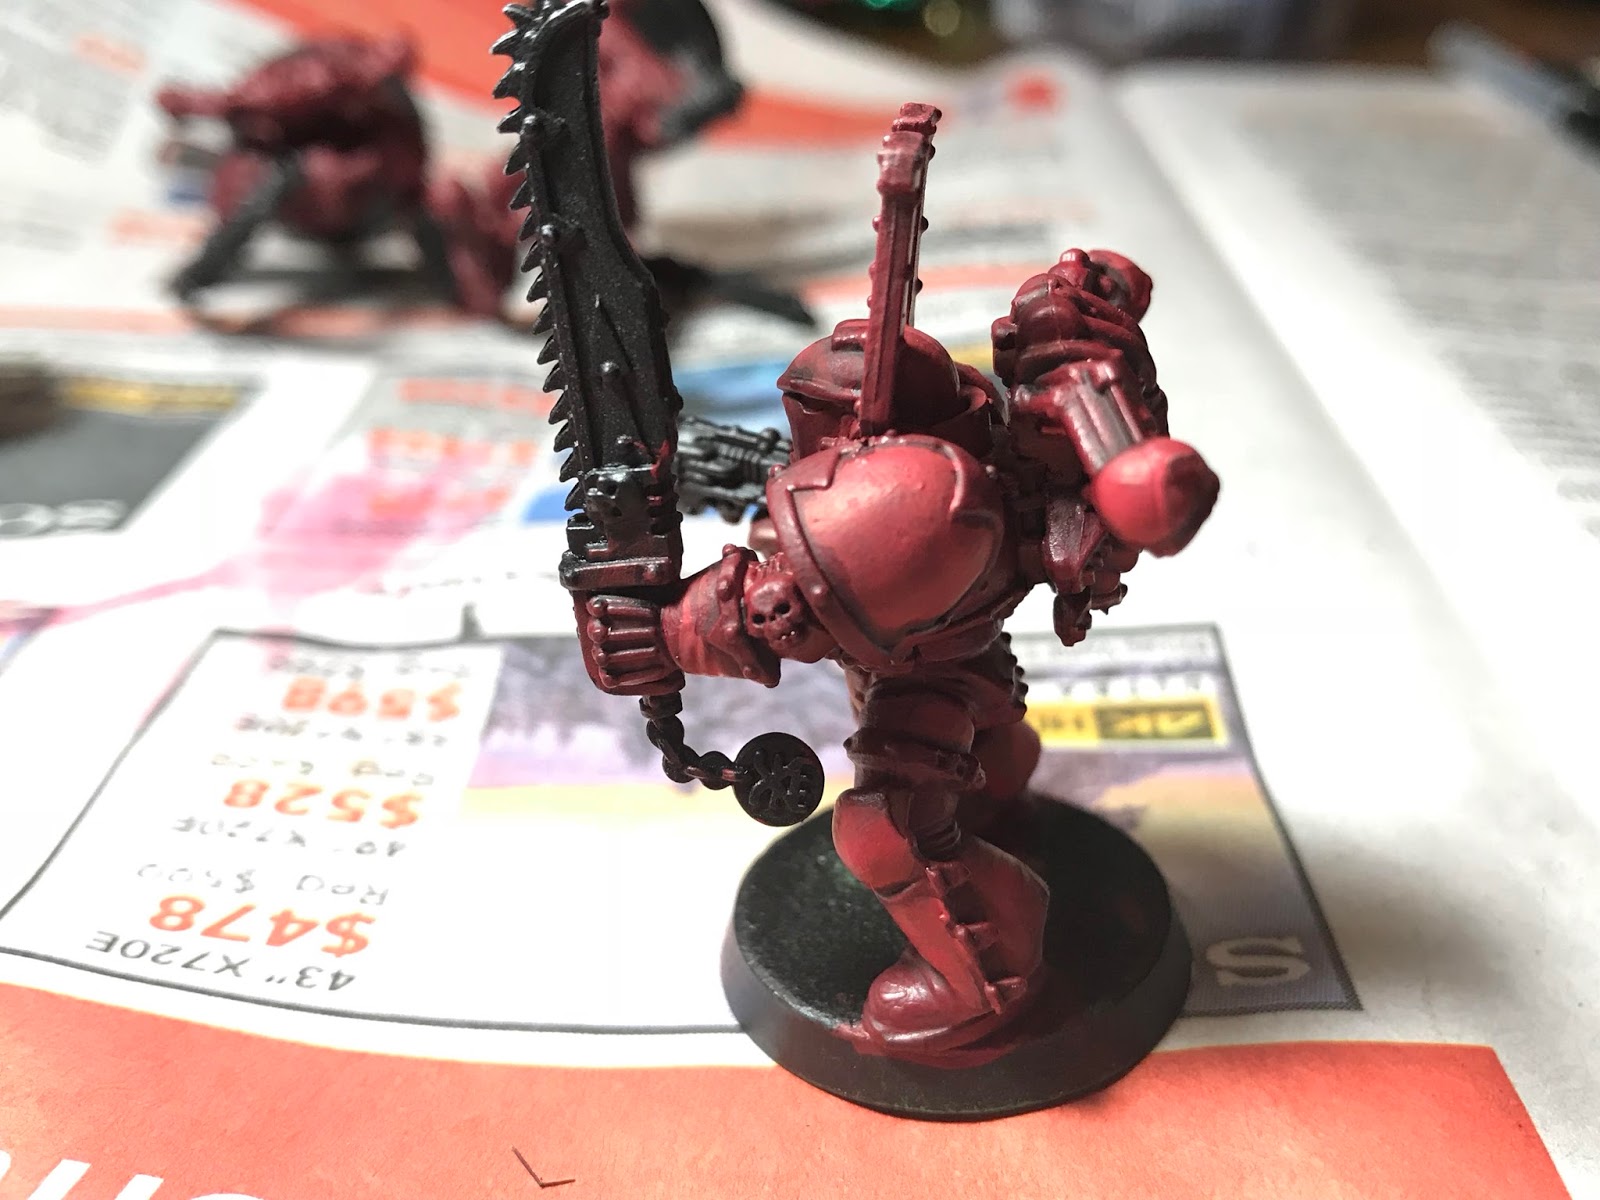
lordofchance wrote:I want to preface by mentioning I have returned to miniatures after close to a 15 year hiatus. I have stripped, based and shaded my khorne berzerker and was fairly happy with the results. Where I hit a wall was with applying the layer paints to the models. I am using the citadel recommended colors Khorne Red (Base)
Carroburg Crimson (Shade)
Wazdakka Red (Layer)
Wild Rider Red (Layer)
First off, welcome back

I am using a DIY wet palete as well, and the process i was attempting (and failed at) was from a video i saw where the discussed taking the layer paint and starting the brush where you want less pigment and moving the brush to where you want the most pigment. Ultimately this process did not work and there is a hard line where the Wazdakka red was applied. Based on this information I have a few questions
This technique relies on the paint being just the right consistency, so don't feel bad that it hasn't worked. You're on the right lines, and it'll come with practise.
I suggest you try with a few different consistencies of paint – perhaps on some spare shoulder pads, as they're a good simple curve to practise upon. Start with very watery paint, and work to virtually undiluted to see the different effects. You'll find a happy medium, and learn to recognise the right consistency. Try to cover just the top two thirds of each pad area.
Once you've done that, try repeating the process on the same pads, this time covering just half of the area you did before. This application of paint will overlay and smooth the underlying colour, and you'll quickly get the hang of which consistency to apply on the base coat, and which to apply on the layer.
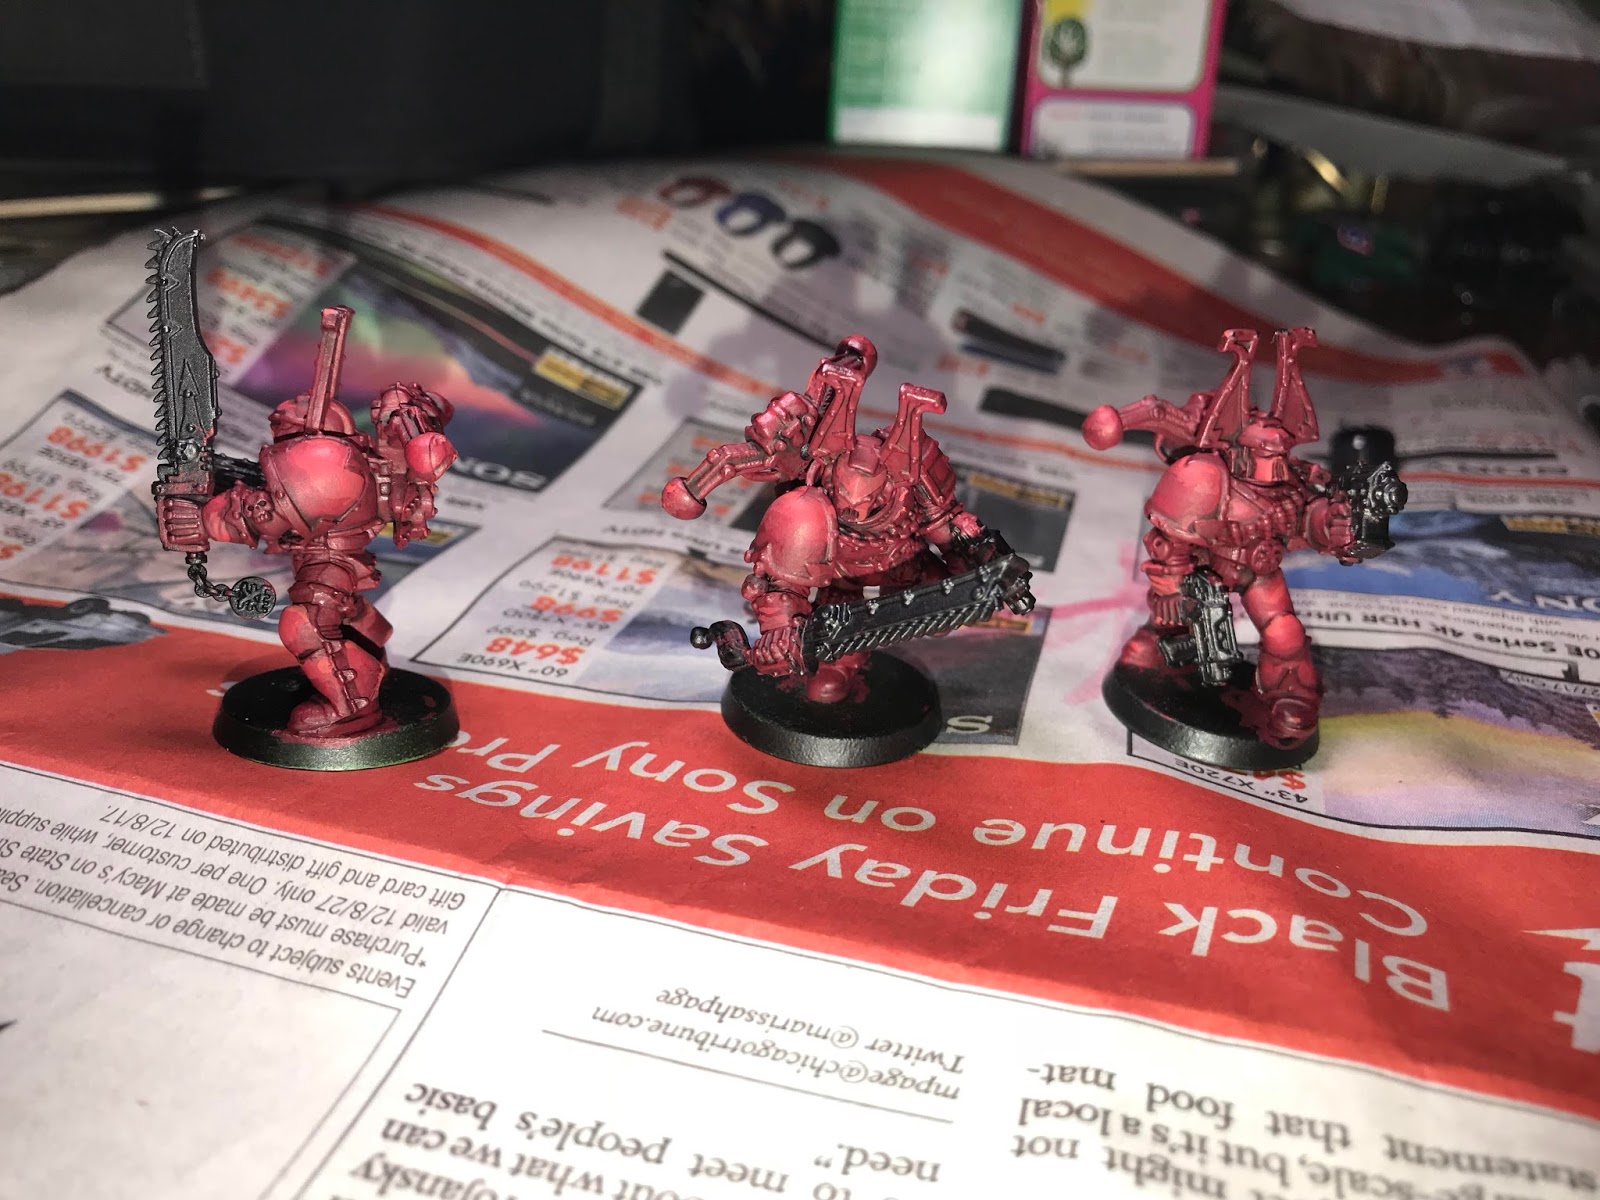
1. Can the models in the pictures below be rescued or should rebase with Khorne red and start over?
Absolutely. I'd suggest mixing Carroburg Crimson and Khorne Red in equal proportions, and painting this mix over the 'edge' at the bottom of each area. This is the root of layered blending.
2. What would be a good way to try and get a transition from the darker Khrone red to Wazdaka red? Would shading over the Wazdaka fix the hard transition, or would the correct way be to mix wazdaka with Khorne red?
Both could work, but will depend both on the consistency you use and the way you apply the paint (i.e. how you physically move the brush to deposit the paint). My suggestion would be that mixing Wazdakka Red and Khorne Red will give you more control.
3. When using a wet pallet is that in it self suitable for thinning paint or should water be added to the paint in addition to what it pulls from the pallet
Again, it varies, depending on lots of things. A wet palette's primary use is to extend the working life of the paint – as water evaporates, it is replaced. This is waht makes it very useful when creating mixes. It will also slightly dilute the paint, but that's not the intended use. Generally, you should dilute your paint to the right consistency regardless of the palette you're using, so I'd dilute the paint.
4. Any other advise on where i went wrong would be appreciated.
In truth, I don't think you're really gone wrong – if anything, you've just stopped a bit too soon. Don't be disheartened; just cover the 'edges' with mixes between the two extremes.
If it's helpful, there are a few articles on my blog that may (or may not) prove helpful:
What is glazing?
Painting terminology
Stuff on paint consistency
Tonal work in general
Hope those are useful, and good luck!