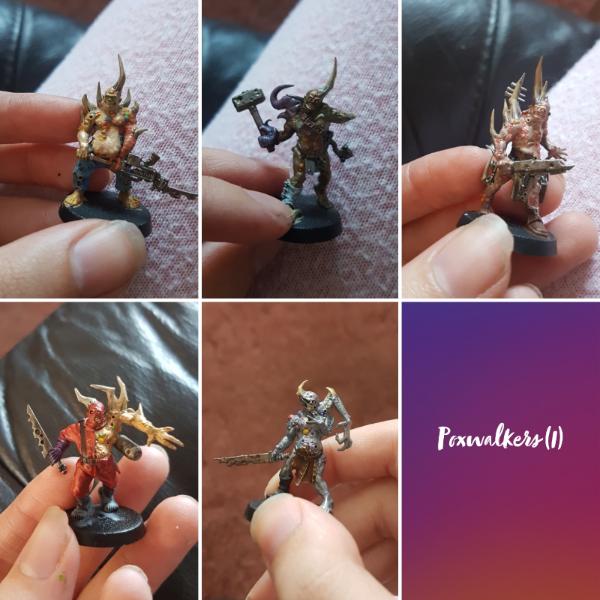
After making a start on the Primaris from the Know No Fear set months ago, I decided it was time to have a go at the Death Guard section of the box.
I'd already completed some poxwalkers and assembled the bloat-drone before I made the blog, but I'll add those in later

I'm hoping that by making a record of what I've done on here, it'll motivate me to keep painting!
I'll also add in any paint schemes I use along the way in
violet - that way if you feel the urge to use the same one, you can find it easily.
~ ~ ~ ~ ~ ~ ~ ~ ~ ~
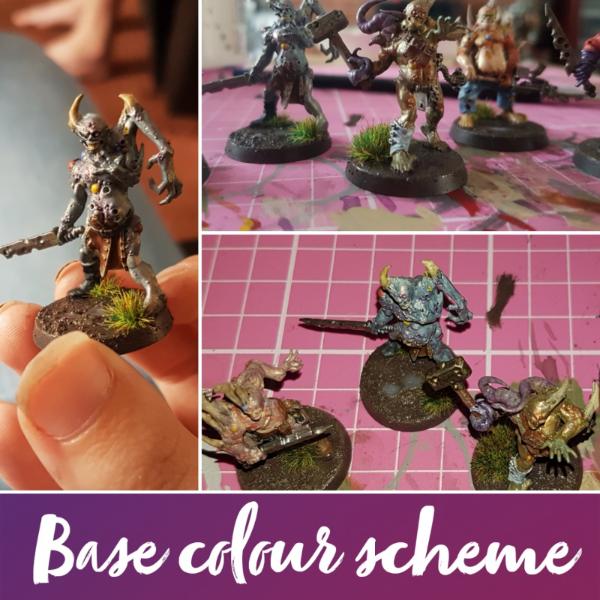
I spent most of yesterday assembling the Lord of Contagion and the Plague Marines (feat. teeny tiny nurglings, which are
far cuter than they should be). As I mentioned earlier, I'd already assembled and primed the bloat-drone, but sadly thanks to an uneasy trip to and from my university dorms, he was looking a little worse for wear. While this didn't bother me in relation to the spikes (it
is a plague-based model after all - a few corroded or missing parts would actually add to the aesthetic!) I was concerned that one of the plaguespitters was feeling incredibly loose, so that was smothered in glue and left to rest on a handy paint lid

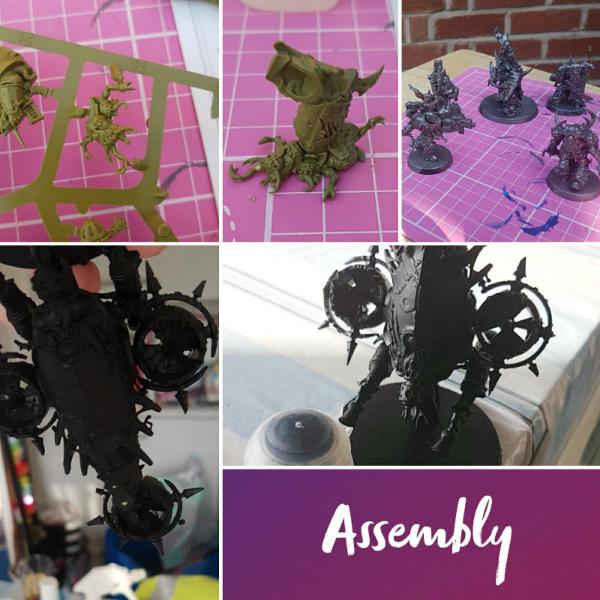
After the marines and Lord were all assembled, I decided to prime with the Leadbelcher spray instead of my usual Chaos Black. I intended to create a very worn and rusty look on the armour, so used a silver base to increase the likelihood of some showing through the thin and messy layers of the Death Guard Green I planned on slapping on!
~ ~ ~ ~ ~ ~ ~ ~ ~ ~
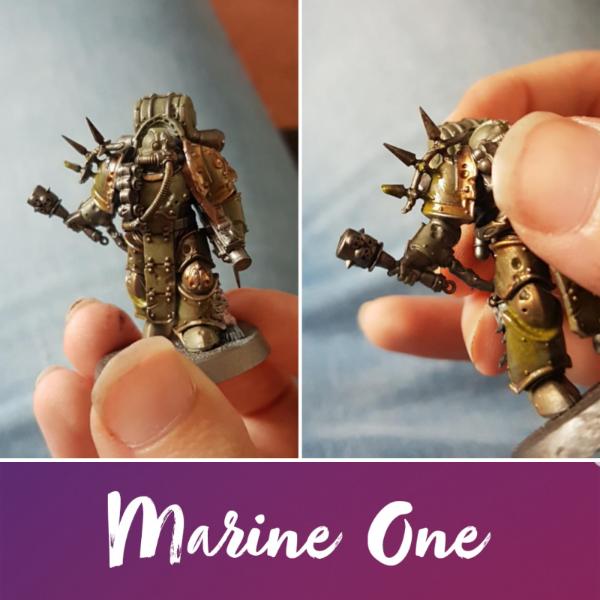
After they were all dry, I spent this afternoon sitting in what little sunshine the
UK has and decided to test out a paint scheme on an unsuspecting marine's right leg. While most people seem to buy models just for testing, I normally choose a slightly insignificant model/victim and hope it doesn't look too terrible - the ultimate definition of living life on the edge
I used:
- A very thin and quickly-applied layer of Death Guard Green
- The usual Nuln oil wash in the recessed areas
- A thin drybrush of some Ghenna's Gold on the raised details, such as the trims on the plates and the little bolts
- A heavy wash of Seraphim Sepia (I find it more striking than agrax) on the bolts, and then thin, dragged-down lines to create a rust effect
- My newest investment, Nurgle's Rot, in the recessed area of the knee-plate. Then I lightly dragged it down the rest of the leg.
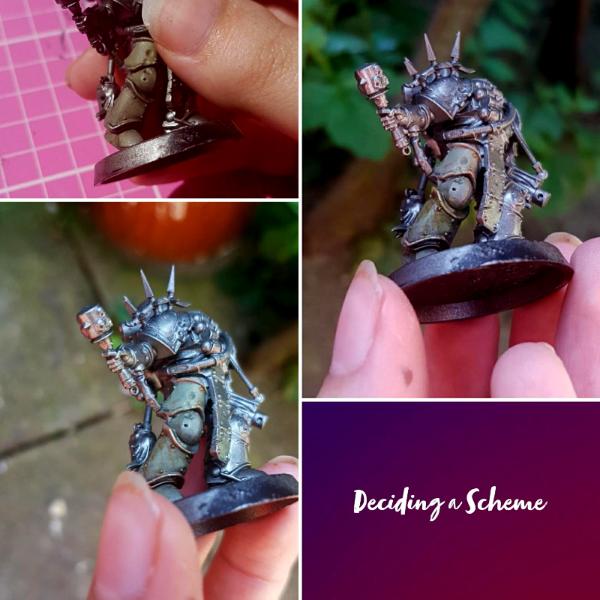
Personally, the technique I used almost reminded me of working with Necrons - they look nothing alike, but the effectiveness of a very simple and easy paint scheme definitely made me remember how it felt to paint up my first batch of warriors just over a year ago

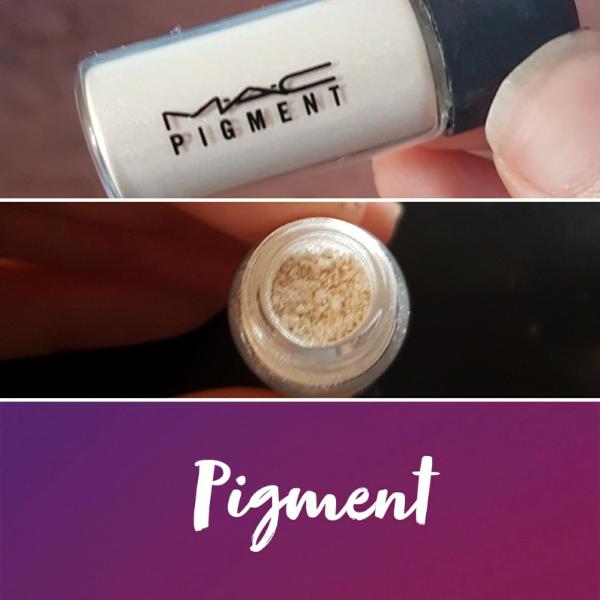
Annoyingly, the pictures you can see here aren't quite as detailed or pigmented as I'd like, but the next photo provides a little more insight into the technique.
(Also: I intend to use the Nurgle's Rot rather sparingly at first. While I have added in some more since taking that last picture, it's still currently only on that one kneecap - I'd rather be able to add more later than apply too much!
)
~ ~ ~ ~ ~ ~ ~ ~ ~ ~
After settling on the scheme shown above, I started to work on the rest of the Marine. I have very little to add on that, since the colour scheme doesn't really have much variation just yet. I have University deadlines coming up so sadly can't spend too much time on my models right now!

I did add a little of the Vallejo Chainmail Silver to the gold shades for highlighting, but other than that, it stuck to the paint list shown above.
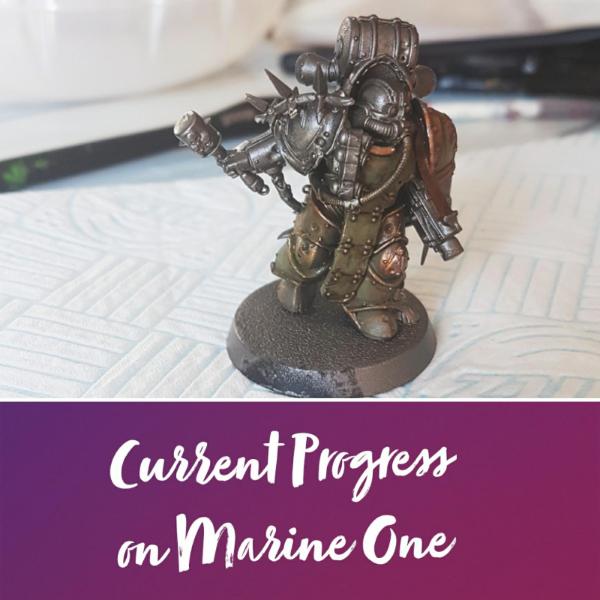
Both of his legs, his left shoulder pad, chest plate and- well, whatever it is that's coming off the chest plate - are done. The finished pieces definitely seem to be oddly blending in with the Leadbelcher, so if that still seems to be the case once more of the model is finished, I might go over them with some heavier layers of certain shades and colours.
Next update should be up by the end of this week, if not sooner!


 Daerekh Dynasty
  check out my