Need some help

Okay, the scenarios in the Rynn's World book are all well and good... but there are too many battles described in the air war that are not covered and just too cool to miss out on. So, I am writing these scenarios up into a full narrative campaign, combining the existing scenarios in the Rynn's World book, and will deliver all of this to you all in PDF format... in a couple of weeks or three. Maybe four. Still got some more aircraft to paint up.
I'll also arrange battle reports for them all, as we did with the Realmgate Wars campaign a little while back.
Anyway...
Most of the new scenarios are pretty easy to get to grips with, but there is one that is noticeably different from the 'standard' fare. So, I was hoping some of you could look it over, push a few planes around on the tabletop, and let me know how you got on? I am particularly worried whether the bombers can survive ten turns (those two fighters have got to be toast...), and whether the +1 bonus to Firepower dice is sufficient. Basically, we want a real Memphis Belle feeling going on here.
All comments gratefully received
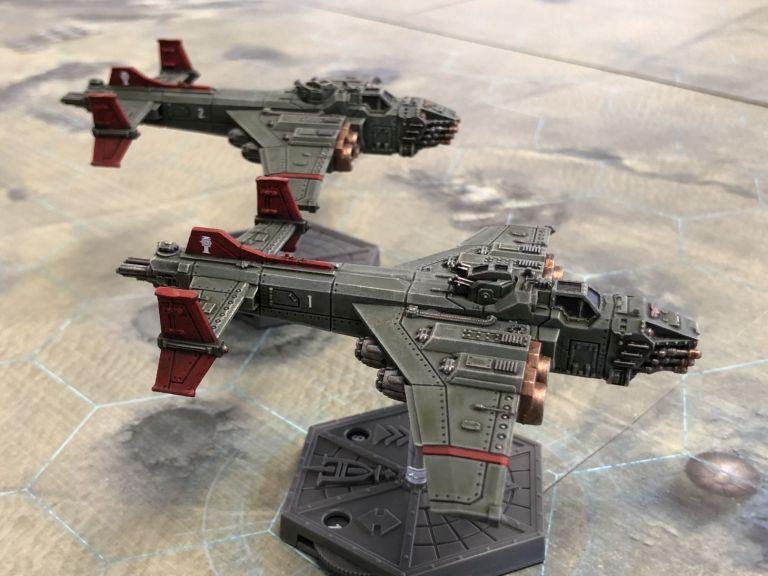
Heavy Bombing
Background
A heavy bomber force, loaded with ordnance, is making its way to an important target. With only a light escort, the bombers must maintain a tight formation while enemy fighters swirl around them, making lightning fast attacks in an effort to find a weak spot in the bombers’ defences.
Forces
Players should mutually agree a points value between 150 points and 250 points, and choose their forces accordingly. Any Ground Attack weapons are free in this scenario and no points need be paid for them.
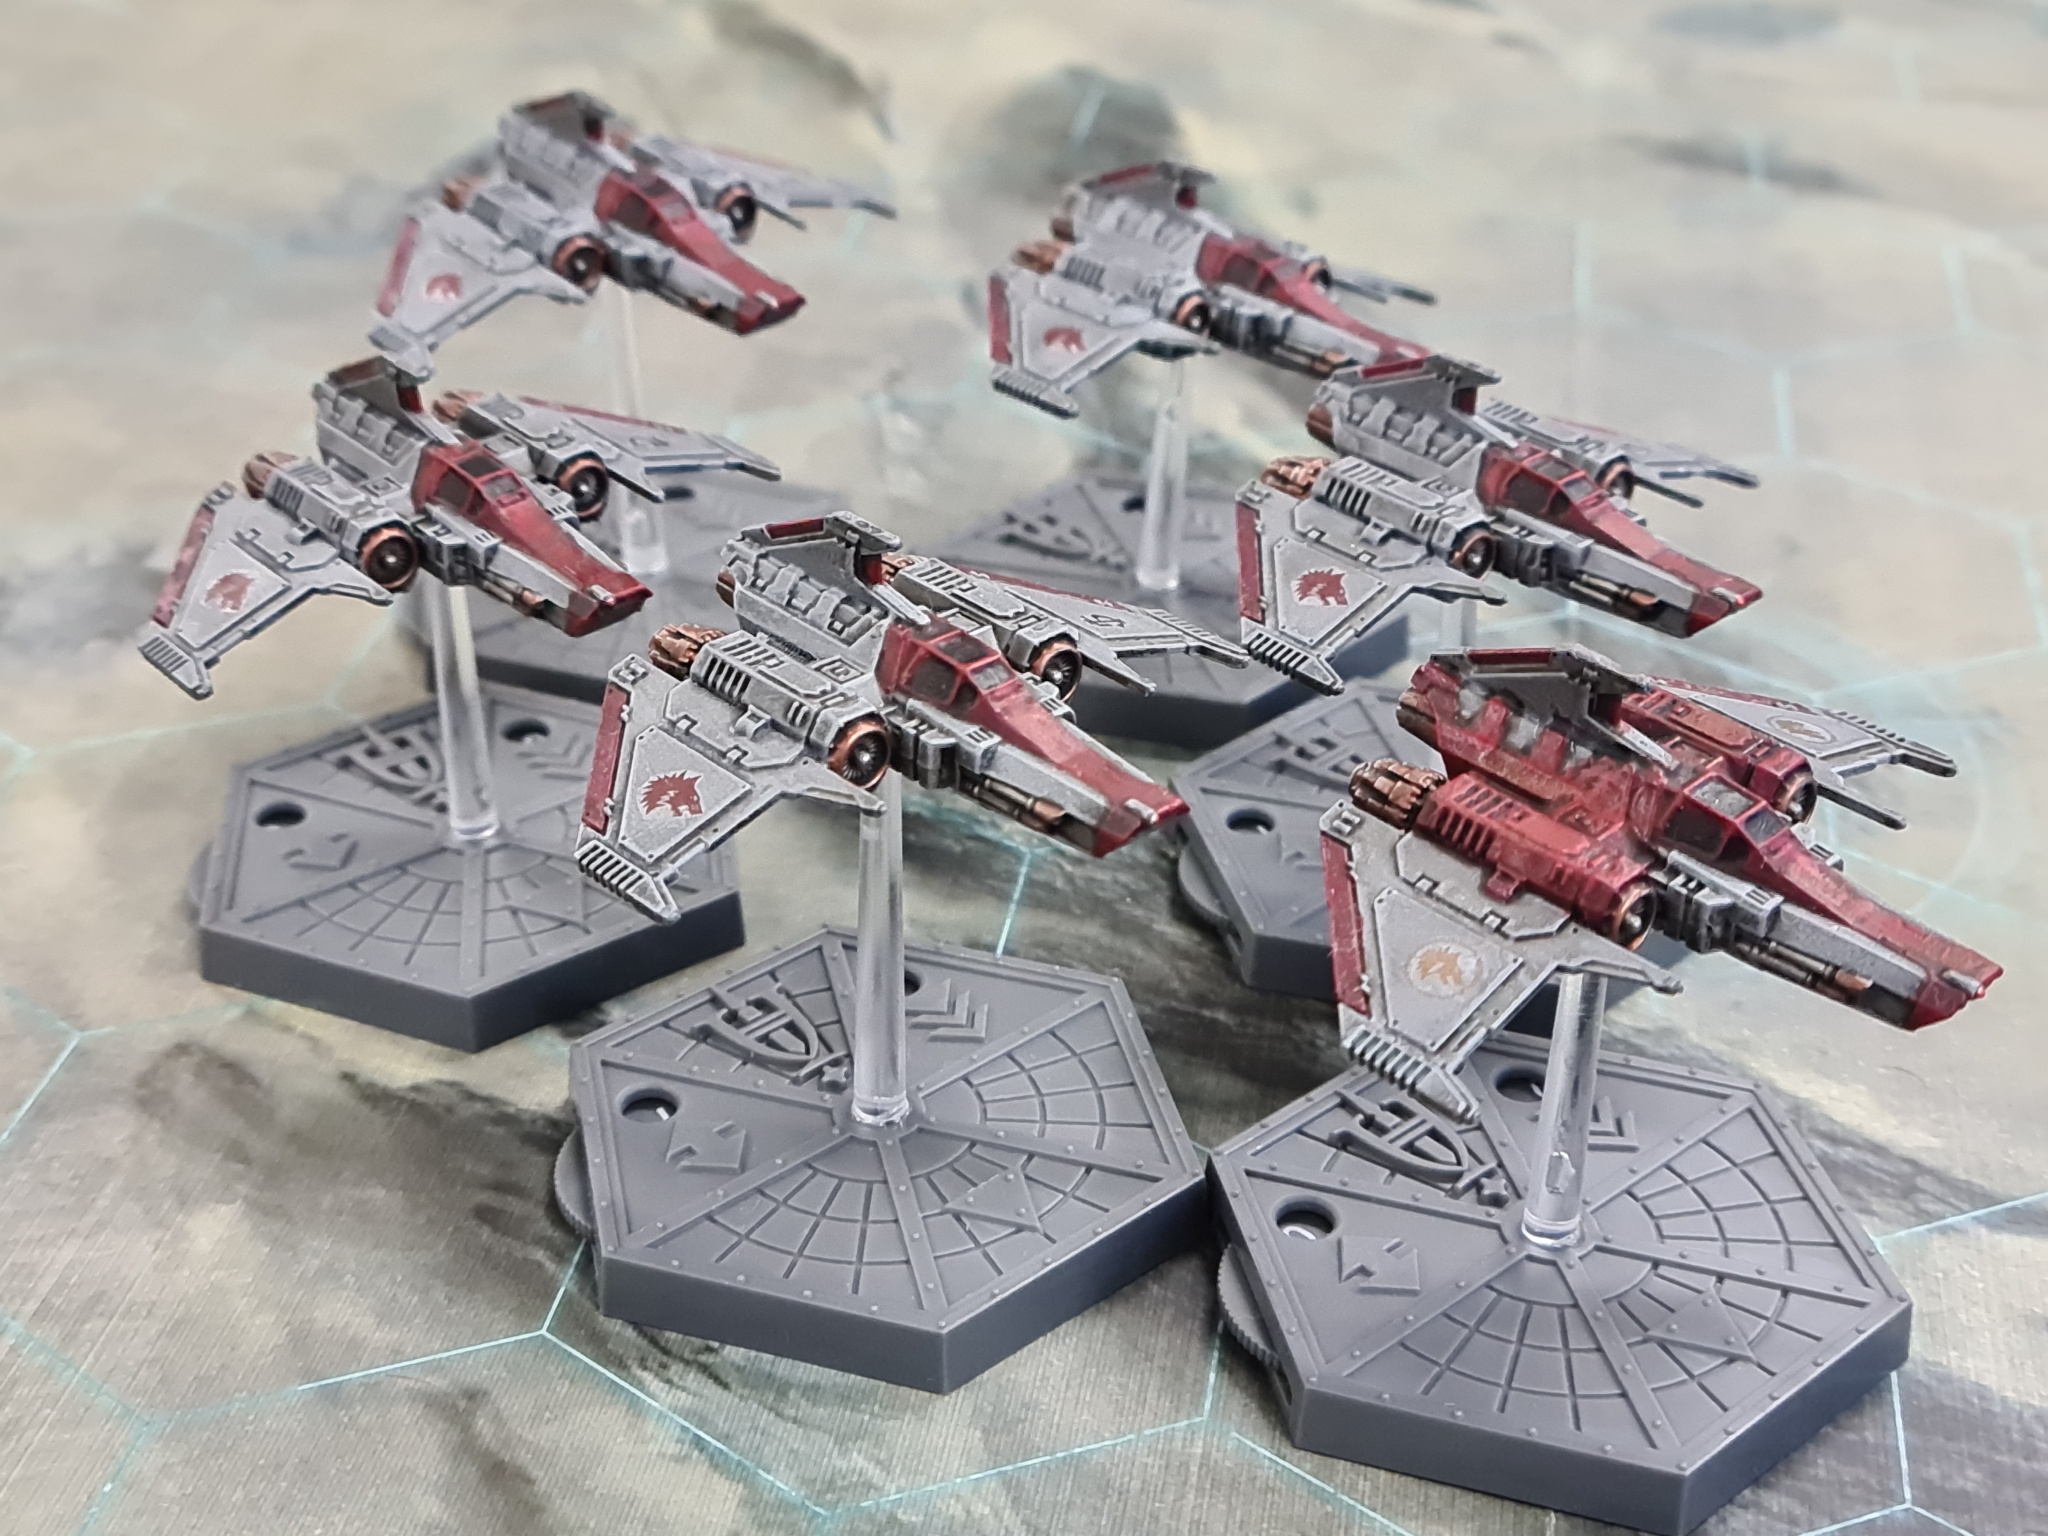
The defender may only select a maximum of two Fighters for this scenario. The rest of the defender’s force must be Bombers. The attacker may only use Scouts and Fighters in this scenario.
Set-Up
In this scenario, one player is the attacker and the other the defender. The winner of a roll-off decides which they will be.
The defender deploys first, placing their first Bomber within one hex of the centre of the Area of Engagement. The next Bomber is then placed within two hexes of the first. Once this is done, the rest of the Bombers are placed so each is within two hexes of at least two other Bombers. No Bomber may be placed within five hexes of an edge of the Area of Engagement. The defender then places their Fighters anywhere within the Area of Engagement.
The attacker’s aircraft are then set up within three hexes of any edge of the Area of Engagement.
The attacker may choose the Speed and Altitude of each aircraft before setting it up. The defender’s aircraft all start at Speed 2 and Altitude level 3, and must all be placed facing in the same direction.
Special Rules
Bomber Formation
The Bombers are not moved as normal. Instead, at the start of every Movement Phase, every other aircraft is moved two hexes in the opposite direction to the Bombers’ facing – it is assumed the Bombers are constantly moving forward at Speed 2, but we want to keep them in the centre of the action and so all other aircraft are moved relative to them.
Once this is done, every Bomber may be moved one hex in any direction (but may not change their facing or Altitude level) in order to maintain the coherence of their formation. No Bomber may move within five hexes of an edge of the Area of Engagement.
The Movement Phase then proceeds as normal.
So long as a Bomber is within two hexes of at least two other Bombers, add a bonus of +1 to each of its Firepower dice.
Victory Conditions
The game lasts for either 10 turns, or until one side disengages, or until only one player has aircraft left operating in the Area of Engagement.
After 10 turns, if any Bombers are still flying, the defender will be able to launch their attack on the important target and gain victory. Otherwise, calculate Victory points to determine the winner.
[[[Box Text]]]
Against the Gargants
With the starport now in the hands of the reconquest fleet, the Rynnsguard Airwing turned its attention to Snagrod’s Gargants that were lumbering towards New Rynn City. The remnants of bomber squadrons were called up from all over the continent to launch a massive strike against the war machines before they could deliver a fatal blow.
Players can refight this attacks with the Heavy Bombing scenario by adding the optional special rule presented below. In this scenario, the Imperial Navy are the defenders and the Ork Air Waaagh! are the attackers. The Imperial Navy player may take Flight Commander Dagor-Jarni if they so wish.
Optional Special Rule: Ground Fire
Gargants are bedecked with guns, and a wing of bombers are far too tempting a target. At the start of the Firing phase of the 8th turn, and every turn thereafter, the Ork Air Waaagh! player rolls a D3. This is how many ‘Eavy Flak Kannon can be fired at Imperial Navy aircraft in that turn, at Medium range.
[[[End Box]]]