This is a great and simple way to make brick and stucco walls for your table. Very usefull terrain as it can be made any size and shape, and becomes modular. Needs some cover? Some simple
LOS? Here it is.
Here are some pics of materials and tools needed.
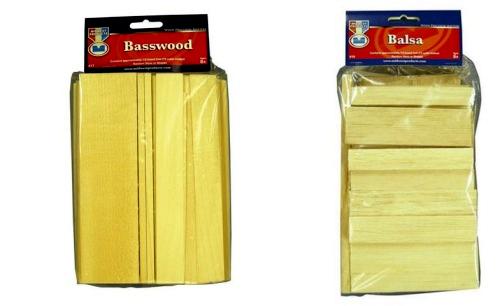
First, bags of balsa wood/bass wood. Bought at most hobby stores (in the USA Hobby Lobby or Michaels is my source) but also on the web.
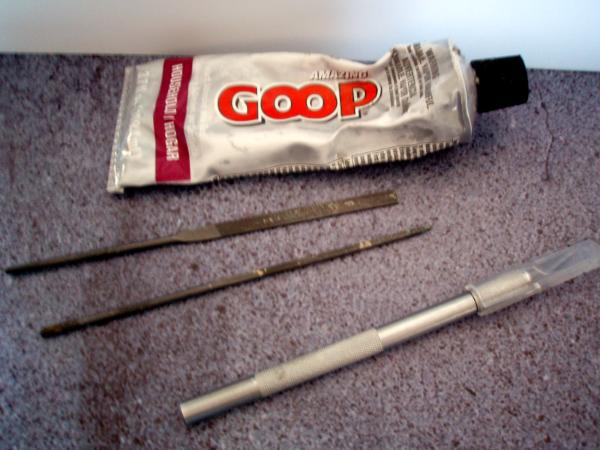
Tools: The thin file is most important. It needs to have an edge file for making grooves. The X-acto can be used the same way, or a saw, I use the file.
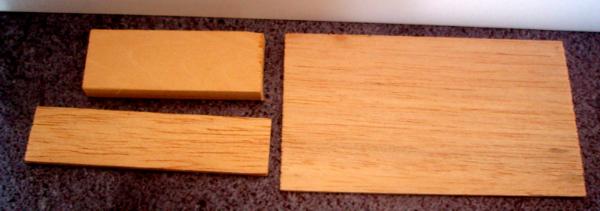
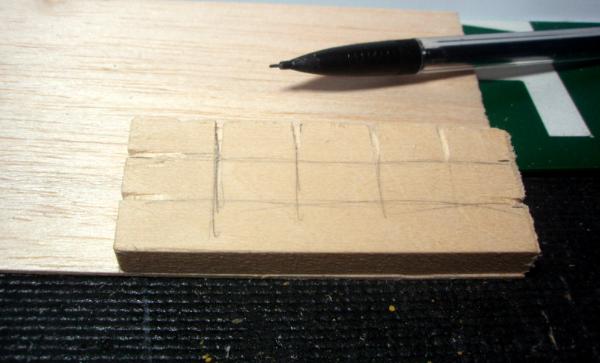
Here are the specific pieces I used to make a wall section 3" long by 1.5". You can use any thickness for the central bricks you want, but I recommend at least 1/4 inch. I used 1/2 thick x 3" long and 11/8" high because it came in the bag and was easily worked). The thin sheet is 1/16" I believe and also a standard from the bag. The third piece is 1/8 by 1" and comes in the bag. I cut it to fit the 3" wall and it will be the base.
Step 1: I drew on a brick pattern to the wall piece, then use the thin file to cut into the edges of the brick wall to simulate the wearing out of the mortar between bricks. Do not worry, you do NOT need to cut all the way along, just make indentations about 1/4 inch down each side and fully across the edges of the wall as shown.

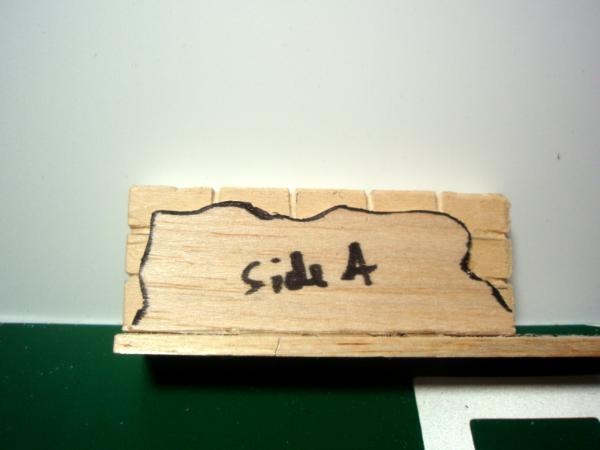
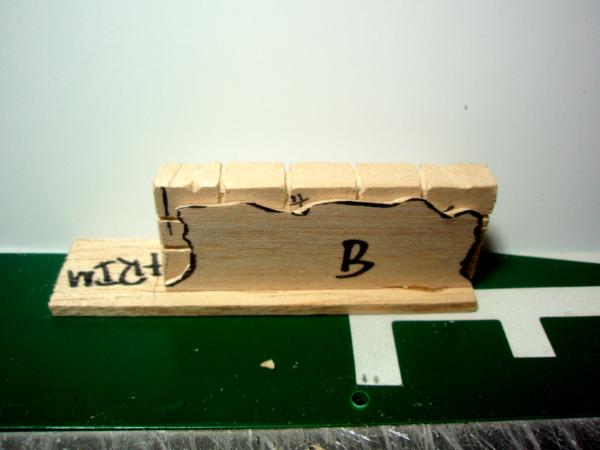
Next, use your wall piece to trace onto the thin 1/16" sheet so that you end up with two pieces that match the edges of the wall. Please be careful with your knife. Balsa wood cuts very easy along the grain, and not easy against.
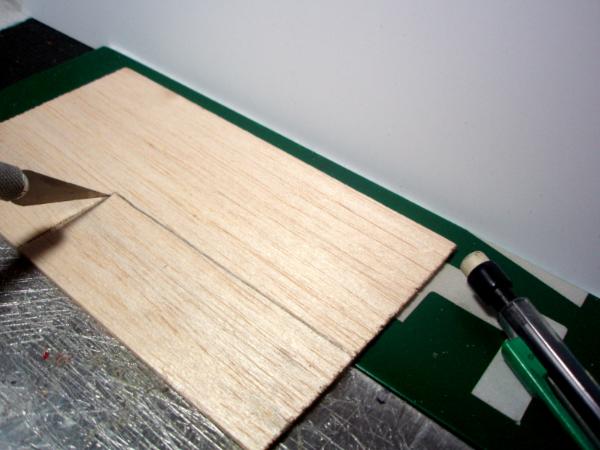
Now take your two side pieces and draw the edges of your worn stucco. Don't make too many really sharp edges, as it should be worn and rounded. Again, carefully cut out.
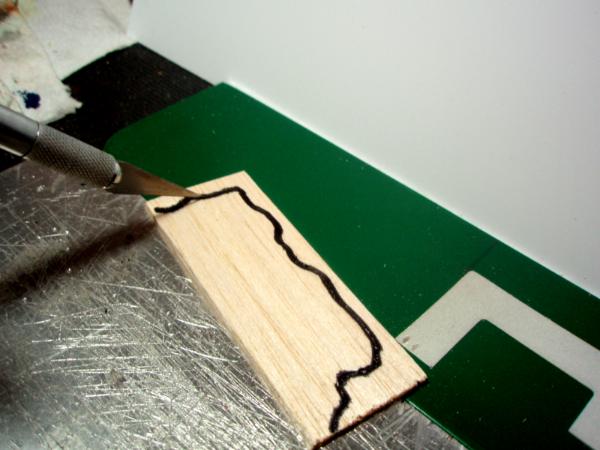
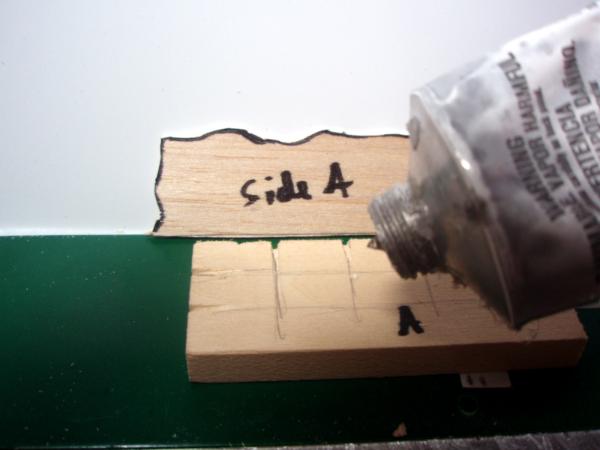
Now, take your stucco edges you just made, and test them on the edges of the wall. They need to fit and leave much of your grooving showing, as if bricks have been exposed. Make sure your grooves disappear behind the thin stucco plating. Make any adjustments needed, then use Goop (I like goop for terrain as it is thick, dries fast, and the nature creates a sticky bond right off but leaves room for adjusting. White glue or your favorite glue will of course work fine. I do not recommend Super Glue. Balsa wood soaks too much of it up). Before your sides dry, also glue all of it to your base, as this helps line the stucco sides up with the bottom. Let it dry.
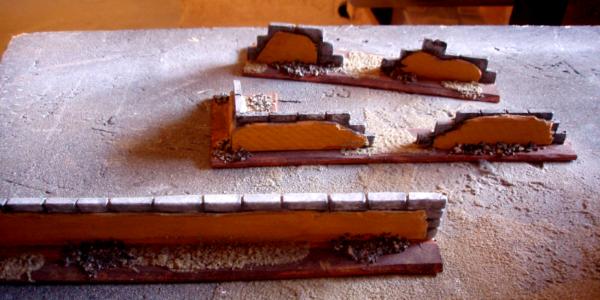
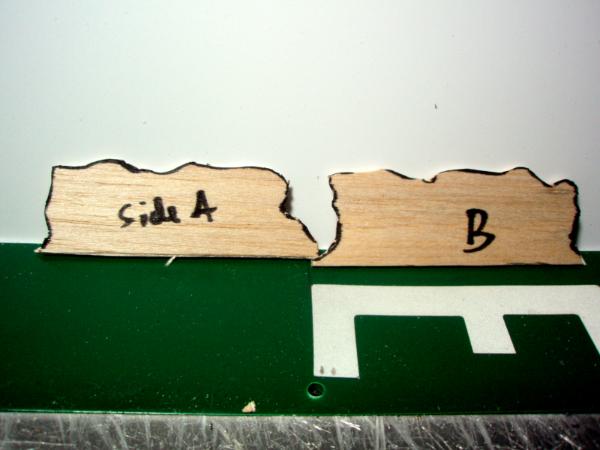
Here is a variety of walls made the same way showing how I painted them. You will notice I made some damaged. This can be done in the filing phase. Just cut some bricks out however you wish. Same with the corner wall. I just glued two together. Have fun. One wall takes me about 20 minutes from start to finish. I made this whole set in an hour.