- by Iain Wilson
One of the best parts of this hobby, for me, is when you find yourself looking at some bits and get a little flash of inspiration on how to turn them into something completely different to what they were intended to be. I had one of those moments this week, while cutting some parts off the new Maelstrom's Edge terrain sprue, when on impulse I put a couple of the fan pieces together back-to-back. One thing led to another, and the Epirian Heavy Drone was born!
This is actually a really simple conversion, using parts from the Epirian
Hunter Warmech, and four fans from the
new terrain sprue.
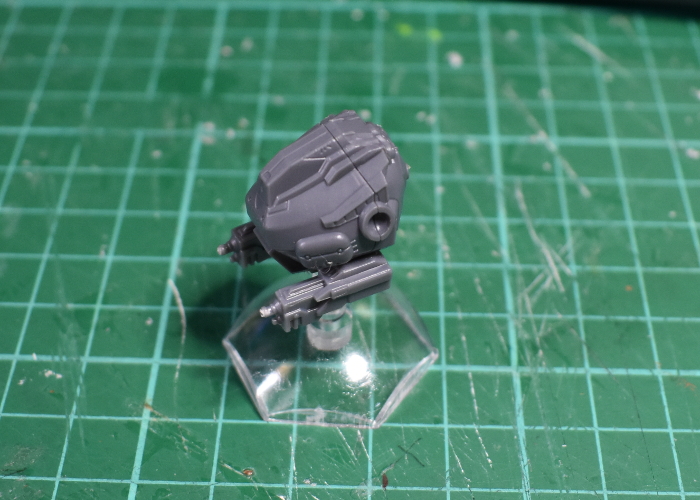
The first step is to take the Hunter torso and use a sharp hobby knife or razor saw to cut through the waist joint.
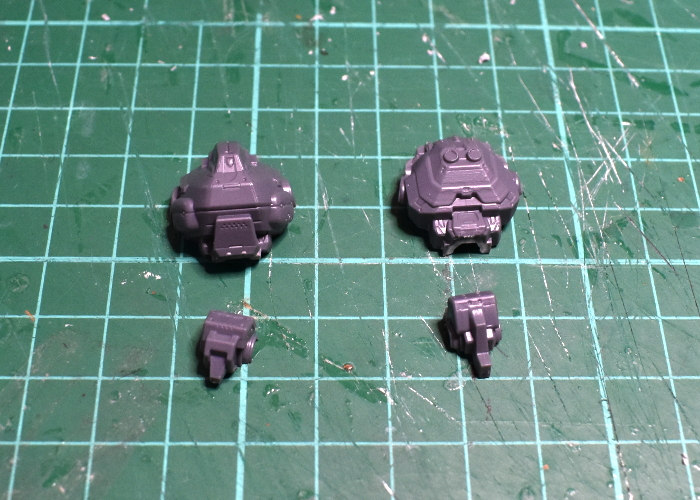
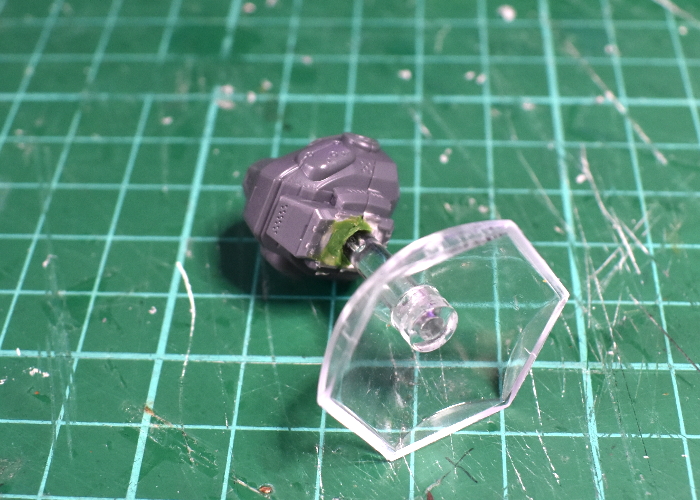
With the two halves of the remaining torso glued together, there's a large hole in the bottom, into which a flight stem fits quite neatly. Fill the front half of the hole with green stuff or similar putty.
The Hunter's Cutter machine guns are in two pieces, one of which has a wide flap that covers the underside of the weapon once assembled. Don't use that one. Take the other halves of the two cutters, and glue them to the underside of the Hunter torso. They sit in quite neatly, nestled in under the bulge of the chestplate.
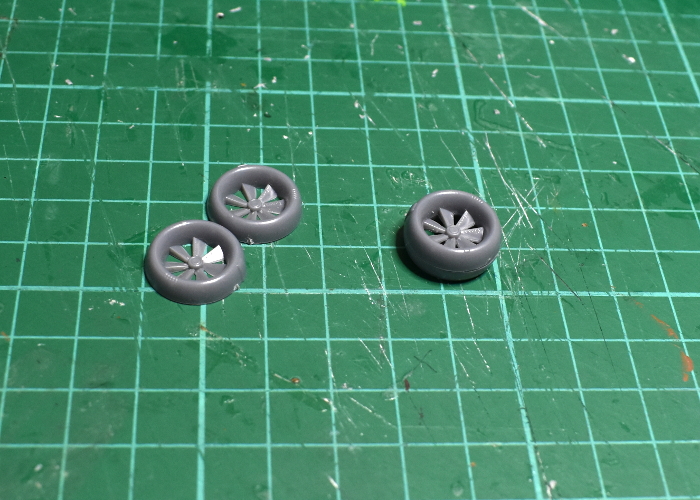
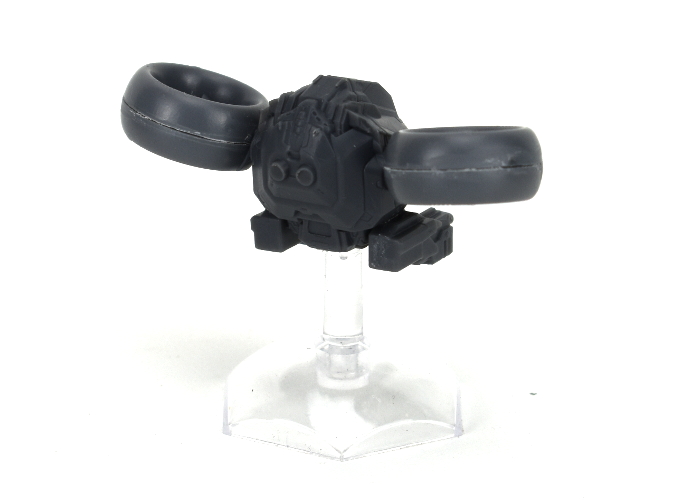
Next, take the four fans from the terrain sprue and glue them together in pairs, lining up the fan blades, to make a pair of turbines.
Glue the turbines onto the Hunter's shoulder sockets.
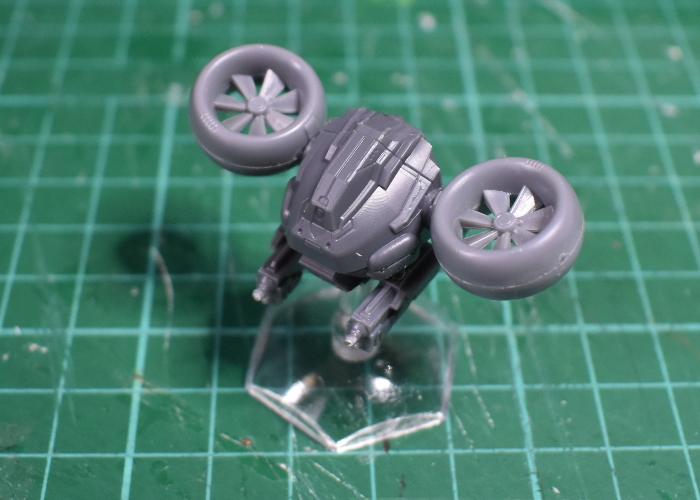
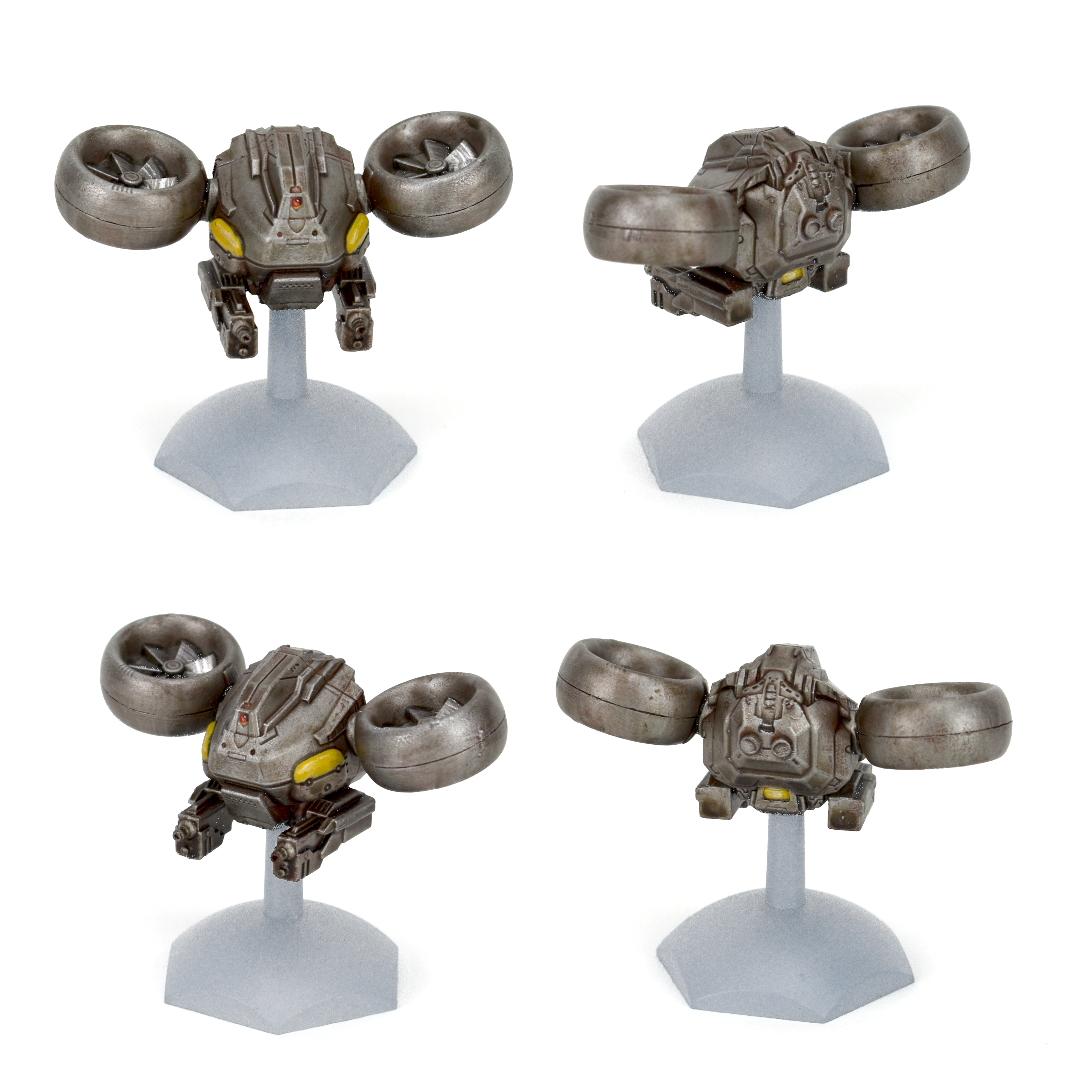
One drone, ready for painting!
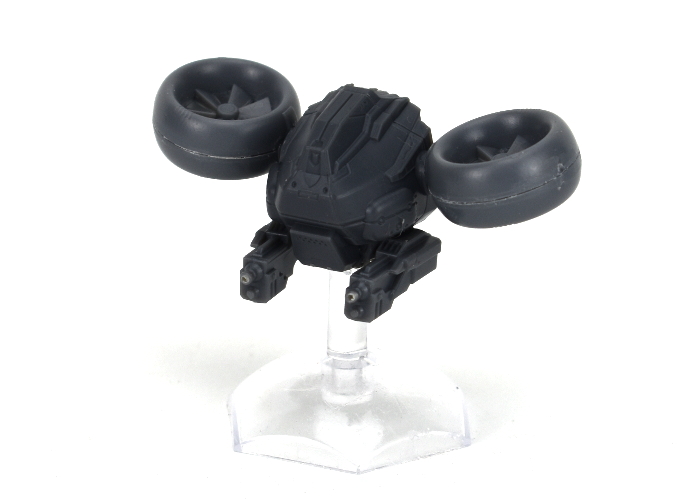
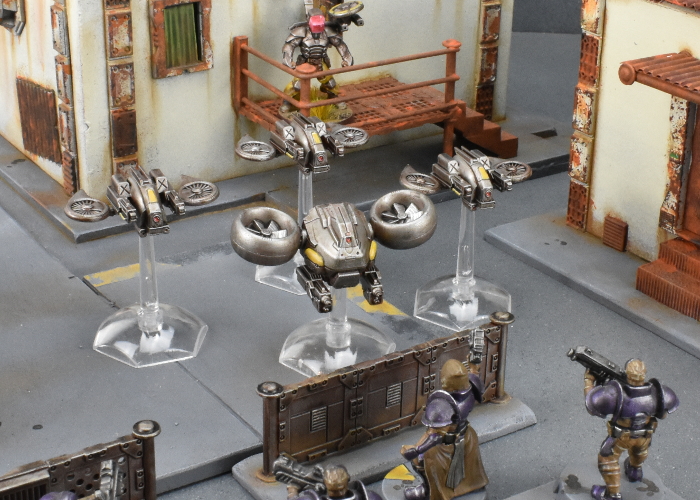
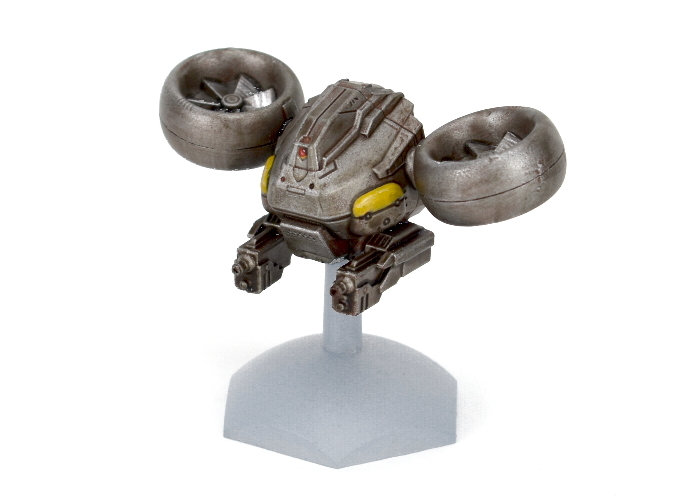
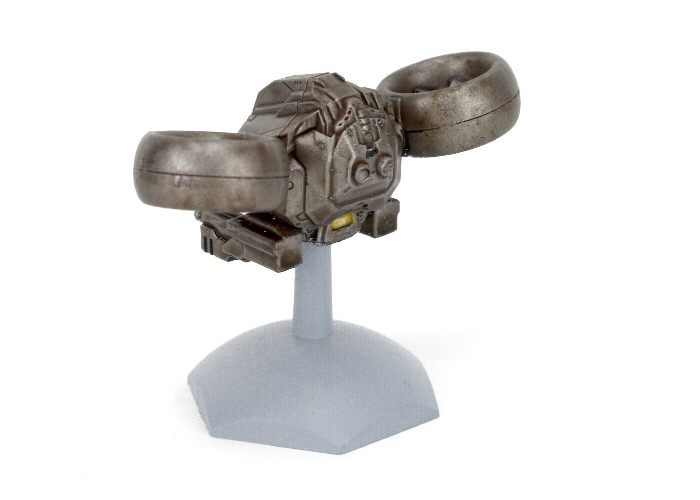
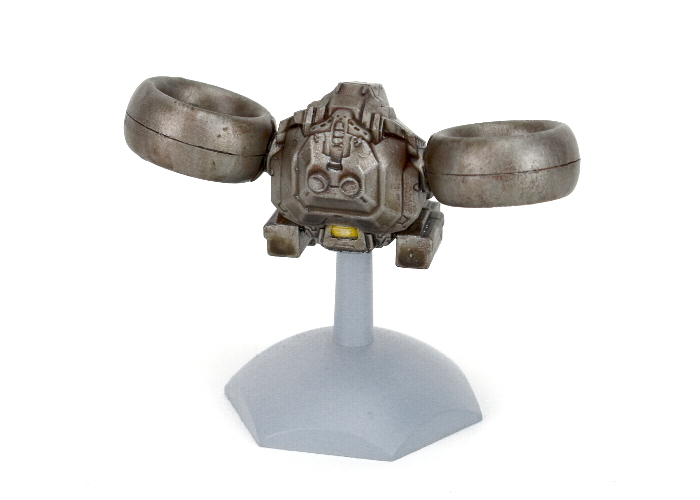
With some paint on, it winds up looking something like this:
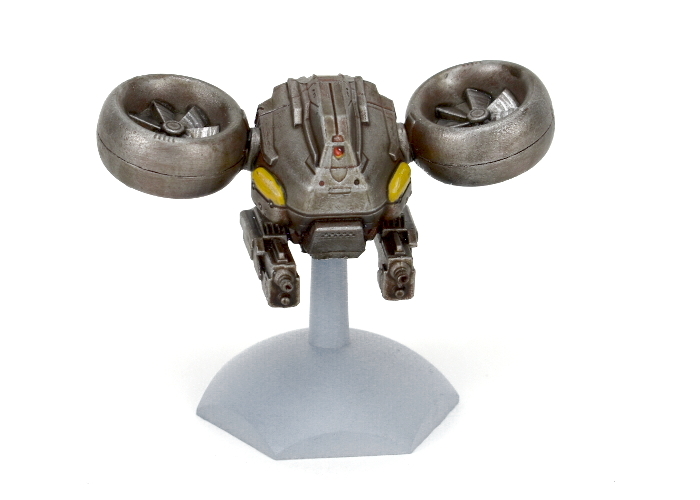
Now I just need to figure out what to call it! Any suggestions?
You can pick up both the Hunter kit and the new terrain sprue, along with the rest of the Maelstrom's Edge range, from the Maelstrom's Edge
webstore.
As always, feel free to share your models and terrain, or ask any Maelstrom's Edge- or hobby-related questions on the
Comm Guild Facebook page!
For other Maelstrom's Edge modeling articles, including tutorials and walkthroughs of a wide range of different building and miniature projects, check out the Hobby section of the Maelstrom's Edge website
here.