Forum adverts like this one are shown to any user who is not logged in. Join us by filling out a tiny 3 field form and you will get your own, free, dakka user account which gives a good range of benefits to you:
No adverts like this in the forums anymore.
Times and dates in your local timezone.
Full tracking of what you have read so you can skip to your first unread post, easily see what has changed since you last logged in, and easily see what is new at a glance.
Email notifications for threads you want to watch closely.
Being a part of the oldest wargaming community on the net.
If you are already a member then feel free to login now.
So I’m about to start a Grey Knight project, but want it to look a bit more interesting than just a block of silver, or highlighted grey. Has anyone tried to do NMM style painting with metallic paints? Any hints or tips? Does it even work at all? Thanks in advance...
I have a small Harlequin force done in gold https://www.dakkadakka.com/dakkaforum/posts/list/775107.page. Getting the metallic paint to go on smoothly is key - I used an airbrush for the basecoat and a zenithal of brighter gold, followed by silver highlights and crevice washes. Don't be scared to use bright metallics!
John Prins wrote: I have a small Harlequin force done in gold https://www.dakkadakka.com/dakkaforum/posts/list/775107.page. Getting the metallic paint to go on smoothly is key - I used an airbrush for the basecoat and a zenithal of brighter gold, followed by silver highlights and crevice washes. Don't be scared to use bright metallics!
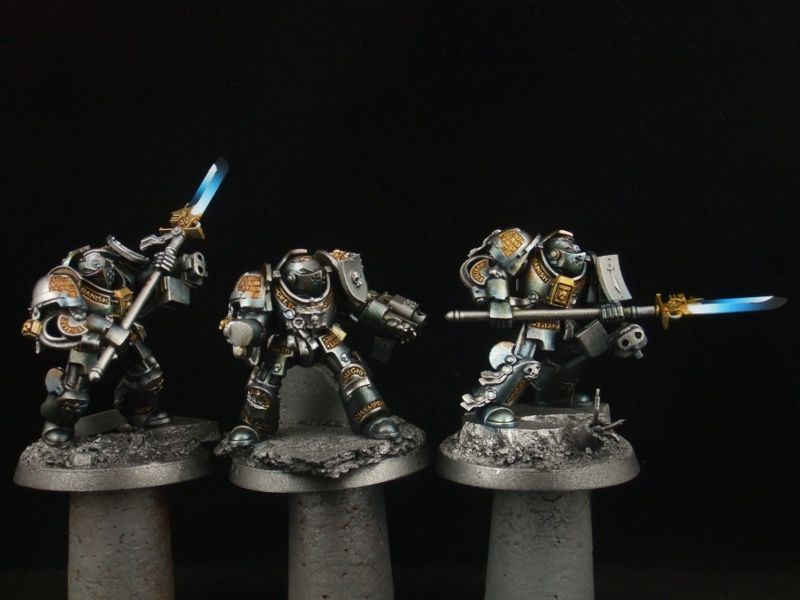
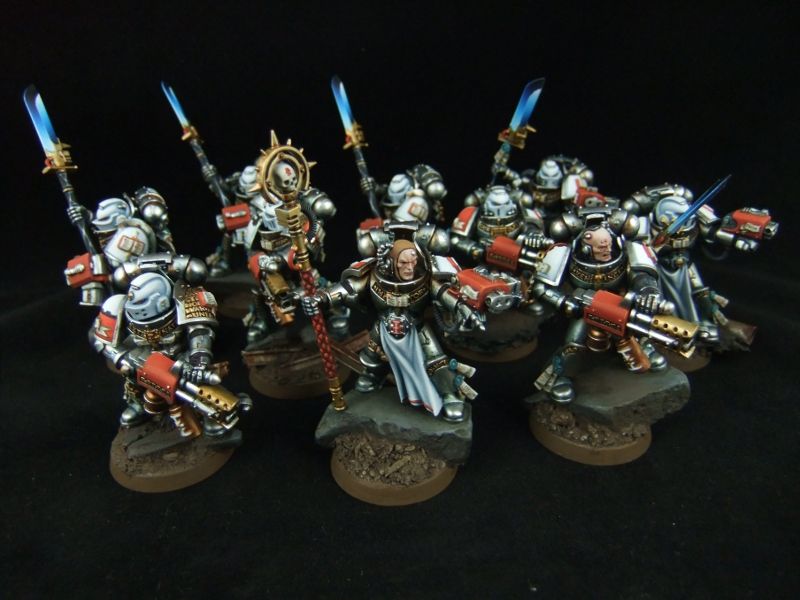
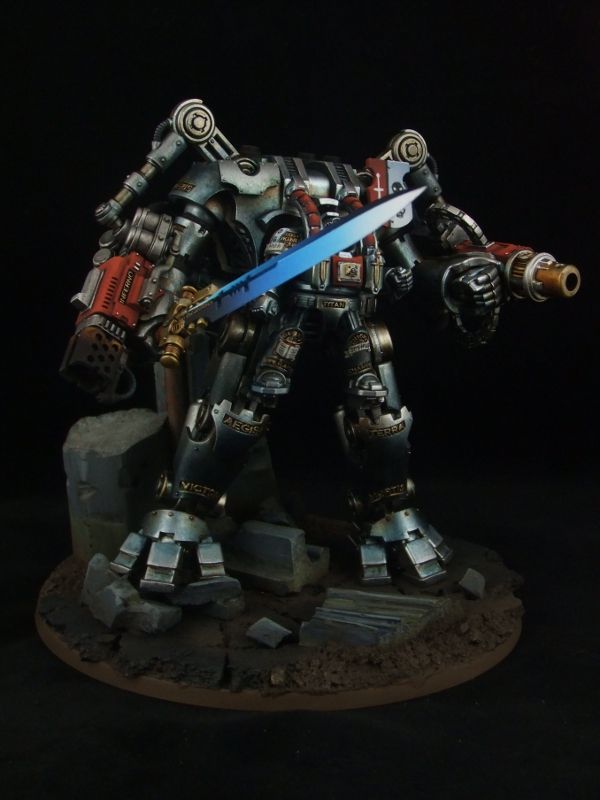
The secret (IMO) to NMM with metalic paints is to have shadow areas completely matt, normal acrylic paint while top spots, highlights painted with metals.
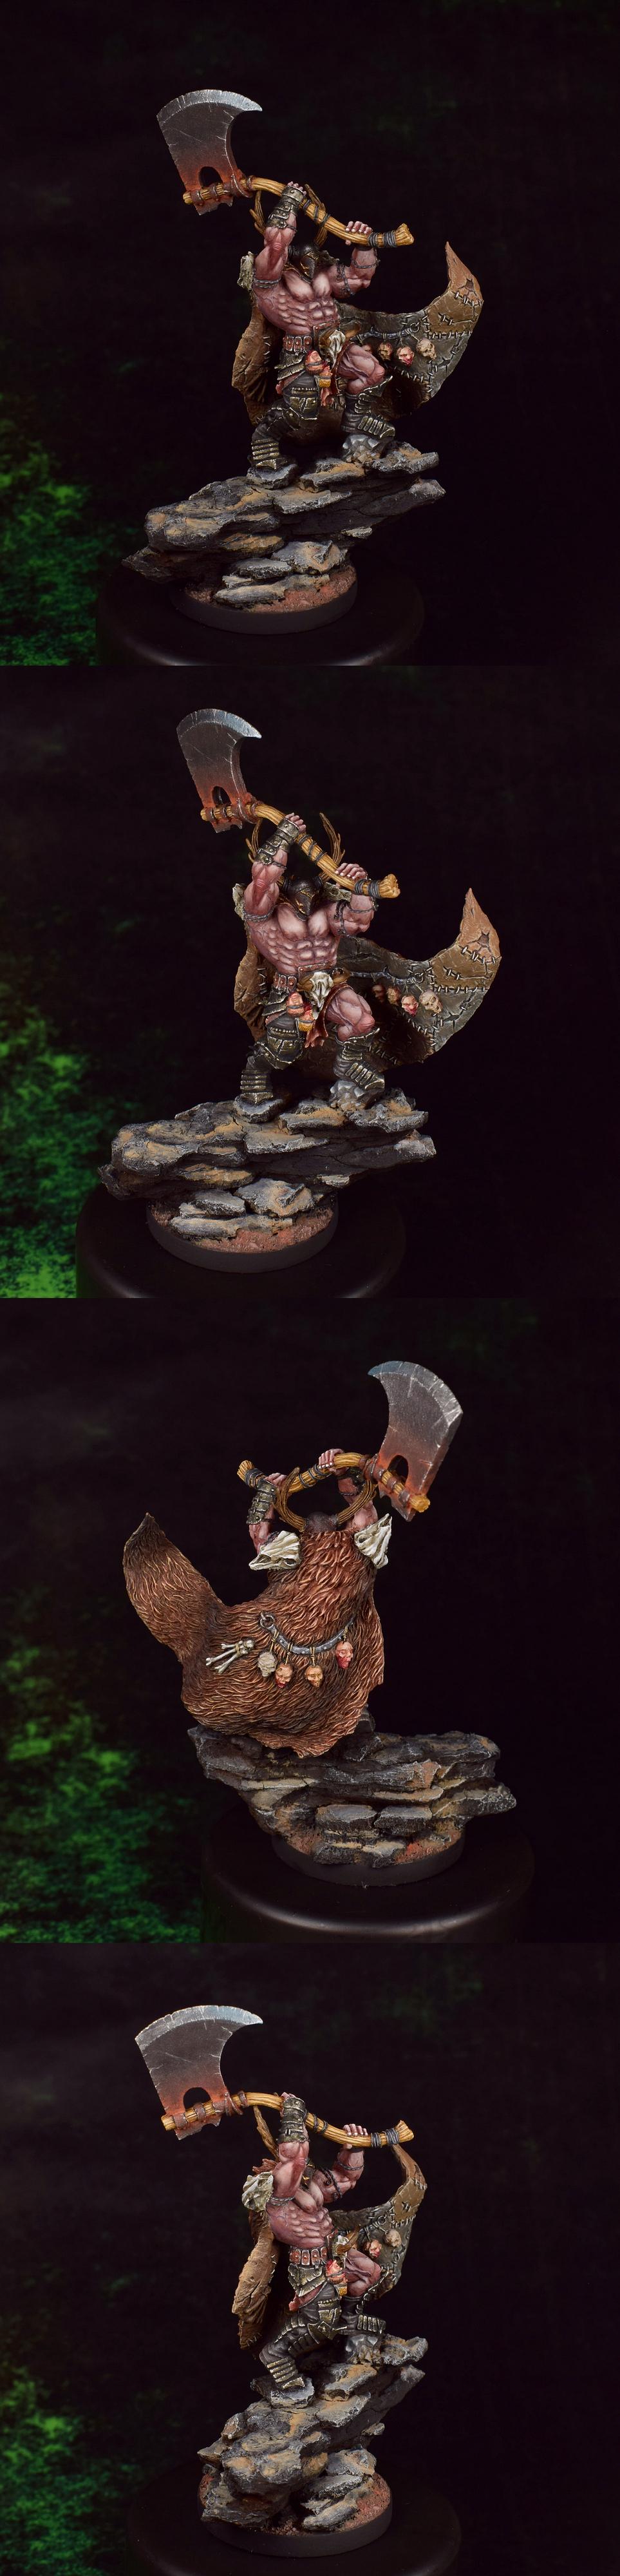
It's the only way I paint metals. Few examples, minis I did not long ago, if you look at the axe you can see flat shadow part and highlights in metals. Armor is painted with same priciple.
This message was edited 1 time. Last update was at 2020/02/10 17:27:59
Yes, it's called true metallic metal. There are millions of online tutorials. Basically you use matte glazes to give depth to the metal, then use brighter metallics to bring up the shine.
John Prins wrote: I have a small Harlequin force done in gold https://www.dakkadakka.com/dakkaforum/posts/list/775107.page. Getting the metallic paint to go on smoothly is key - I used an airbrush for the basecoat and a zenithal of brighter gold, followed by silver highlights and crevice washes. Don't be scared to use bright metallics!
That gold had some real depth. Very nice.
Thank you! It's embarrassingly simple (4 paints!) but it photographs really well with all that shiny stuff.
Images and his recipe spoilered below. They're from before Photobucket went to heck, so if thye're blurred out, just right-click and open image in a new tab, should pull up clear photos.
Spoiler:
u can probably chop and change the paints as the MrHobby Super Metallics I use are rather expensive, vallejo air metallics are rather good but might not give quite the same finish.
1. Undercoat model black
2. Lay down silver gradient as follows, using zenithal highlighting.
a. airbrush very thinned MrHobby Super Metallics - Super Iron over the entire model from all angles
b. airbrush very thinned MrHobby Super Metallics - Super Titanium at a downward angle NEVER going past 90degrees
c. airbrush very thinned MrHobby Super Metallics - Super Fine Silver at a downward angle NEVER going past 45 degrees.
d. paint on with a brush on the very top edges MrHobby Super Metallics - Next Plate Silver on the areas that would really shine...I advise looking at pictures of chrome shapes to figure this out if you can't work that out in your head, its not a matter of just highlighting at the top edge, especially when there are spheres like the feet and shoulderpads.
3. Start adding shade using water down inks, this has to be done in very thin layers and built up, if you rush it you will get brushmarks and it will look cack. This part is very intuitive and I can't tell you where you should put colours or give you a step by step on this its a very organic process. However I used Daler and Rowney FW Acryllic Artist Inks for this, I made the following mixes, Yellow/sepia (2:1), Red/Yellow/Burnt Umber (2:2:1), Paynes Grey/Sepia (1:1), Paynes Grey, Purple, Black, Blue all of these are thinned down to about 1 part ink 6-8 parts water till they are totally translucent. The theory with this is to have not only a light/dark contrast on the model but also a cold/warm contrast to give more points of interest to the eye. There is this contrast on each armour plate but also there is the same contrast on the entire model, what I mean by this is the armour at the top of the model has a fair amout of warm colours (red, yellow, purple) in the shadows in the upper parts of the composite armour plates and not much cool colours (blue, green, paynes grey) where as the lower parts of the model have the reverse more cool than warm, therefore you not only get the contrast "locally" but you have it "globally".
4. Reapply the Next Plate Silver (for vallejo metallics air silver) to the parts you want to shine
I took a 25 year break from painting and I spent the last year re-learning, and discovering the new techniques that happened while I was away. I have a handle on simple NMM but hadn’t caught on to TMM at all.
Well... that’s the new project sorted I guess!!


 Heresy World Eaters/Emperors Children