
- by Iain Wilson
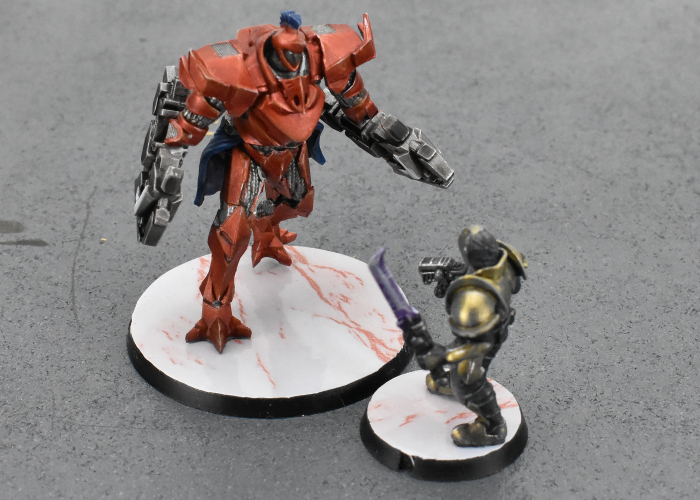
While painted sand is quick and easy for finishing off your miniature bases, sometimes it's nice to go with something a little more unusual to set your force apart. This week, I'm sharing a handy tutorial for creating super-simple marble bases, with no painting required!
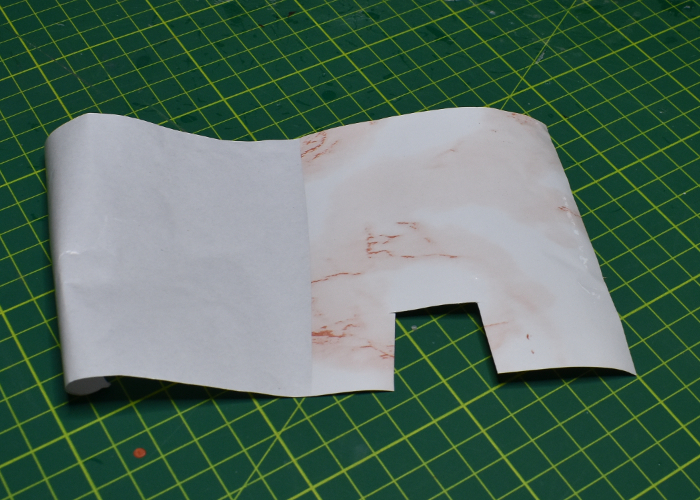
The marble texture comes from adhesive vinyl. This can be bought by the roll in a huge range of different patterns and colours, so you can find something to suit whatever colours you are painting your army.
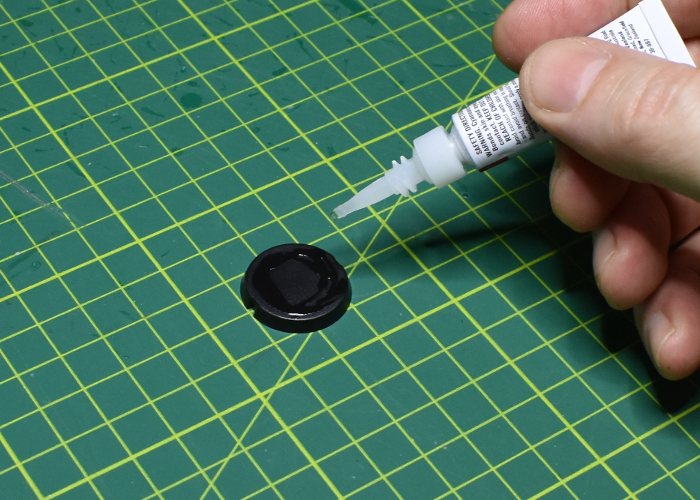
The vinyl is made to stick to a wide range of different surfaces, and so you can just peel off the backing and stick it directly to the base. Over time, however, the adhesive around the edges can sometimes dry out, causing the edges of the vinyl to peel up. To avoid this, apply a thin circle of superglue around the perimeter of the base top.
Cut a piece of vinyl slightly larger then the base, and then peel off the backing paper from the vinyl, and press the base into place on the sticky side.
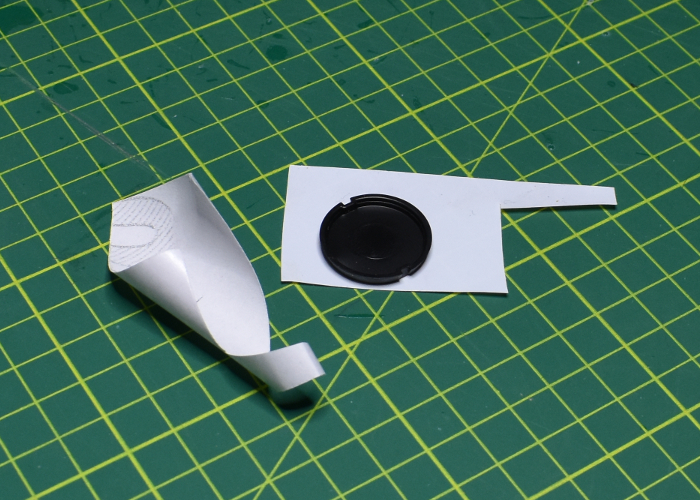
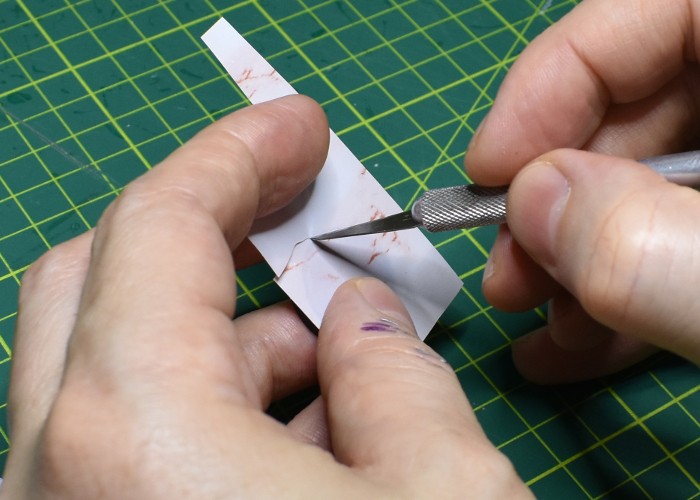
Remove the excess vinyl by cutting carefully around the edge of the base with a sharp knife.
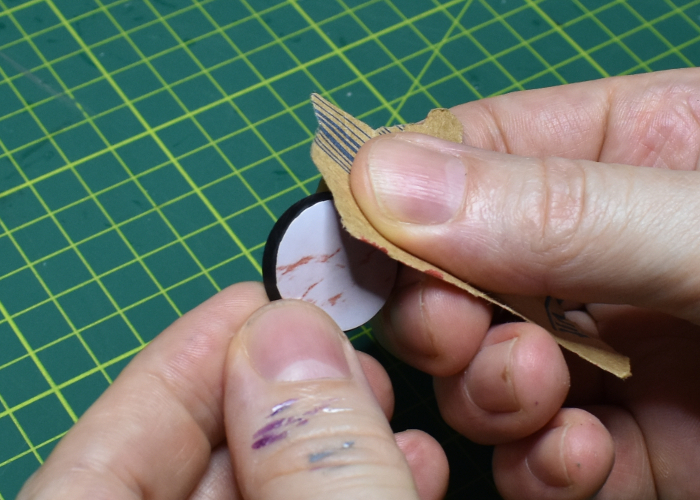
If the cut vinyl winds up a little rough, you can smooth it out by sanding lightly around the edge with a fine grade sandpaper.
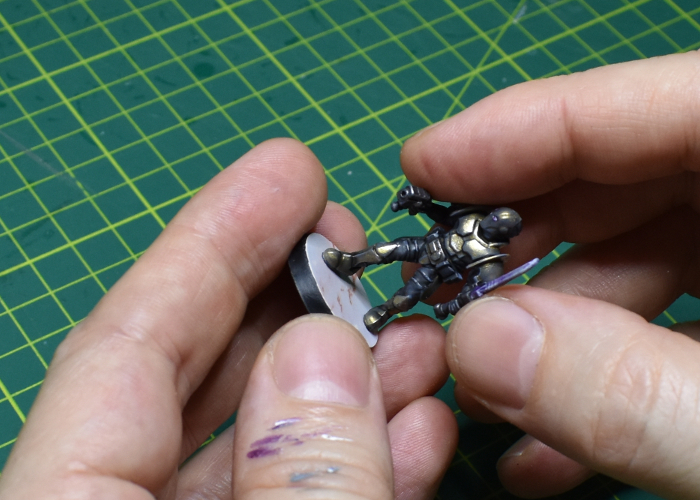
Finally, attach your model using superglue.
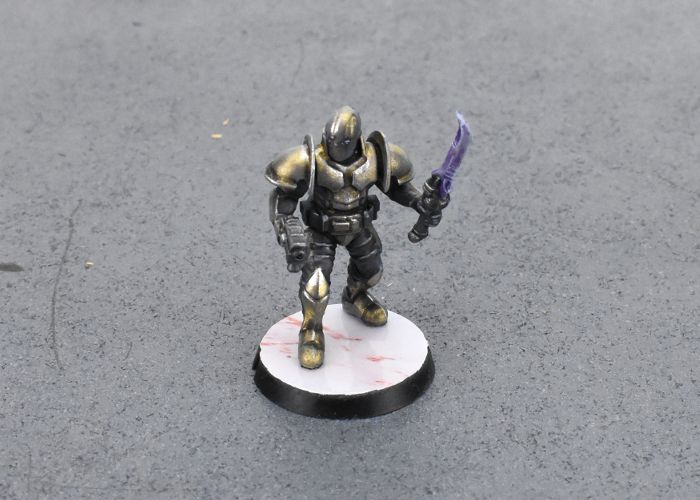
The final model, ready for the table. If you prefer a less clean look, you can also glue some gravel or other rubble on top of the vinyl, or drybrush on some brown to dirty things up a bit.
That's it for this week. Tune in next week for more modeling-related shenanigans!
You can pick up the Maelstrom's Edge model range from the webstore
here.
As always, feel free to share your models and terrain, or ask any Maelstrom's Edge- or hobby-related questions on the
Comm Guild Facebook page!
For other Maelstrom's Edge modeling articles, including tutorials and walkthroughs of a wide range of different building and miniature projects, check out the Hobby section of the Maelstrom's Edge website
here.


