Switch Theme:

Trying something new with bases + some Salamanders and Blackstone Fortress guys  [RSS] Share on facebook Share on Twitter Submit to Reddit
»
Author Message
Advert


Forum adverts like this one are shown to any user who is not logged in. Join us by filling out a tiny 3 field form and you will get your own, free, dakka user account which gives a good range of benefits to you:
  • No adverts like this in the forums anymore.
  • Times and dates in your local timezone.
  • Full tracking of what you have read so you can skip to your first unread post, easily see what has changed since you last logged in, and easily see what is new at a glance.
  • Email notifications for threads you want to watch closely.
  • Being a part of the oldest wargaming community on the net.
If you are already a member then feel free to login now.


Made in us
Stalwart Space Marine


Chicago

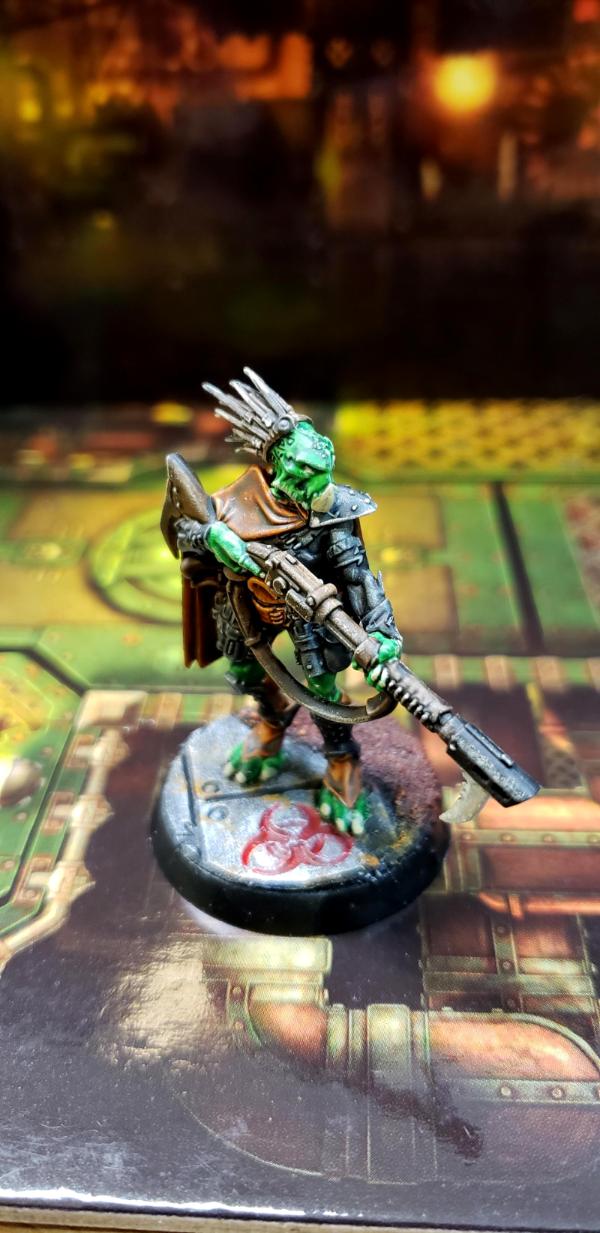
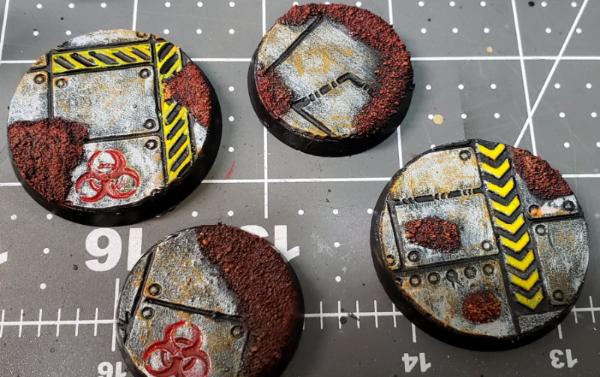
It's been a while since I've done much work on any hobby stuff but I been trying new stuff with bases. Think the results are pretty good. Going for fighting in ruins on Mars, but colors can be adjusted to anything you need.
Does not require a lot of effort but you would need the texture rollers at the very least, I also used a clay roller machine to get the clay really thin. I imagine you could get even better results if you wanted to invest time into it.

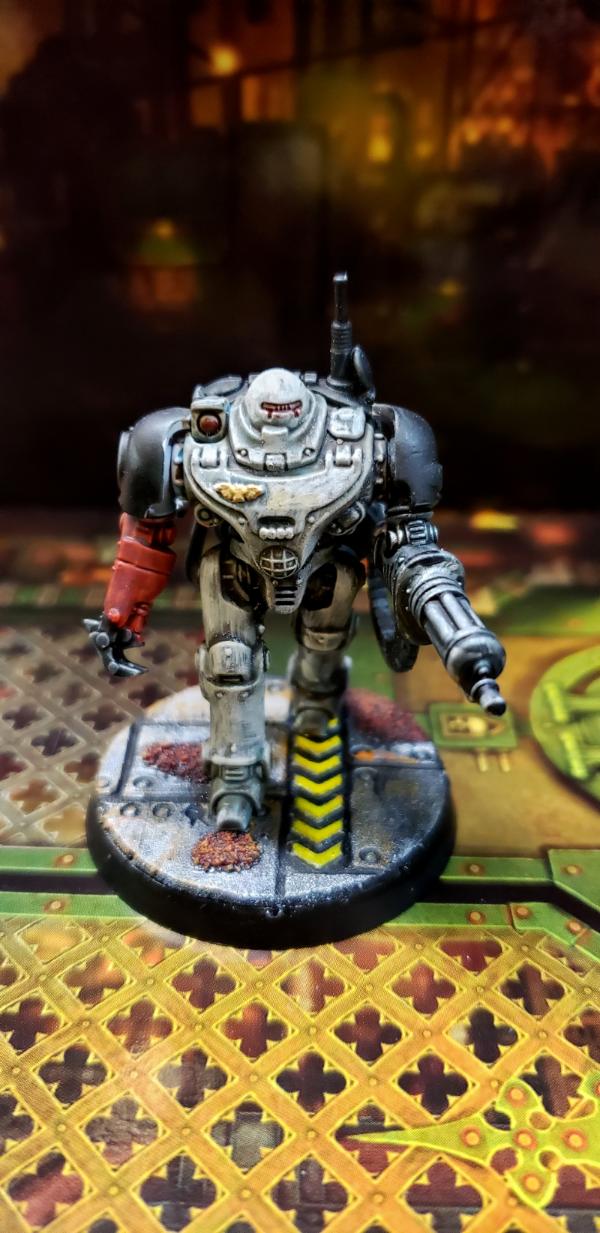
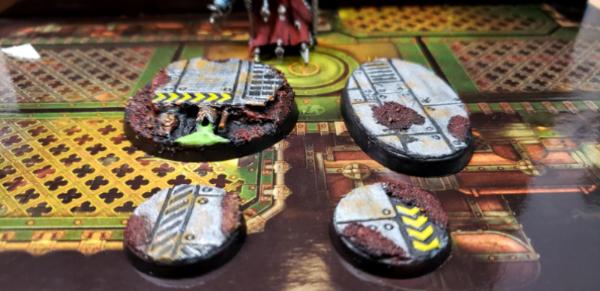
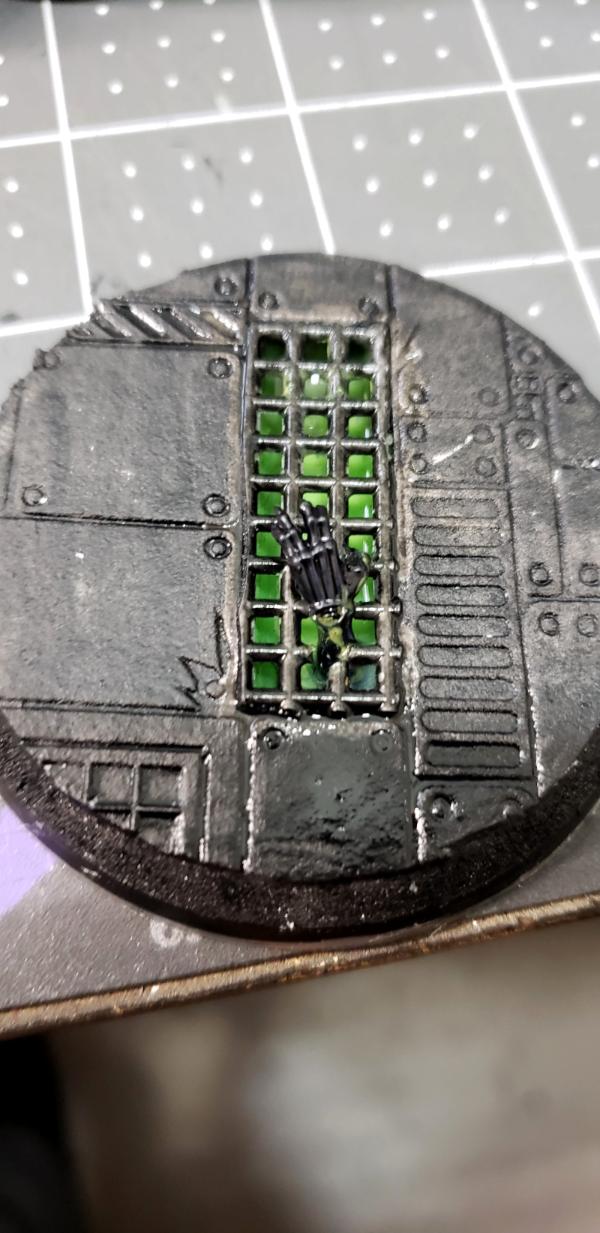
This was done with the models being glued to the base after the base was done. The models are super glued to the base and they seem to hold pretty well.


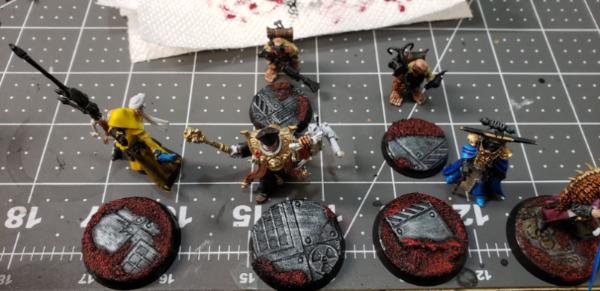
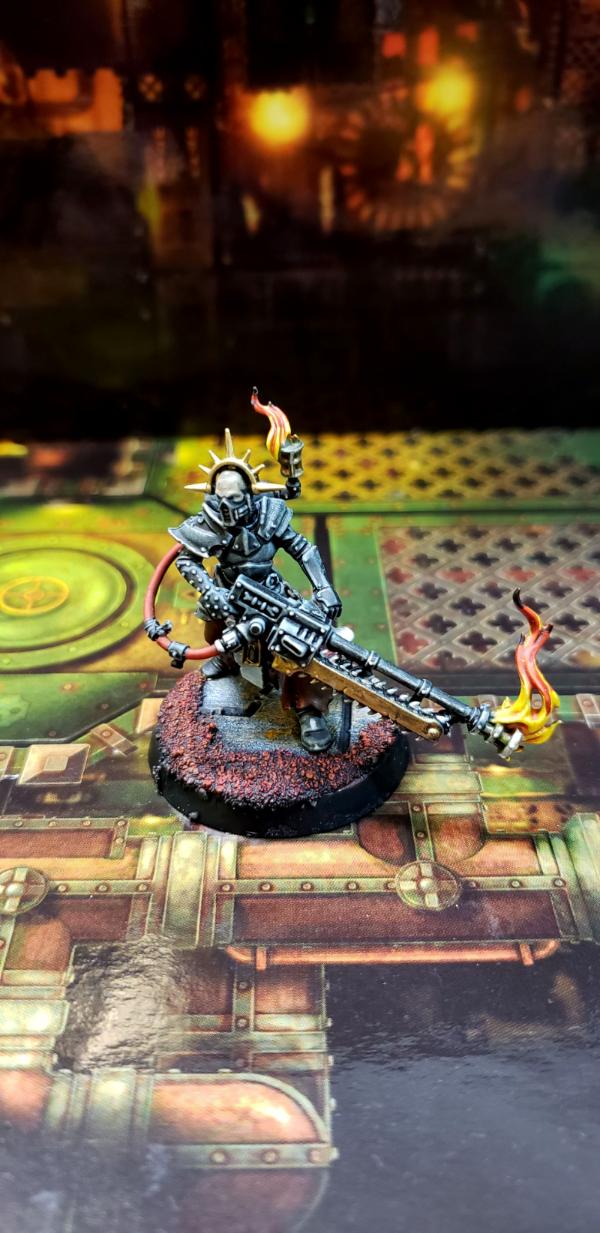
These were glued to a standard base and the basing work was done around the model. I used smaller pieces of the basing texture and the rest was glue and sand.


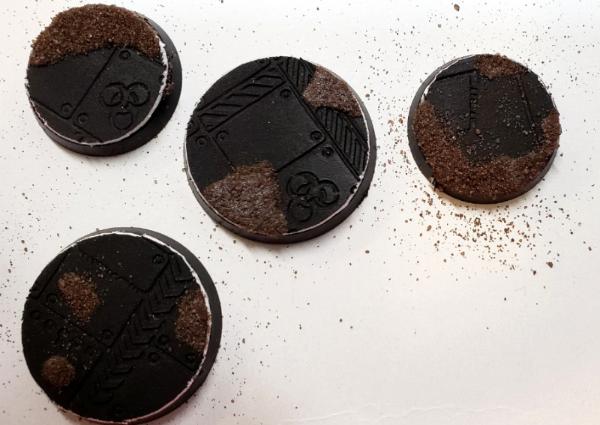
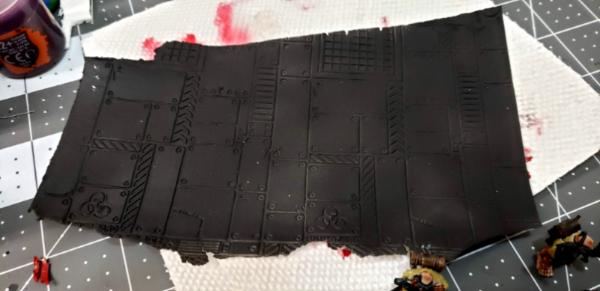
Sheet of base material that can be cut into pieces and glued to bases entirely or in pieces. The material can be rolled really thing and dries quick.


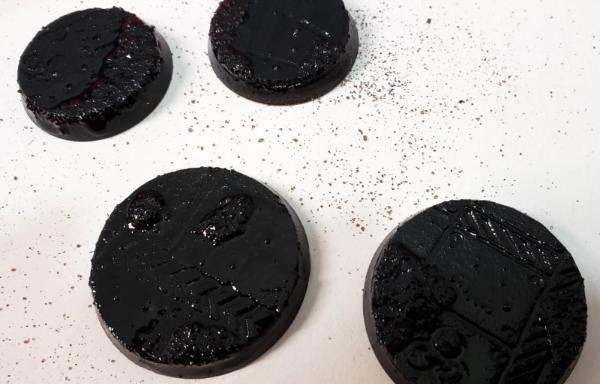
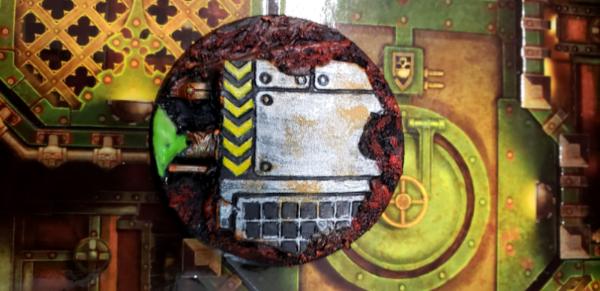
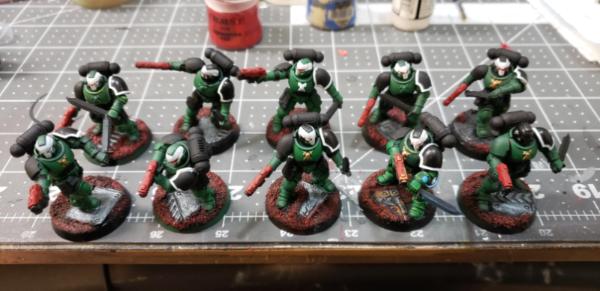
Older base using green stuff and a different roller for a more chaos look


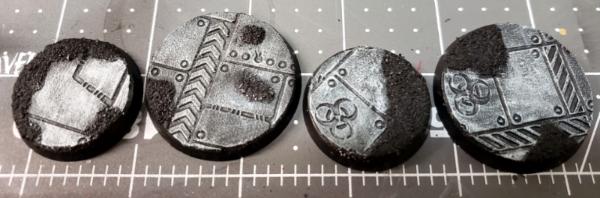
Not much of a tutorial but the steps I followed was;
1. Roll the modeling compound (I've had great results with Delight Air Dry Modeling Compound). Found it cheaper and easier to work than green stuff;
2. Use a roller to apply the texture/details. Got mine from Green Stuff World, would definitely recommend them.
3. Let it dry
4. Paint with primer (might be pointless step)
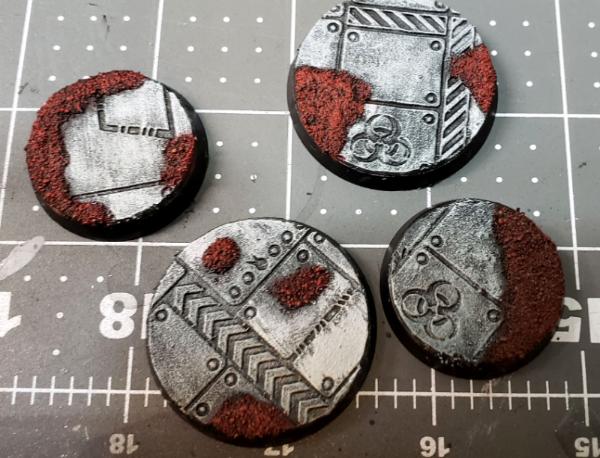
5. Super glue in place on base
6. Cut around base any extra material
7. Apply some glue in places where you want sand (skip for fully detailed bases) and dip in sand
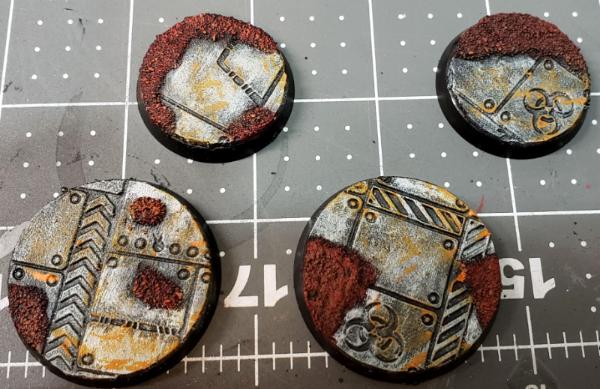
8. Allow to try and apply paint. I used black paint, silver to dry brush metal and red/orange for the sand.

   
Made in us
Grumpy Longbeard


Good idea!
I have tried Daz air dry clay. and it holds the details well, but dries into a cardboard strength. Perfect for the bases!

I would add to roll out the texture as thin as possible without clogging up the roller. Otherwise will end up with a thick az base.
Will have to give a (Delight Air Dry Modeling Compound) a try, Daz is more of a sculpting clay and does not do well when thinned out.


Made in us
Stalwart Space Marine


Chicago

Did a bit more work on these and paid a bit more attention to the bases.


Step by step pictures of the bases start to finish in spoiler
Spoiler:

Step 1 - Cut to fit base and add glue and sand. Think about where your models will stand. You can add as much or little sand and needed.

Step 2 - Paint with a really watered down black paint/primer. I personally use airbrush medium and Vallejo primer as they should seal the sand better.

Step 3 - Drybrush with steel or other metallic paint.

Step 4 - Drubrush the sand with red or other color.

Step 5 - Apply Rush effect and drybrush rust on top of red sand.

Step 6 - add details and fix any mistakes. This is a good step to remove any paint that got on parts it shouldn't have during drybrushing. I also used some thinned black primer to line the breaks between the panels so they pop a bit more


Made in za
Dakka Veteran


South Africa

Neat.

Fits in very nicely.

KBK 
   
Made in us
Grumpy Longbeard


Sharp paint job!
love the color scheme for the robot.
And the bases add so much!

Have you tried a(glossy) something for that "oil stain" puddle look?

Very inspirational, want to bust out me rollers and make some bases too


Made in us
Stalwart Space Marine


Chicago

I might try the gloss nuln oil on my next batch. I'll have to see how it looks.I tried using a rust wash from Vallejo and due to the texture of the air dry modeling compound I'm using it didn't look right. I think it might be the wash not having a slick surface to move around. I might try sealing the base with a varnish to see if that helps.

I did a bit more work, thinking of rebasing some of my unbased models as I go along. Working on bases for my few admech guys I had lying around that were just glued to a base.


The round base in the back is for the HQ guy, so more work went into it. Added a bit of height using foam board, allowing me to put in some random pipes for a more 3d look.

   
Made in us
Stalwart Space Marine


Chicago

Admech guys from the Forgebane box set are done. Pretty happy with how they turned out.


Started working on another base for one of my many dreads. I have some spare tyranids from a few random places, figured whatever industrial base these guys are fighting on might have some genestealers living in the shadows.


Forum Index » Painting & Modeling
Go to: