
- by Iain Wilson
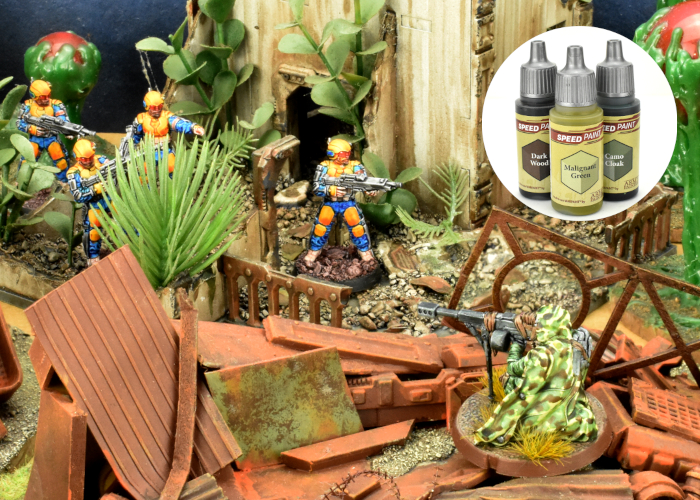
I've been having some fun experimenting with Army Painter's Speedpaints, to see what can be done with them. This week, I'd like to share this simple method that I stumbled upon for painting a camouflage pattern using just a trio of Speedpaints!
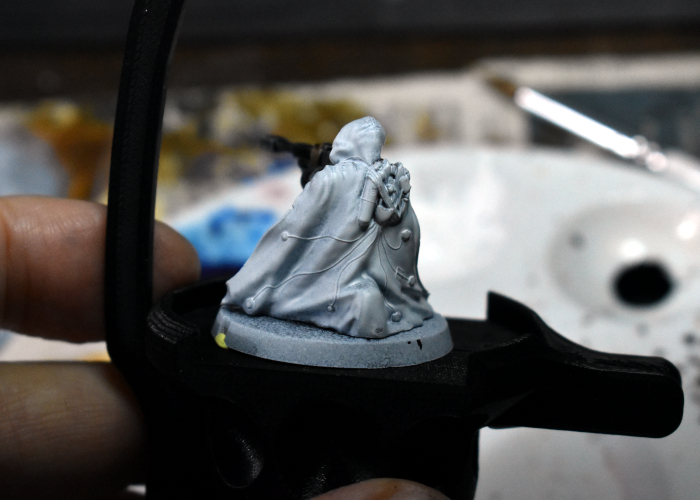
Step 1 - Basecoat the model with white spray.
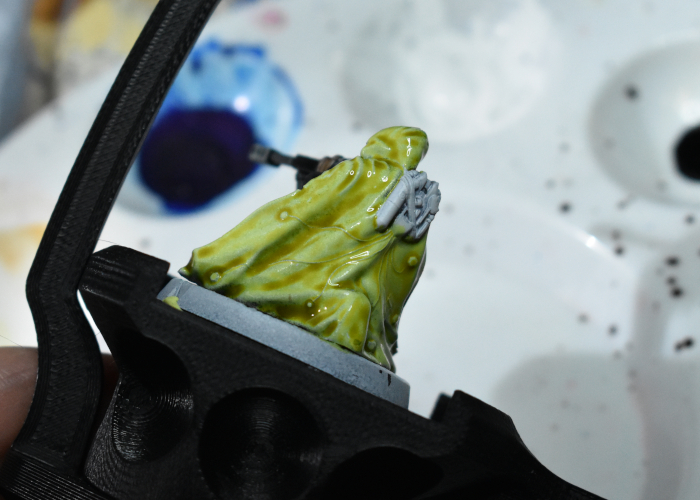
Step 2 - Go over the camouflage area with a generous coat of Malignant Green.
Step 3 - While the Malignant Green is still wet, dab on dots of Camo Cloak. Make these dots about half the size you want them, as they will spread out. Try to mix up the spacing of the dots as you go, so they don't wind up forming a regular pattern. Doing this while the first green is still wet allows the second colour to spread organically, creating irregular, random shapes.
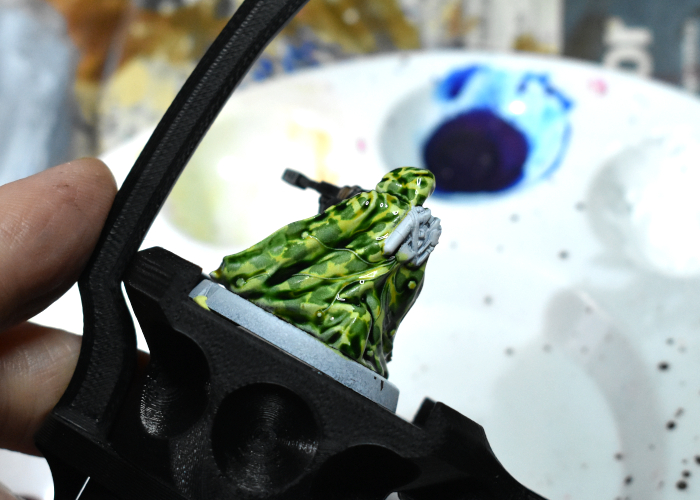
Step 4 - While those first two colours are still wet, go back over with slightly smaller dots of Dark Wood. This will spread across and through the other two colours, creating the layered camo effect.
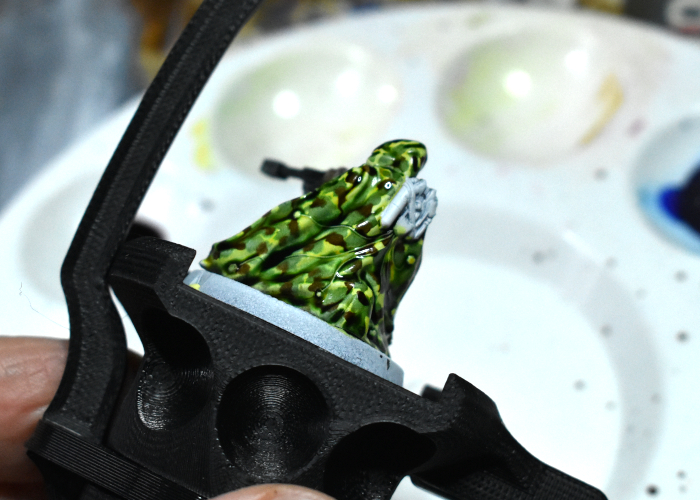
Step 5 - Let it all dry. It can help if you can lay the camouflage surface as flat as possible, to avoid the wet colours from running downwards.
The completed model - the rest of the model was also painted with Speedpaint, mostly Camo Cloak, Dark Wood and Grim Black.
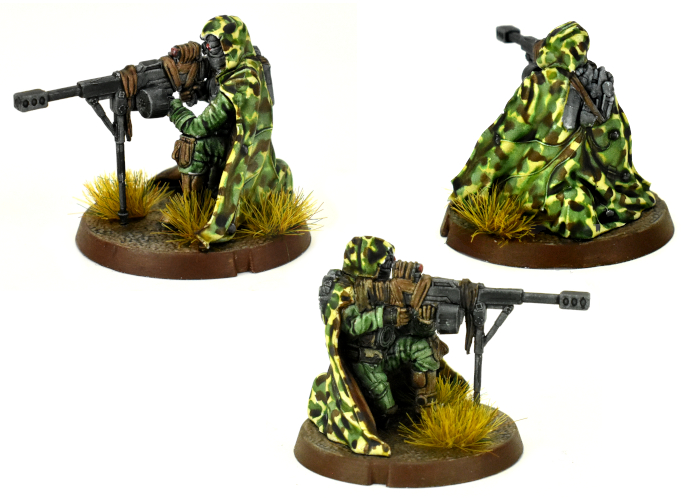
To have a go yourself, pick up the plastic Broken Sniper kit from the
Maelstrom's Edge webstore!
While you're there, you can download the V2 rules from the Trial Rules section of the Maelstrom's Edge website
here. The Beta rules documents contain all of the rules for playing V2 games, but keep in mind that these are just 'preview' documents - some rules may be revised based on feedback, and the final layout including background material for the factions and the Maelstrom's Edge universe, artwork and other 'flavor' material is missing.
For other modeling ideas, tutorials, army spotlights and conversion walkthroughs, check out the Hobby section of the Maelstrom's Edge website
here.
What are you working on? We would love to see your models and terrain in the
Comm Guild Facebook group!


