Here's a tutorial on how to hinge your land raider doors. Please read through this
completely before doing anything, since step 8 might actually be better done as step one. If you'd like to hinge the top hatches on a Rhino, I also
have a tutorial for that here.
I would only do this with plastic doors - resin ones, such as Forgeworld, almost certainly are too brittle for this.
Parts used:
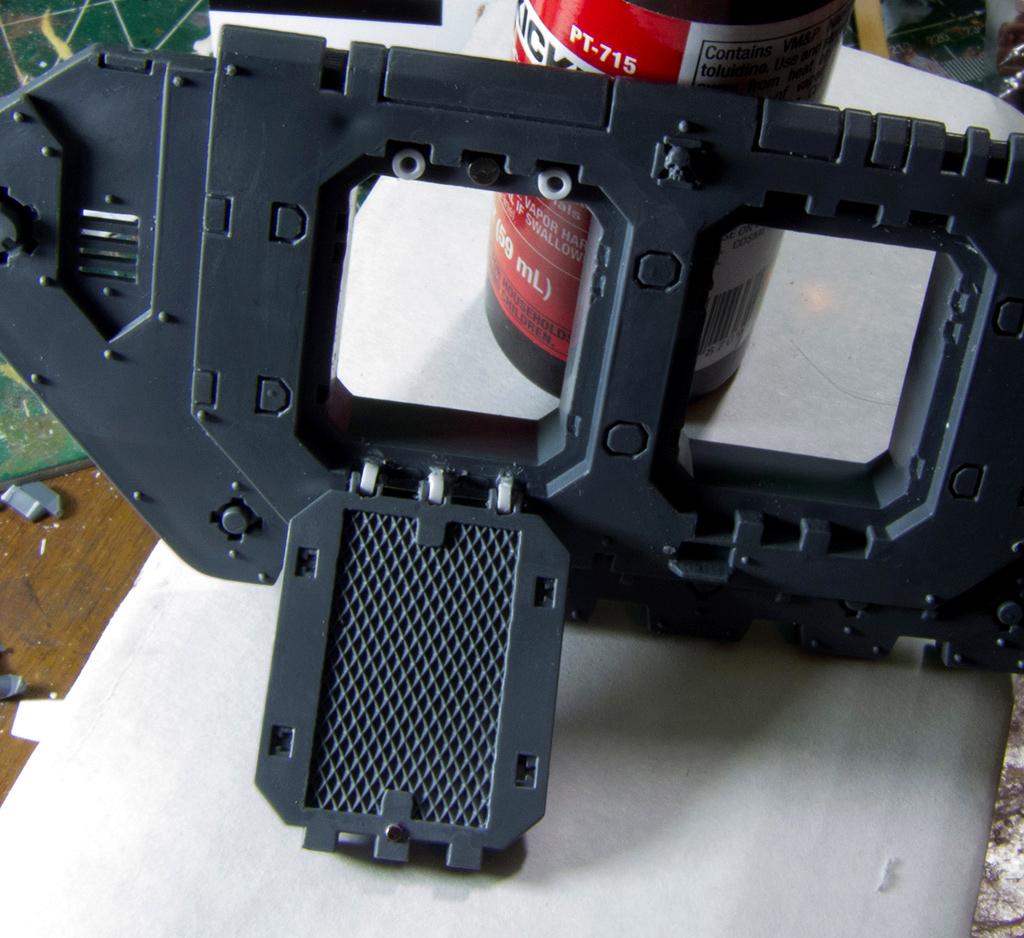
Land Raider
Dremel Tool with cutoff wheel, 1/8th", 1/16th" drill bits
Loc-Tite Ultra Gel & Kicker
Testor's Model Cement
1/8th" styrene tubing
a little bit of thin styrene cardstock, a old credit card would be OK too.
a pin vise
pinning material, very thin. Half a paperclip diameter at most.
Sharp hobby blade
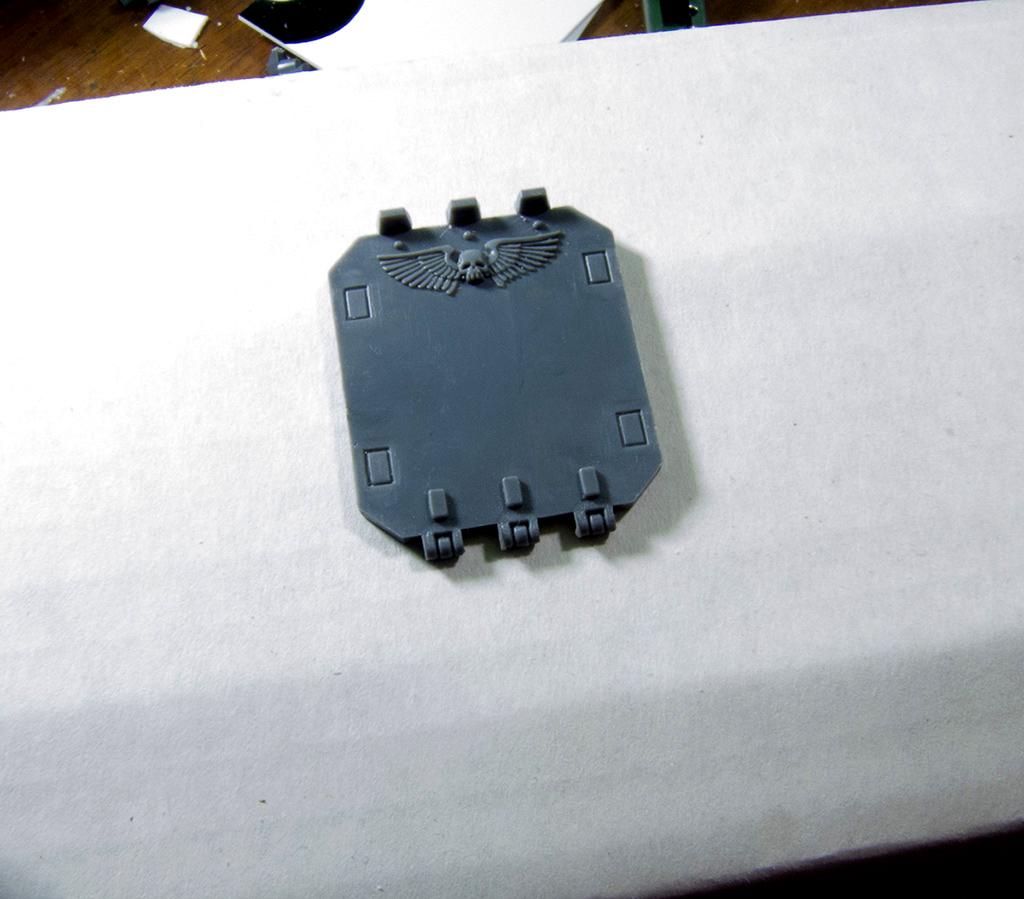
First trim the parts off the sprue, of course.
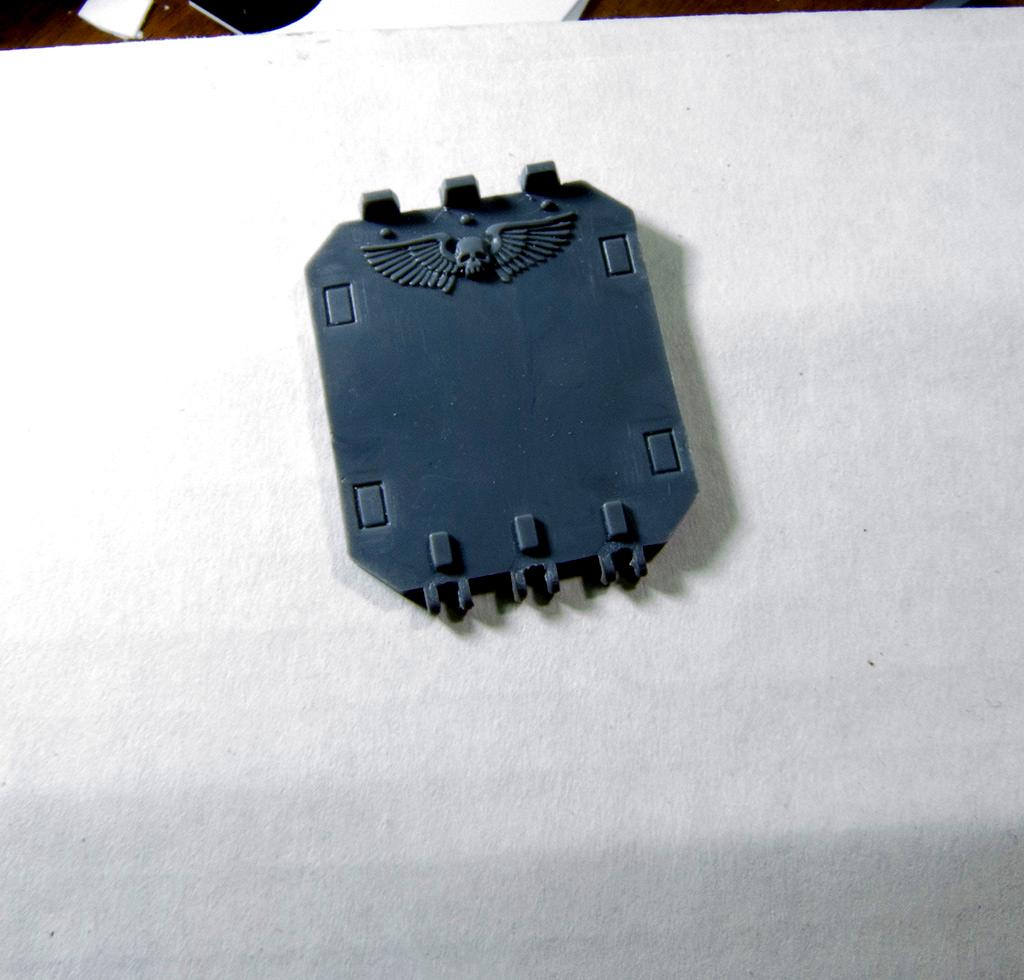
1.) We're going to use a cutoff wheel to grind out the middle part of the hinges. You might, maybe, be able to do this just with a hobby knife but I think it would be very hard to do so without either breaking the hinges, or softening them so much from fatigue they will break while working on the later steps. A needle file and a lot of patience would work OK, probably - but I used a cutoff wheel.
Anyway, use your cutoff wheel on the very slowest setting and grind out the centers of the hinges. Take your time, and go slow: you only get one try at this.
Once they're ground out, you should have something that looks like this:
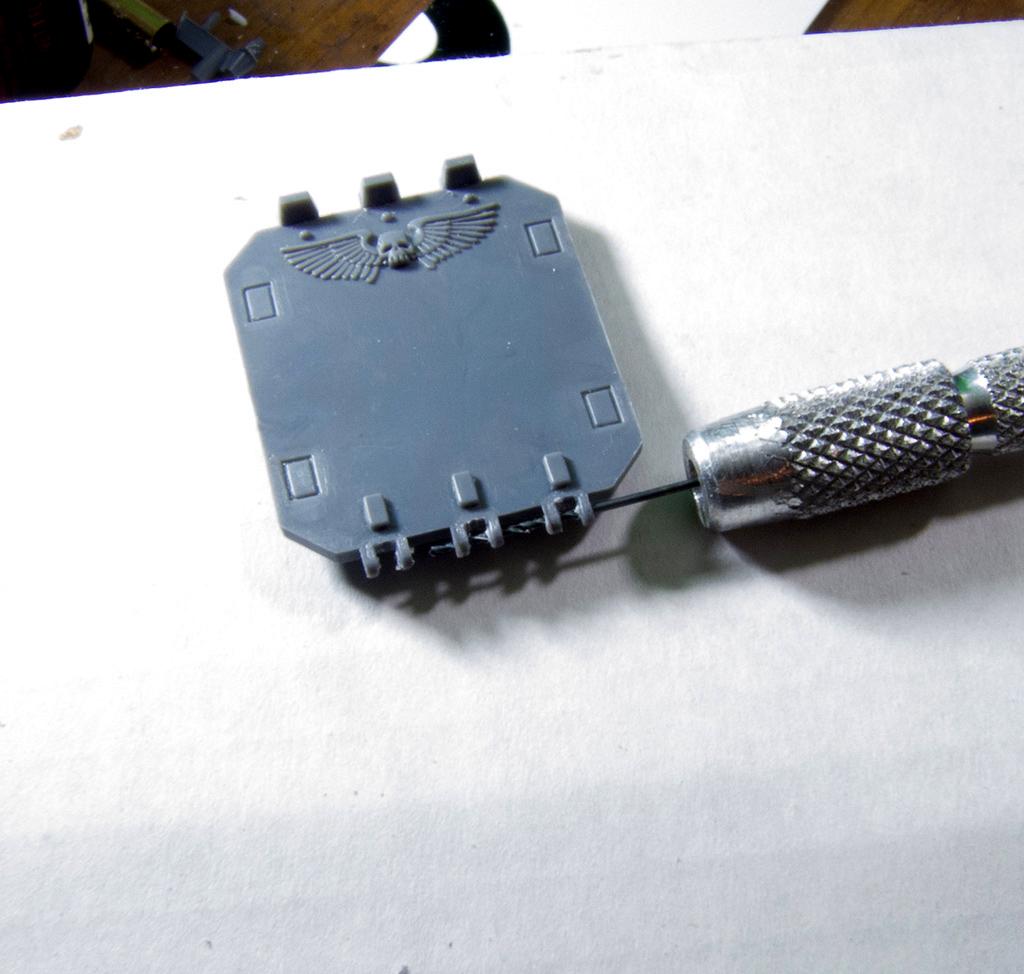
2.) Take your pin vise and carefully drill out from the sides. Take your time, and make sure you center the holes. Go slowly, it's easy to be a clumsy ape and ruin it at this step.
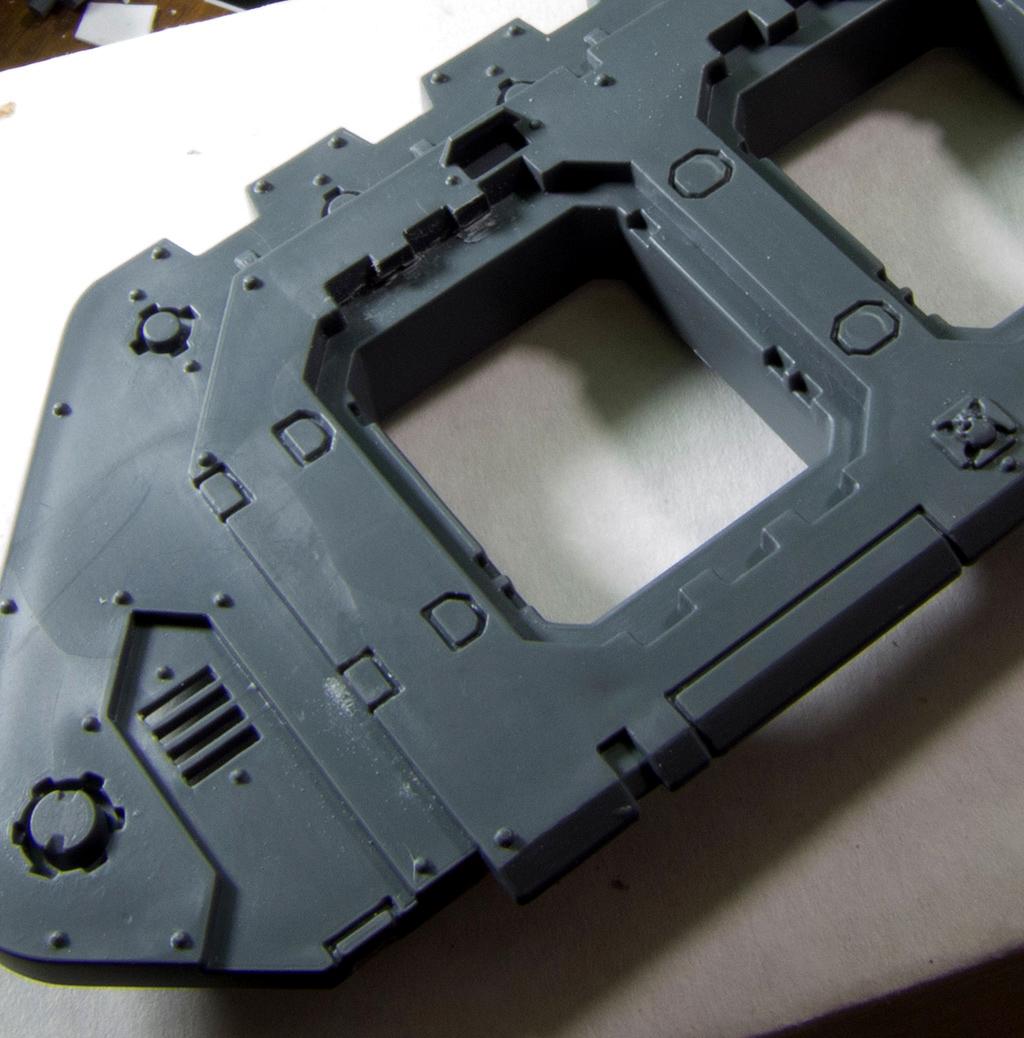
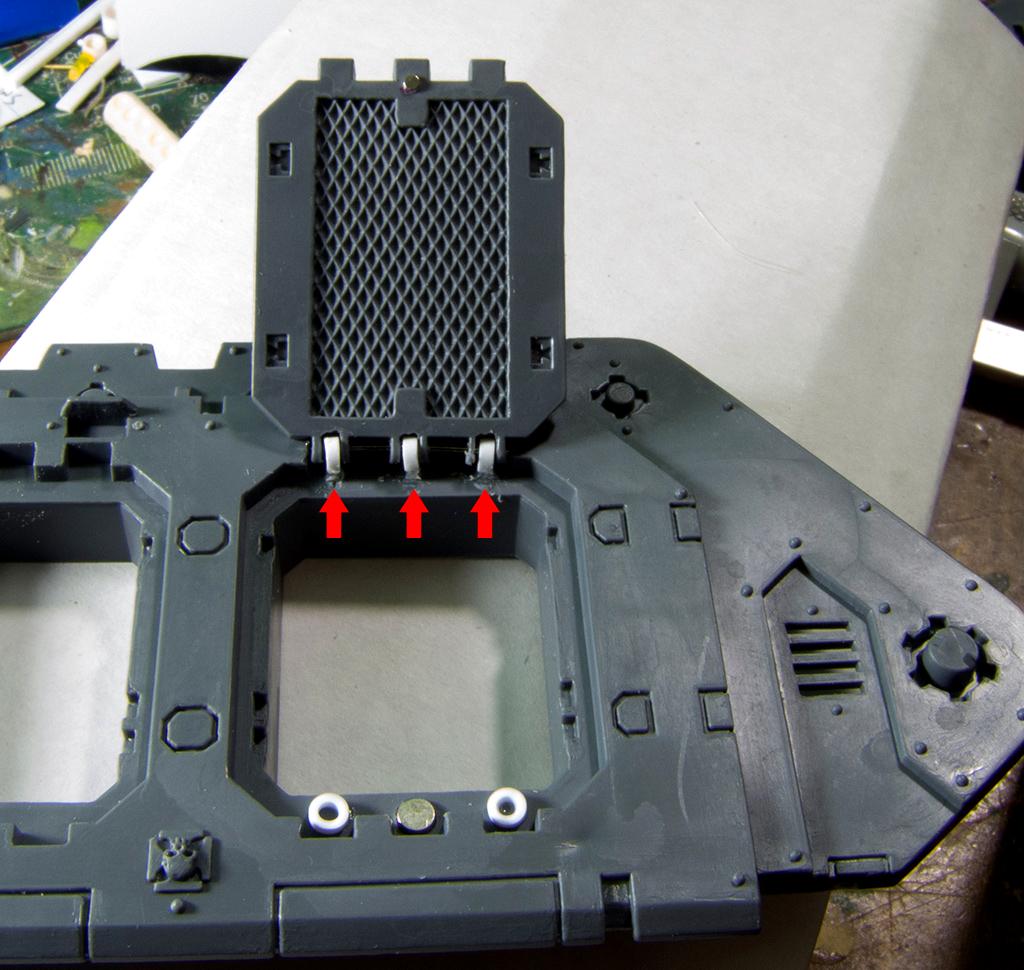
3.) We're going to add a hinge, and we need to make room for it on the side of the Land Raider. I've highlighted the bits we need to trim here; I cut it down with my cutoff wheel and then cleaned it up with my hobby knife.
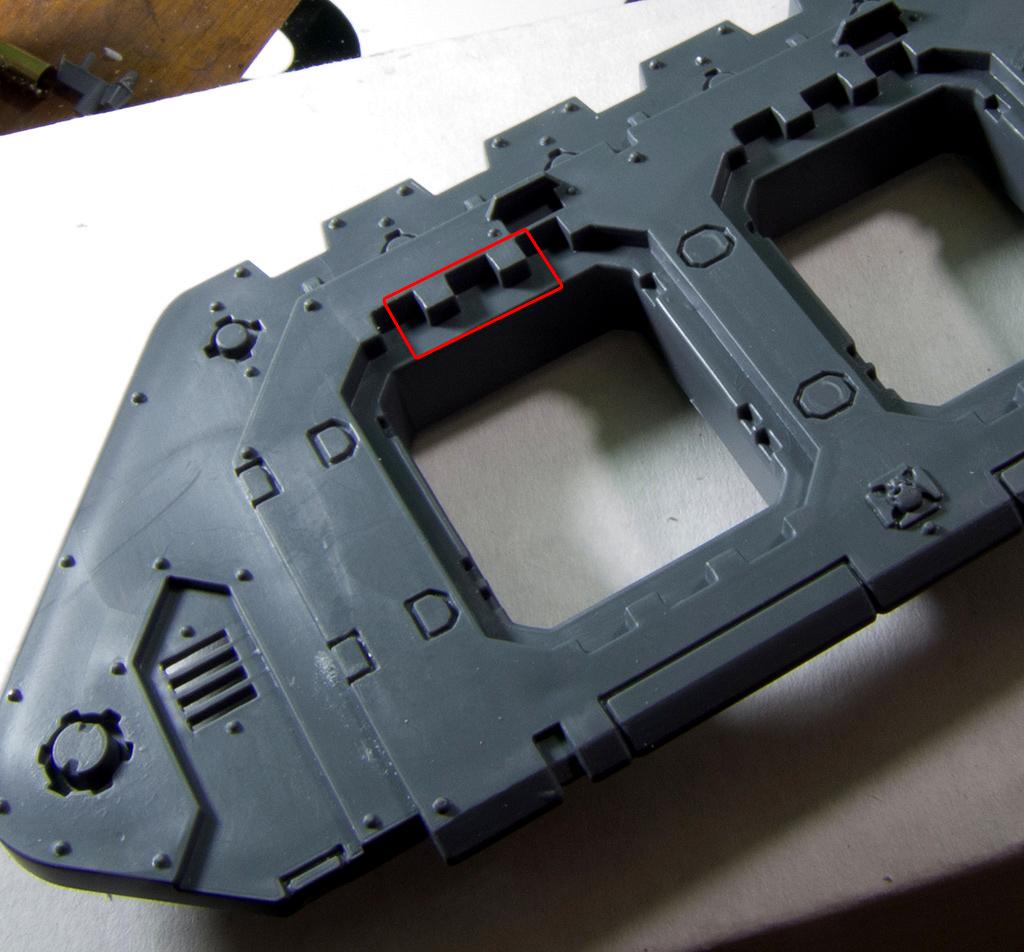
And it should look like this when trimmed:
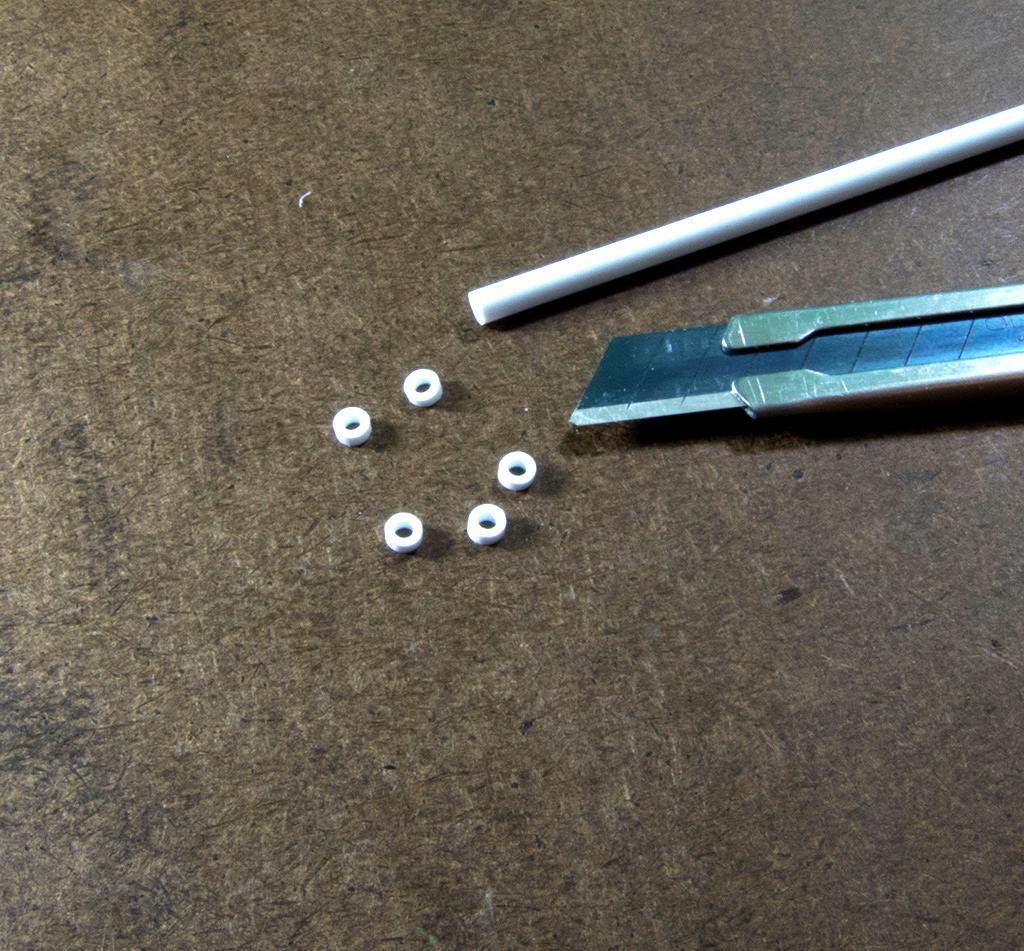
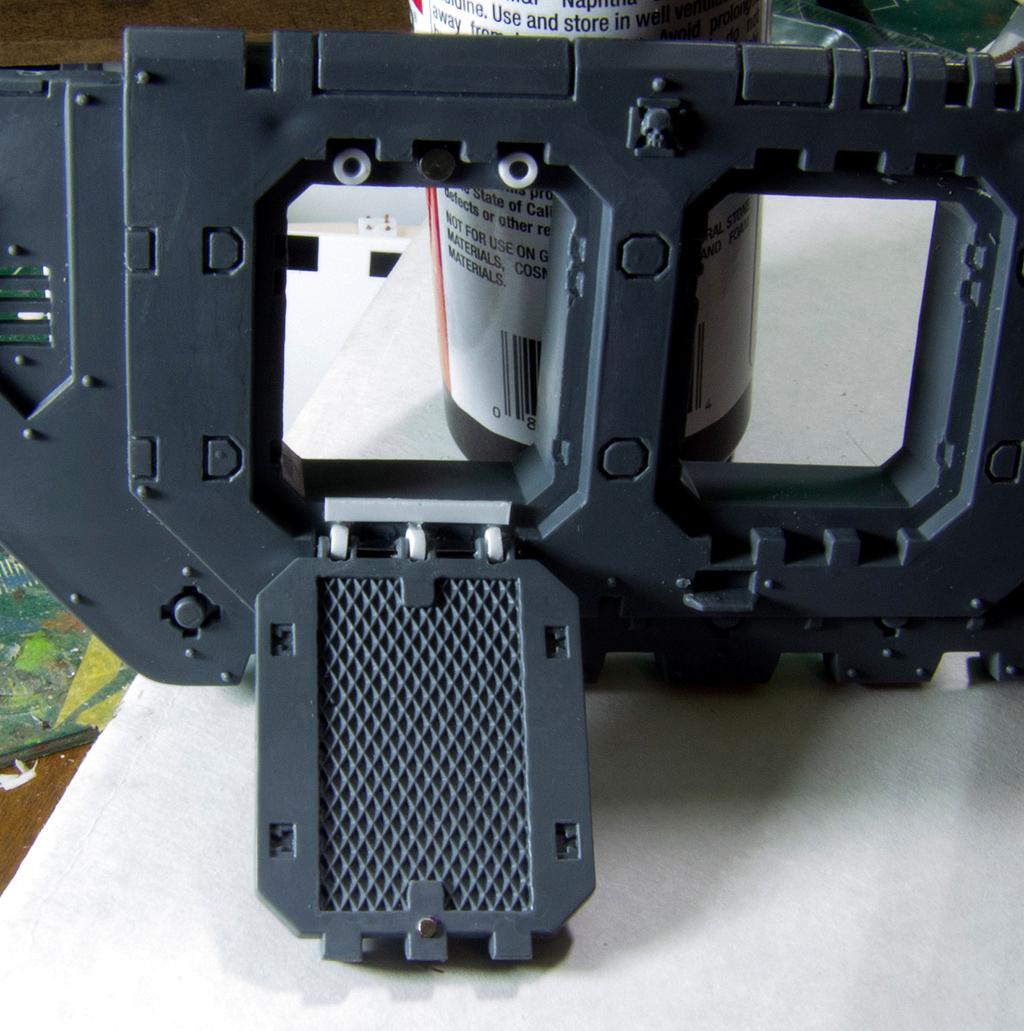
4.) Now take a nice sharp blade, and slice off new hinges from your 1/8th tubing. Your natural response is to make ones that fit exactly inside the spot your ground out. Resist that urge! If you make ones that fit snugly, they'll simply break because of friction. Make slices that are thinner then you need, so there is a little play in them. Cut out a dozen and then pick the three best.
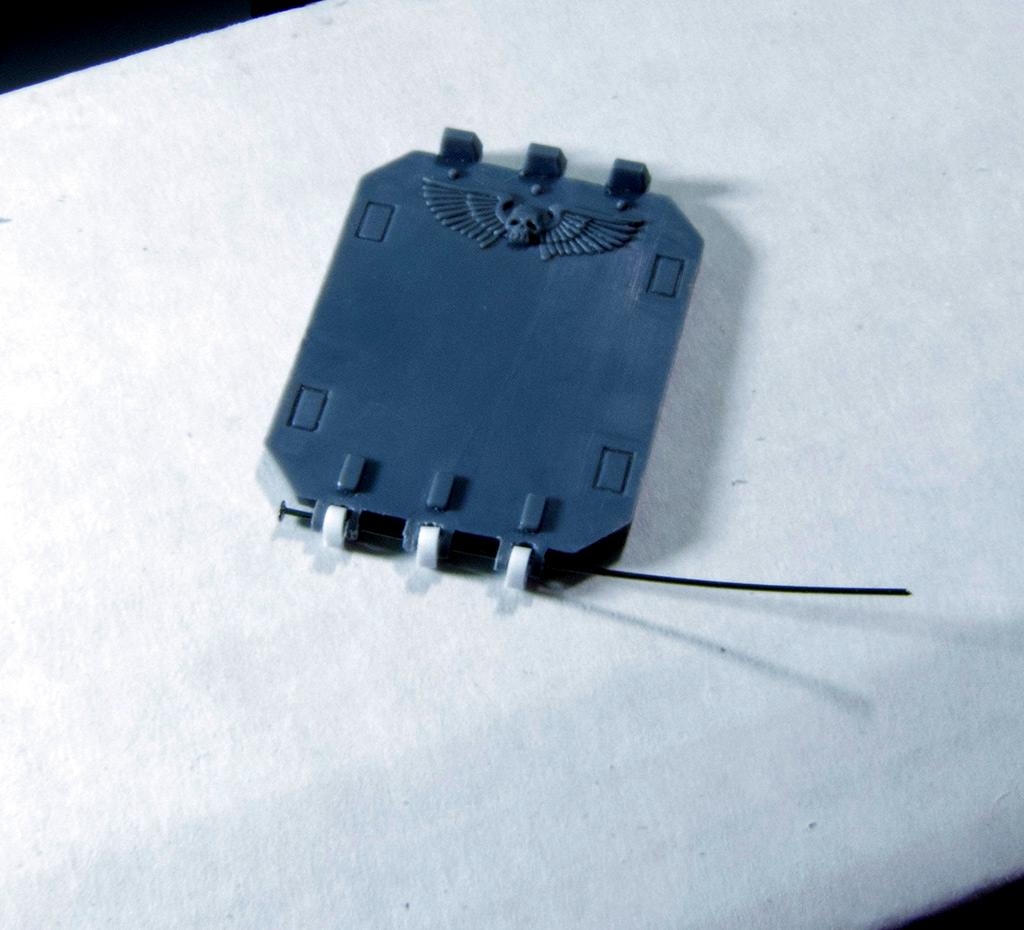
5.) Now thread a pin through the door and tubing. You want to keep the flattened end (pictured here on the left) so the pin doesn't fall out - then snip off the excess.
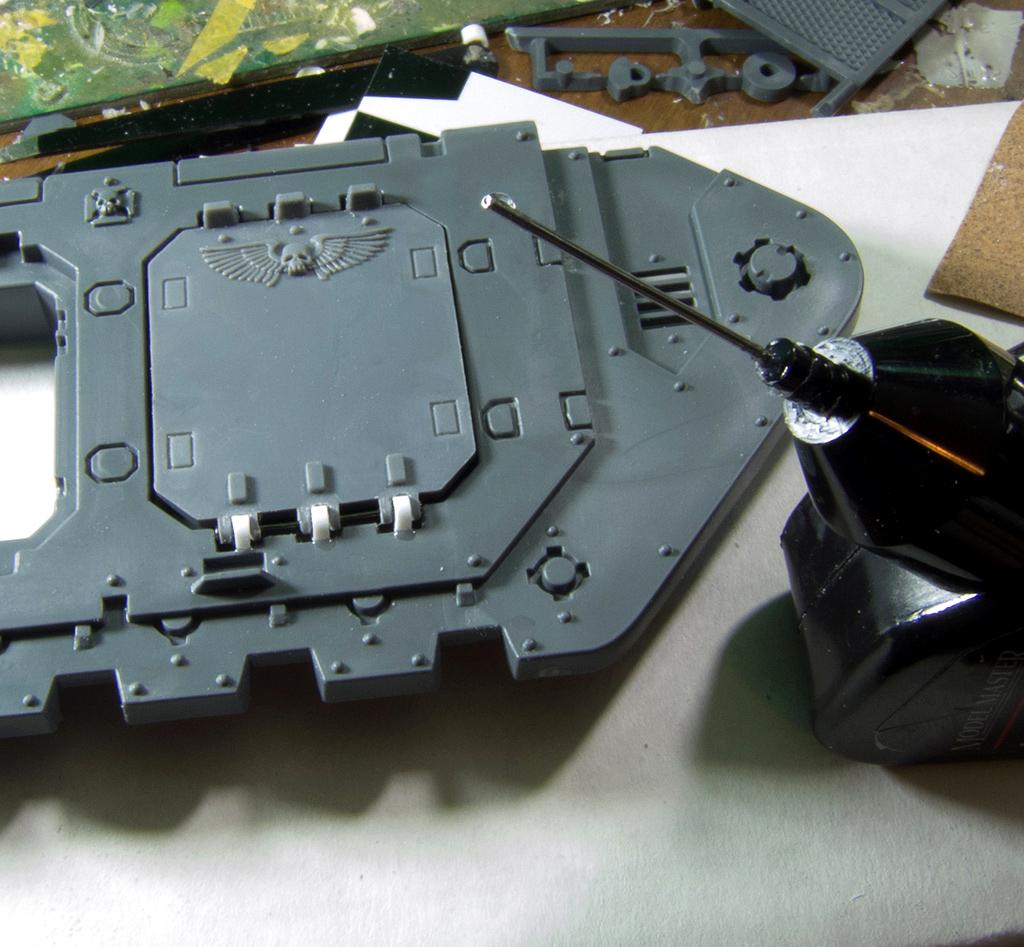
6.) Use your model master or other plastic cement to glue the styrene tubing to the body of the Land Raider. Go slow and do a good job, you want a tiny fraction of a drop here.
7.) Now wait about an hour before doing anything else with this, minimum, for the weld to cure. Maybe leave it overnight, fgo outside, play some xbox, whatever you people are into.
8.) For the next step, we need to keep the doors from flopping open, so magnets (how do they work?). I used a 1/8th inch magnet in the body of the land raider, and a 1/16th in the door since we don't need a lot of pull. Be careful you don't tear the door off while doing this. If I could do this again from the beginning,I'd have done the magnets as step one, but this is how I did it.
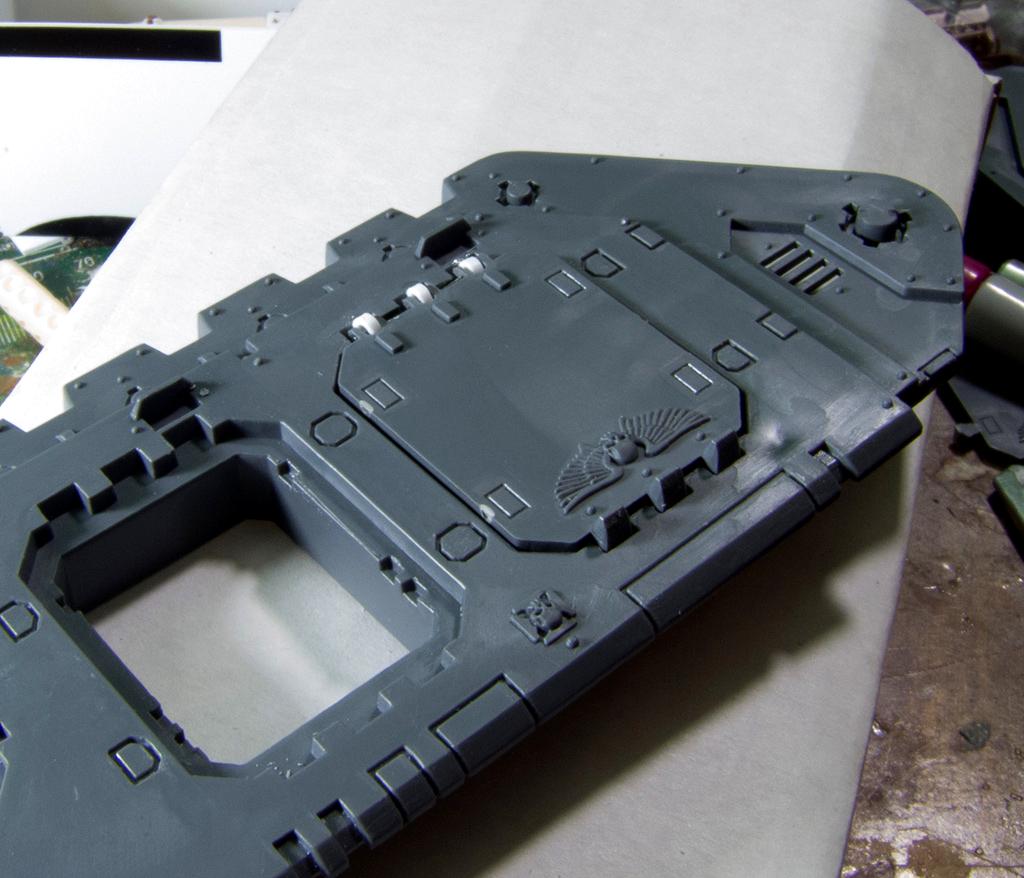
9.) I also added some of the styrene rings that I cut off as spacers inside the door. They keep the door even - without them, the door tends to stick out a tiny bit at the bottom.
10.) At this point, use your
loc-tite to fill in the backs of the styrene a little. Don't use too much.
11.) You may wish to cover up where you glued. I added a very thin strip of pre-measured styrene while the
CA was still wet, as below:
12.) And that's it. The door should be slightly extended from the main body, an effect I find pleasing. This angle is a little unfortunate - it makes it look like the doors are extended too much, which they don't - you'll see when I (eventually) update this with a painted image.
.
Thanks for looking!


 7000 pts + Going through a re-do & growing
 3500 pts + growing
 IG slowly gathering
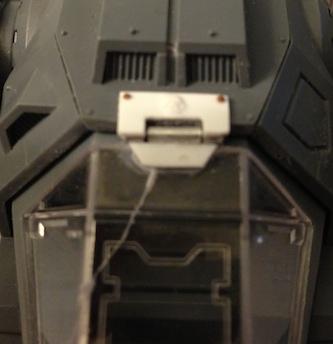
 P&M Blog -
  Maybe someone else can weigh in here with one, but I just cut a ton of them and picked the best ones to use.