Hey all, and welcome to the second in my series of
LOTR SBG battle reports.

Battle report #2 match up
1000 pts
Isengard, Harad and Moria (me)

vs
Kingdoms of Men and Dwarves (Andy)

Scenario: Hold Ground
My team
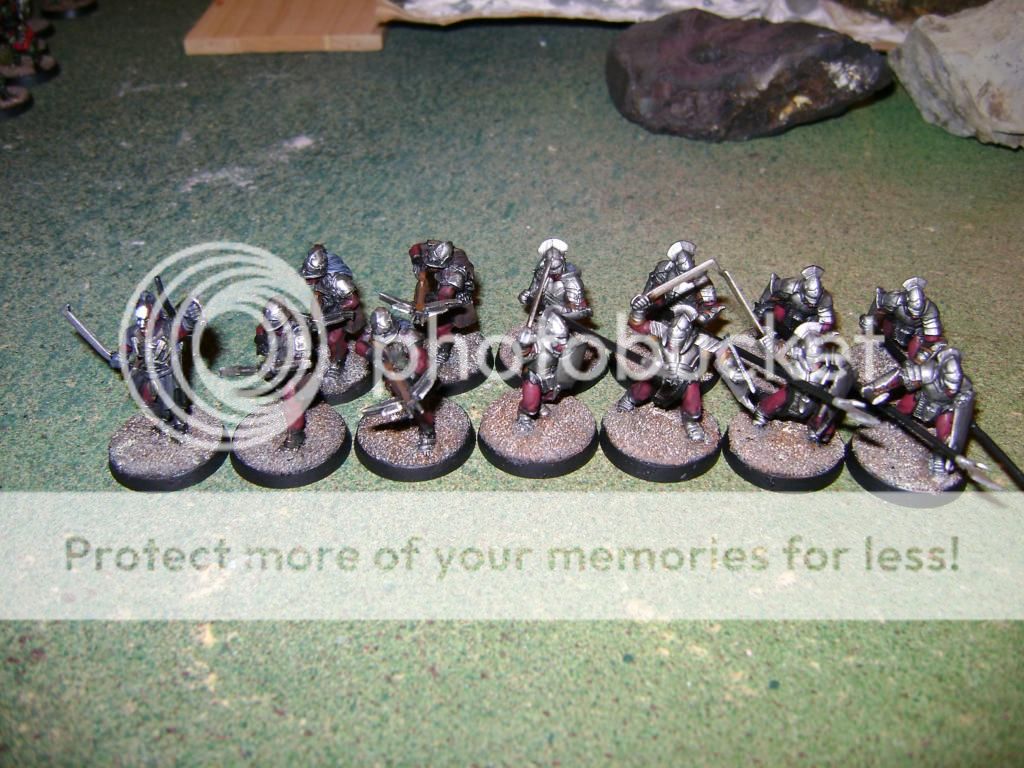
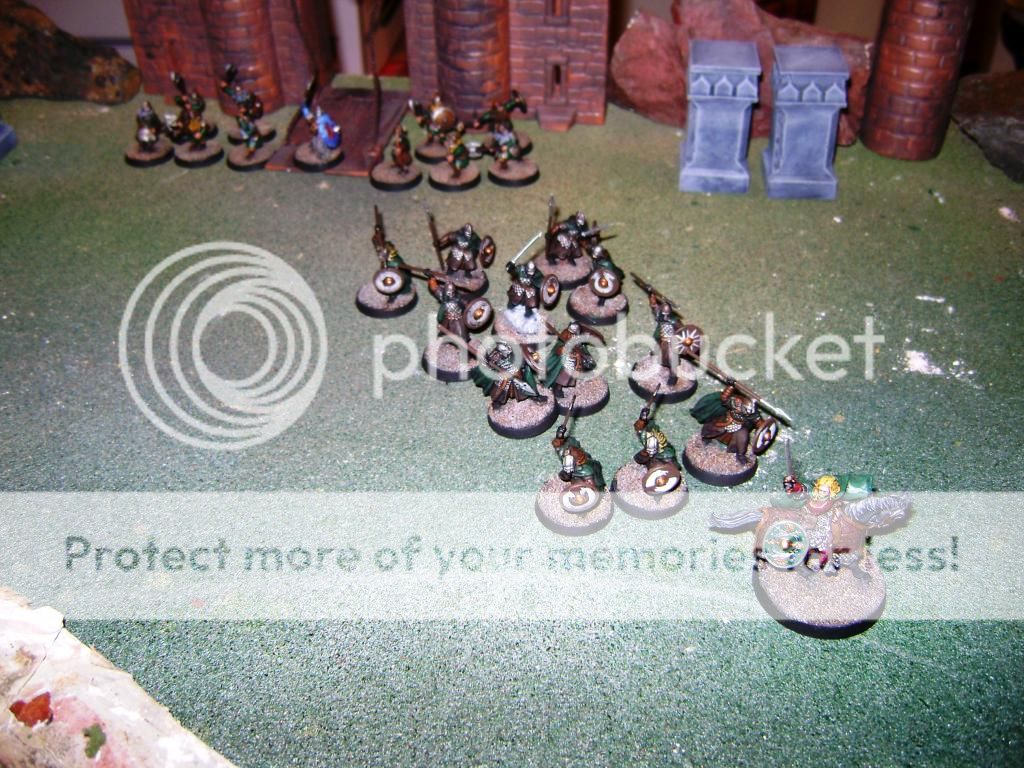
Warband 1-Isengard
Captain: Lurtz (my Leader)
Warriors: 12 Uruk-Hai Warriors (4 with Shields, 4 with Pikes, 4 with Crossbows)
I’m in the process of getting Saruman painted, so I wasn’t going to be using him in this game. Instead, I went with his trusty right hand man, Lurtz. Lurtz has always been a favorite
LOTR character of mine (shame he died at Amon Hen, but he gave the Fellowship a hell of a fight), so I was glad to include him in my force. Backing Lurtz up was going to be a solid core of Uruk-Hai Warriors. They’ve got great stats and a lot of durability.
 Warband 2
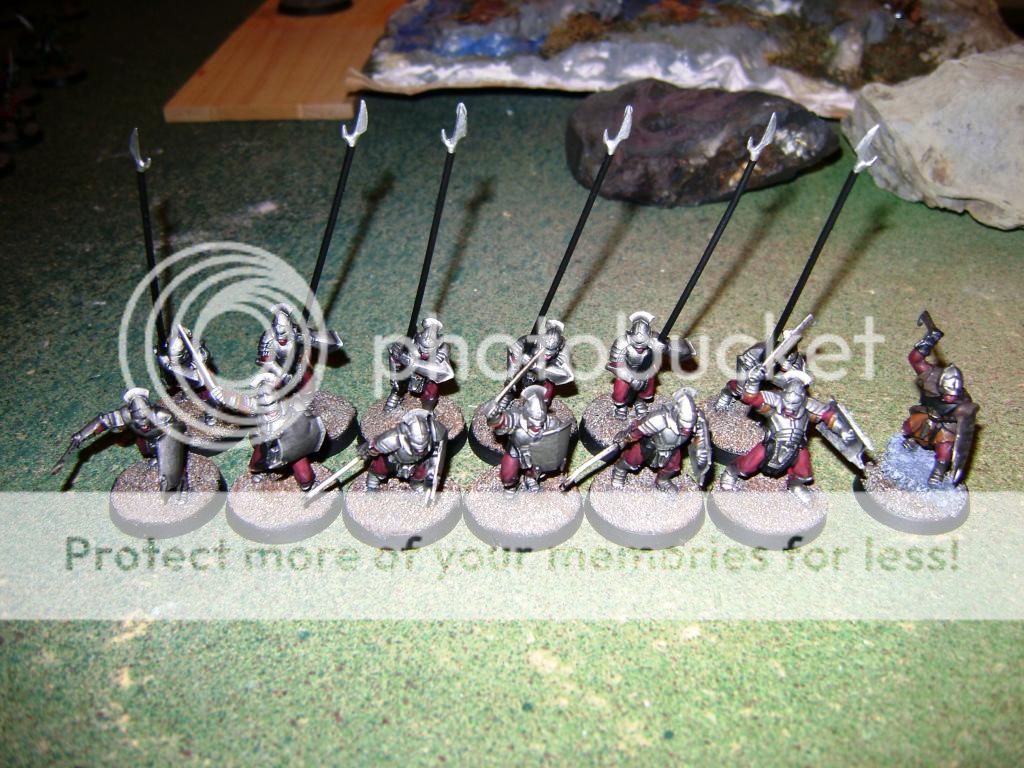
-Isengard
Captain: Uruk-Hai Captain (with Shield and Heavy Armor)
Warriors: 12 Uruk-Hai Warriors (6 with Shields, 6 with Pikes)
Another Warband consisting solely of Uruk-Hai. With 24 on the table (plus Lurtz and the Captain), I’m hoping they’ll be able to provide the muscle for my team. Thankfully, they’re great units to do just that.
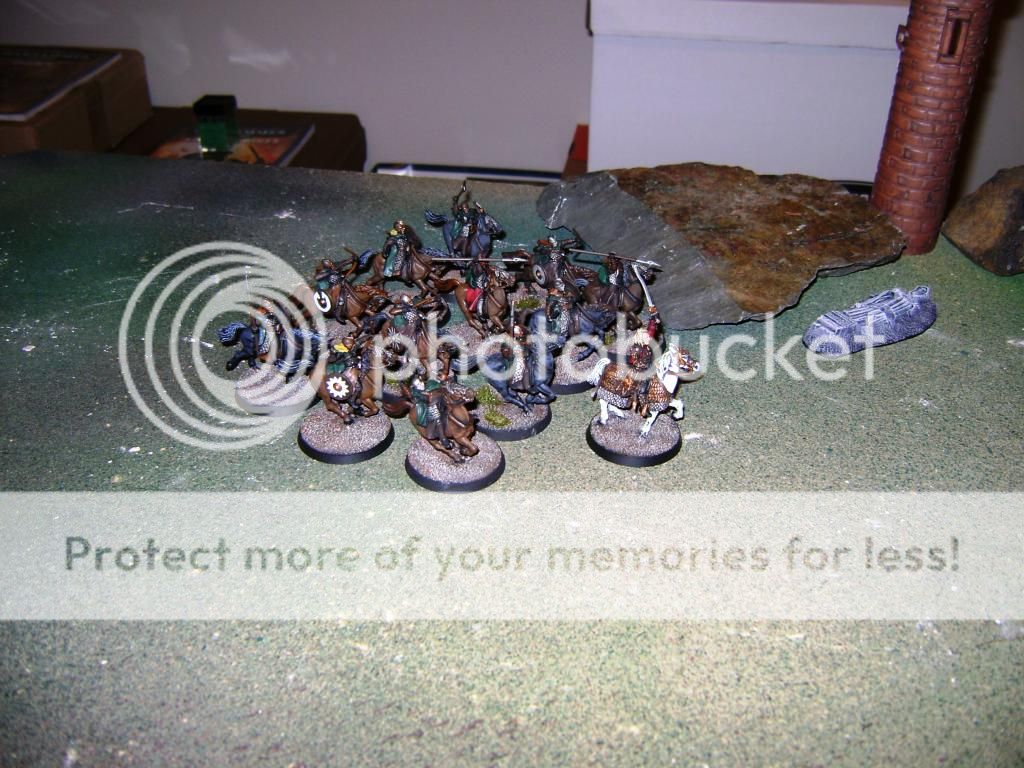
 Warband 3
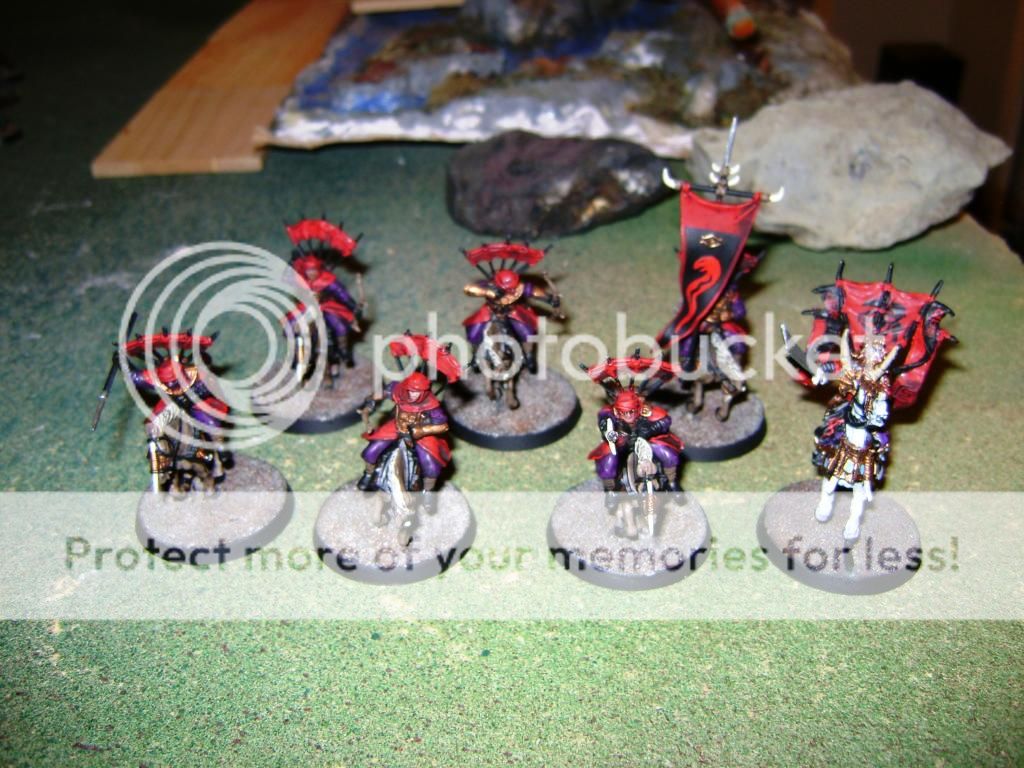
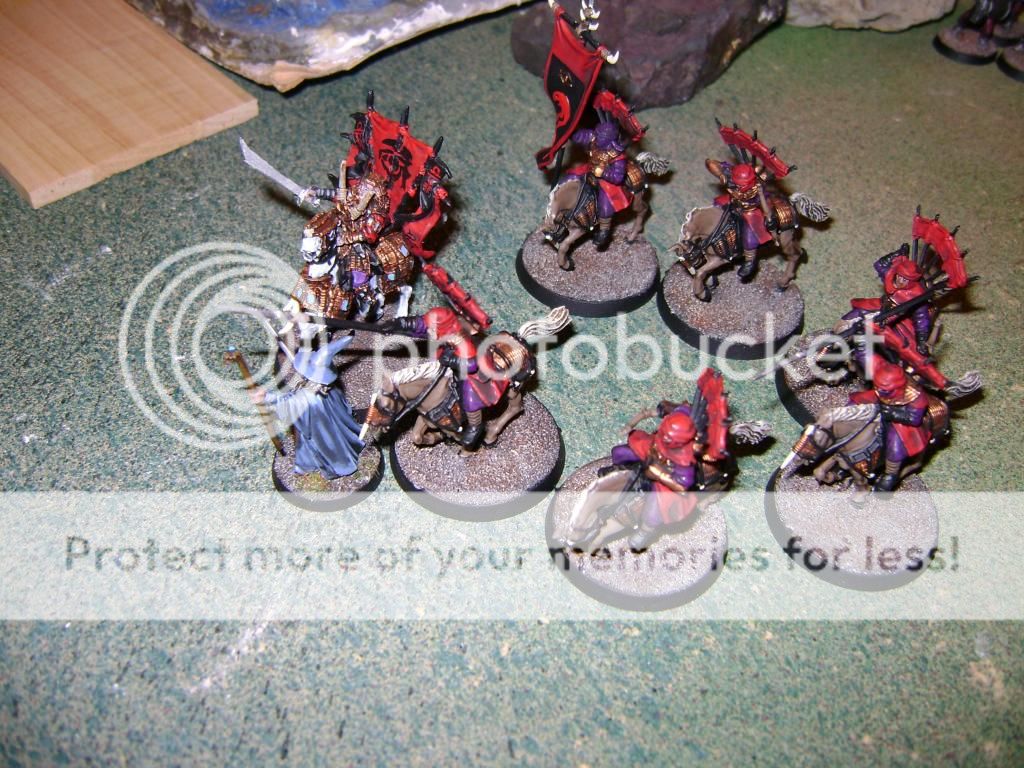
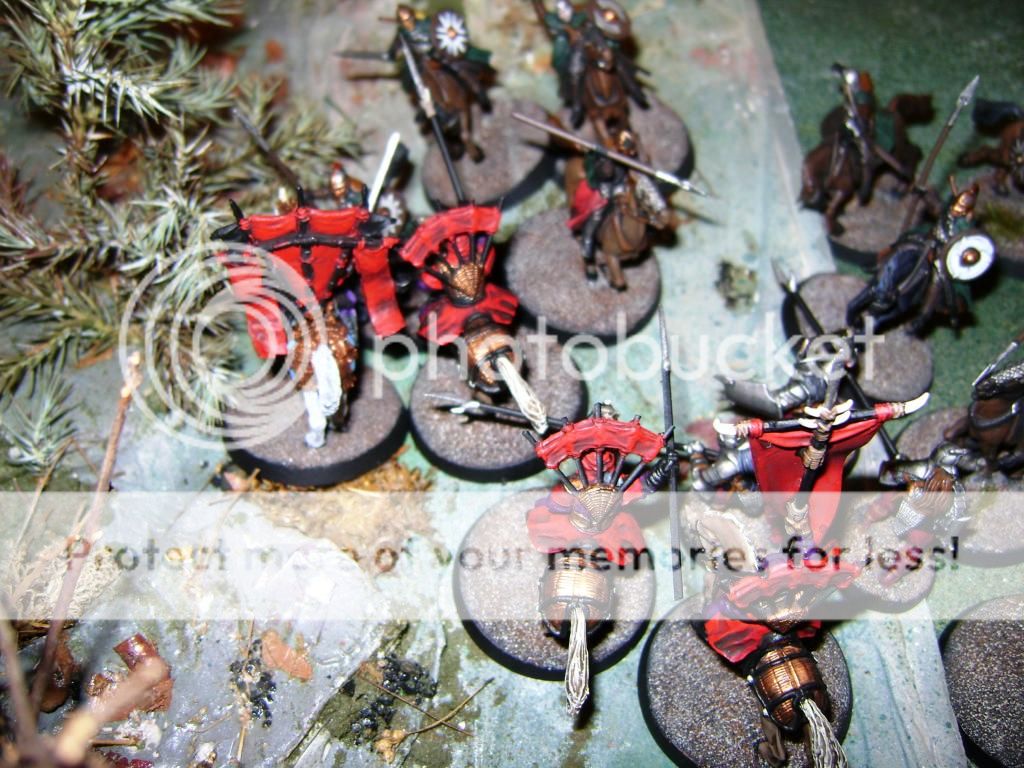
-Harad
Captain: Suladan (on Horse)
Warriors: 6 Haradrim Raiders (2 with Bows, 3 with War Spears, 1 with Banner)
Suladan is a terrific piece that can dish out a ton of attacks on the charge. I felt it best to put some Haradrim Raiders with him to help dish out the pain. They may be lightly armored, but they pack a punch.
 Warband 4
-Moria
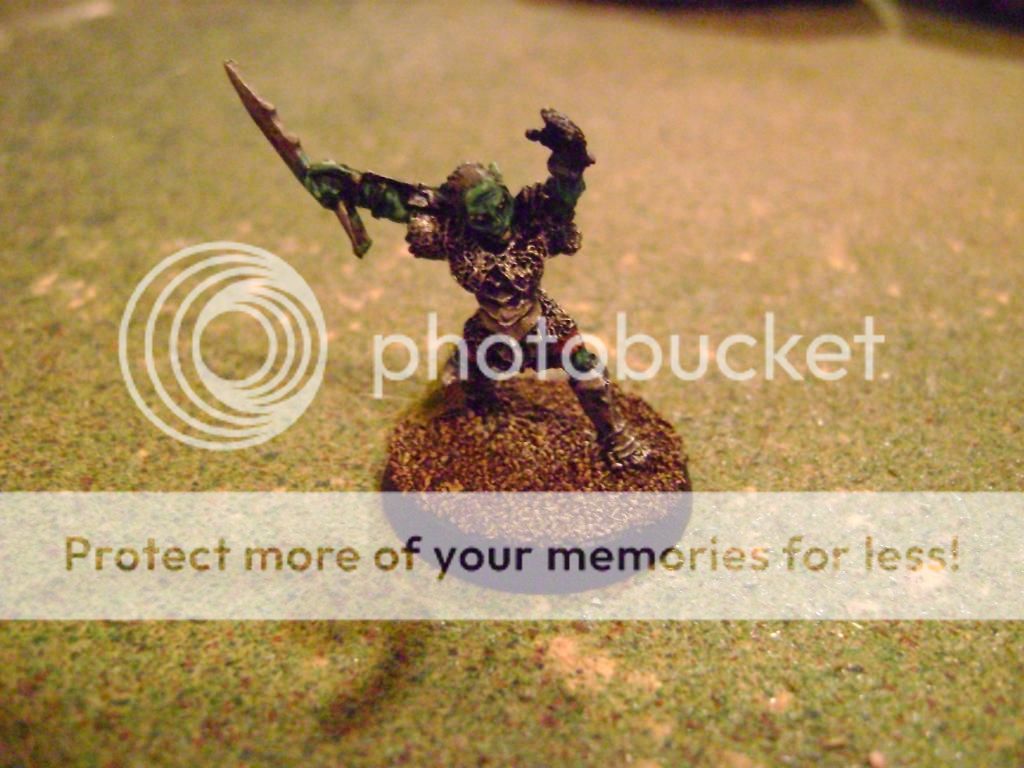
Captain: Groblog (using a Goblin Captain as a proxy)
Warriors-N/A
I really wanted to play some Goblins on this team because I recently completed a box of 24 and Commanders. I chose to include Groblog (subbing in a Goblin Captain as we don’t have the Groblog model yet). My plan is to use his Mithril Crown special power in conjunction with my other Goblin warbands to some hopefully devastating effect.
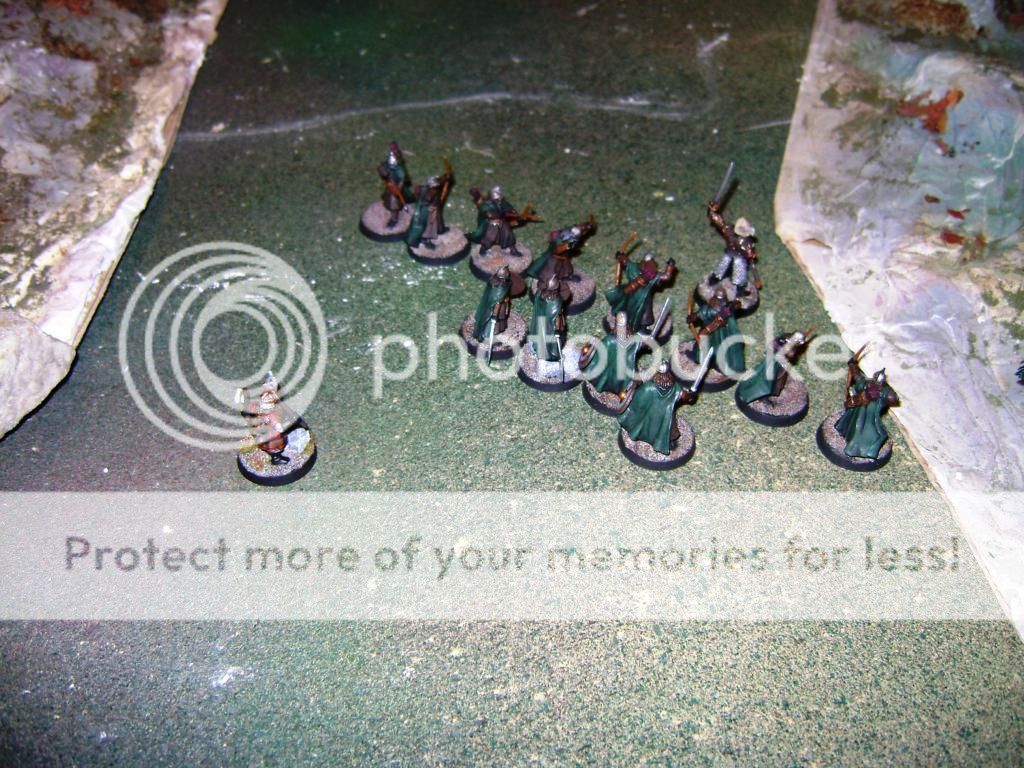
 Warband 5
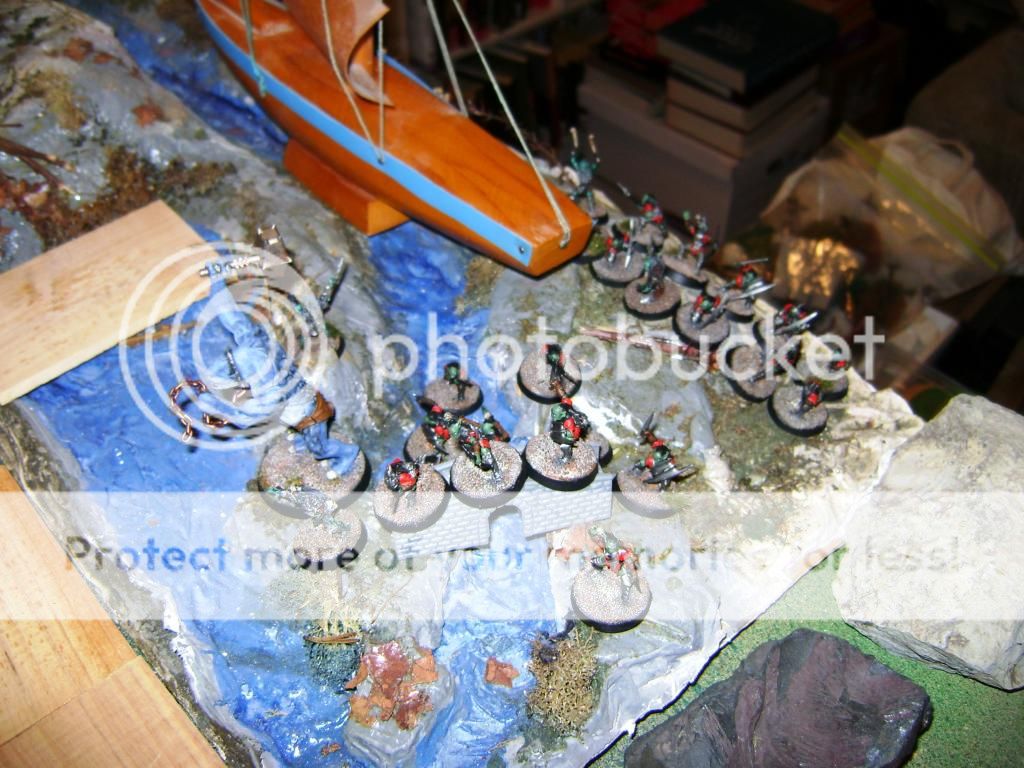
-Moria
Captain: Moria Goblin Shaman
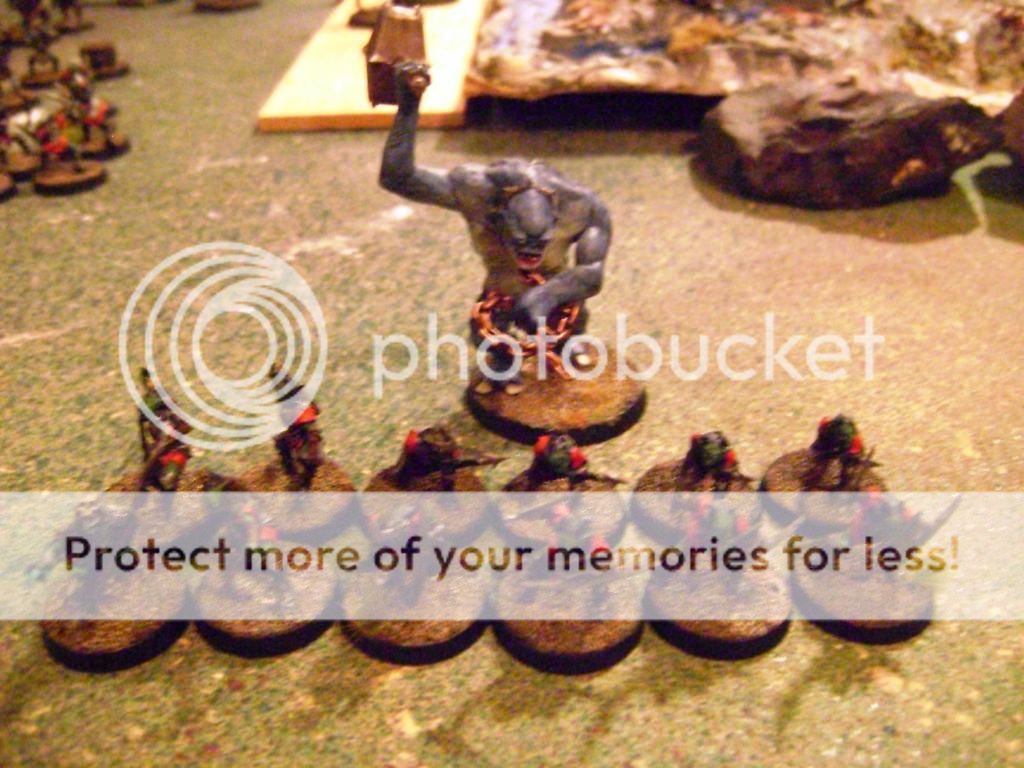
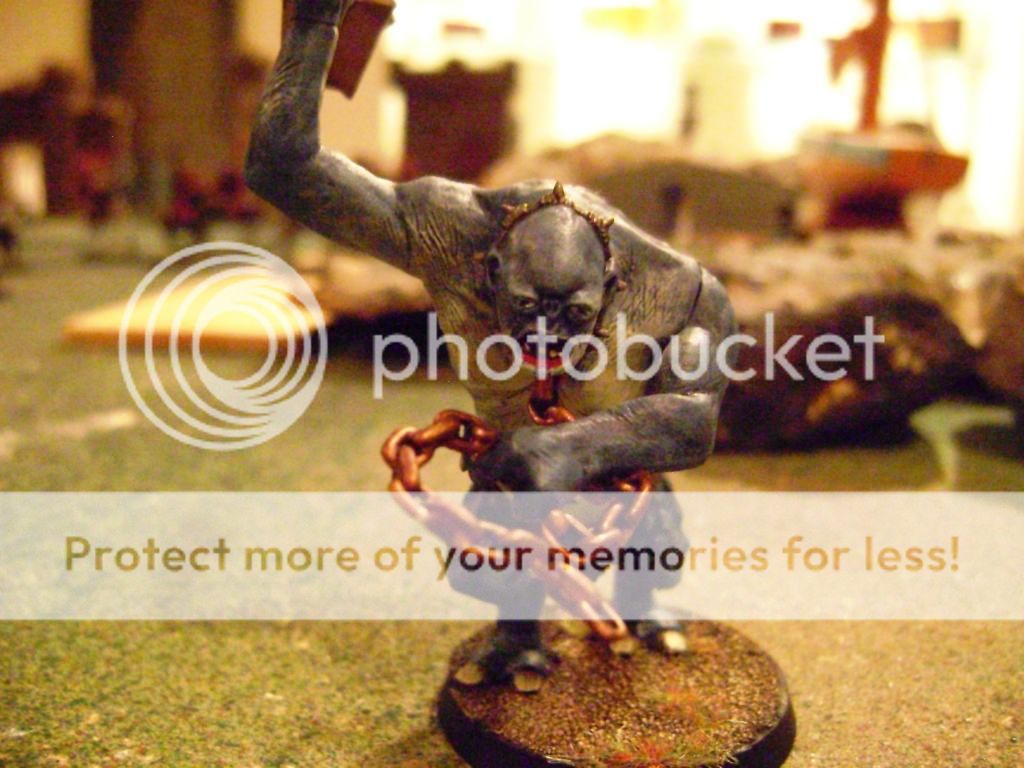
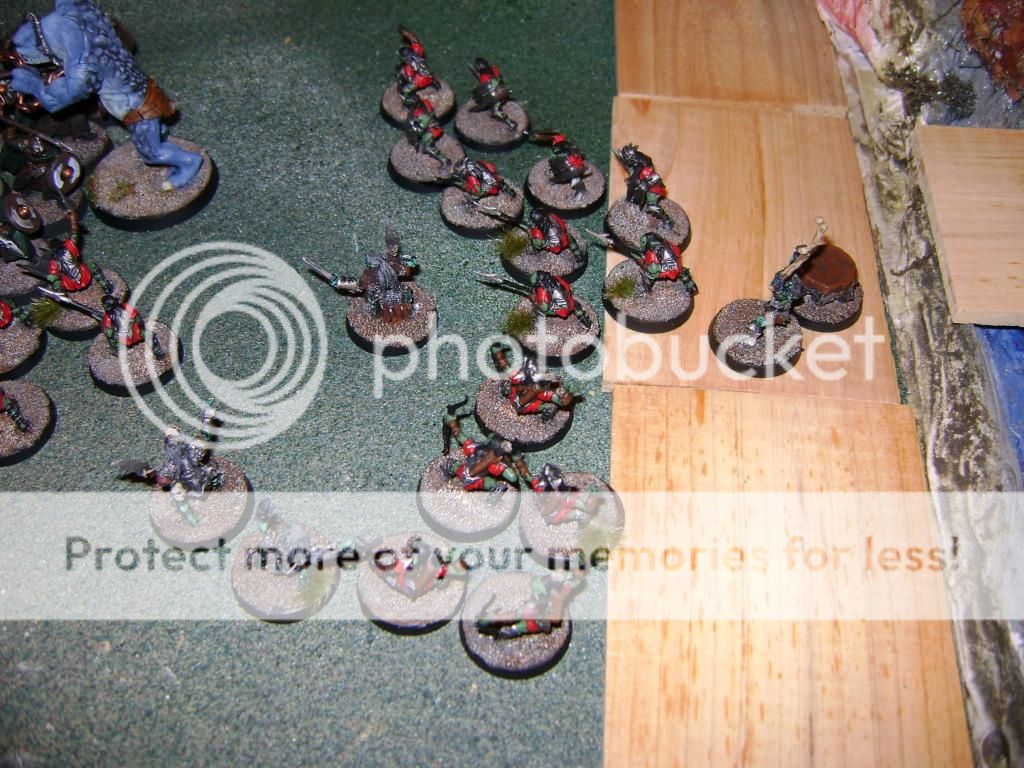
Warriors: 11 Goblin Warriors (4 with Shields, 4 with Spears, 3 with Bows) and 1 Cave Troll
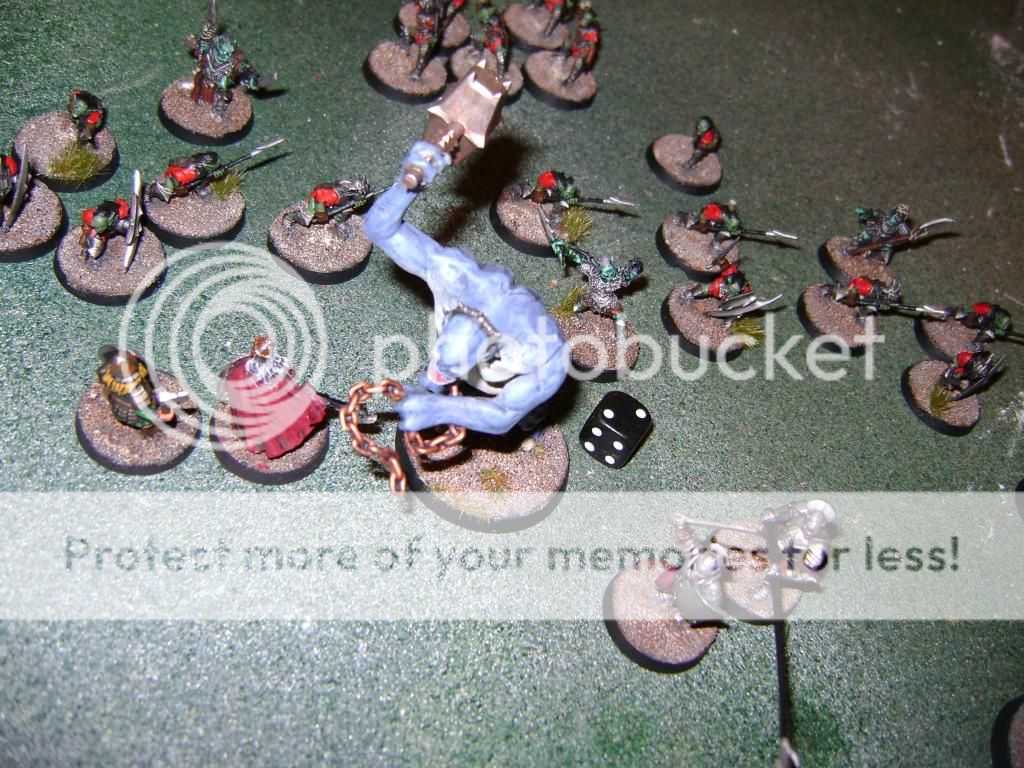
Goblins are dirt cheap pieces, but they pay for it by being not that great defensively, having an awful Fight value and being unable to hit the broad side of a barn at range. With that in mind, I wanted to try and maximize their durability. I decided to include a Shaman so they he can cast Fury early in the game. Combined with Groblog’s Mithril Crown, any Goblins within 6 inches will have a 33% chance to avoid a wound if they take one. Goblins will no doubt start dying off, so I’m hoping this will help them stay alive longer. And the Cave Troll is an offensive tank that is too cool not to include.
 Warband 6
-Moria
Captain: Moria Goblin Shaman
Warriors: 10 Goblin Warriors (4 with Shields, 4 with Spears, 2 with Bows) and a Moria Goblin Drummer Team
Another Goblin warband, with the same idea as the first: cast Fury with the Shaman and use the Mithril Crown to boost up their survivability in combat (provided they stay within 6 inches of the Shaman). I opted to take a Drummer Team in this squad as well. Not only does it act like a banner, but also improves the Courage of all my Goblins by 1 (something I really need, as Goblins are quite cowardly), while at the same time lowering the Courage values of all Good models on the board.
 Andy’s team
Warband 1
Andy’s team
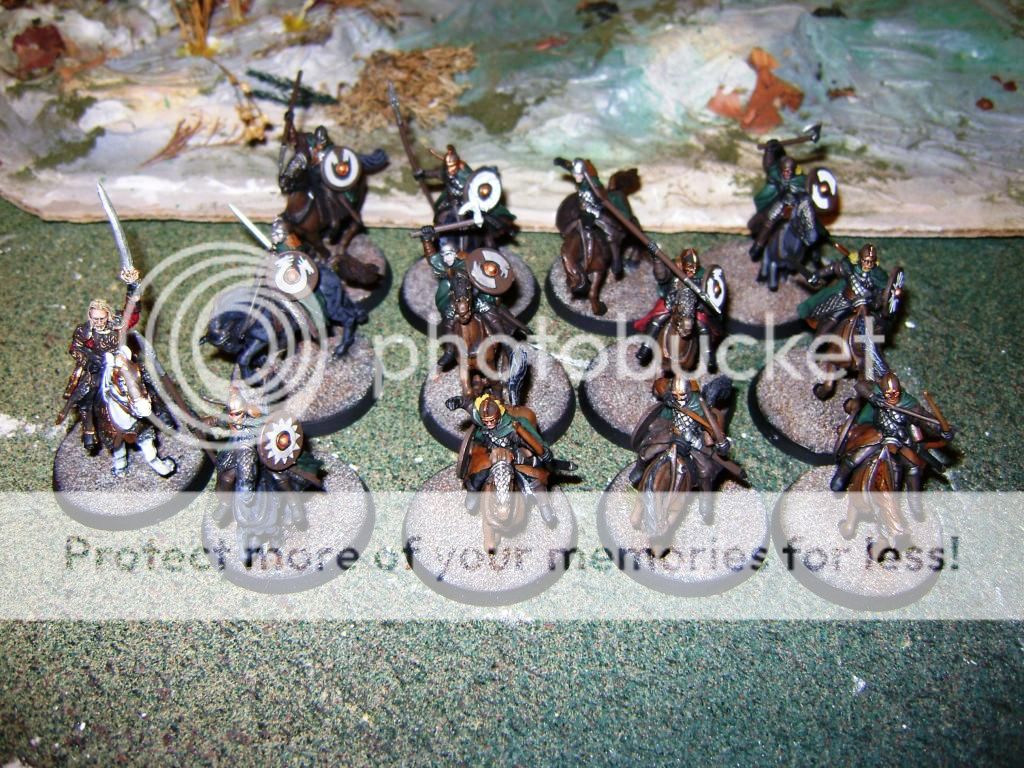
Warband 1-Rohan
Captain: Theoden (his Leader)
Warriors: 12 Riders of Rohan (4 with Throwing Spears, 4 with Bows, 4 with Shield)
Isn’t this a coincidence? Rohan vs Isengard. Its Helm’s Deep all over again (but with a few twists). I love the errata changes they made to the Riders that eliminated their bow limit. That’ll be really helpful. Anyway, this huge swarm of Riders is going to be problematic. Hopefully I can pick some of them off from range and thin their numbers out before engaging them up close.
 Warband 2
-Rohan
Captain: Eomer, Marshal of the Riddermark
Warriors: 12 Warriors of Rohan (8 with Throwing Spears, 4 with Shields)
Pretty standard squad of Warriors of Rohan. The Throwing Spears might be trouble, but they’re going to have to get close to use them. Up close, they’re not too scary.
 Warband 3
-Rohan
Captain: Hama (using Theoden on foot as a proxy)
Warriors: 12 Warriors of Rohan (8 with Bows, 4 with Shields)
A lot of bows in this squad. Warriors of Rohan have a much better chance to hit than my Goblins, and have a better range. It’ll be best to try and engage them up close to minimize casualties.
 Warband 4
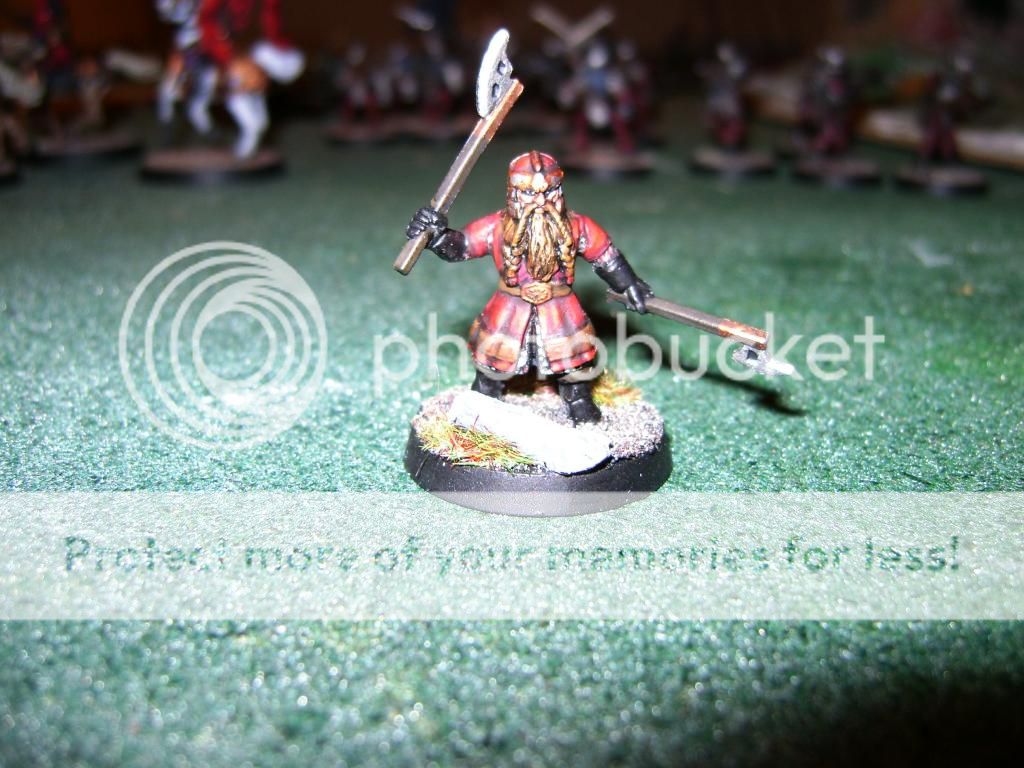
-Dwarves
Captain: Shieldbearer
Warriors: 10 Dwarf Warriors (2 with Bows, 4 with Two-Handed Weapons, 4 with Shields)
Even though there are only 10, their high defense means I’ll have to watch out for these guys. When you think durability, you think Dwarves.
 Warband 5
-Dwarves
Captain: Gimli
Warriors: N/A
Andy took Gimli by himself. Gimli’s a tough character to defeat, so again, I’ll have to watch out for him.
 Warband 6
-Fellowship
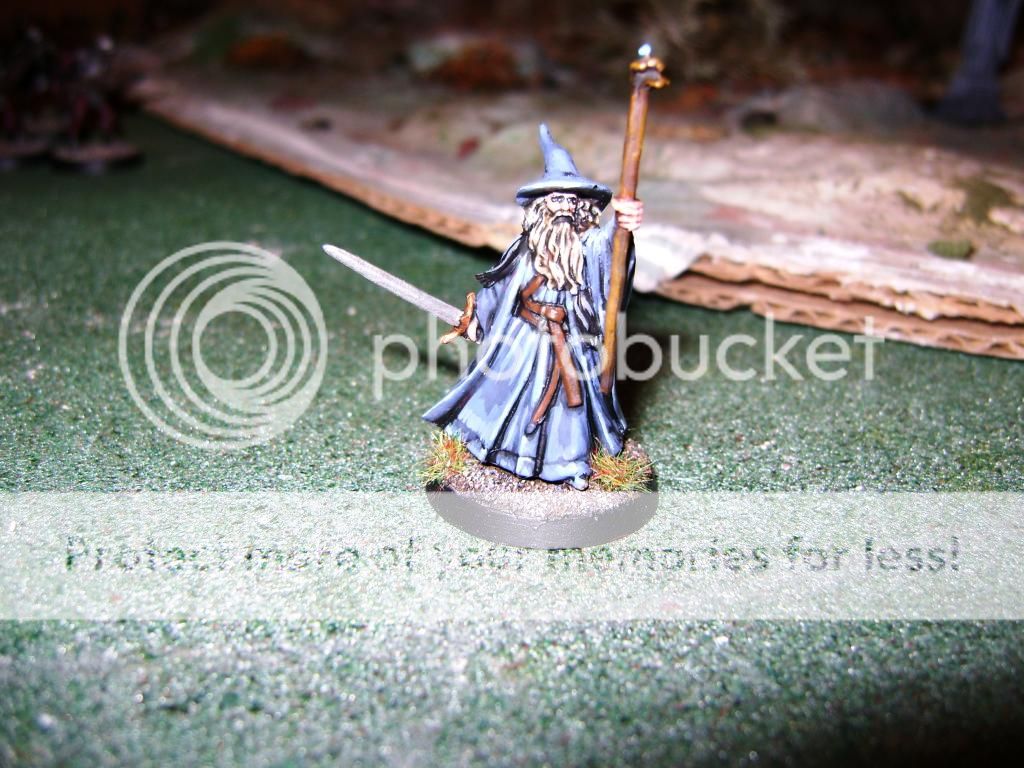
Captain: Gandalf the Grey (using the rules from the Hobbit rule book, not the Free Peoples book)
Warriors: N/A
Andy took another hero on his own. Gandalf has awesome stats and some really cool equipment that gives him great powers (including the ability to reroll Fate points!). I’m worried about Greybeard.
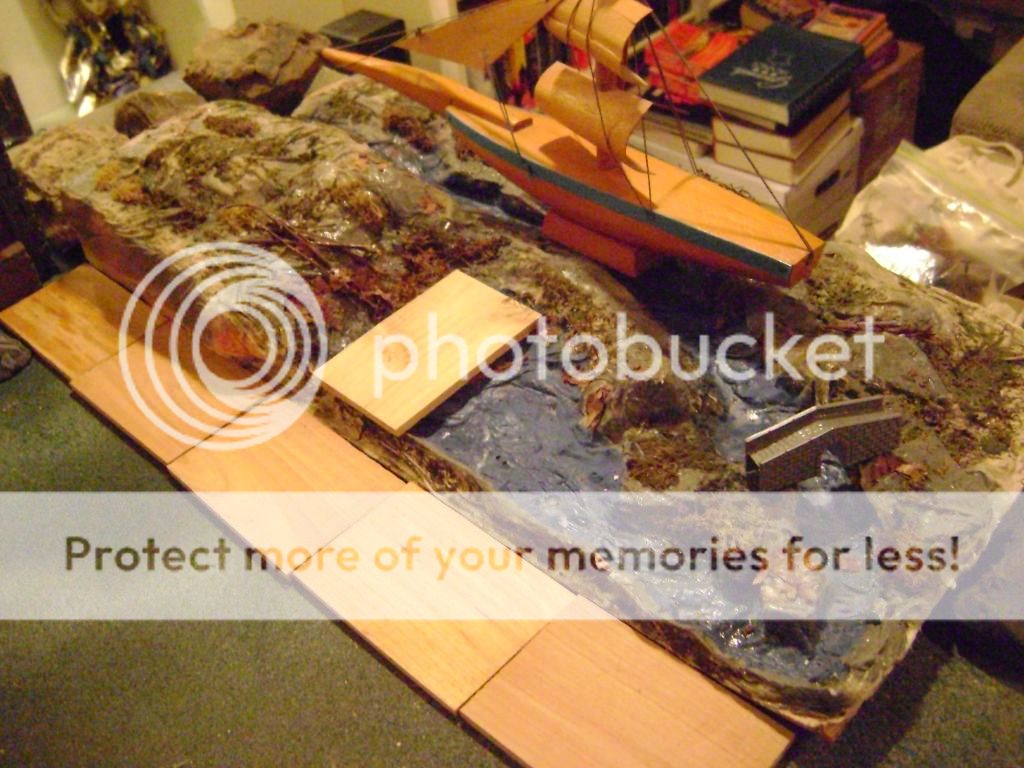
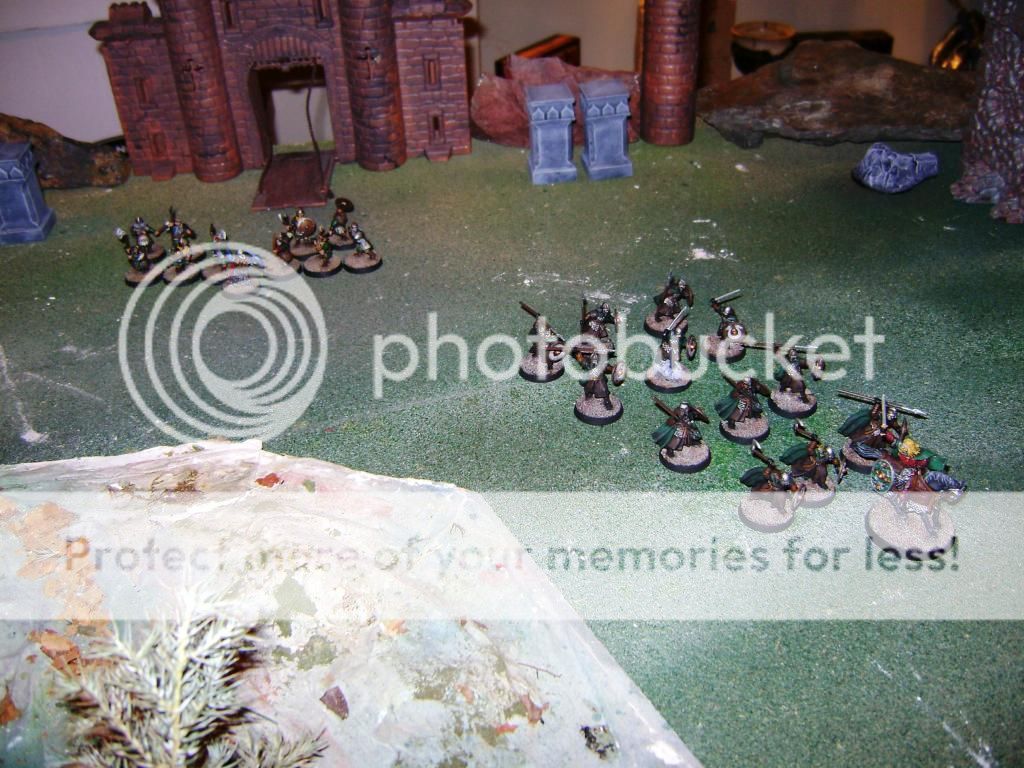
 Battlefield
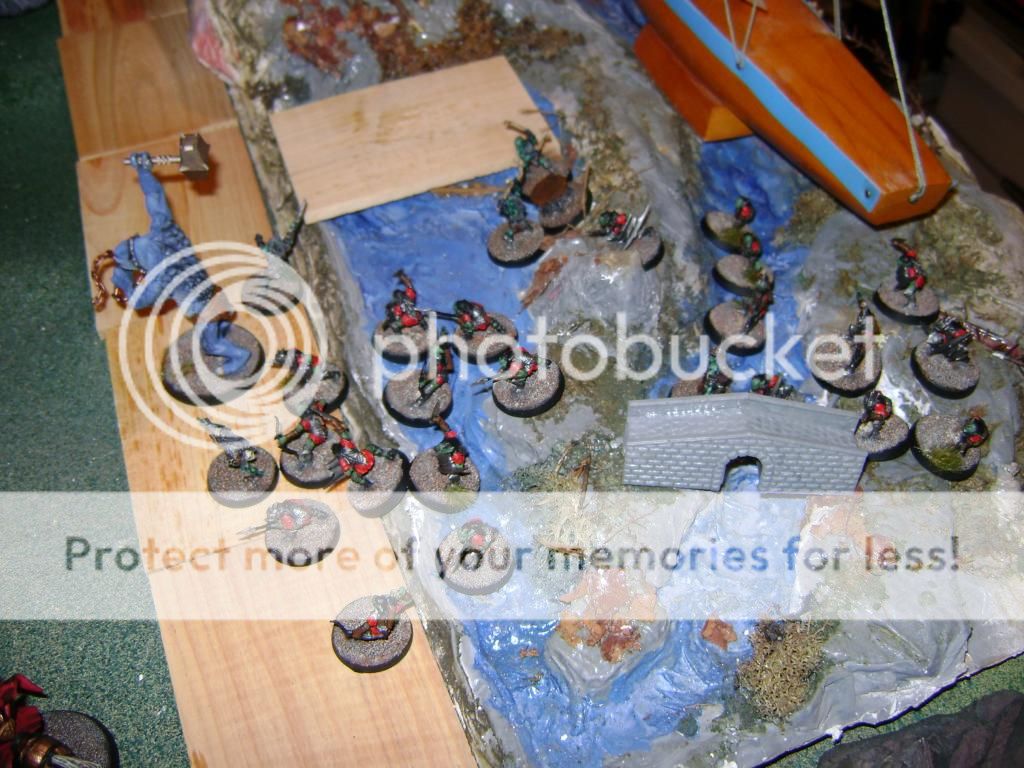
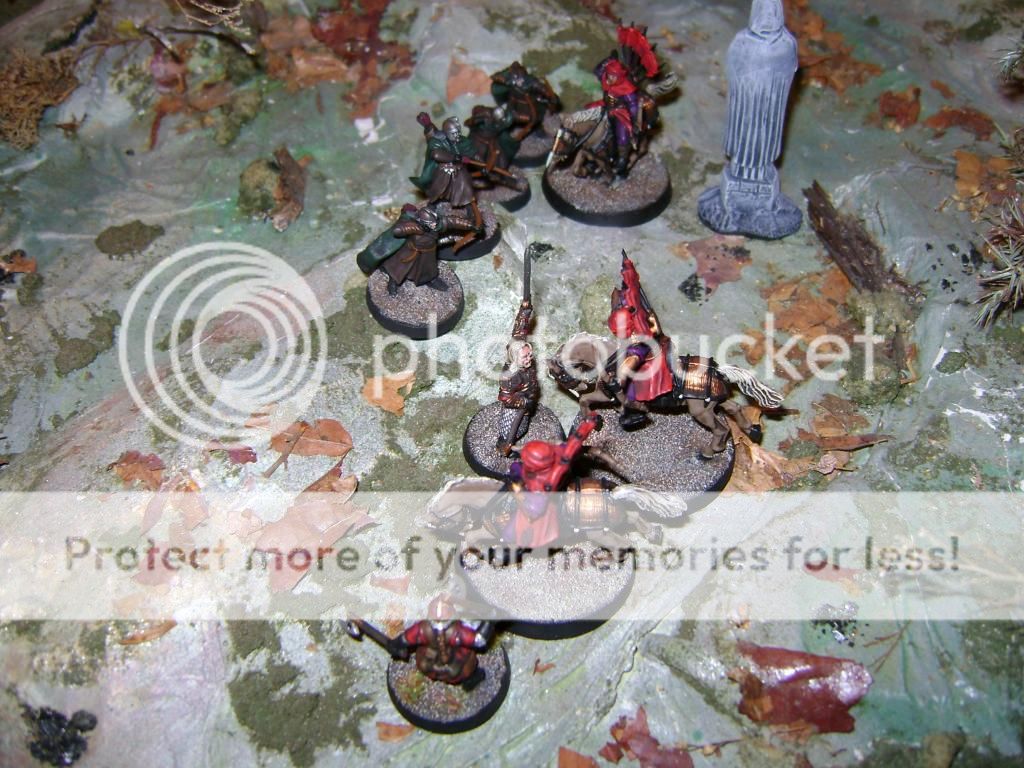
The statue is our objective


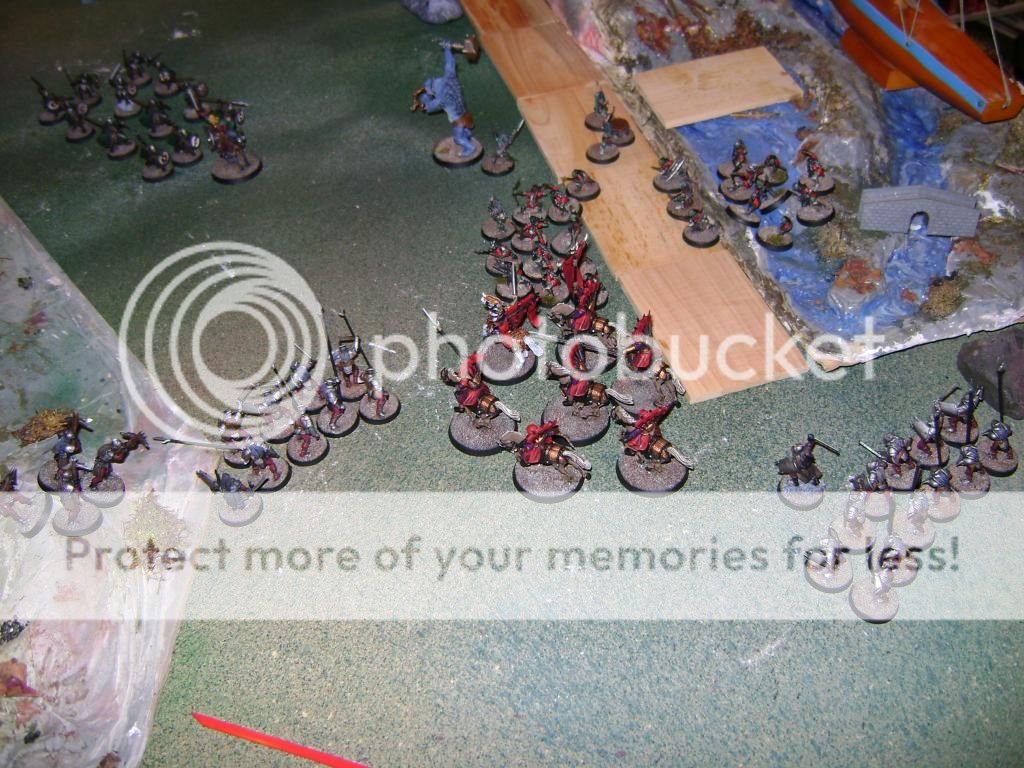
 Placement and Turn 1
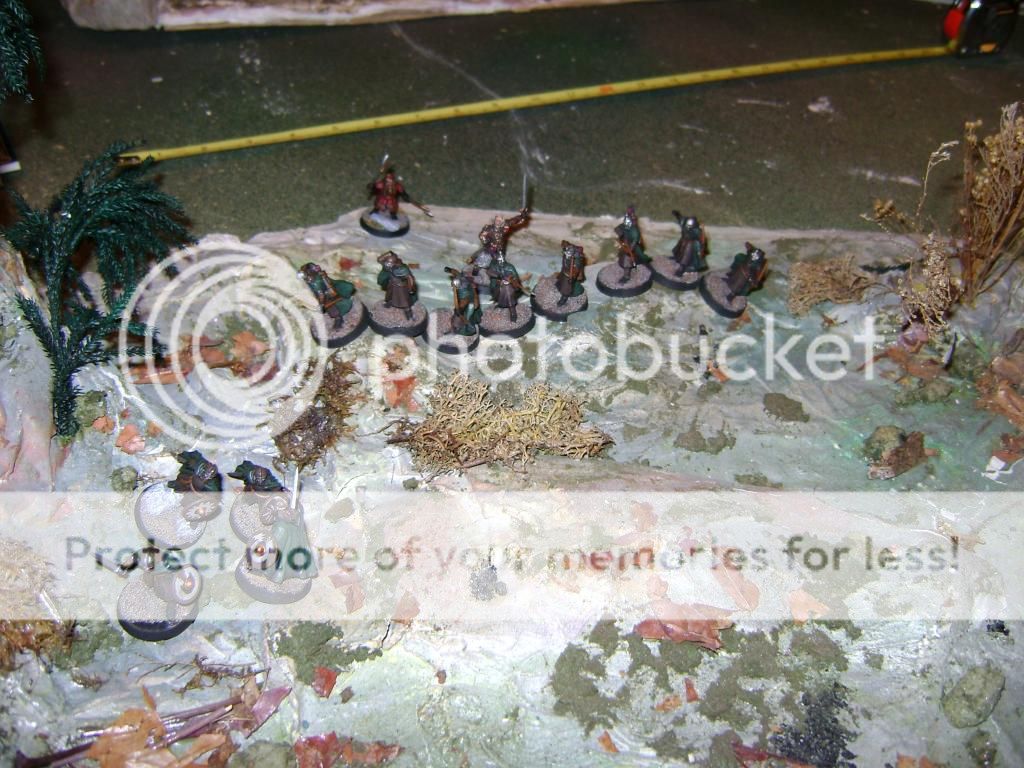
Since we were playing Hold Ground, we picked a statue to be our objective in the center. We also weren’t going to be deploying right off the bat, since we would have to start the game and roll to see where each warband came in. First off, Andy won priority. Andy had a lot of bad luck in his deployment. I got to choose where 3 of his 5 warbands were coming in from, and I had spread out his force quite a bit, including putting Gandalf right near me and Gimli and Hama’s warbands in the southwest. This would mean they’d have a distance to travel before getting to the objective. Eomer’s warband got placed along the north edge of the table, in a good spot-the one good roll Andy got. I placed Theoden’s warband in the northwest, far away from me. At least he had horses, so the ride to the center wouldn’t be too far. The Shieldbearer’s warband rolled a 1 and wouldn’t be placed this turn.
When I deployed, I rolled pretty well and placed both Suladan and Lurtz’s warbands right near Gandalf where I could hopefully deal with him right away. The Goblin warband with the Drummers, along with the Uruk-Hai Captain led Warband, both failed their rolls and would (hopefully) be coming in later in the game. Finally, both Groblog and the Goblin warband with the Cave Troll would be coming in from the Eastern edge (apparently off of a boat…didn’t know that Goblins had boats, but I was apparently mistaken).
Everyone advanced forward from the areas they entered in, but no one was in range to shoot or in combat, so the turn ended.
Turn 2
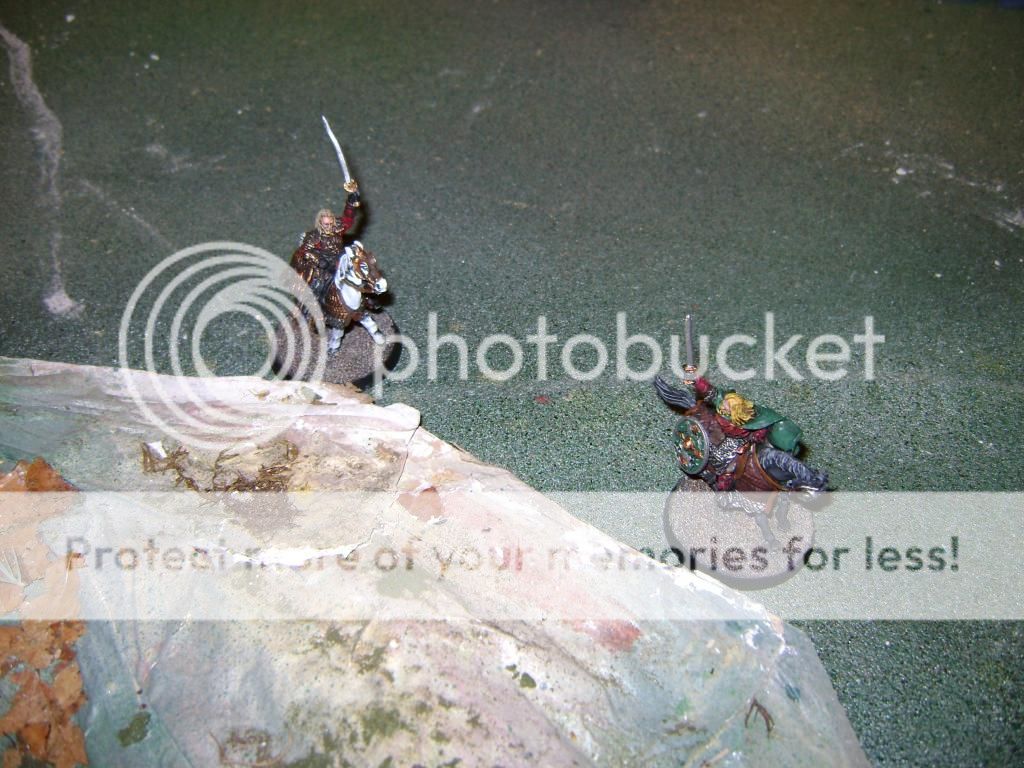
Andy won priority and, seeing as Gandalf was horribly outnumbered, decided to call a heroic march to at least have a chance at outrunning my guys to safety. Everyone else advanced forward again toward the center objective while his Dwarven allies finally showed up, making their way through the castle gate. Unfortunately, Gandalf run for help was short lived as Suladan and a War Spear toting Raider charged him. I moved my Crossbowmen toward a nearby ridge where they could get a good line of sight to start firing. My other Goblin warband, as well as my other Uruk-Hai warband both rolled and got to enter the game, ente
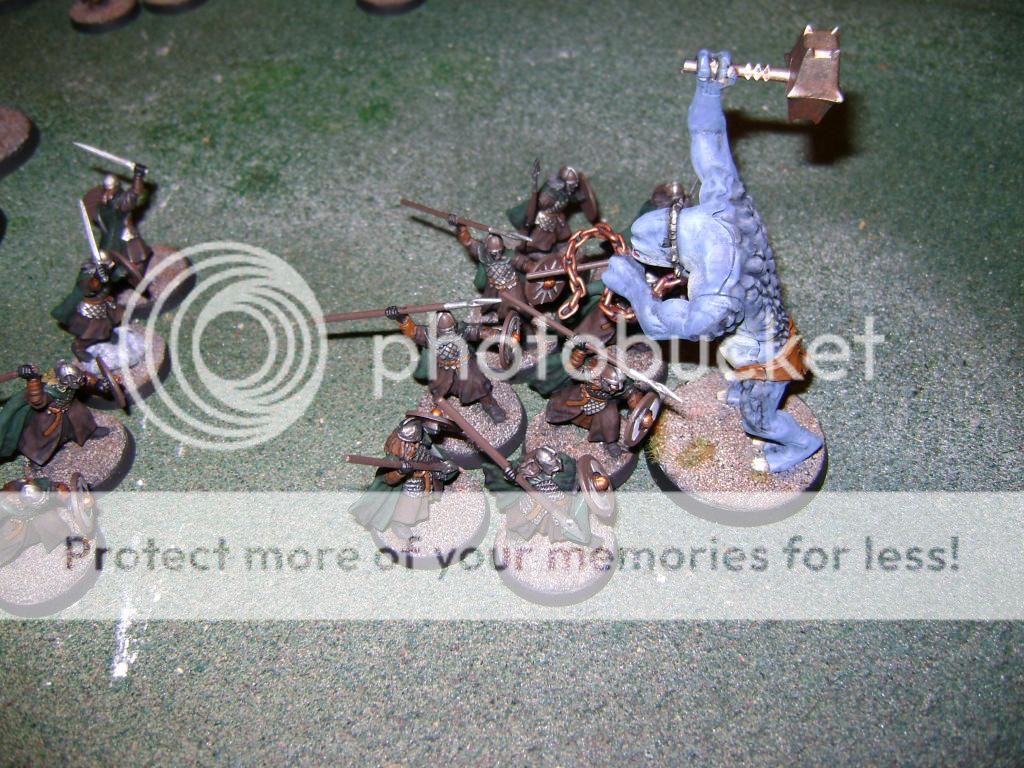
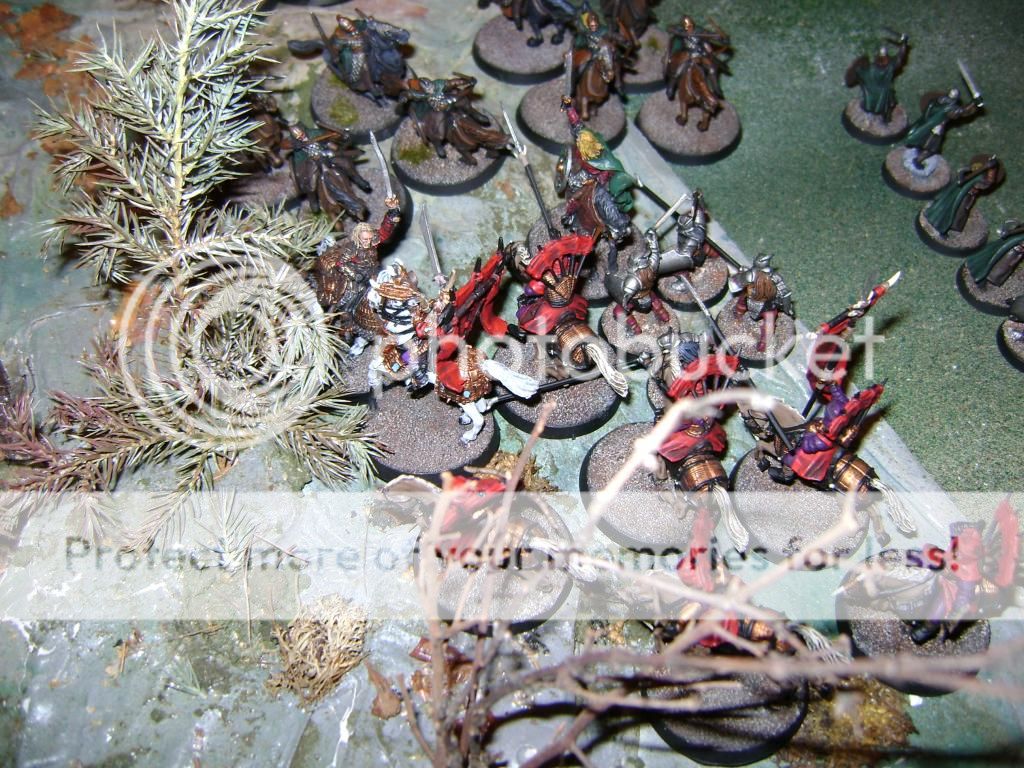
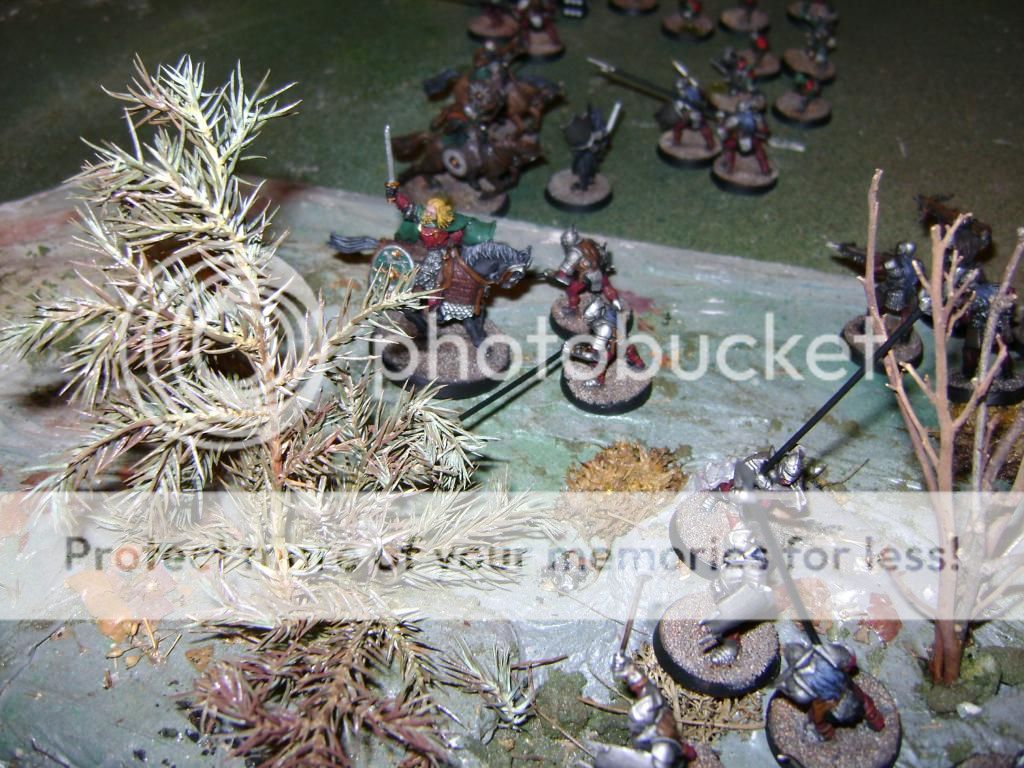
ring from the eastern edge where the rest of my forces were. With no shooting, as no one was in range yet, we move to the Fight phase. Gandalf lost and suffered 3 wounds from Suladan, as well as 2 from the Raider. Andy’s only shot was to pass all 3 of his Fate rolls, after which he’d be left with one wound. He only managed to pass 2, even with the reroll ability granted by Narya, and so the Raider drove his War Spear straight into the aging wizard, ending the battle for him. This was a big victory for me, as it eliminated any magical offense I might be facing.

 Turn 3
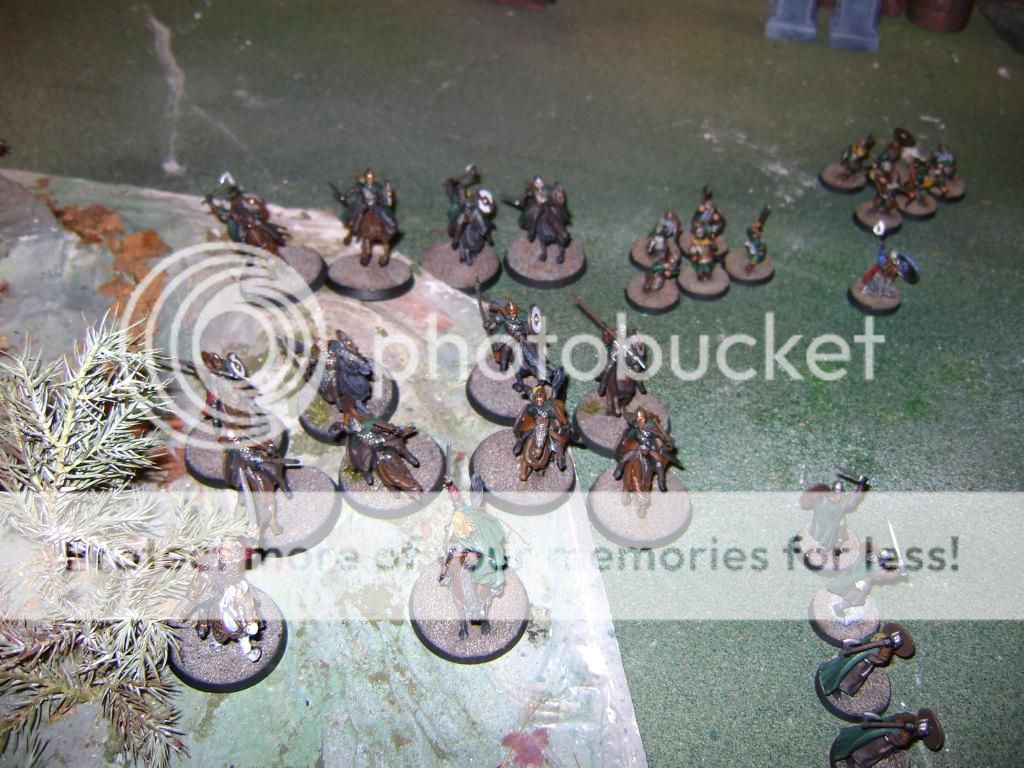
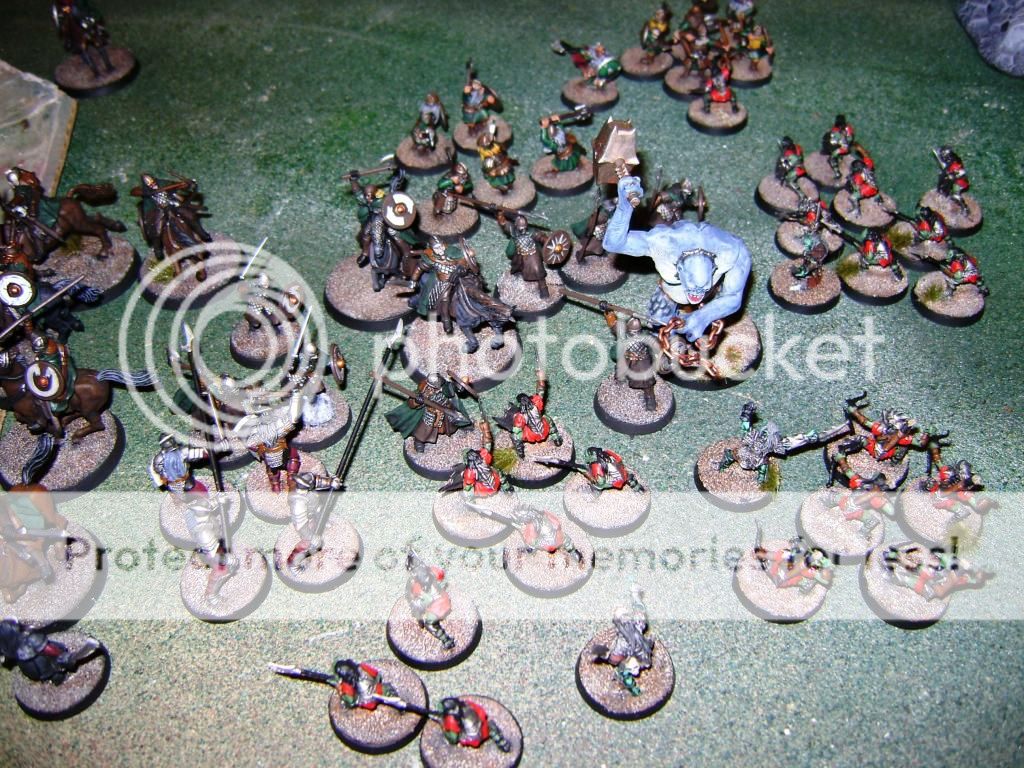
Andy won priority again, but this turn was pretty uneventful. Hama moved towards the center, while Theoden and the Rohirrim thundered along as well. Eomer and his Warriors of Rohan readied their Throwing Spears as they prepared for combat. My Goblins, all protected by Fury now, started to moving along the right to intercept the Dwarves. I decided to keep Suladan back and let the Uruk-hai led by Lurtz rumble forward. I had a limited number of cavalry, so I wanted to ensure I picked good opportunities for them to strike. My Crossbowmen made it to the top of the ridge, meaning next turn I could start killing things. In the shoot phase, Eomer’s warband heaved their Throwing Spears at my Cave Troll, who was advancing along the right with the Goblins. They were unable to do any damage, though their gall irritated the troll-something you don’t want to do. The rest of the Throwing Spears didn’t manage to kill anything either.

 Turn 4
I won priority this turn. My Cave Troll, angered by the spears be lofted in his direction, took it upon himself to Charge into the Warriors of Rohan. Groblog decided to stick with the troll and followed behind. Suladan again hung back and let the Uruk-Hai run point. Everyone else moved forward. Andy did the same thing. The shoot phase saw one of my Crossbowmen snipe a Warrior of Rohan. Unfortunately for me, I was a bit careless in my placement and one of Andy’s Dwarven bowmen had a clear line of fire to one of my Goblin Drummers. He took advantage of that and shot him down. I couldn’t afford such carelessness anymore, as I was now down to one Drummer and I didn’t want to lose the advantages he provided. My troll was able to pound both Warriors of Rohan he was facing, taking both of them out.
 Turn 5
Andy won priority and advanced again. Hama and his warriors were now in range to start firing at me, but thankfully some trees were in the way to provide a bit of cover. The Warriors of Rohan charged my troll, hurling Throwing Spears at me, but my scaled hide saw no wounds taken. The Dwarves took 2 shots at my Goblins, but didn’t kill anything. Overall, not a very exciting turn.
 Turn 6
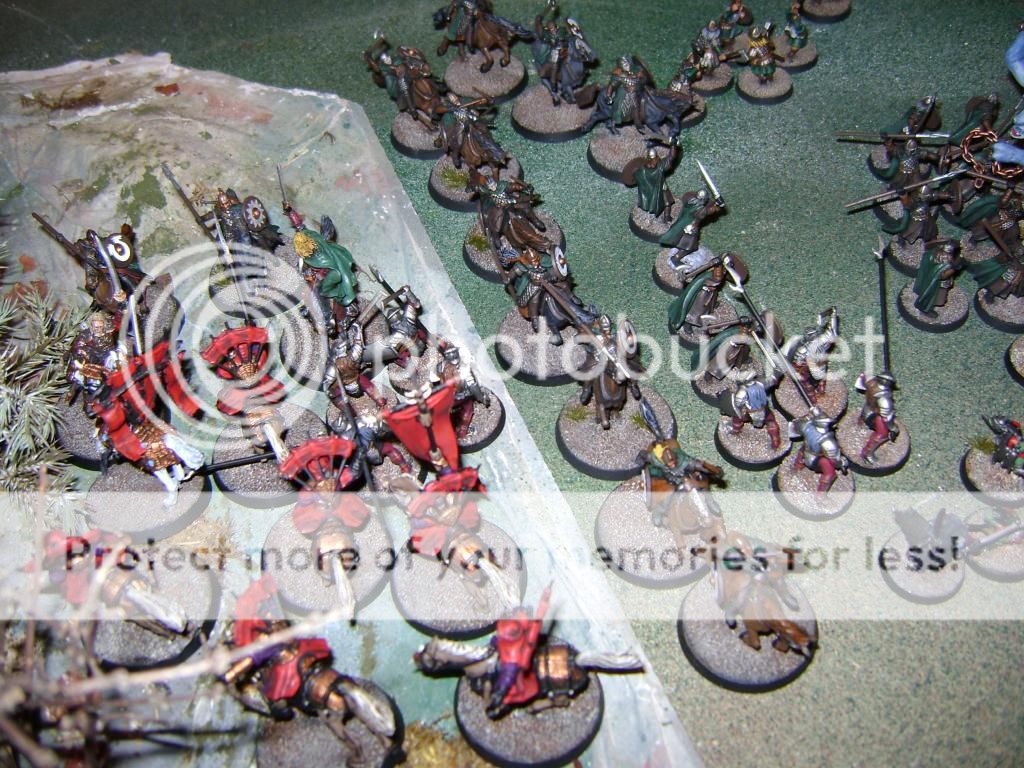
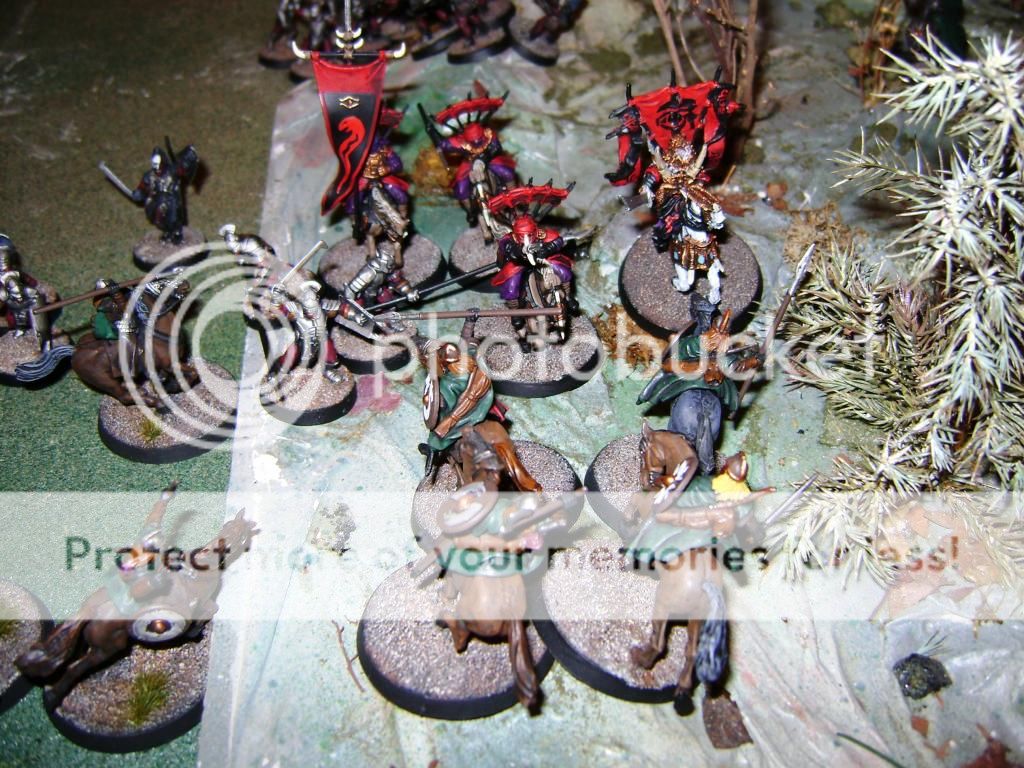
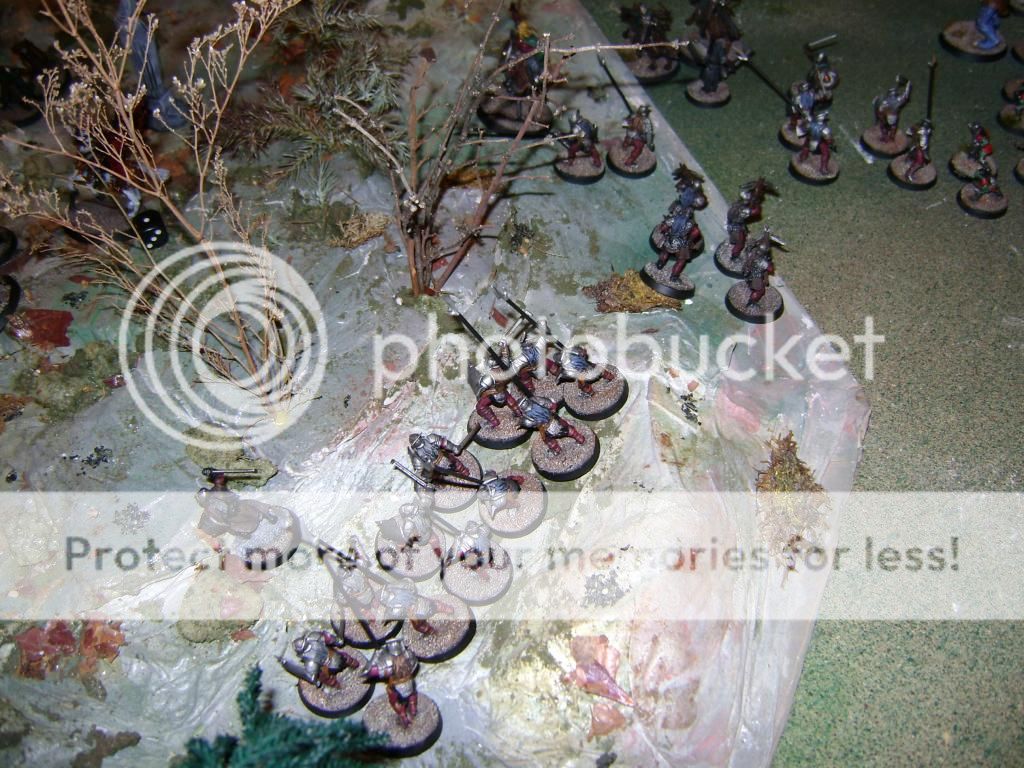
I won priority. Hama called a Heroic Shoot to try and have his bowmen take out my Crossbowmen, but no arrow hit its mark (although the tree in the way suddenly became nicely decorated). Groblog and several Goblins charged into the side of the warriors, and some Uruk-hai did the same. In the end, both warriors who were charged fell. Suladan saw his chance and charged a full 10 inches into Theoden, with his Raiders right behind him. Unfortunately, Suladan lost the combat and was forced to expend his only Fate point to avoid being wounded. My troll charged again and cut down another 2 Warriors of Rohan. Andy saw the trouble Theoden was in and formed a line of Rohirrim to charged straight down the center between two giant groups, shooting arrows and throwing spears at whatever moved. Even still, he didn’t manage to kill anything. One of my Crossbowmen, however, did see the line and took the opportunity to shoot a rider down. Finally, a few Uruk-Hai charged at Eomer, but he beat them back and managed to kill one.
 Turn 7
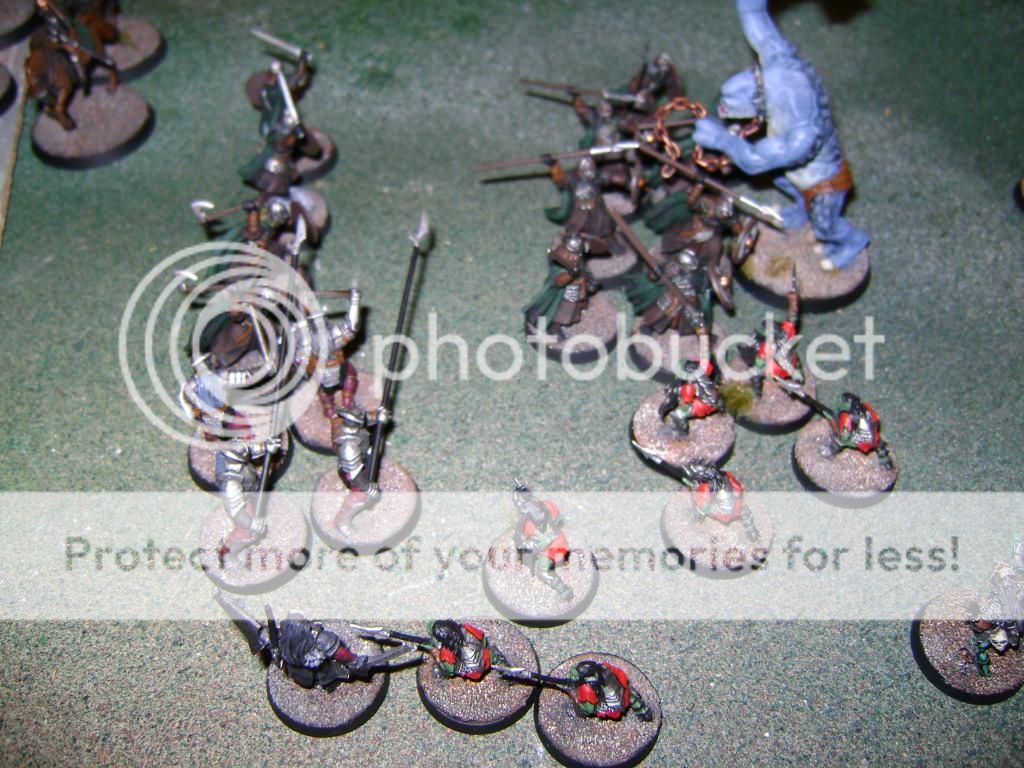
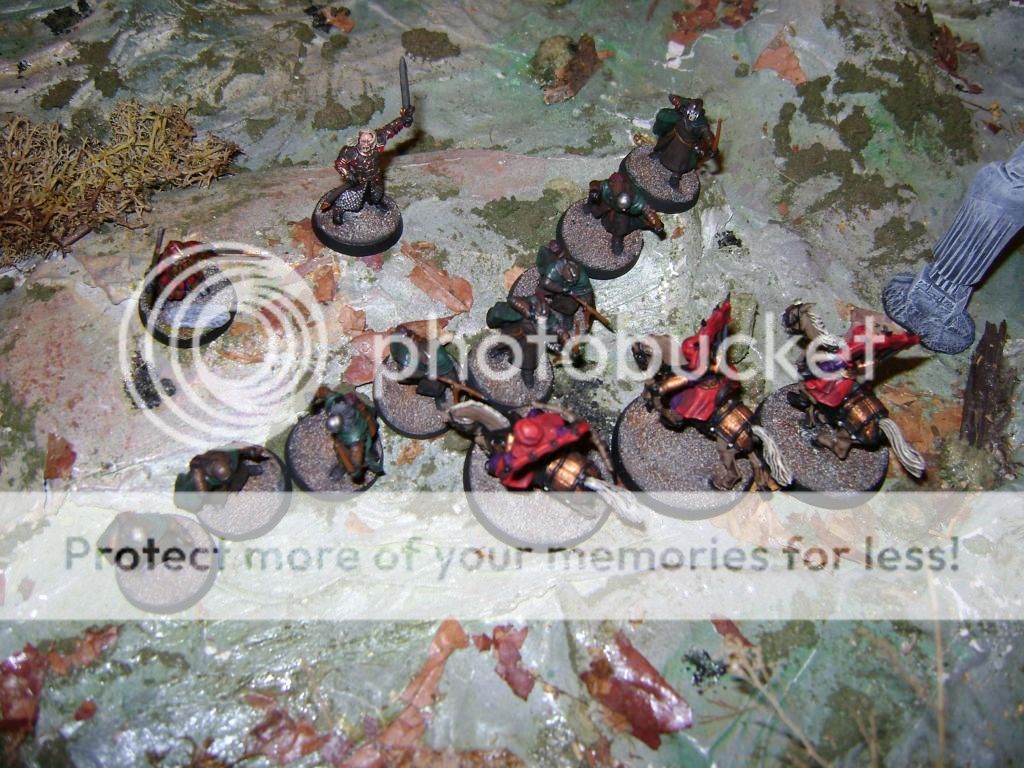
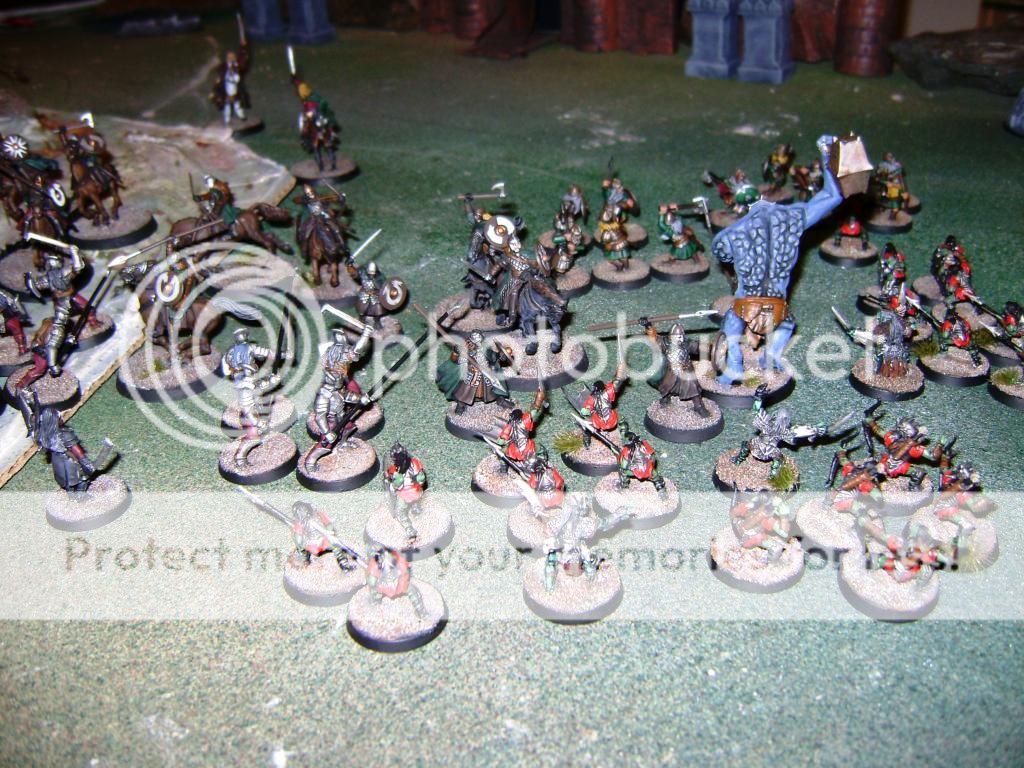
Andy won priority. He quickly moved Theoden and Eomer back so as not to get dog piled by Uruk-Hai. The Rohirrim line decided to charge into a few of my guys, while one at the front with a bow refrained from charging, opting to try and take a shot at Lurtz. Lurtz responded to this opportunity by charging and slaying him. Andy crept a few Warriors of Rohan towards my Crossbowmen. Sensing danger, my Uruk-Hai Captain and his warband starting trudging up the ridge to deal with the threat on my western flank. The Crossbowmen saw these Warriors coming as well, and shot down two of them. In the meantime, I sent a few Haradrim Raiders over to charge the bowmen. I wasn’t able to kill anything, but now line of fire had been blocked off for several enemy models. Suladan and another Raider got charged and both lost their combats, but were able to stay alive when Andy rolled poorly. On the right, my Cave Troll won combat after being charged and slew another 2 Warriors of Rohan. A lone Goblin charged at the Dwarven bowmen and despite being beaten and caused a wound, stayed alive thanks to a good roll for Fury. So far, with the Mithril Crown in effect, I was 1 for 1 in successful Fury rolls.
At this point in the game, I had killed 13 of Andy’s forces, while he had only managed to take out 2 of mine. Once again, my dice were hot. The problem seemed to be that despite a lot of Rohan models facing me down, their defense, even with Shields, is still only decent (a 5) and when taking on Uruk-Hai, who have a solid Strength value, I’m killing them on 5s, while they kill me on 6s. It may not seem like a big difference, but comparing a 1 in 6 chance to a 1 in 3 chance is pretty huge.

 Turn 8
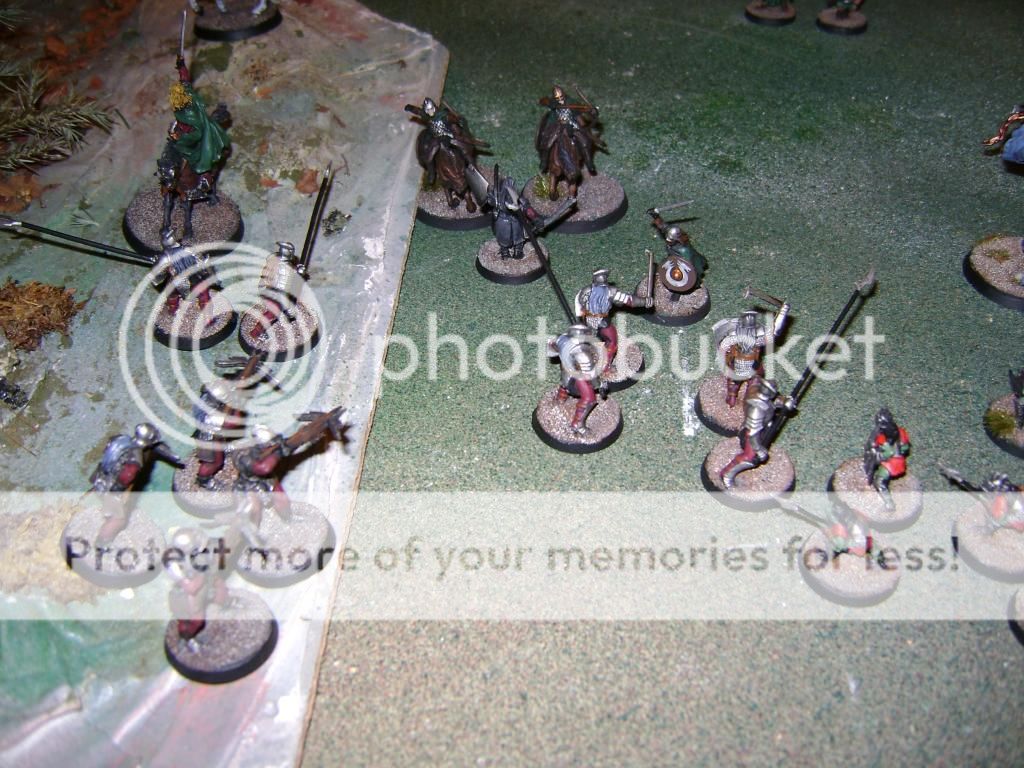
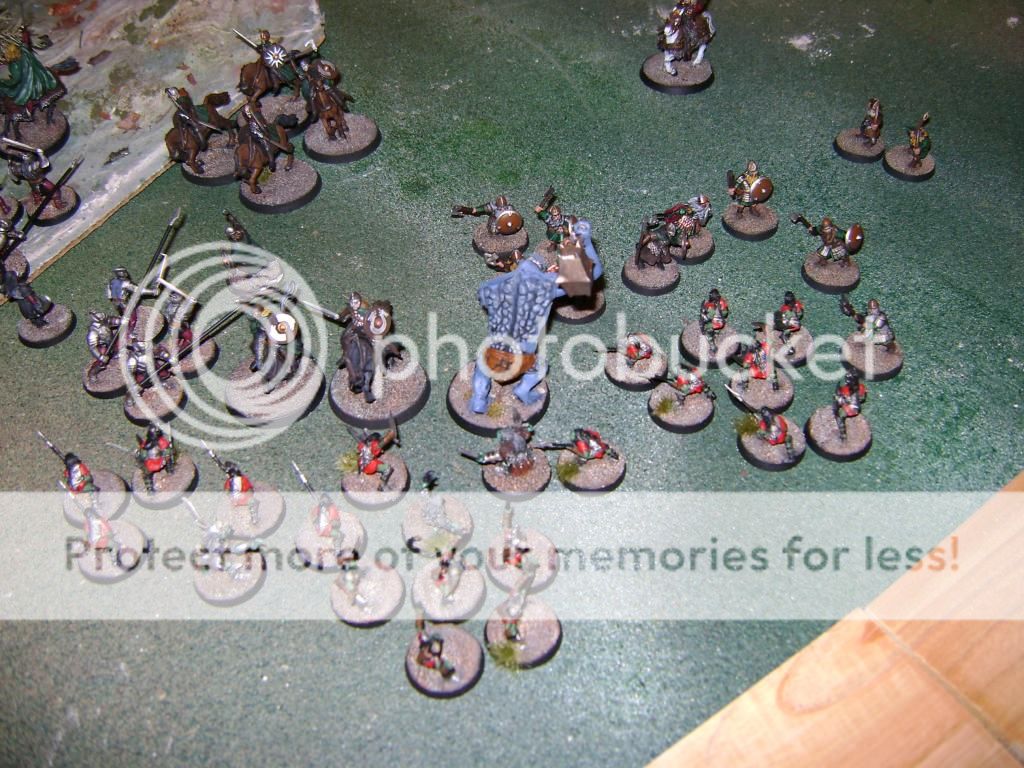
Andy once again won priority. He charged with his Rohirrim straight into lines of my Uruk-Hai and Raiders, while sending his rapidly depleting Warriors of Rohan on my right flank to engage my Groblog and my Goblins. He also very smartly parted his Warriors of Rohan by the objective so make way for Gimli and Hama, who each charged a Raider. 2 Warriors of Rohan charged at my Crossbowmen on the hill, so I sent in my Uruk-Hai Captain to help them out (I would soon see that keeping them back as a reinforcement unit was a bad idea). A rogue Rider charged at Suladan, as well. Lastly, 3 of his Dwarves charged my troll, while his Shieldbearer (at this point replaced in model by our Dwarf Captain, since the Shieldbearer fell and needed some repairs) and some other Dwarves charged my Goblins. I responded by charging my last Raider on my left into two of his Rohan Bowmen, while sending Lurtz in to charge another Rider. Much to Andy’s dismay, he took some heavy casualties this turn. At least 4-5 Warriors of Rohan and 3 Riders of Rohan lost their fights and were killed. My troll killed a Dwarf, and my Goblins added another to that tally. However, 2 Haradrim Raiders were killed, as well as a Goblin, so Andy was starting to at least do some damage.
 Turn 9
I finally won priority for once. Noticing how my left flank was quickly collapsing, I sent my remaining Raiders over to help out, including charging Suladan straight into Hama. I also moved my Uruk-Hai reinforcements up to eventually fight the Rohan contingent. Elsewhere, more Uruk-Hai charged into Warriors and Riders, while my Troll charged into some more Dwarves and a Rider, with my Goblins opting to do the same thing. This turn, however, was definitely in Andy’s favor. A couple more Raiders (including my Banner bearer) were shot down by Rohan bows. Suladan lost his combat to Hama and, to my shock, he managed to do 2 wounds to the Serpent Lord! That was a bitter pill to swallow. My Troll made up for it, however, as he slew all 3 of the models he charged with relative ease. Gimli lost his combat against the Raider that charged him, but despite being knocked prone, he avoided taking any damage. With the turn over, Andy’s forces had been broken. We rolled to see if the game wound continue, and indeed it would.
 Turn 10
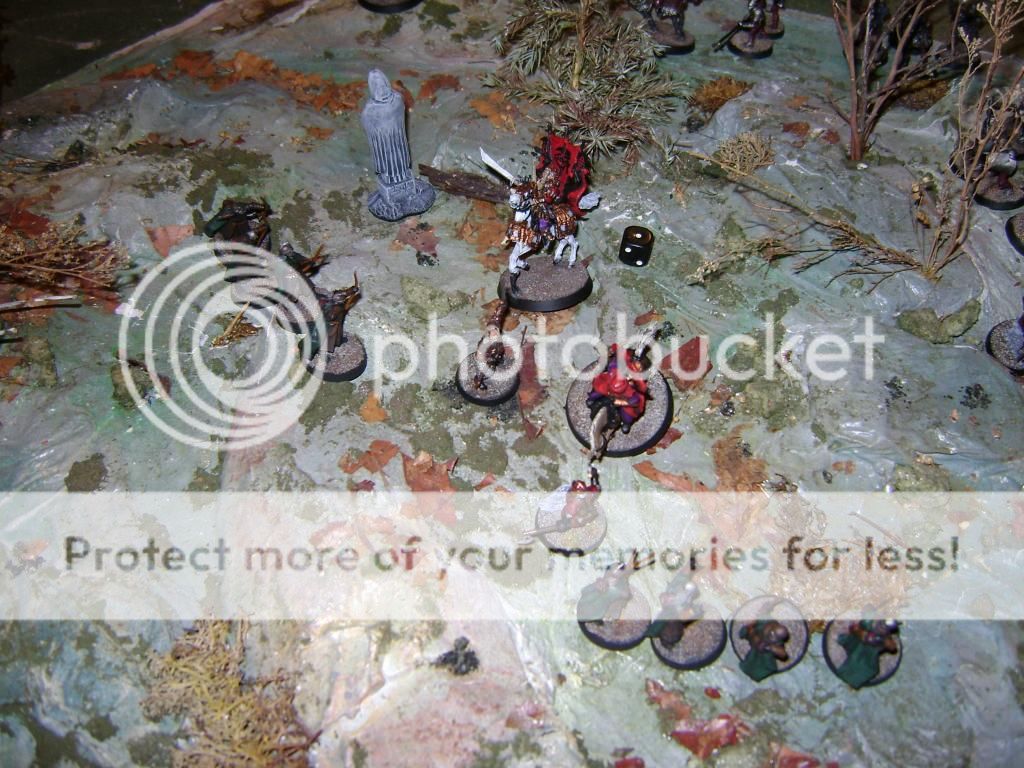
I won priority again this turn. Andy’s force being broken had suddenly become very bad…for me. With all of my hacking and slashing on the right and in the middle, I somewhat neglected to notice that I didn’t have many of my own troops around the objective, while Andy had several. I needed to hoof it double time to the center, lest I lose the game over short sightedness. With that in mind, my Uruk-Hai reinforcement unit headed straight for the objective. I sent Suladan, with 1 wound left, to fight Hama. Gimli was charged by my lone Raider again, while my Troll charged some more Dwarves, including the Shieldbearer. Eomer was charged by some Uruk-Hai and lastly, my Goblins, with Groblog and Shamans in tow, charged the last few Rohan stragglers. Andy took a ton of casualties due to being broken-4 Warriors of Rohan and 3 Dwarves decided to live to fight another day. However, he passed his Courage test with Theoden, who charged Suladan from behind. This saved the Warriors of Rohan nearest the objective, who would stay and fight (and hold the objective, as well, which was crucial). Suladan beat Hama in combat, but tied Theoden. We rolled off for the tie and Theoden won, and proceeded to strike the Serpent King down, which would prove to be very important. My Troll lost his combat and took a wound, though I wasn’t terribly worried about that. We rolled for the game to continue and…it was a 1. The game was over. Andy’s force was broken, so I scored 3
VPs for that (since I wasn’t anywhere near being broken). My Uruk-Hai reinforcement unit was still outside the objective’s 6 inch range, for the most part, but 2, along with my Captain, were thankfully in range. In total, I had 6
VPs. Andy, on the other hand, had 4 Warriors of Rohan, Theoden and Hama all within range of the objective. Neither of us had caused any wounds to the other’s Leader. Final result-DRAW.


 Closing Thoughts
I gotta say, I’m somewhat disappointed. From my standpoint, that game was easily winnable, as I was very much in control of the board with my forces. However, I kept on stalling the advancement of my Uruk-Hai reinforcement unit because I was planning to use them to bolster my front lines when my units started dying. The only problem was that it never happened. My units kept pressing the attack forward, so my Uruk-Hai stayed back for nothing. In the end, that cost me because I couldn’t get enough units to the objective in time. Andy had smartly positioned his units right near it, and so he managed to turn what should have been a loss into a tie. Great play from him. This entire ending to the game is exactly like the battle report in the September issue of White Dwarf. The Black Templars were fighting the Death Guard with Daemon allies. The Black Templar player was so concentrated on annihilating the Chaos Space Marines from range that he neglected to position enough of his units near the objective, and when the game was winding down, he couldn’t get there in time. The objective remained unclaimed and Chaos won 2-1. Very much the same problem I had in this game. Still, it was a lot of fun, and I now know for next time that if there are objectives on the table, I need to position my units within contesting distance as soon as possible.
Warriors of the Match
For my team, I’ve gotta pick the Cave Troll. Since my Goblins were primarily fighting Dwarves, along with some Warriors of Rohan, his high Fight, Strength and Toughness, coupled with 3 wounds, gave him a lot of killing and staying power. Despite my Goblins being rather weak and cowardly, he was their ace in the hole, and he didn’t disappoint. He had to have killed at least 8 models just by himself. I’ll give an honorable mention to Suladan and the Haradrim Raider who killed of Gandalf early on, which saved me a lot of hassle. However, Suladan and the Raiders didn’t have that stellar a game. I kept losing fights with them, and at the end of the game, I had 1 Raider left, while Suladan and the rest were all wiped out. Aside from Gandalf, they weren’t able to contribute a whole lot to my team. I’ve had much better luck with Suladan in the past, so this I consider and off game.
For Andy’s team, I’d have to give it to Hama. That one critical combat where Suladan lost and allowed Hama to roll extremely well and take 2 wounds off was huge. It allowed Theoden to swoop in next turn and deliver the killing blow, which not only neutralized that threat, but also denied one of my models from being near the objective and possibly scoring on what turned out to be the last turn of the game. Had Suladan survived, he’d have been within 6 inches and given me a 7-6 win, but Andy made sure that didn’t happen, and Hama was the chief reason for it.
Tune in next time (hopefully within the next week) for the next report. Thanks for reading, and I hope you enjoyed it.


 Proudly Gaming in the Toronto Area since 2002


 For the dark gods of chaos.But not slanesh.Everybody hates slanesh.


 up. Not everyone does tournament style squash your opponent into the ground play, some of us like to have fun games, using a variety of units to see what we can accomplish.
 Krieg 6k
 Necrons 2.5k
 Space Wolves 5K


