Hey all, and welcome to another instalment in my series of
LOTR battle reports.

Battle report #3 match up
700 pts
Dwarves (me)

vs

Easterlings (Andy)
Scenario: Domination
My team
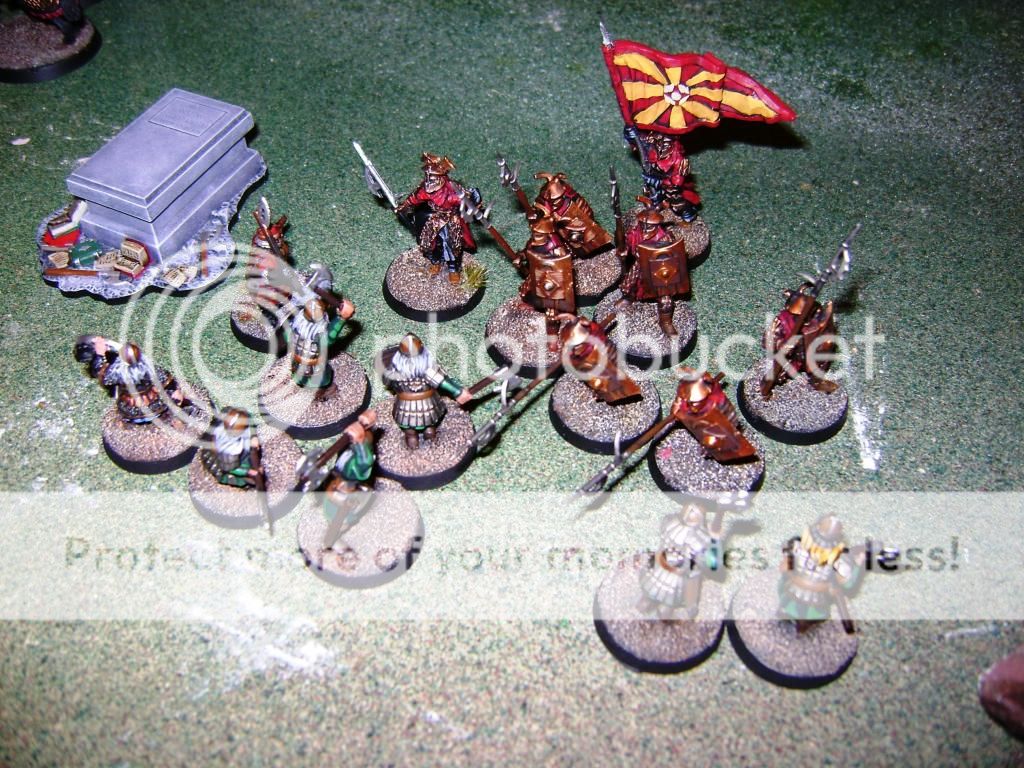
Warband 1
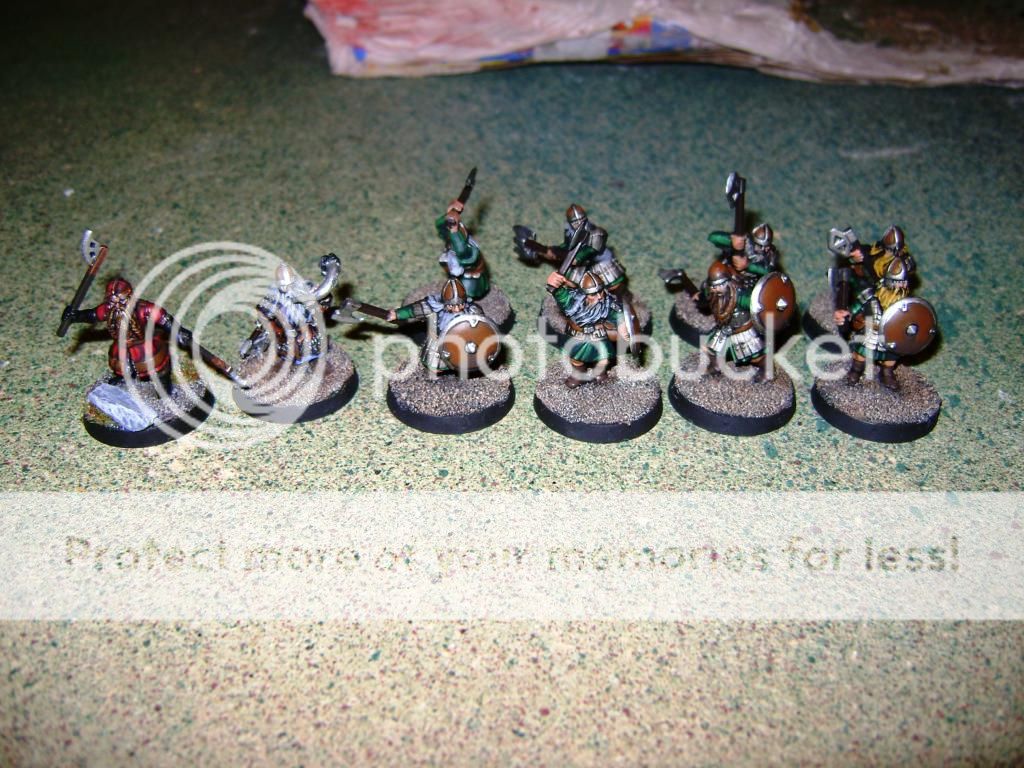
Captain: Gimli (my leader)
Warriors: 9 Dwarf Warriors (4 with Shield, 4 with two-handed axe, 1 with War Horn)
I wanted to take a solid core of Dwarf Warriors, since they’re great units with a high Fight and Defense, and decided to have Gimli lead them. They should be really durable.
 Warband 2
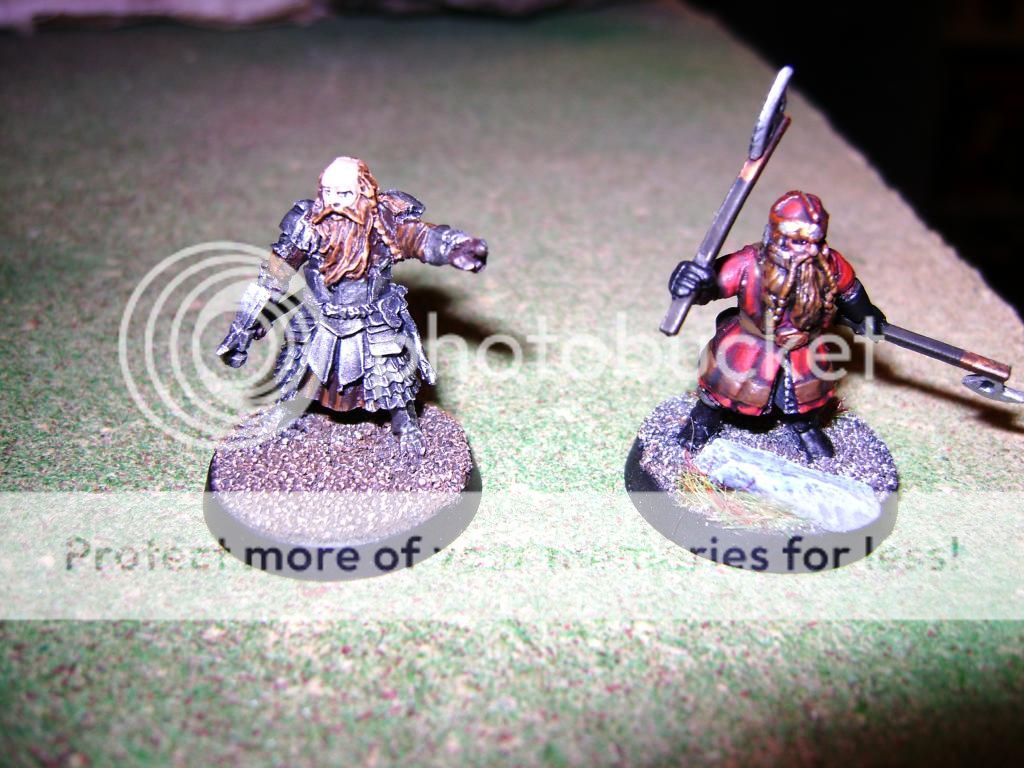
Captain: Balin (with Durin’s Axe)
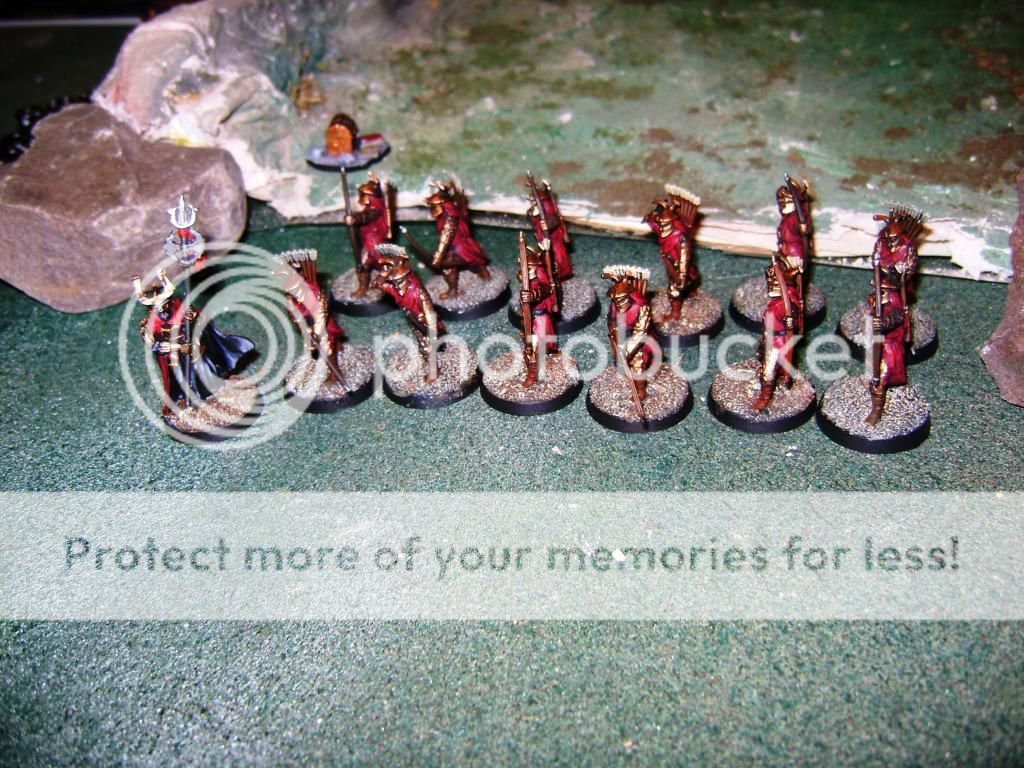
Warriors: 12 Warriors of Erebor (6 with Shield, 5 with Spear, 1 with Spear and Shield)
We figured that since the Hobbit rulebook had Dwarves in it that it would be alright to combine them with leaders from the Dwarves in the Free People’s source book. I gave Balin Durin’s Axe for extra killing power, and the warriors themselves are pretty tough, so I now have 2 good core units.
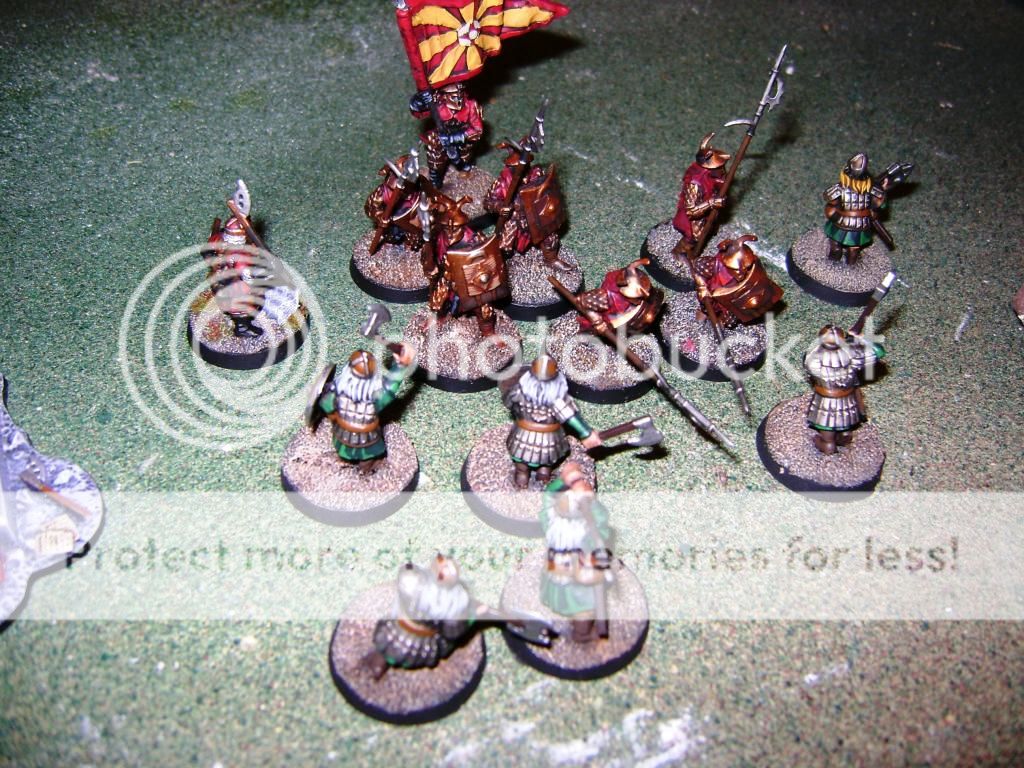
 Warband 3
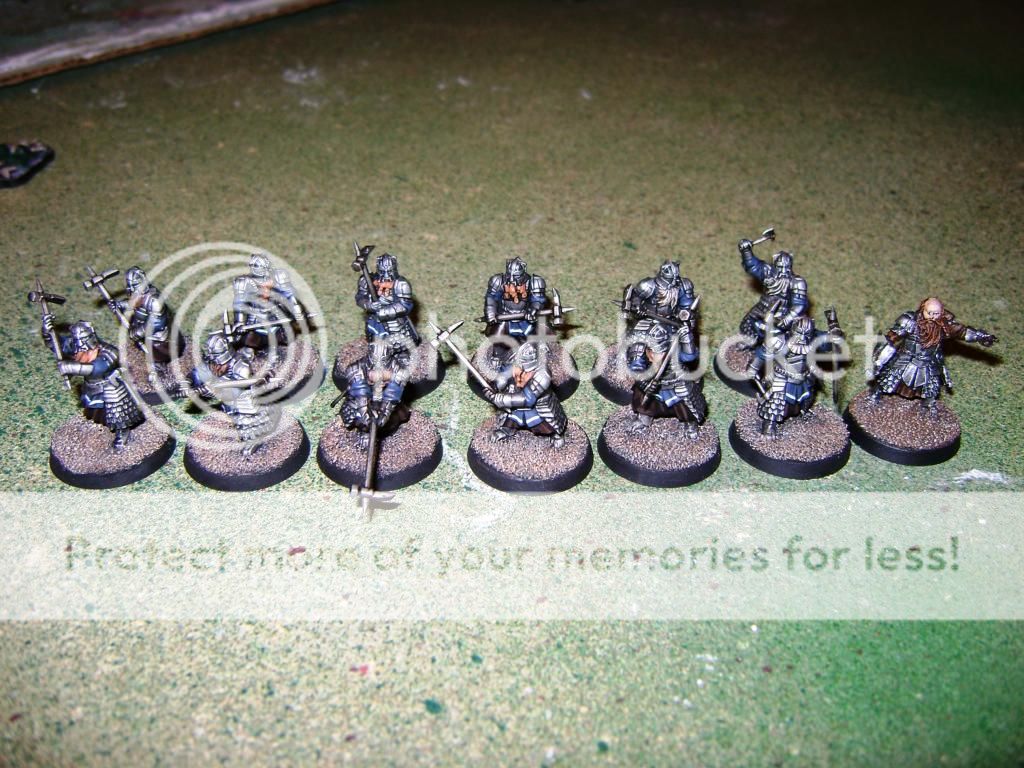
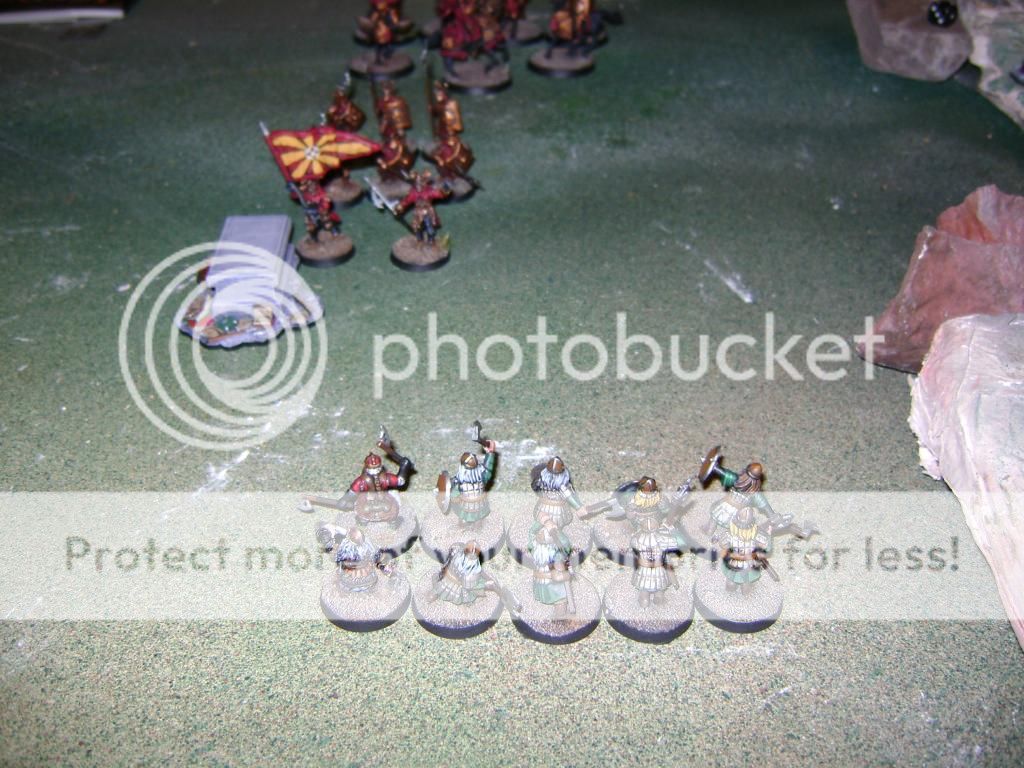
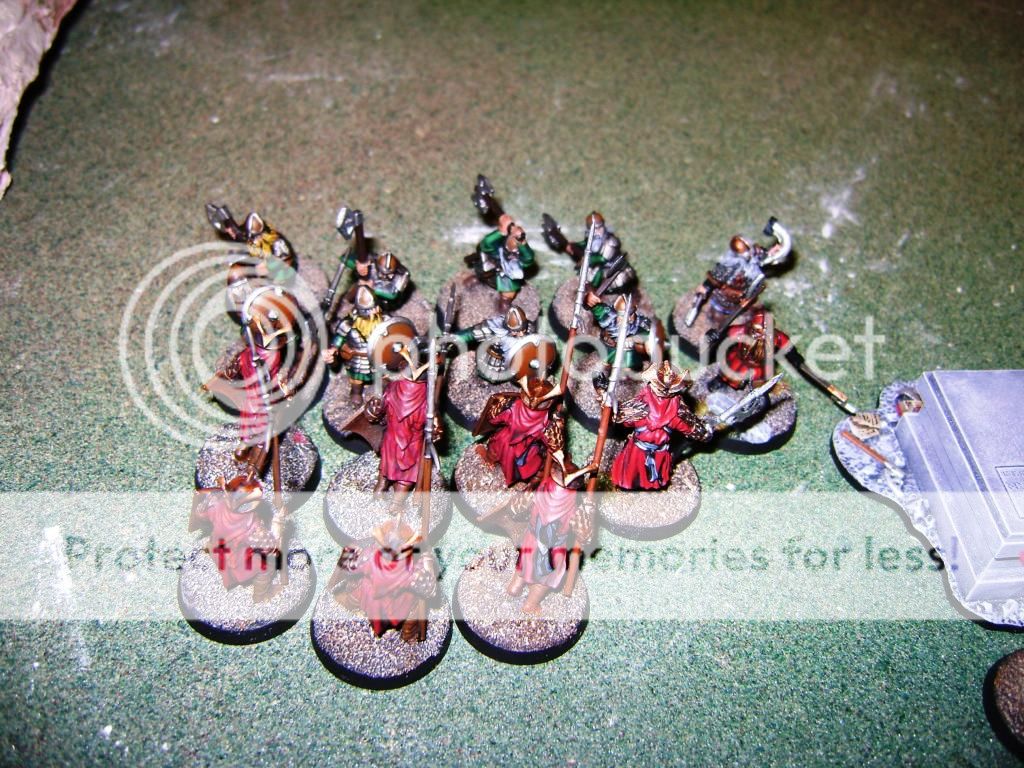
Captain: Grim Hammer Captain
Warriors: 12 Grim Hammers
I love the look of these models-they look like heavily armored bad asses with cool weapons. That was enough to get me to play them. Like all Dwarves, they have good Defense and Fight, and they can use piercing strike or bash. Bash seems like it’d be decent in some situations, but piercing strike…I foresee using that a lot.
Warband 4
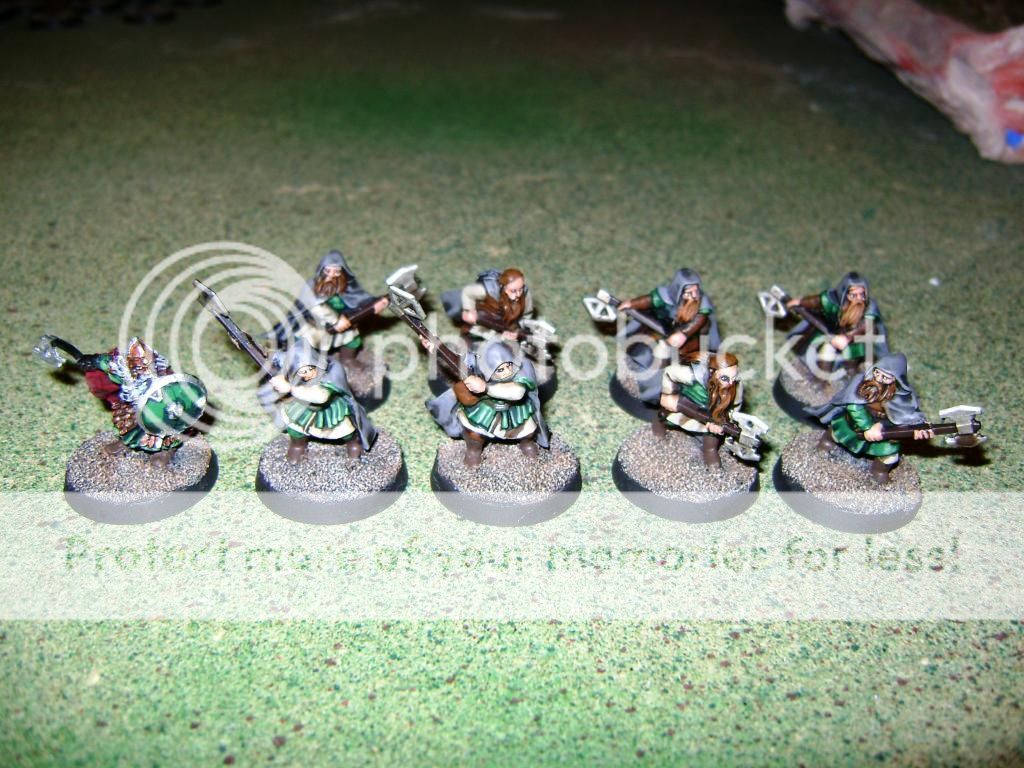
Captain: Dwarf Captain with Shield
Warriors: 8 Dwarf Rangers with two-handed weapon
I really wanted to include some Rangers because they are great with bows, but sadly, points didn’t permit it, so I opted to go with the infinitely cheaper two-handed weapons. They don’t have as high a defense as other Dwarves, but still retain that precious 4 Fight value, and they look really cool (the cloaks make them look like they’re commando Dwarves, which is an amazing concept by itself).
 Andy’s Team
Warband 1
Andy’s Team
Warband 1
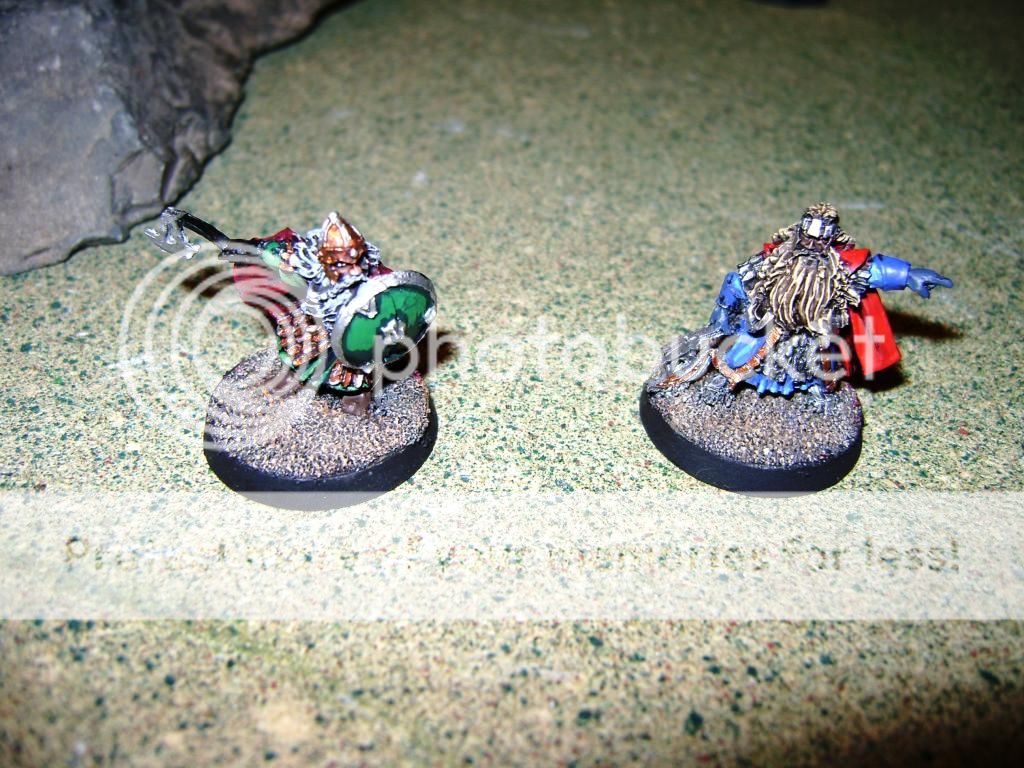
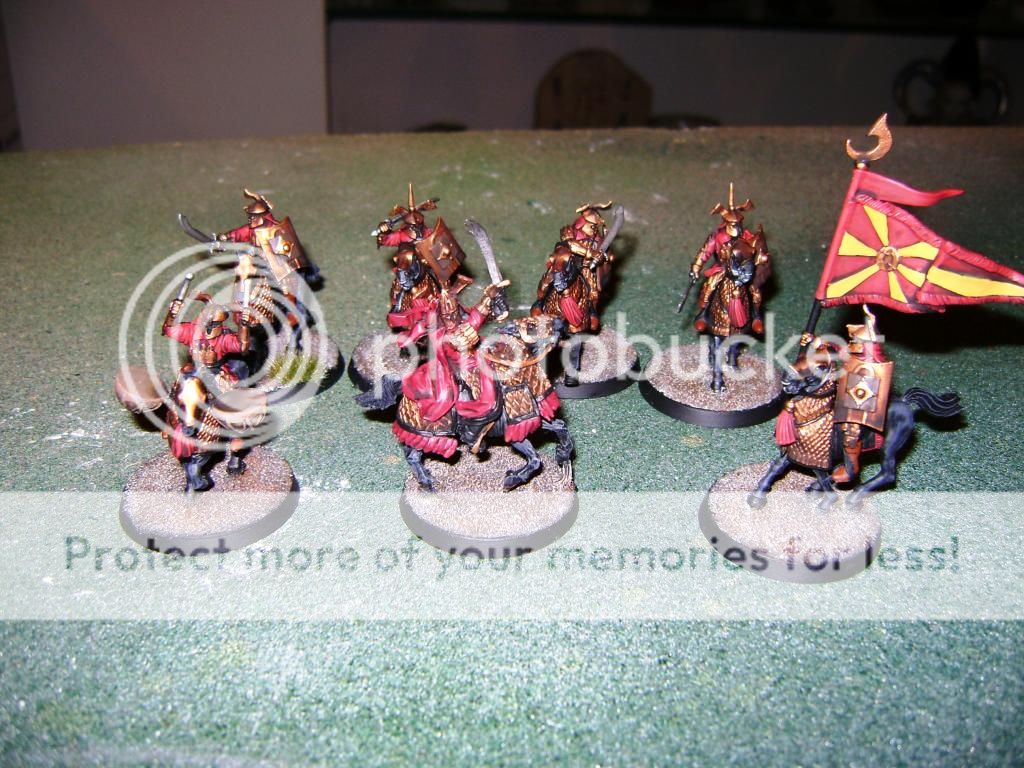
Captain: Amdur, Lord of Blades
Warriors: 6 Kataphrakts (including 1 with a Banner and 1 with War Drums)
This unit could be a real problem. I have no mounts on my team, and move really slowly. These guys, if charging, are guaranteed to knock me down if they win, meaning double strikes, and they move twice as fast as I do. I’m hoping this won’t turn into a unit that will kick my ass because I can’t catch them.
 Warband 2
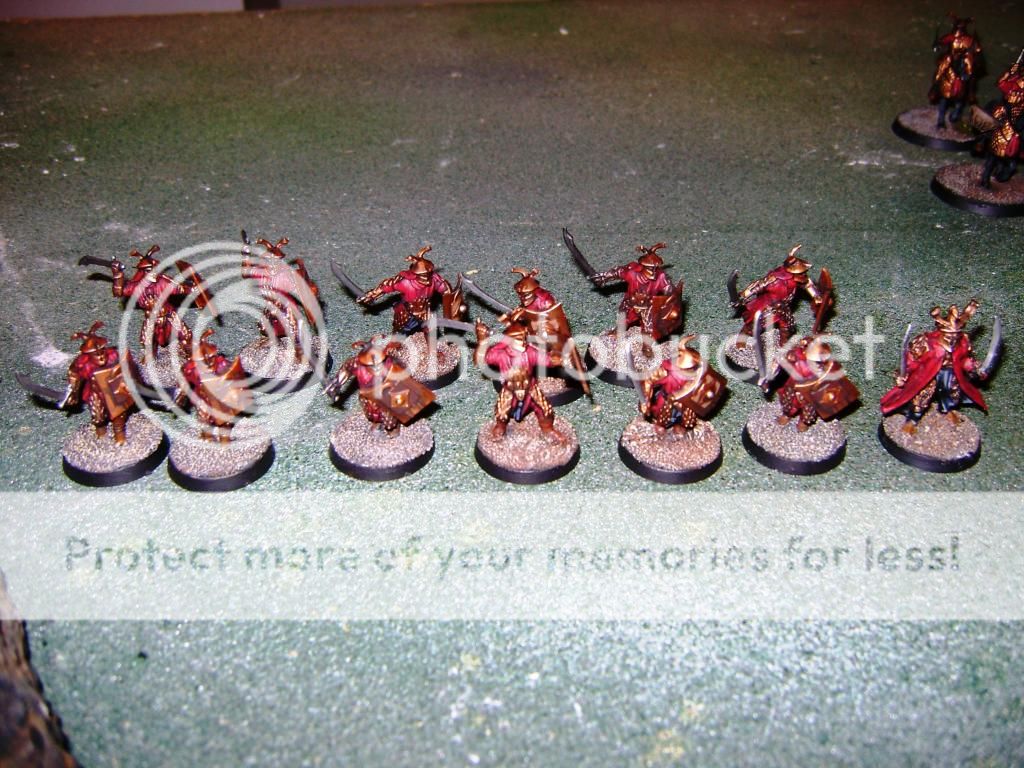
Captain: Dragon Knight
Warriors: 12 Easterling Warriors with Shield
I expected a strong backbone of Easterling Warriors, so this is unsurprising. I think my Dwarves will be able to stand toe to toe with these guys.
 Warband 3
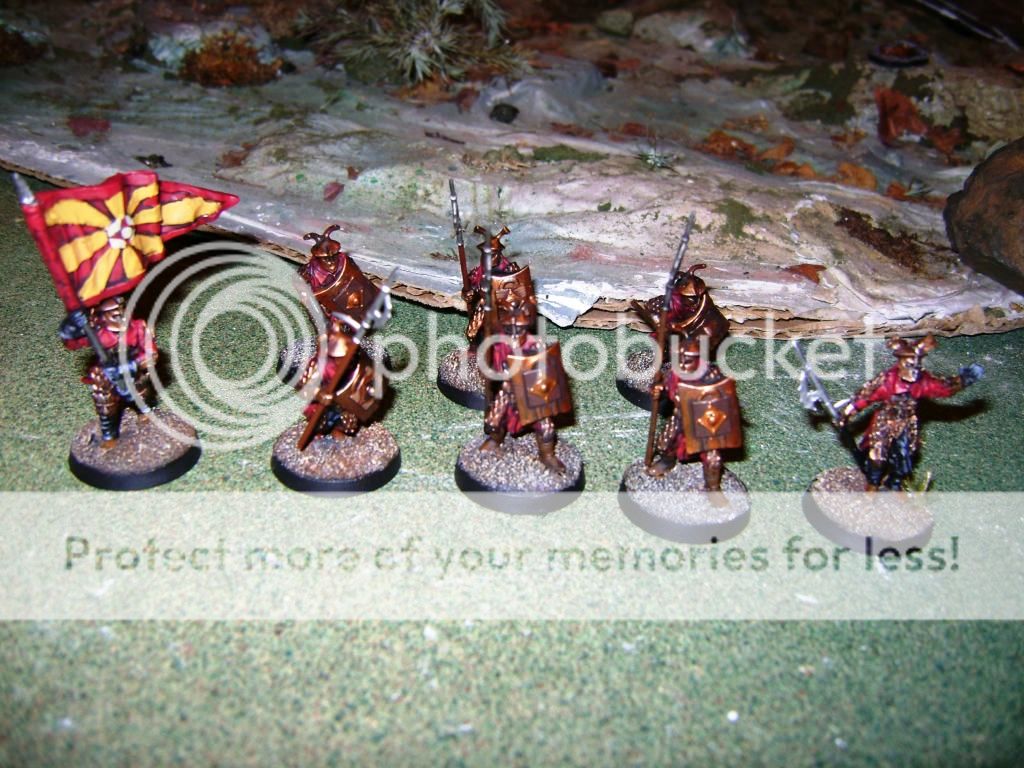
Captain: Easterling Captain
Warriors: 9 Easterling Warriors with Shield and Pikes, plus one with Banner
Easterlings are infamous for their phalanx formations. Having to face those extra attacks could pose a problem, so I hope I can handle them.
 Warband 4
Captain: Easterling War Priest
Warriors: 12 Easterling Warriors with Bow
This is another unit I’ll have to watch out for. The War Priest can cast Fury, which can often be somewhat annoying to deal with. The more pressing issue is that aside from Balin and Gimli’s throwing axes, I have no range on my team. At all. This warband here is entirely composed of models with ranged capabilities. The saving grace is that they’re low strength, which means my high defenses should be able to help me avoid getting hit, but with so many shots, a few are bound to get through. All I can really do to deal with them is footslog up and hope I don’t suffer too many casualties on the way.
 Objectives
South west
South east
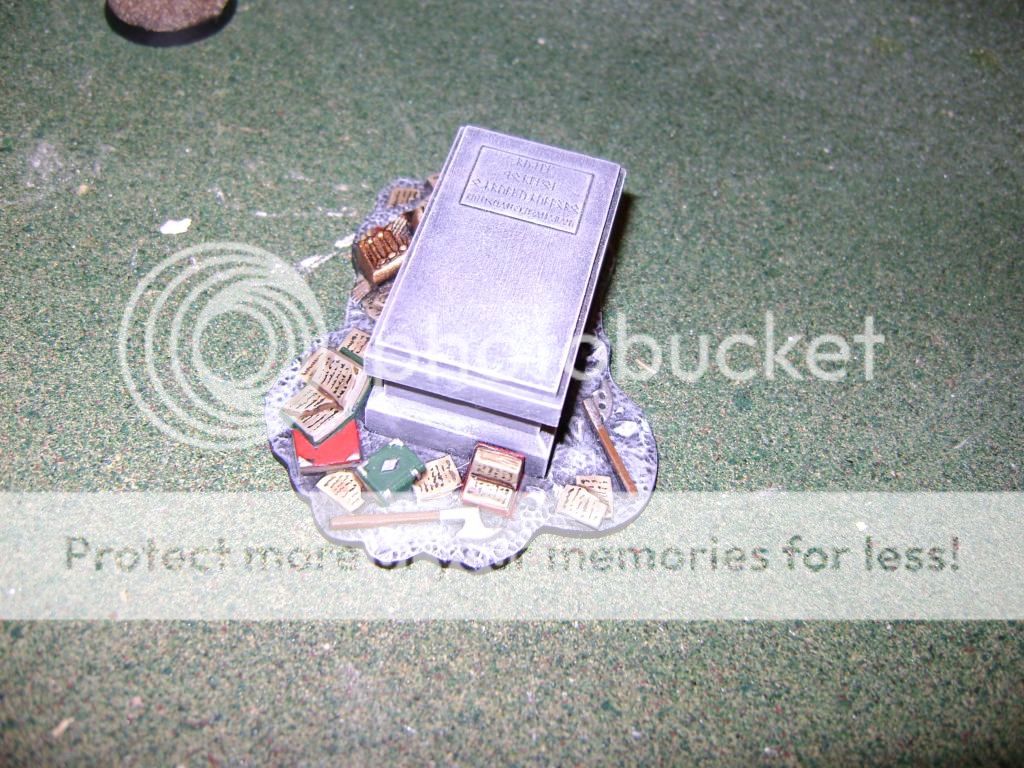
Centre
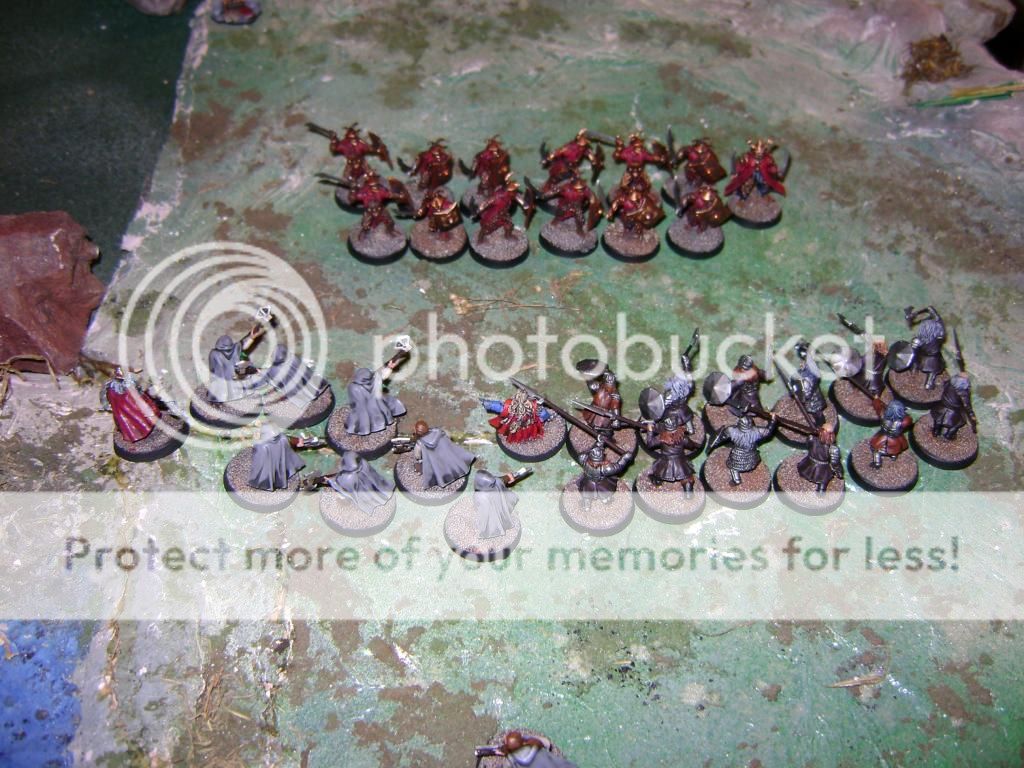
 Turn 1
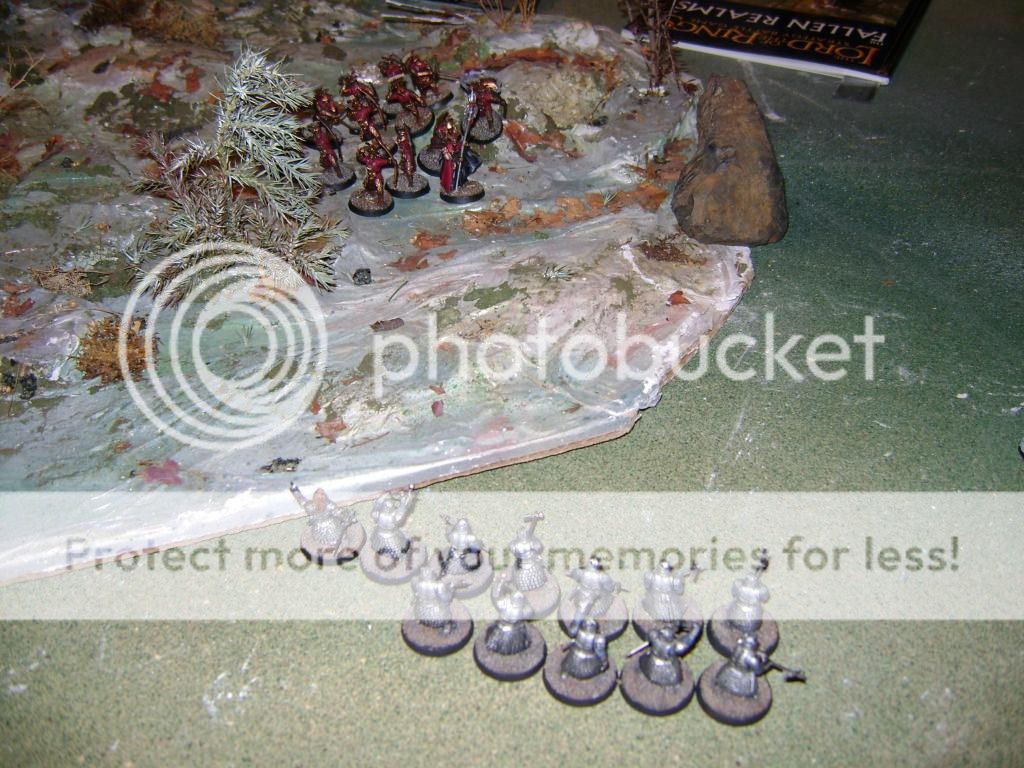
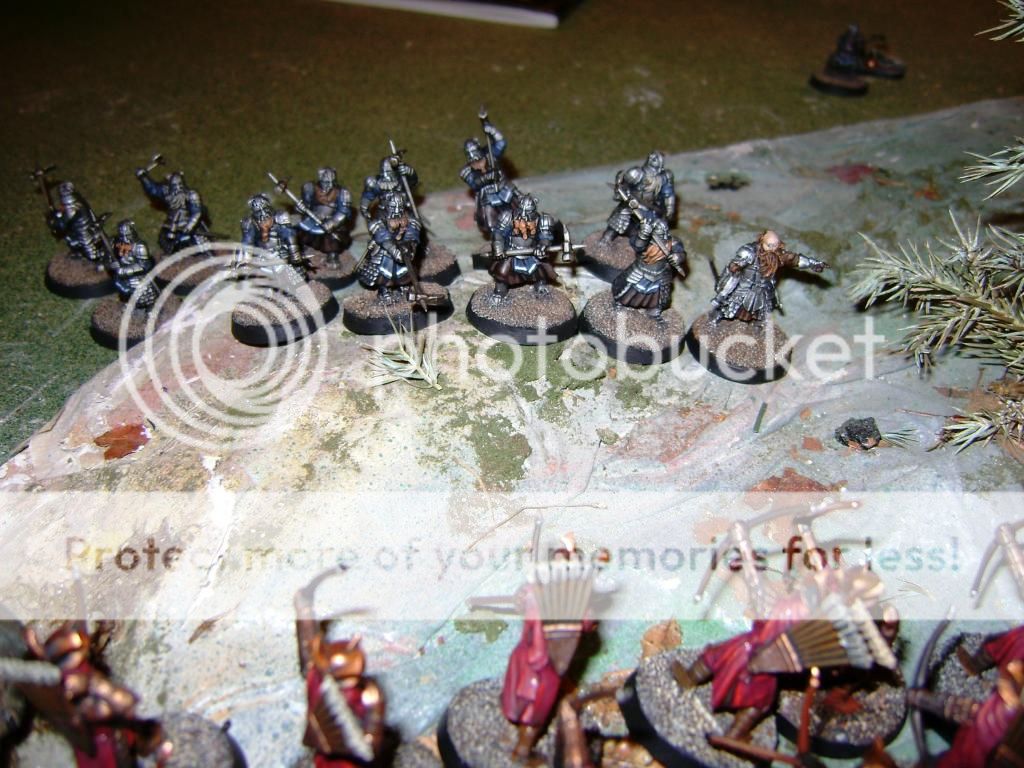
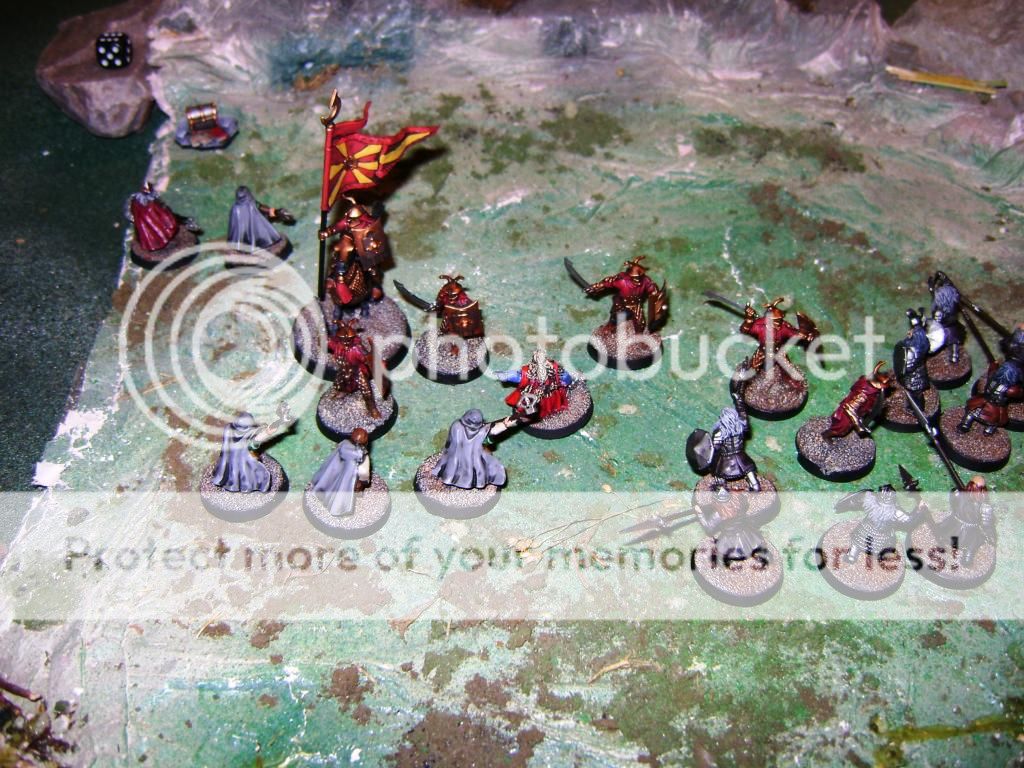
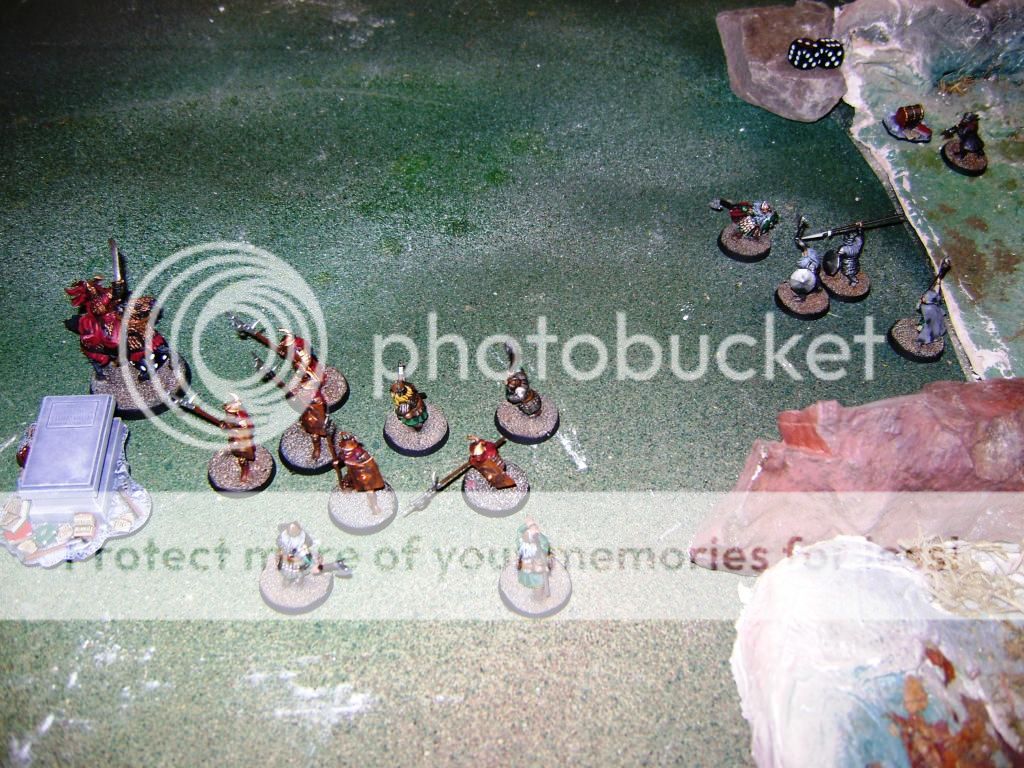
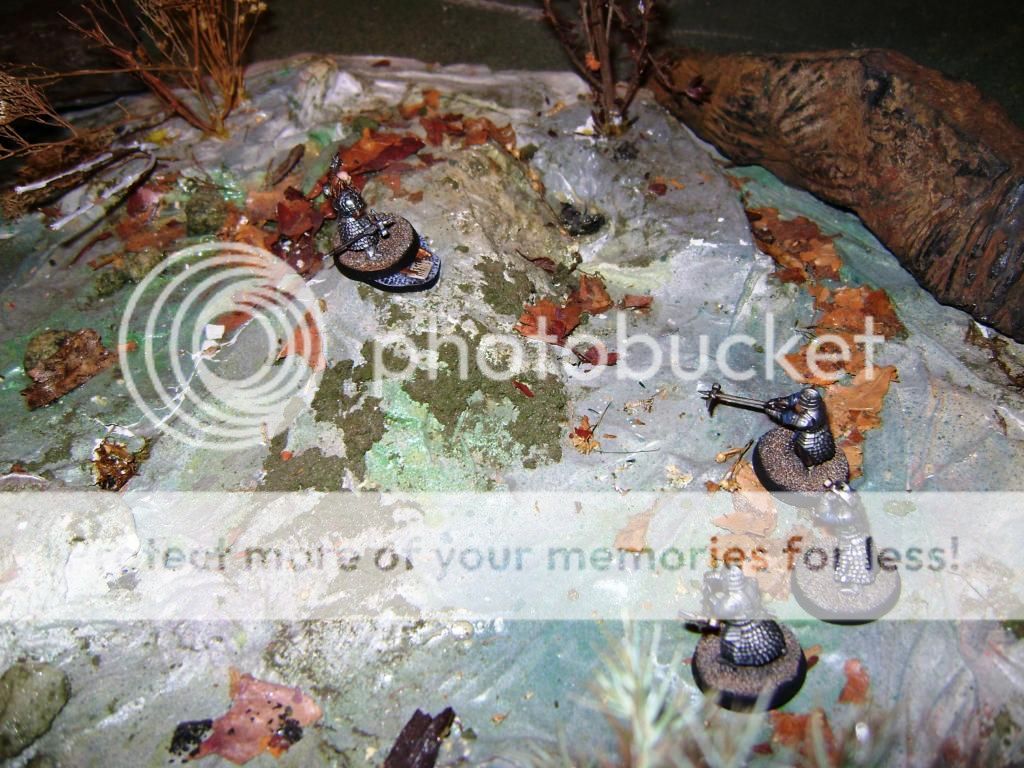
I won priority to start the game, but this turn was a pretty uneventful start to the game. I advanced my Dwarf Rangers forward, leaving one by the objective to hold it for the indefinite future. I was out of range charged the Easterlings with Balin and my Warriors of Erebor, so I instead opted to see what Andy would do and left them in place. Gimli and his warriors moved forward toward the central objective (the tomb), while my Grim Hammers set their sights on the pesky Easterling Archers, making their way to the edge of the forest to do battle with them (while one Grim Hammer stayed behind to hold the south west objective). Andy’s entire force moved forward, except the archers on my left who reformed their ranks to get a better shot at my Grim Hammers. With that, the turn ended.
 Turn 2
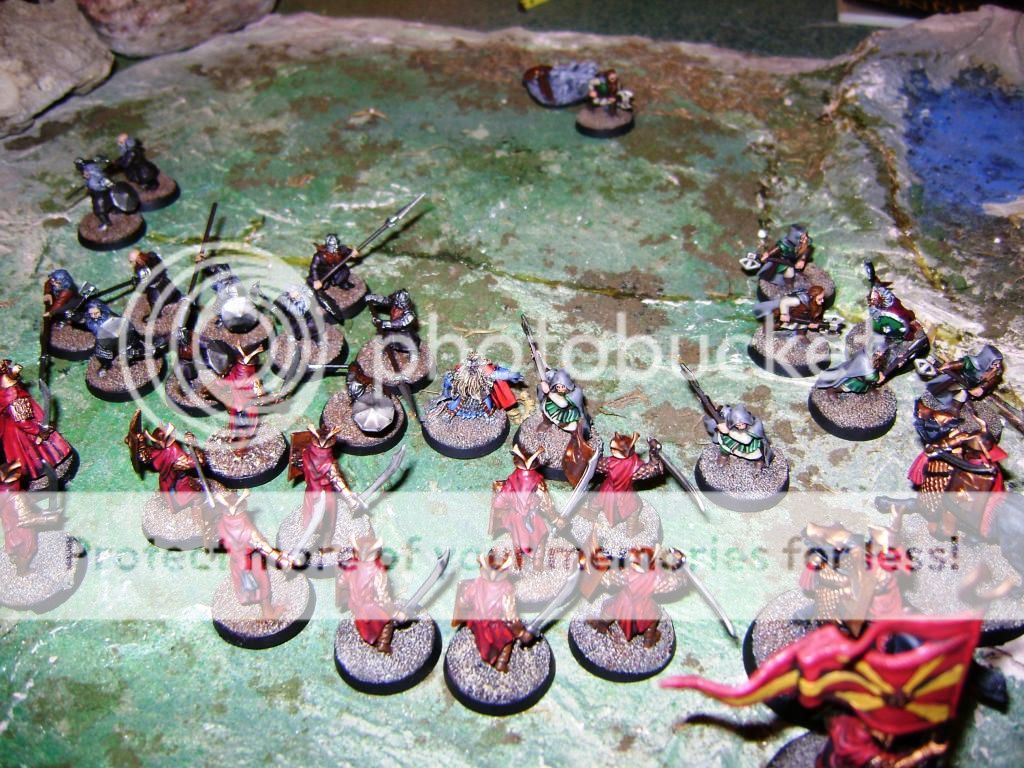
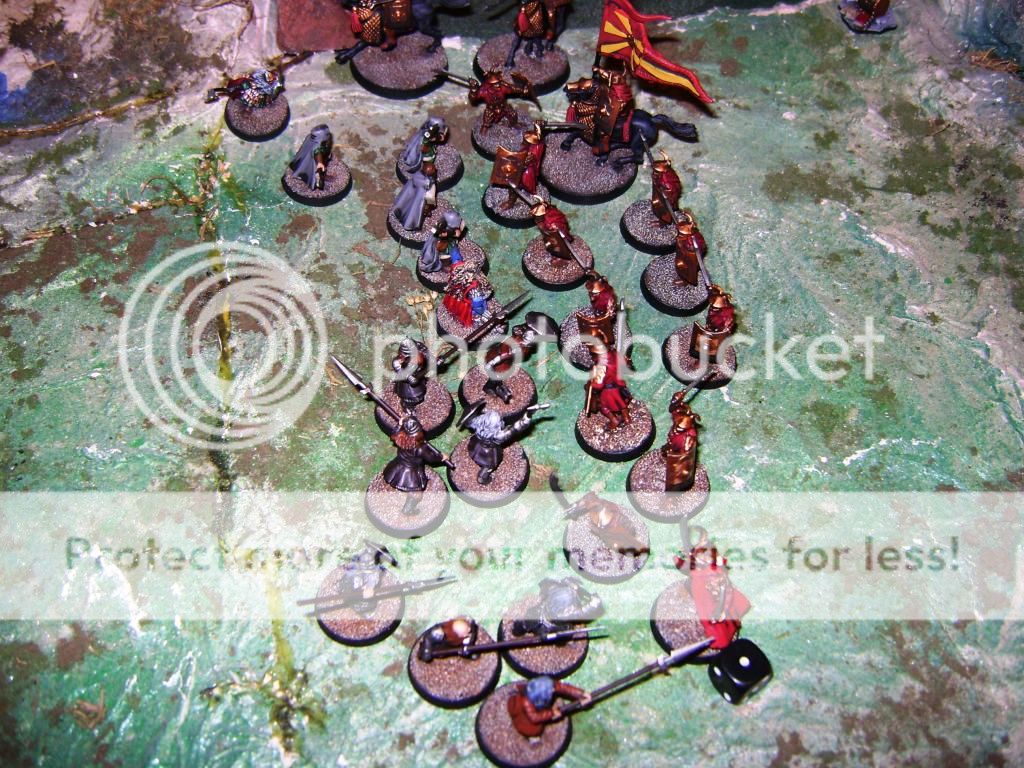
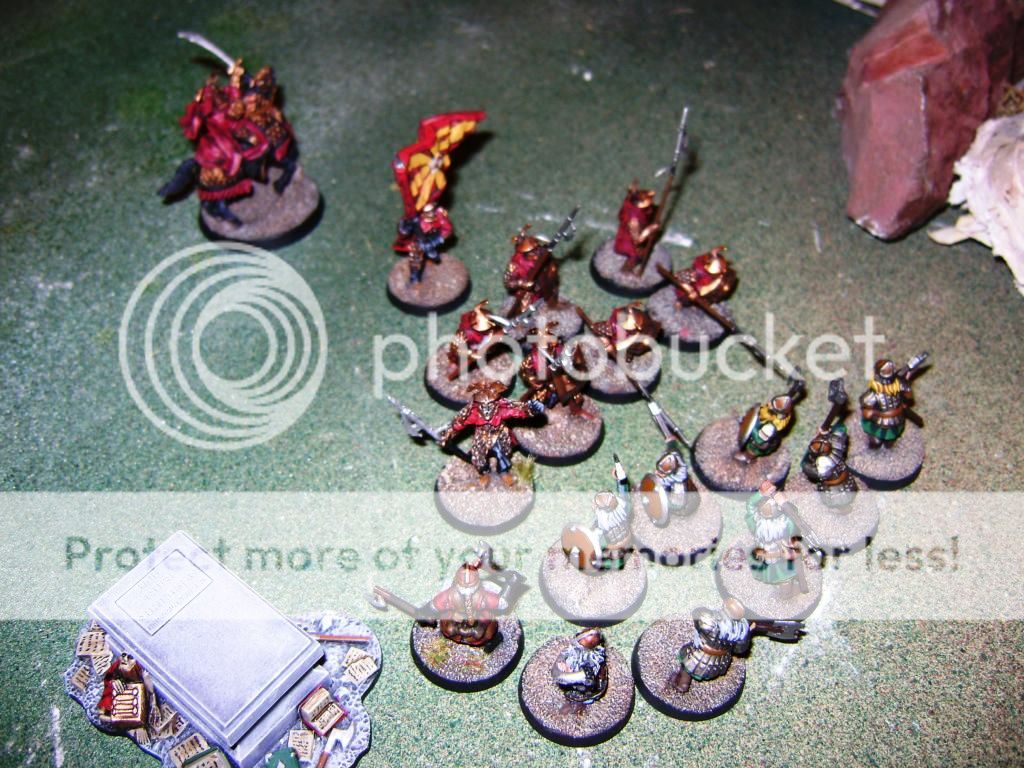
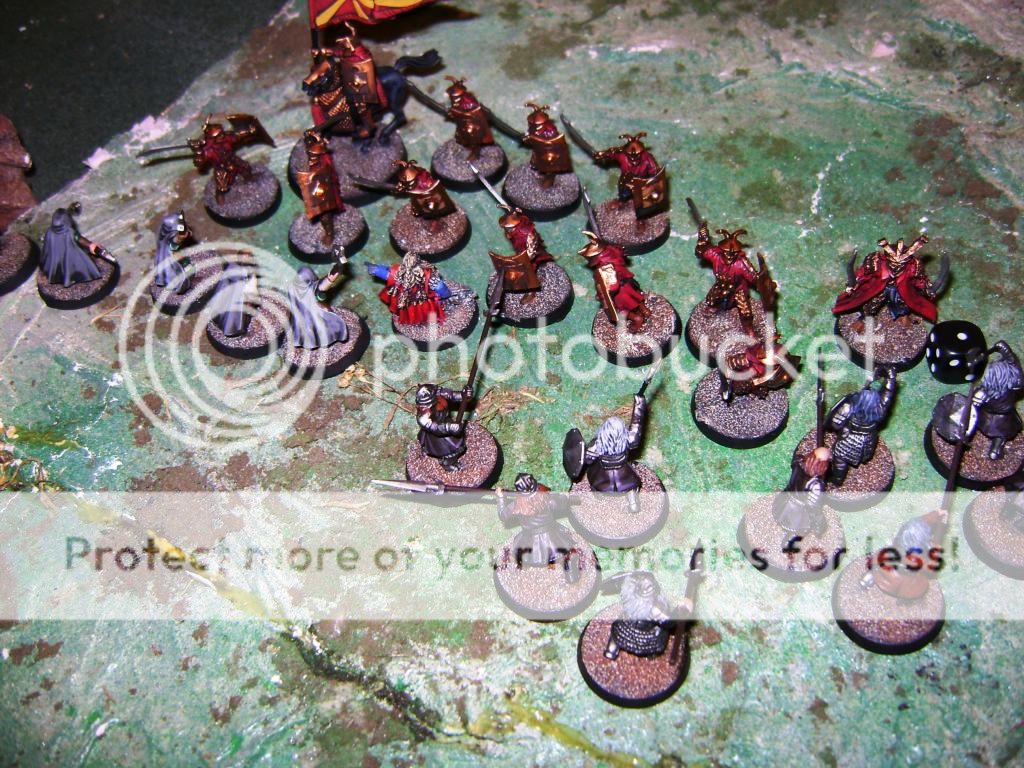
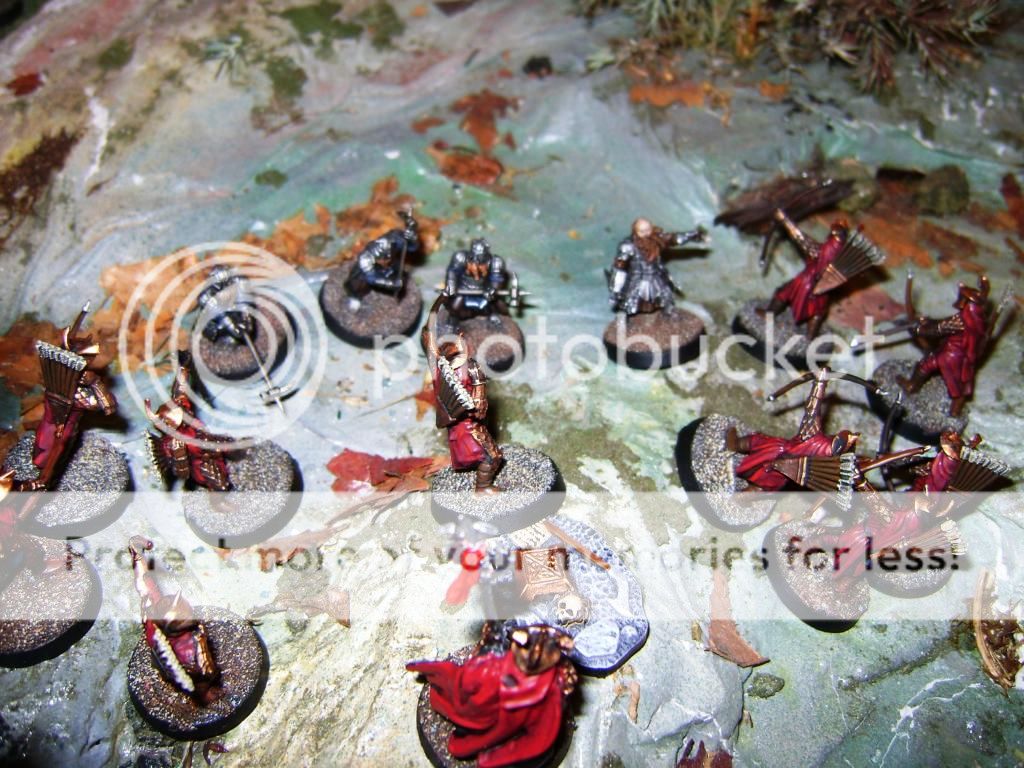
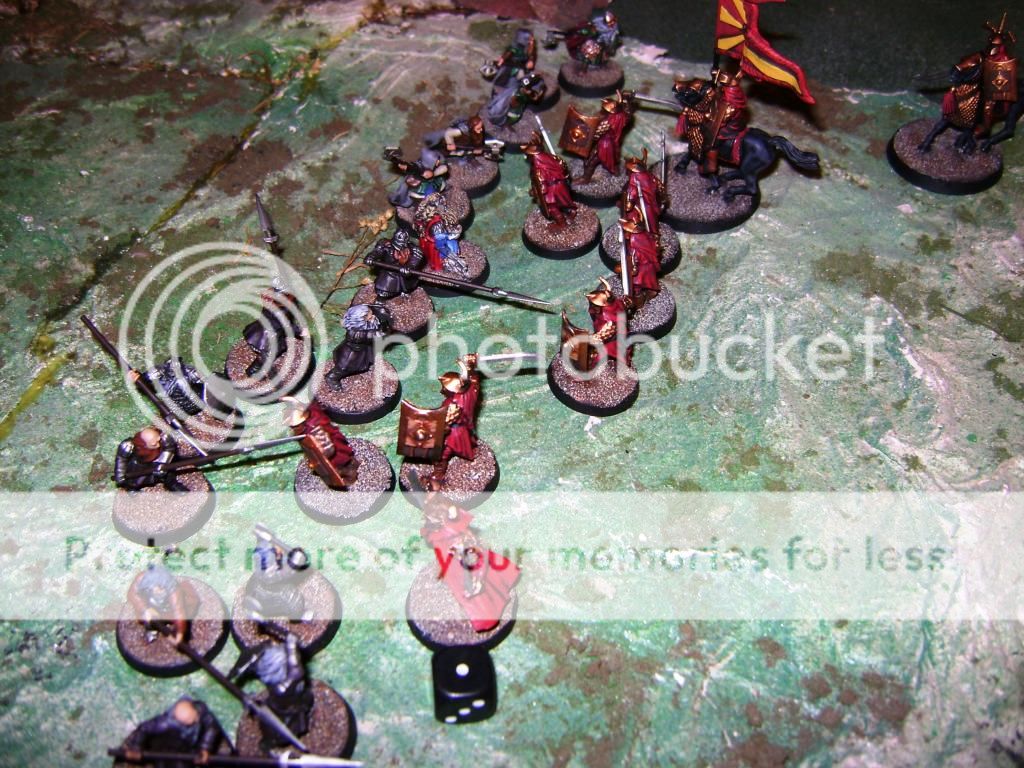
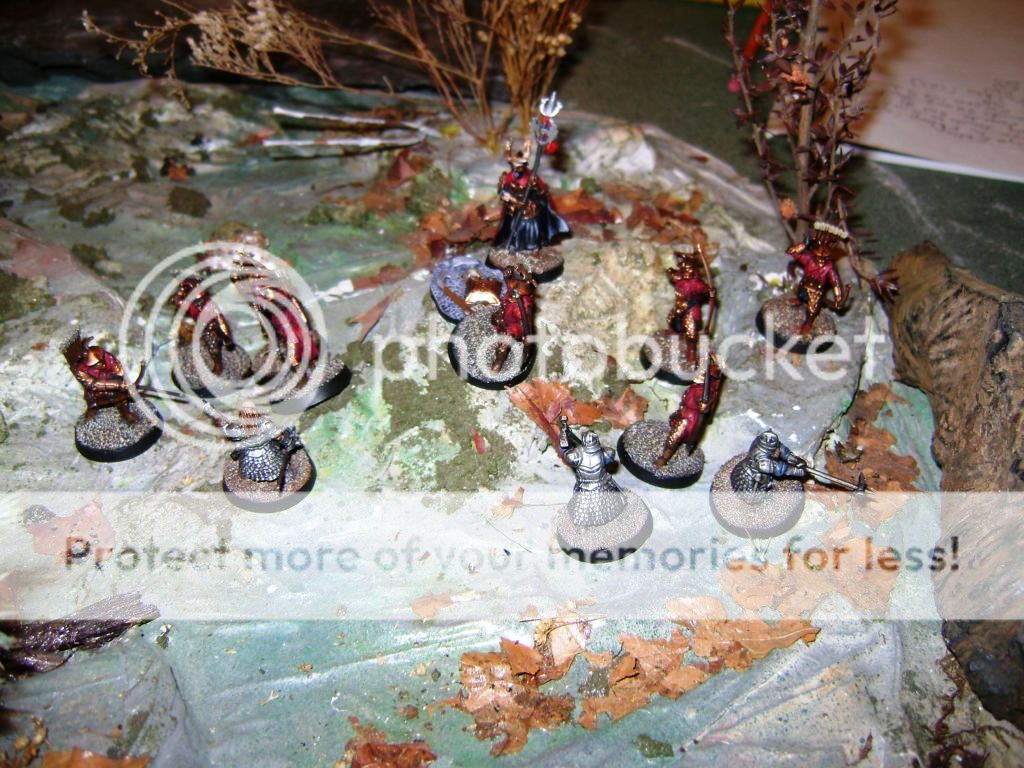
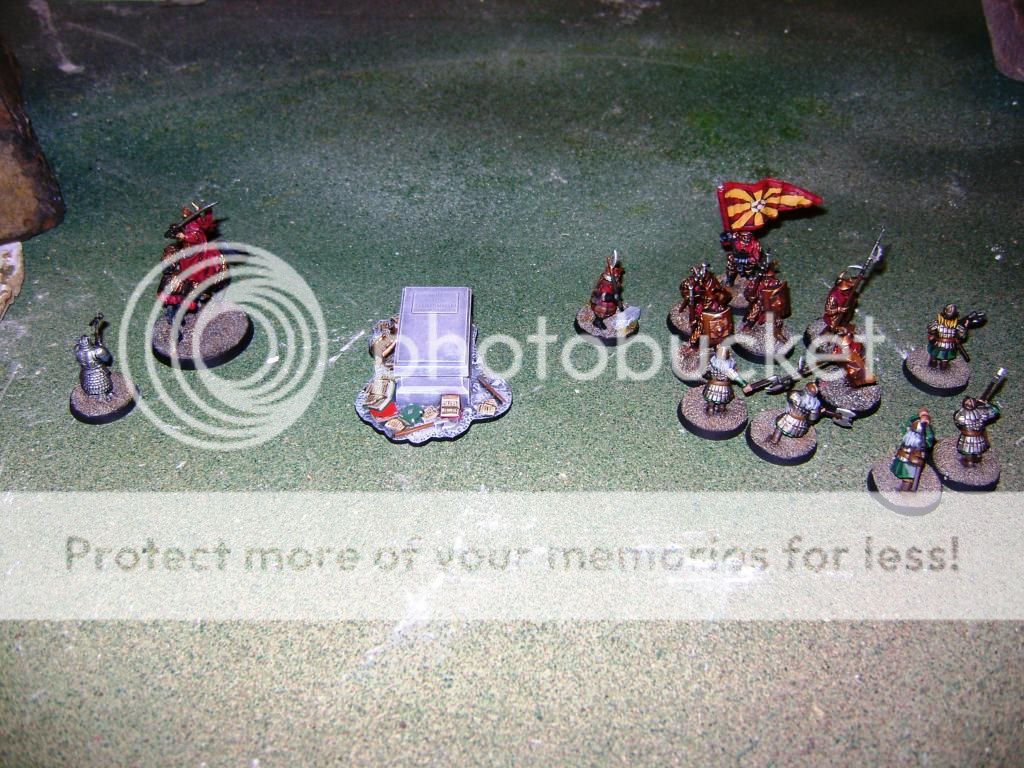
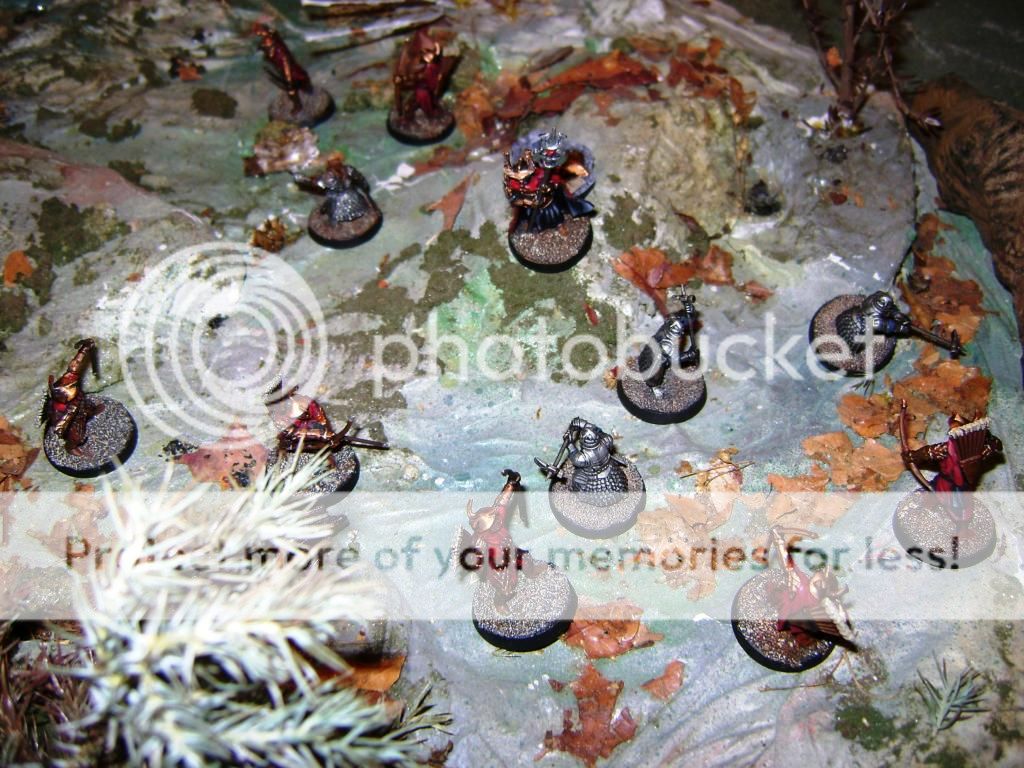
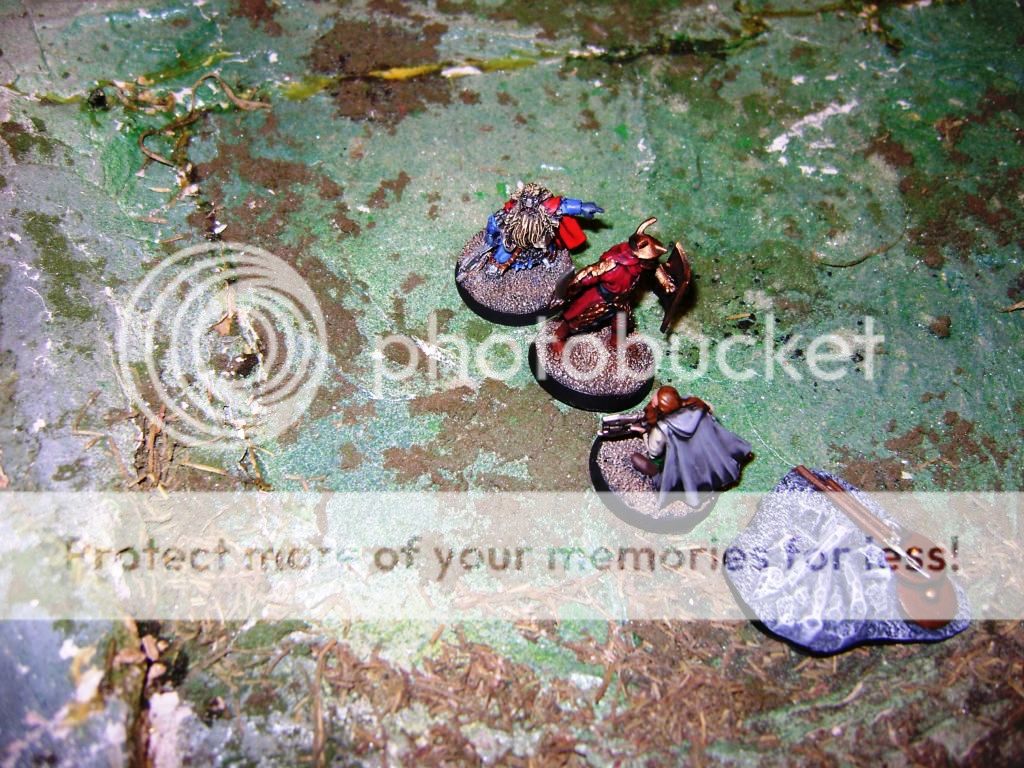
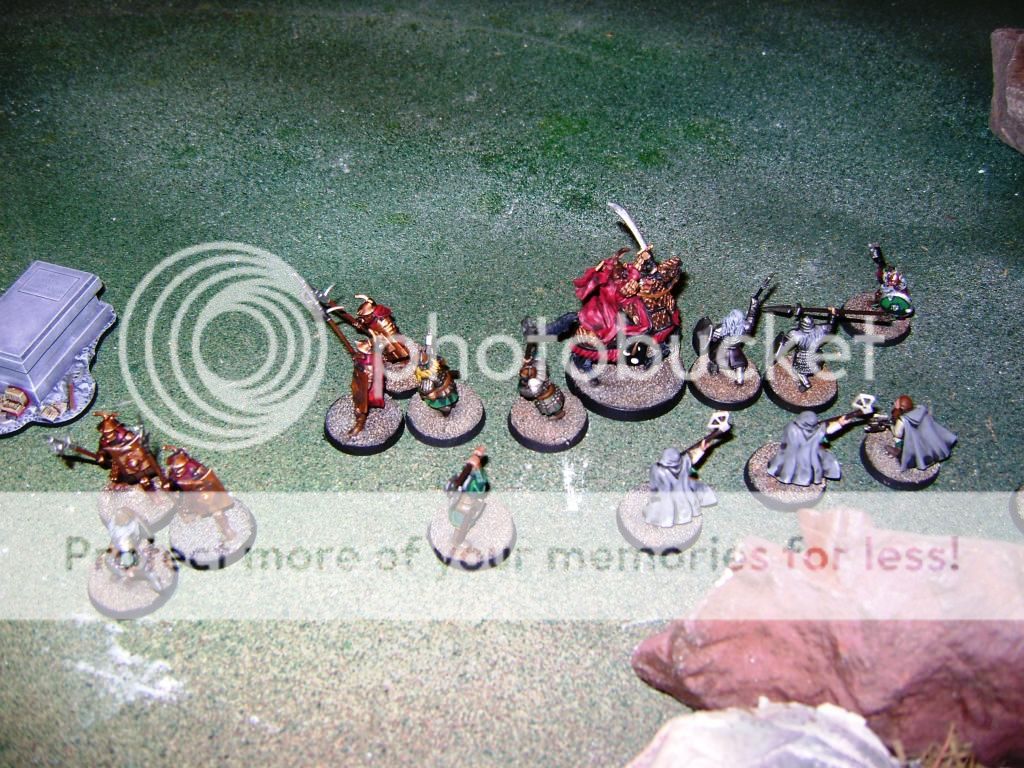
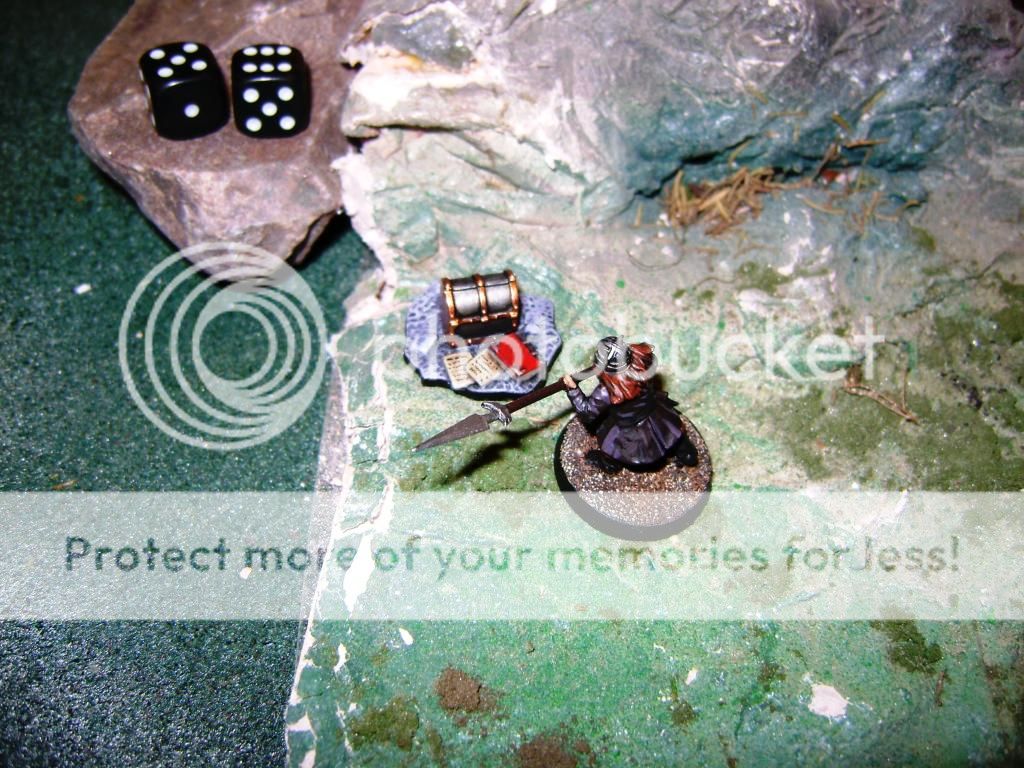
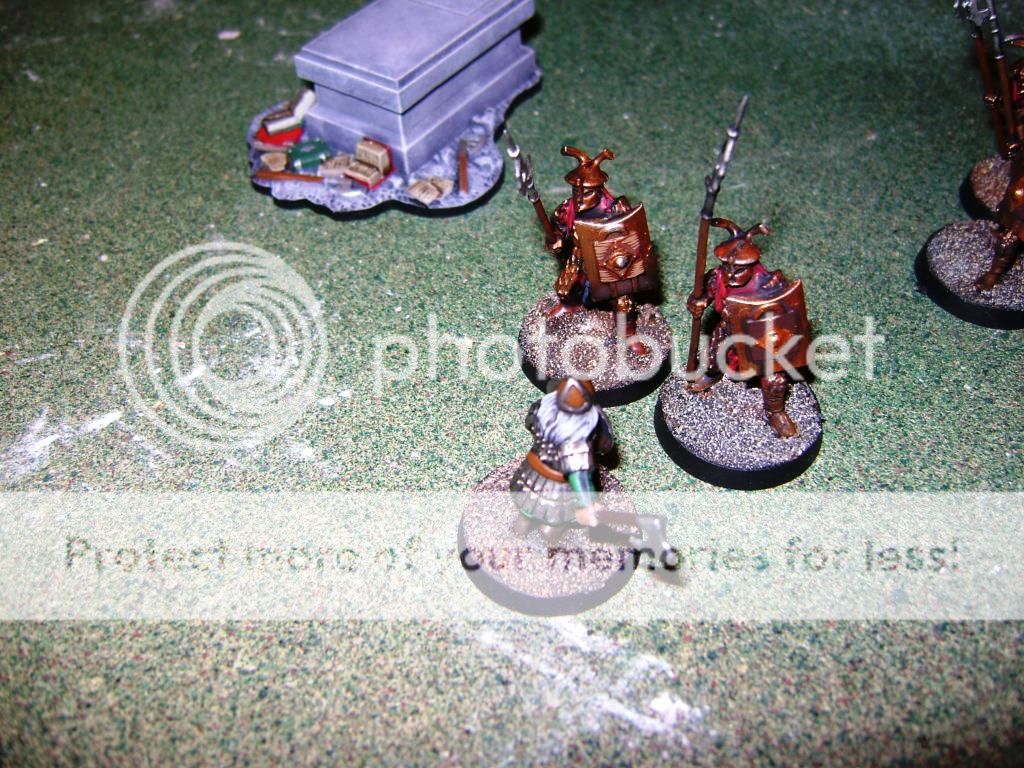
Our bloody battle started on the second turn of the game. I won priority and again moved my Grim Hammers toward the archers guarding the north west objective. Gimli and company moved toward the tomb, while Andy’s Easterling phalanx moved to it as well to immediately contest the central objective. On the right, Balin and his warriors, together with a few of my Dwarf Rangers, charged into the Easterlings head on, determined to cut through and steal the north east objective. The Dwarves got off to a good start, as Balin slew an Easterling, with a Warrior of Erebor following suit. However, the Easterlings were not going to make the Dwarf advance easy. The Dragon Knight spun his swords and decapitated one of my Warriors of Erebor in return, while one of my Rangers met an untimely demise at the end of an Easterling blade.

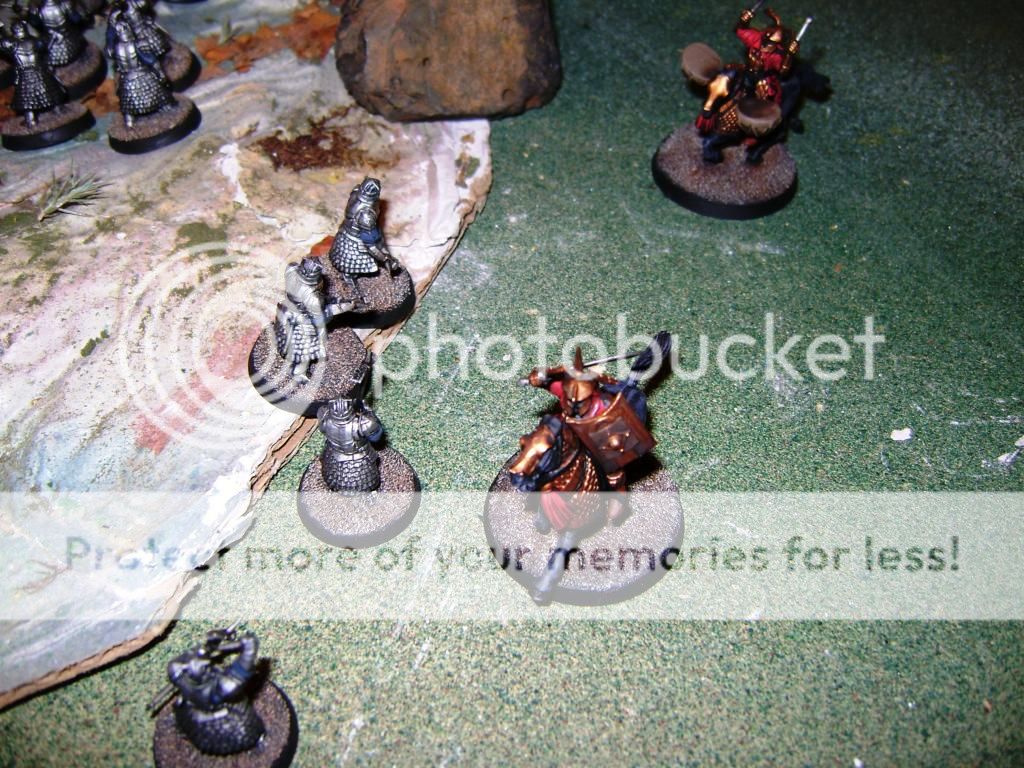
[b]Turn 3
Andy won priority this turn and things got deadly…fast. On the previous turn, Amdur and his Kataphrakts chose to stay back. I had wondered why at the time, but now his plan was going to become obvious. The group split up, with 3 Kataphrakts each headed to both the right and left flanks to offer support. It proved to be a good move, as one charged into 2 of my Rangers, killing both in one round of combat. On the other side of the field, another Kataphrakt charged and killed one of my Grim Hammers. This would unfortunately be a bad omen of things to come for my Grims later in the game. On the right, another of my Warriors of Erebor fell to an Easterling, proving that my high defense wasn’t actually invincible (though it was still troublesome for Andy). One of my Dwarf Warriors in the center also died. However, it wasn’t all Dwarf killing in the round. Another Kataphrakt charged into a different Grim Hammer, and, feeling lucky, I elected to use my pick for a piercing strike. My gamble paid off, as I won the duel and gained +3 strength, killing the horseman fairly easily. One down, only 5 more to go. Gimli charged the Easterling Captain at the tomb and threw a throwing axe. Despite needing high rolls, I miraculously managed to cause a wound to the Captain, though it was saved by Fate. In response, after the charge was completed, the Captain won the fight and wounded Gimli back, which I was able to save through Fate. The most important part of the round, however, was that the elite Dragon Knight lost his combat against a Warrior of Erebor and was wounded in the process. The Knight is a dangerous piece, and the sooner he was taken out, the better.
 Turn 4
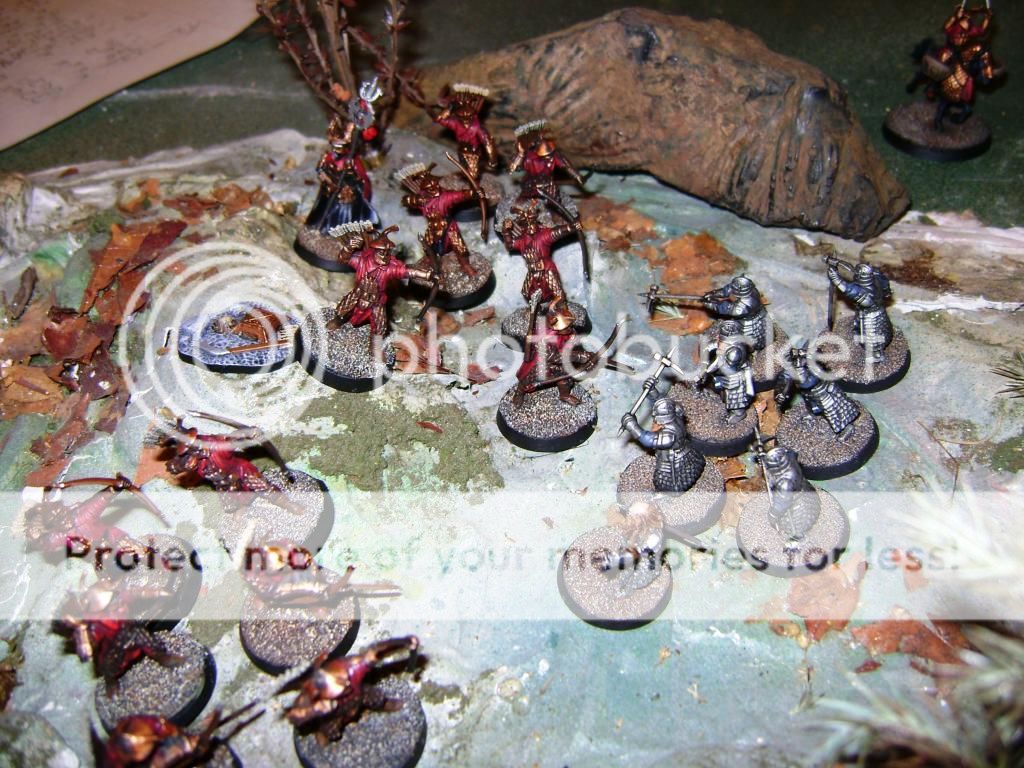
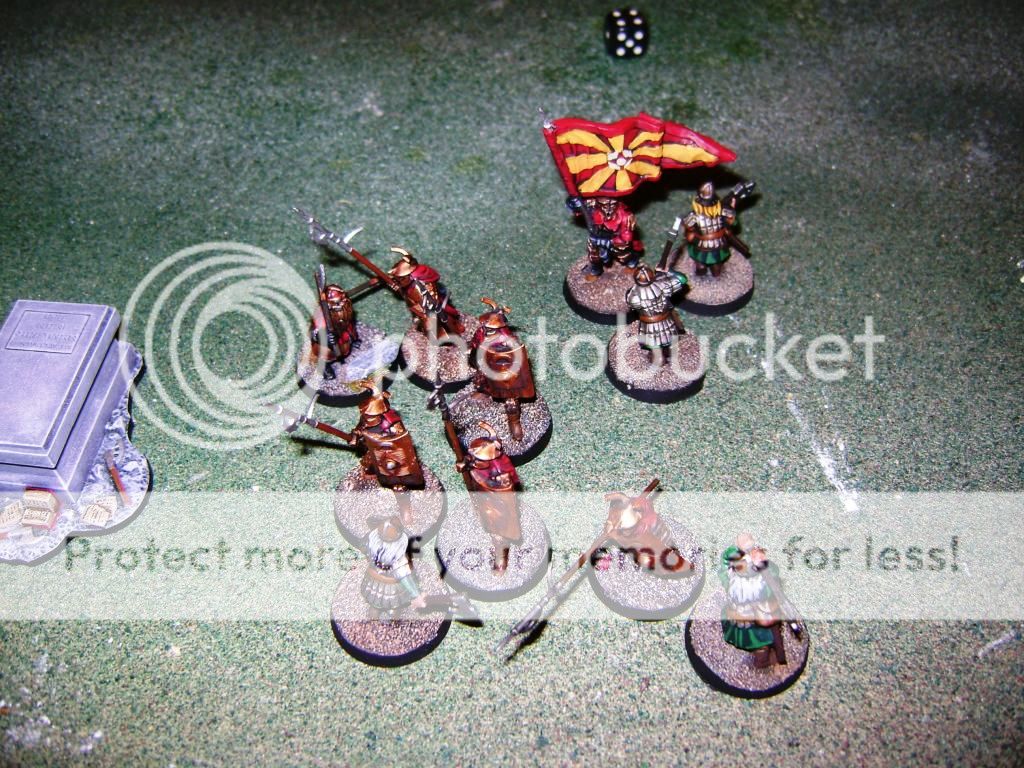
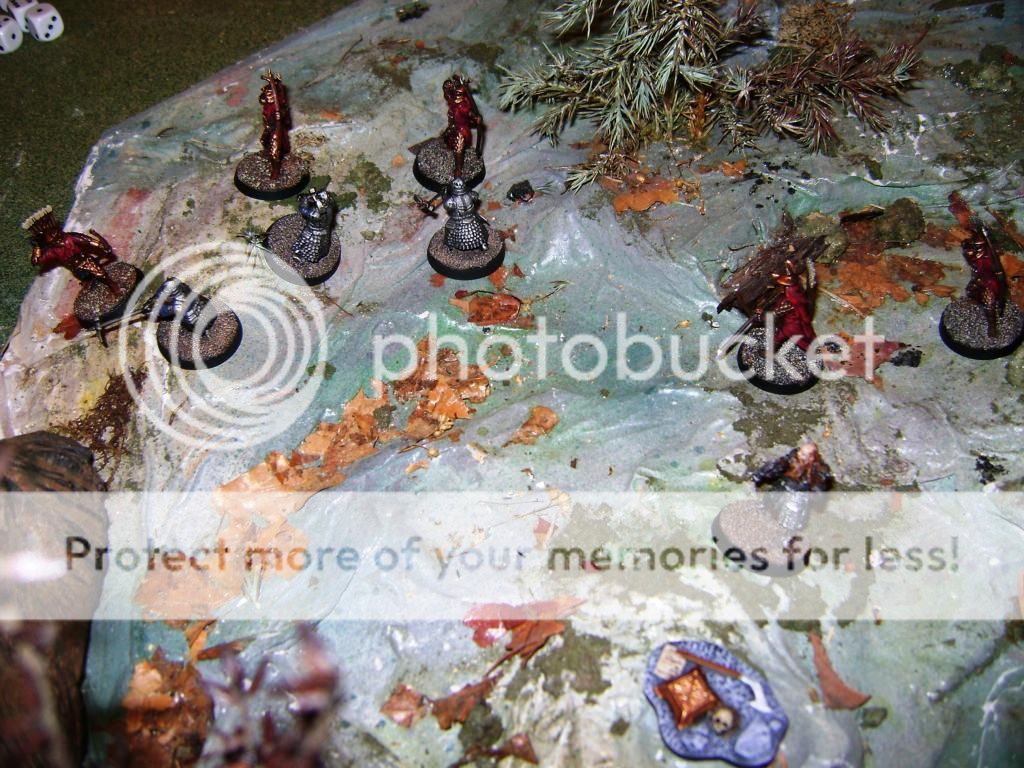
The bloodshed continued. I won priority and charged my Grim Hammers, who were finally in range, into the Easterling archers. Amdur saw this, and hurried to their aid, charging one of the Grim Hammers on the outside. The War Priest, sensing danger in for his squad, also cast Fury to give them a bit more staying power. They wouldn’t need it this turn, though. In my zest to overrun the Easterlings, I got too carried away with my piercing strike usage. It cost me dearly, as 3 Grim Hammers were killed by the Easterling defenders, in exchange for 2 Easterling kills (one by my Grim Hammer Captain). The Grim Hammers weren’t done being punished yet, either, as Amdur and the Kataphrakt with the War Drum both killed one each (though I did manage to kill another Kataphrakt in return). My Grim Hammers were my elite unit on the board, and losing 5 in a single turn really stung. 3 of them were preventable, since they were only brought on by my gambling with the piercing strike ability.
At the tomb, a Dwarf Warrior charged the Easterling Captain and managed to wound him. This was responded to by an Easterling killing a Dwarf Warrior (thanks in part to a fight reroll provided by a nearby banner). On the right, I managed to slay another Kataphrakt with my Dwarf Captain, while another Warrior of Erebor fell to an Easterling. All in all, a troubling turn for me, though hope was not yet gone.
 Turn 5
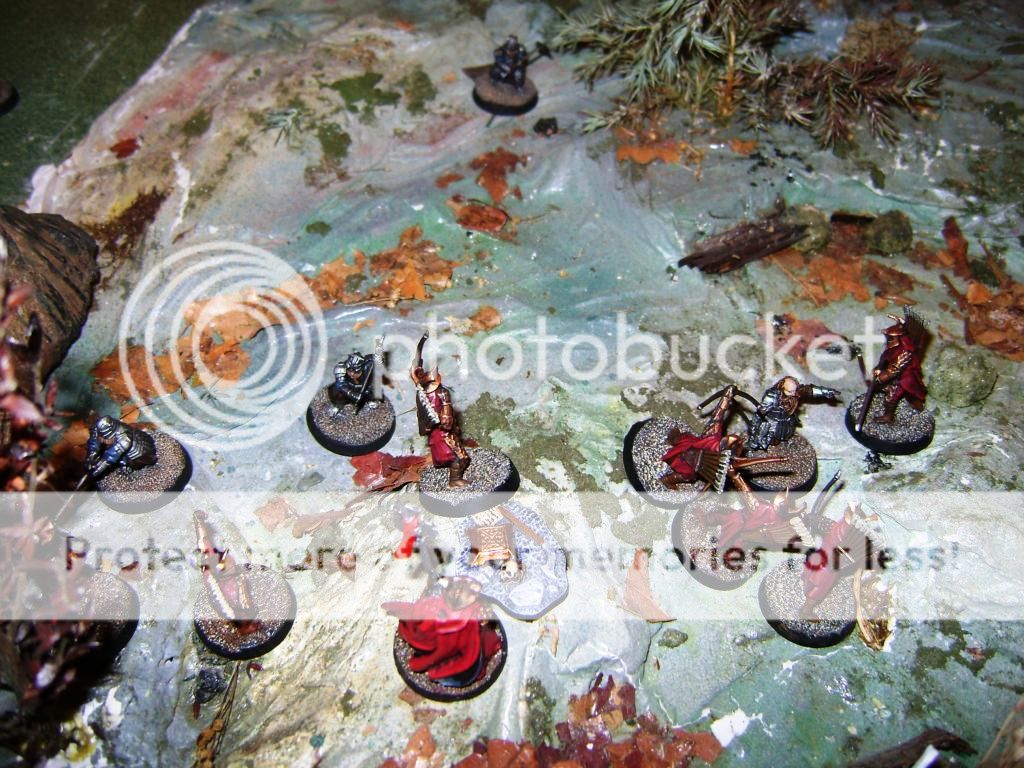
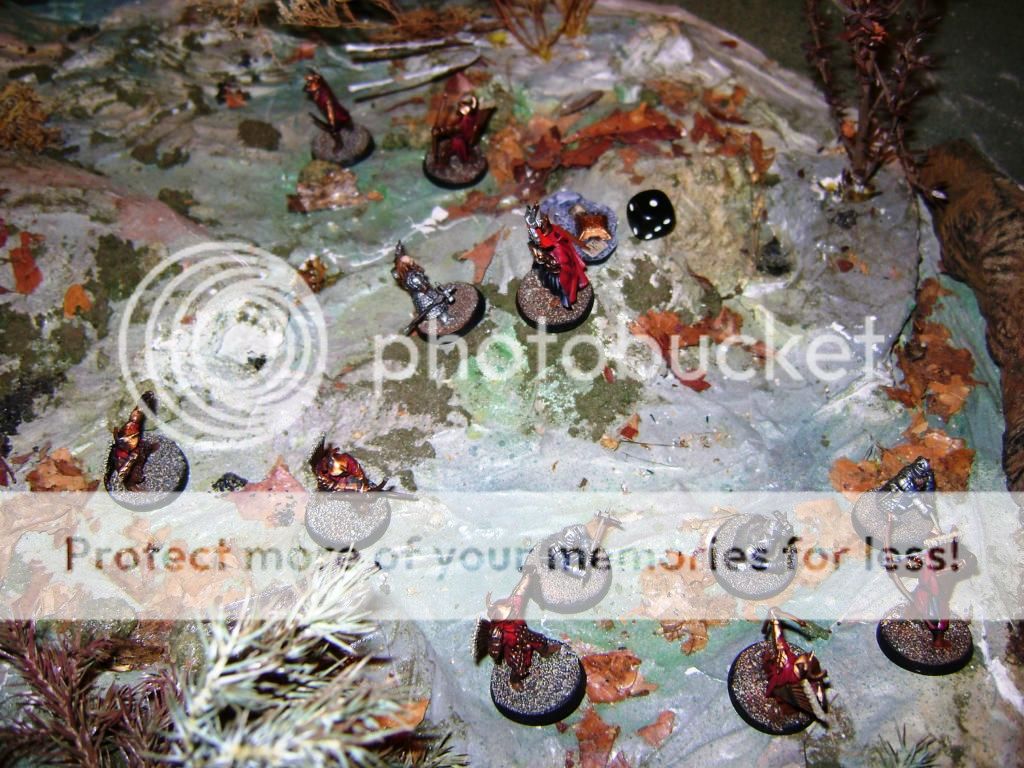
Things began to turn around for me. I won priority again and had Gimli charge the Easterling Captain contesting the tomb. With the help of a good roll and a little Might, I heaved a throwing axe right into the Captain’s head, killing him and changing course to charge into another Easterling. I don’t often get throwing axe kills, so this was awesome for me. Seeing my Grim Hammers getting pummeled, I made a risky decision. I advanced the lone Grim Hammer holding the south west objective to at least attempt to reinforce my quickly dwindling left flank. I then moved my Dwarf Warrior with war horn back to hold it once again. Dwarves move slow, and therefore it would take a few turns for my Grim Hammer to get up to the front line, as well as my war horn toting warrior to get back to cover the objective, but a quick assessment of the field showed that we weren’t in danger of ending the game yet, so leaving the south west objective uncontested for a few turns wouldn’t be too problematic. I prayed that my Grim Hammers would hold up in time for their brother to join them. In fact, I hoped it would be soon, as I watched in dismay as an Easterling, caring nothing for his comrades, shot into combat, narrowly missing his friends as his arrow wounded my Grim Hammer Captain, forcing me to spend my only Fate point to avoid harm. If the Captain fell, I was in big trouble. Another Grim Hammer wasn’t so lucky, and perished at the feet of another Easterling. But such is the determination of the Dwarves that even though their friends fall, they will fight to the last man. My Captain, leading by example, called for a piercing strike on a bowman and, with seeming expertise, won his fight. He gained +2 strength and struck down the Easterling before him. Inspired, another Grim Hammer did the same thing. Calling for a piercing strike, he won his battle, too. Coincidentally gaining +2 strength, he dispatched another Easterling from battle. The tenacity of Dwarves is certainly something to be admired.
The tomb saw no death in this turn, but the right flank saw much human blood spilled. My Dwarf Captain charged an Easterling, killing him with ease. 2 more Easterlings also fell to my Warriors of Erebor. I also charged the Dragon Knight, attempting to dog pile him with 4 Warriors of Erebor, but he expended all of his Might to win the duel. However, the dice gods weren’t smiling upon him at this time, as he missed every roll to wound.
 Turn 6
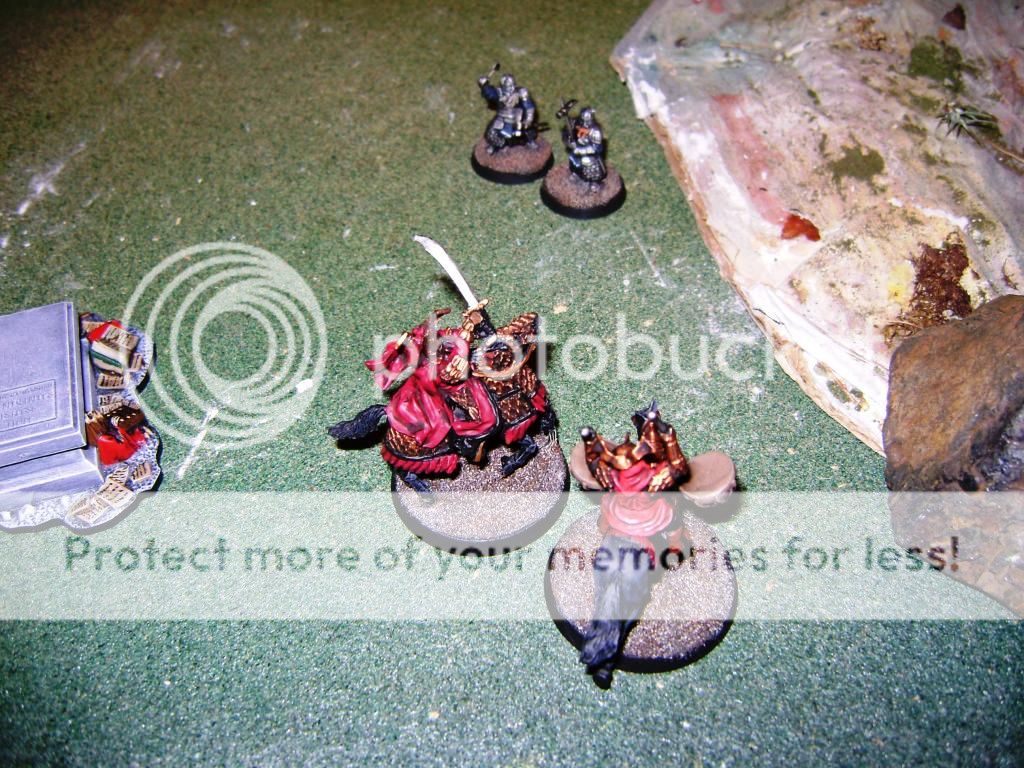
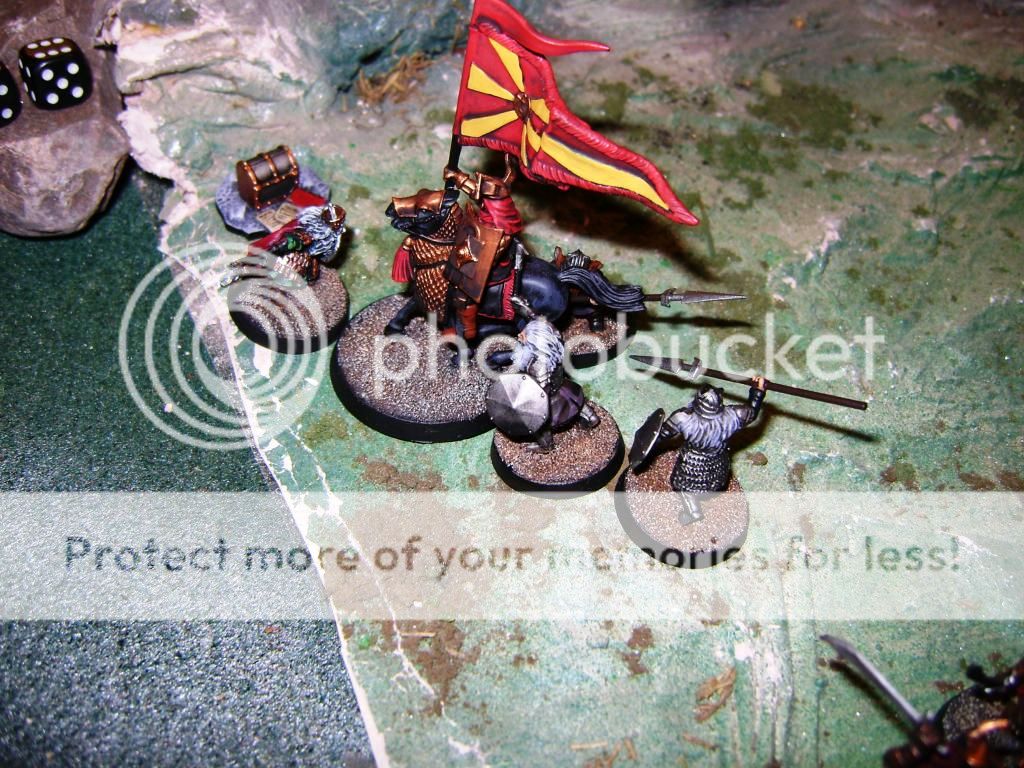
For the third turn in a row, I won priority. Andy called a Heroic Move to ensure Amdur would charge the Grim Hammer nearest to him, wanting the charge bonus, and the Easterling Drummer nearby followed him. I started off by moving my horn wielding Dwarf further towards the south west objective. Judging by distance, he’d make it there in turn 7. My lone Grim Hammer hurried as fast as his stubby legs would go to try and reinforce his fellows. Balin charged an Easterling and threw a throwing axe, and in a spectacular display of skill, killed the warrior, allowing him to charge another. 2 throwing axe kills in one game…for a team I’m playing with, that’s virtually unheard of. Also on the right, my Dwarf Captain, along with a Ranger, snuck up the side of the massive battle going on and charged one of the last Kataphrakts. I won the combat, and my Ranger used his two-handed axe to cut the Kataphrakt down. This allowed me to knock Andy off of the north east objective and give me sole possession of it. My dog piling of the Dragon Knight finally worked, as it took 4 Warriors of Erebor to finally put him down for the count (which was a big victory). Other than that, another Ranger and Warrior of Erebor killed an Easterling each, while in the center, Andy and I traded kills. I was now in control of the right flank, while things in the center were fairly even.
The left flank with the Grim Hammers got quite a scare, however. Once again, displaying no regard for human life, several Easterlings took aim and fired their bows at my Grim Hammer Captain, who was in combat with 2 other bowmen. Their gambit paid off, as their arrows found their mark. Andy needed a 6/4 roll to wound the Captain. He rolled the dice…double six. I groaned. He defied the odds and got a huge roll when he really needed it. Now, he needed only 4s to kill him. Andy rolled again…SNAKE EYES. Andy was absolutely shocked. I, of course, breathed a big sigh of relief. My Captain was on the brink of death, and his armor managed to stop both shots. Never have I seen someone make such a big roll, and follow it up with the polar opposite. Nearby, I scored another major victory as my Grim Hammer, emulating the fighting spirit of his Captain, won his combat with the Kataphrakt drummer and killed him. Amdur was most displeased with this, and took it out on the Grim Hammer he had charged, slaughtering the poor fellow with utmost malice.
Things had now swayed back slightly in my favor, but there was much game left to play.
 Turn 7
This was a short turn, but an eventful one. Andy won priority this time. The Kataphrakt banner bearer, seeing the Dwarf Captain and a Ranger now holding the objective in the north east, charged the Ranger, trampling the poor guy underfoot and before making him into a shish kebab with the banner. In the center, an Easterling Warrior killed another of my Dwarf Warriors, though I felt confident that they would hold. On the left, all of the Easterling Warriors spread out so as to minimize a potentially lethal charge from my Grim Hammer Captain. It worked-my Captain could only charge one, and despite winning the combat, couldn’t wound his target. In the past couple of turns, I tried to be more sparing with my use of piercing strike, but one lone Grim Hammer got charged by Amdur and I figured that if he was going to die anyway, I may as well take a shot. Amdur rolled horrendously and I won the combat. Gaining +2 strength, I managed to wound Amdur, AND he failed his Fate roll. I had now just scored a
VP.
 Turn 8
Andy again won priority. He kept moving his bowmen around to try and snipe me, but my few remaining Grim Hammers kept giving chase, though they couldn’t kill anything. My Grim Hammer Captain, on the other hand, knew that someone of his status needed to set a good example for his troops. He charged the Easterling War Priest sitting on the north west objective and wounded him. The Priest failed his Fate roll, meaning that I was one step closer to removing those pesky Fury saves.
Amdur, on the other hand, regained his composure after suffering a wound last turn and with a ferocity matched by few, gutted the Grim Hammer who dared to lay a hand on him.
My Dwarves in the center must have gotten the news about the heroic Grim Hammers continuing to duke it out despite being horribly outnumbered, because one of my warriors charged and slew the Easterling carrying a banner. However, now was not the time for celebration, as the menace from Rhun still maintained a heavy presence in the area.
On the right, my Dwarf Captain was charged by the Kataphrakt banner bearer, but he didn’t see the 3 nearby Warriors of Erebor, who encircled the elite rider. My Captain, seeing his comrades, felt a surge of confidence and he struck the Kataphrakt down. A Ranger also managed to lay out another Easterling with his axe. Overall, a good turn for me.
 Turn 9
Andy won priority and since he was broken (score another
VP for me), had to make Courage tests, passing all of them. He started by charging Amdur straight into Gimli’s rear, while closing in 3 more Easterlings around his front. My plucky leader was now trapped, and Amdur made him pay. Raising his mighty blade above his head, he brought it down straight across Gimli’s back, causing 3 wounds in total. Gimli was now out of the battle, netting Andy 3
VPs for slaying my leader.
However, the rest of the turn was dominated by yours truly. The Grim Hammer Captain, seeing the War Priest reeling after taking a wound last turn, charged again and finished him off for good, taking control of the objective.
On the right, Balin raised Durin’s axe, charged and killed a rogue Easterling who had made a bee line for the south east objective before he had a chance to really contest it. With that secured, 2 Warriors of Erebor killed 2 Easterlings, while a Ranger slew another. With the right flank now completely in my control, my Dwarf Captain and a few warriors and Rangers starting making their way west to help reinforce the center, which was now in trouble with Gimli gone. Still, the 25% mark for Andy’s team was fast approaching.
 Turn 10
Andy won priority again, but still managed to pass all of his Courage tests. Amdur started off by charging my Dwarf Captain, and after winning the Fight, caused 2 wounds to him, though I saved 1 with Fate. A Dwarf Warrior nearby, angered by the sight of the enemy leader taking down so many of his friends, took out his rage on the nearest Easterling, killing him swiftly.
Finally, my Grim Hammer Captain saw that the Easterlings around him were moving closer to the north west objective, trying to ensure it stayed in their control. This he could not allow, and so he charged into one and ended the battle for him.
 Turn 11
Andy won priority for the 4th turn in a row, but his streak of good Courage rolls was about to run out. Of his 6 Easterlings on the left flank, 5 ran away (no doubt terrified of facing the Grim Hammer Captain’s wrath), leaving the last one to fend for himself as he ran toward the objective, desperately trying to deny me of it. This was unacceptable to the mighty Grim Hammer Captain, as he brought his pick hammer down squarely on the Easterling’s head (though he did have a bit of help with Might to find his mark). Even though I had the Captain, plus 3 Grim Hammers on the left flank for almost the entire game, despite suffering heavy losses early on, they had persevered and claimed the north west objective in Erebor’s name. The Captain let out a rousing cheer, congratulating his comrades on a job well done (and a victory well deserved-they had overcome odds of over 2-1 and won the objective).
Andy’s forces were now well below 25%, and since the battle was going to be ending on this turn, Amdur roa
red with anger. As his warriors still held the majority of control over the center, he dispatched 2 more Warriors of Erebor (and thus, breaking my force). However, it would not be enough.
Andy scored 1
VP for breaking my force, 1 for having more models near the center objective and 3 for killing Gimli, my leader. I, however, got 1 for wounding Amdur, his leader, once, 1 for breaking his force and 12 for controlling each other 4 other objectives (3 each). Finally score: 14-5, and a win for me.

 Closing Thoughts
The battle of the high defenses was a lot of fun, probably one of the most fun games I’ve played thanks to the Grim Hammers. I love having odds be stacked against me, because I get a lot of enjoyment out of trying to overcome them through playing well. At one point, my Grim Hammers were facing 10 Easterlings, including the Priest, while they numbered about 4-5. Being able to fight back from such a deficit was highly entertaining, for me, because I really needed to focus on which models were of higher priority to kill and then just rely on some good old fashioned luck, with some strategy as well.
The Easterlings are a tough crew to take on, but I think Andy should have charged my Grim Hammers instead of relying on bows to do me in. My defense is too high for that, and so he’d have had a better chance of killing me if he’d simply gone into close combat.
I have to say I was a bit disappointed by how the Dragon Knight did, but I was definitely impressed with Amdur. He’s only got 2 attacks and 2 wounds, but he’s got some killer powers that benefit him and others around him. He can be a real force to be reckoned with, if played properly.
Warriors of the Match
For my team, its obviously the Grim Hammer Captain. Even though his warriors fell, he kept chugging along, leaving Easterling corpses in his wake, and most importantly, giving enough confidence to his few remaining warriors to keep fighting and help secure the objective in the north west. Not only did 3 warriors end up surviving, but the Captain himself took the objective when he killed the War Priest. Seeing all of the other Easterlings run away on the last turn was quite amusing-it was like they were scared of the Captain’s awesomeness.
For Andy’s team, I’ll go with Amdur. He was one of the few models with a long charge range, which automatically gave him a big advantage, but killing Gimli in a single round of combat was quite impressive. Add in the several other models he killed, and his ability to move around the board quickly, and he was a pretty dominant figure.
Tune in next time. Hope you enjoyed the report.


 Proudly Gaming in the Toronto Area since 2002


 Krieg 6k
 Necrons 2.5k
 Space Wolves 5K
