xraytango wrote:Good start!
It could just be the lighting/camera/monitor but that yellow looks very similar to the old Citadel Foundation Iyanden Darksun. Not at all familiar with what they replaced that with.
I would build up to a next brighter yellow, then base anything you want gold in a brown or black for silver.
I don't own an airbrush, but I have used a brown to prime with, then I undercoated with Army Painter's Demonic Yellow, knocked it down (it is a bit bright) with Devlan Mud (now Agrax Earthshade appx) then brought it back up with a bright yellow drybrush.
Priming with brown gives a nice warmth to the yellow that white doesn't and black makes everything mucky under yellow.
I am using my Galaxy S5 cell phone as a camera, and I'm also cheating a bit considering I have an old 1950s goose neck desk lamp I'm using for modeling (looking for something LED) which elicits slightly richer a yellow, but still the image is pretty consistent with what they look like in person. I'll take a sunlight photo first thing in the morning to convey the yellow as accurately as I can with my meager photographic means (
lol).
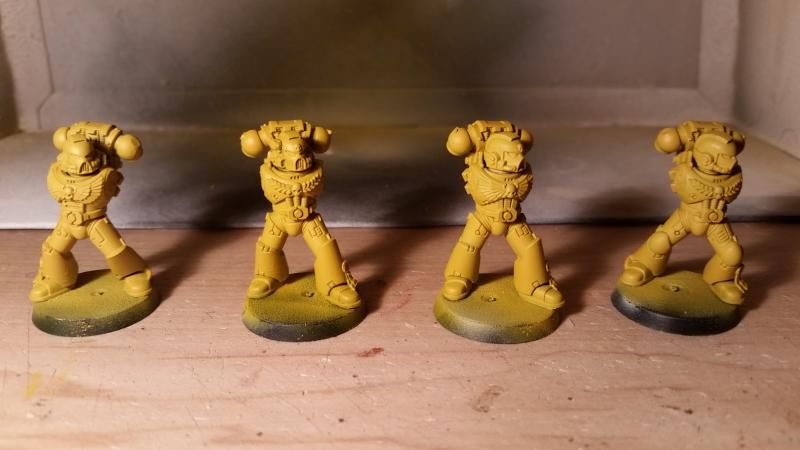
I have several posts on here where I was testing primer methods and basecoats for Imperial Fists. Over several recommendations I was pointed in the direction of Army Painter Daemonic Yellow. Seems to be the go-to choice for Imperial Fists artists that don't use an airbrush. I'm a fresh beginner (about a month since I purchased my first model), so I may just be total rubbish with a rattlecan, but
AP Daemonic Yellow goes on REALLY REALLY thick. It took out most of my details, but then again I've seen a lot of great paint jobs done with it, so I chalked it up to either me sucking at it, or being in South Florida, its just too humid for a primer/basecoat combo.
I think I already messed up the order on painting though, because I realized that when I highlight to the brighter yellow with the airbrush, I'm gonna need to tidy up some of the wash. So, lesson learned -- prime, basecoat, highlight THEN wash.

I also tried the
GW Zandri Dust as a primer but the yellow was a bit dull for me. I want my Fists to look like they spend most of their time polishing and buffing their armor. Bright canary yellow for me!
But it would work great for more dull, battle-worn look. I'm probably going to use this recipe for my
HH Fists (up next after I get through this 2,000 point army).
RileyJessup wrote:What primer and yellow have you used to achieve this the yellow looks great so far!
Thank you!

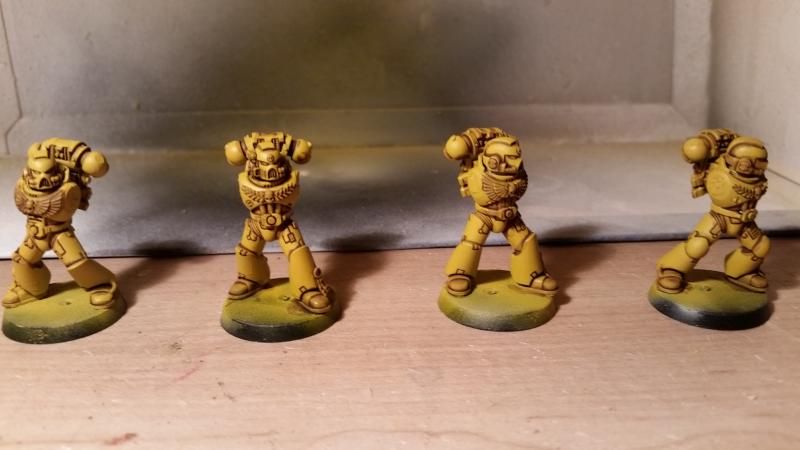
I used an airbrush -- Vallejo surface primer and Vallejo Game Air Golden Yellow and
GW Agrax Earthshade for the wash.
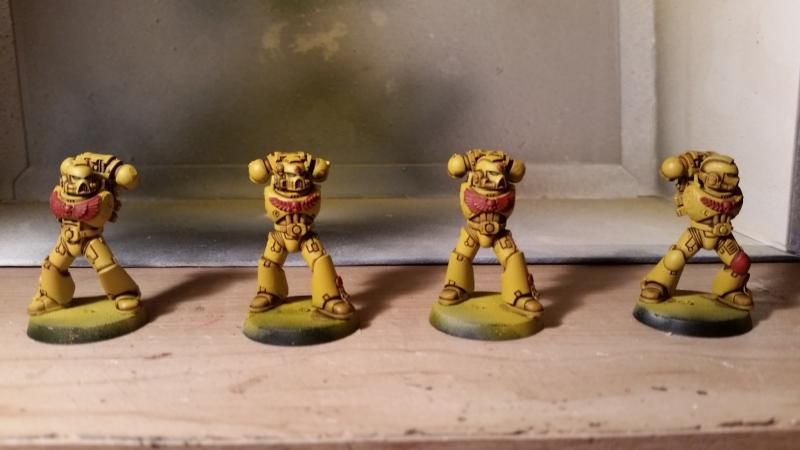
Johnson & The Juice Crew wrote:That wash makes such a big difference. Good job
I must get an airbrush and mass paint some models. How long did those 4 take to get to that point?
Thanks a lot!
20 minutes, and from what I understand that's a pretty slow pace especially for the airbrush.
Zambro wrote:Wow, nice looking yellow!
Will definately keep an eye on this

As for thickening Game Air, why not just get the Game colour paint? Game air and game colour are the same colours, only VGA are thinned for use in an airbrush (ergo, VGC are 'thicker').
Had no idea that existed. Is there a way to match the color code for Golden Yellow to something comparable in the Game Colour range? Definitely going to check this out. This is likely the answer I'm looking for. I was dreading having to throw down 3-4 layers of "tidying". Trying to use as little and as thin of paint as possible to try and achieve something a little higher quality than "table ready".
Zambro wrote:For batch painting, I've always found that the number of models per batch is very important. If the model is quite simple to paint, then a bigger batch is just as good. If there is more detail on the models, breaking it up is a better idea. For example, those tactical marines, I would probably do them in 5s. Once the yellow is done, it's basically silver, black, red and the occasional spot detail. If they were sternguard with all their fancy kit and extra bits, I'd drop the batch to 3.
You will need to experiment around with different size batches etc. to find your own personal preferences.
Excellent words of advice. Thanks. I figured 4 was a nice round number, and considering they're the last 4 victims of my first test
tac squad, it was also a convenient number (they were never intended to be a test squad, but my cakey/crappy paint jobs, recipes, etc. to get to this point will force me to either strip them or buy another squad, not sure which, but that's a whole different thread I plan on posting!).
I think 5 would be a nice round number. I still have to practice a bit more with the airbrush. I tend to spray on a little more than I'd like and I get these "water streak" textures here and there as a result, but I think that all has to do with getting a feel for the trigger (
HP-
CS), and once I have that down as if the airbrush is an extension of myself I think that won't be much an issue any longer.
Thanks so much for checking out my work, everyone!