Alright so I hope you're ready for some Renegade action, this will be my second game and again I'll try to take on the blue power armored aggressor - the Ultramarines! Why oh why cant they leave my world alone? We don't want no part in your "Empire"! We're just some honest folk, leave us be!
Heh, anyway, here we go!
Pre-Game thoughts
I narrowly squeezed out a victory last time, in my first real game with
Renegades vs my friends Storm Ultramarines (him playing
SMs for the first
time in 7th). I feel like a have a good shot at winning this one, largely
using the same list as I think it worked well with lots of AP3, which I
think is huge when playing Space Marines. The only thing I changed was
adding a Sigil to all my Troop units and swapping the Blood Slaughterer for
a Blight Drone, and the Veterans for a unit of Plague Zombies as I wanted
to try out both a Khorne and a Nurgle list before deciding in which
direction to go.
The lists
Renegades and Heretics
Nurgle Heretek
Renegade Command Squad, Lascannon
Nurgle Decimator with Storm Laser
Blight Drone
3x 10 Renegades
11 Plague Zombies
Bane Wolf
Leman Russ, stock
Colossus Bombard
Medusa
Void Shield Generator (3 shields)
Ultramarines
Captain Sicarius
Tactical Squad (Missle Launcher)
Tactical Squad in Rhino (Missle Launcher)
Tactical Squad in Drop Pod (Missle Launcher)
Devastator Squad (2 Missle Launchers, 2 Lascannons)
Devastator Squad (2 Missle Launchers, 2 Lascannons)
Devastator Squad (2 Missle Launchers, 2 Lascannons)
Skyshield Landing Pad
The Mission
We played an ITC style mission and combined Will of the Emperor with
Maelstrom. Bonus objectives were Linebreaker, Warlord and Big Game Hunter
(awarded to the player that kills the most expensive unit during the game).
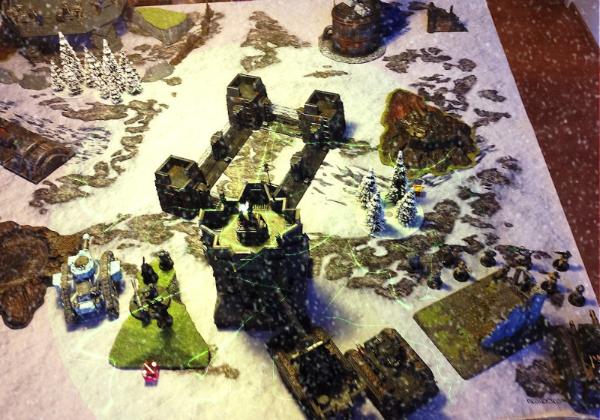
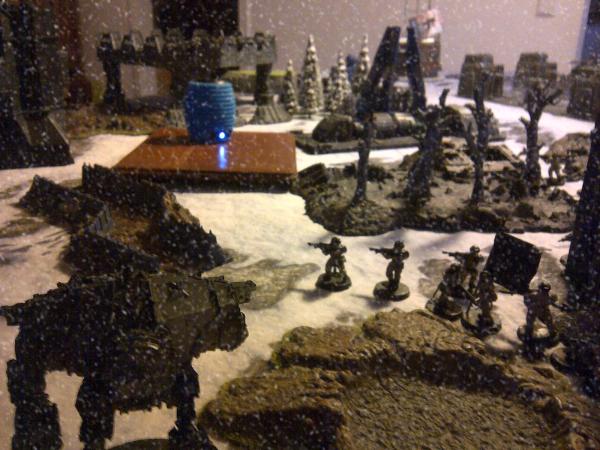
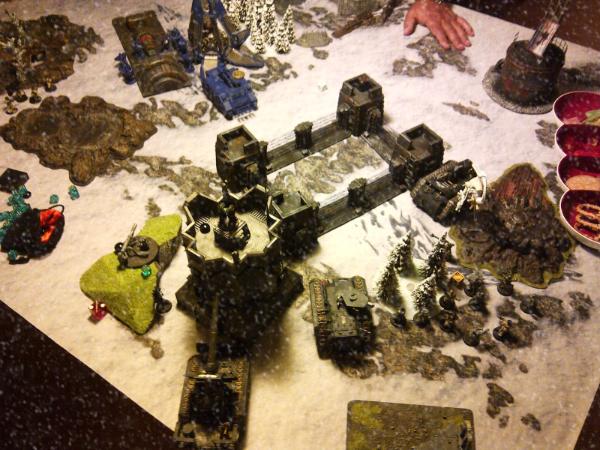
Deployment - The silence before the storm
I got to deploy second which I liked, as it allowed me to easier place my
valuable artillery in hard cover. He deployed the Skyshield centrally to
cover as much of the board as possible. The first
Tac Squad joined Cptn
Sicarius next to his WotE objective on his right side, and the squad in the
Rhino was deployed all the way on his left, the side where Maelstrom
objective 2 sat (closer to me though).
I deployed my shield generator and stuck the Bombard right behind it,
blocking
LOS to the Devastator squads. I then placed the Medusa next to it
and back a little, also limiting
LOS very much. My Bane Wolf went out of
range of the
Devs on my right flank, hugging the board edge and hopefully
scaring the Tactical Squad in their Rhino to stay inside their transport.
My Decimator I deployed all the way on my left flank to move up and present
another high
AV threat. The Leman Russ unfortunately I had to place in the
open, but at least underneath the protective shield dome. With AV13 it
should hopefully be OK. The lascannon team in my Warlords squad found a
little hill (my Emperors Will objective) to set their weapon up on, and the
infantry went into the center and left of my line to move up towards
Maelstrom objective 1. The plague zombies set up on the right next to the
Bane Wolf to claim Maelstrom objective No. 2.
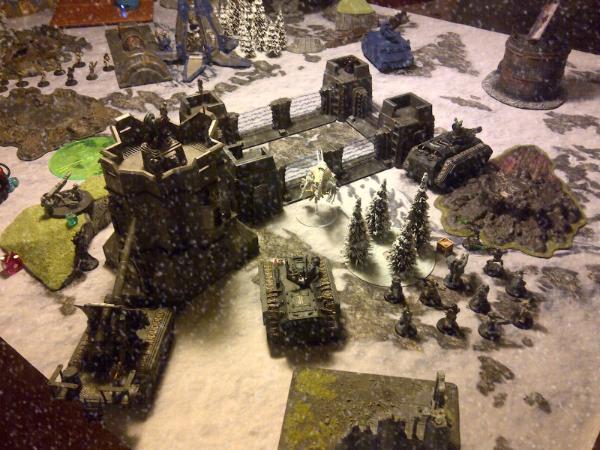
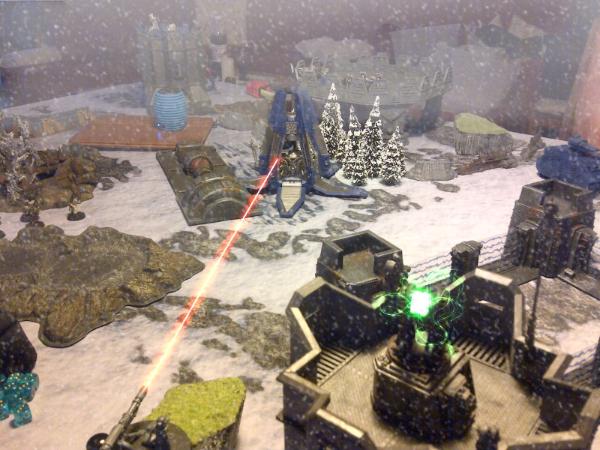
T1 - Firestorm
Unable to seize I buckled down and hoped to weather the Lascannon and
Krak-Missle storm. The Drop Pod landed next to Maelstrom Objective 1, with
the invading giants in blue piling out, claiming it. Captain Sicaran’s
squad move to occupy the Bastion and his Emperors Will objective. Then the
shooting started.
Combined heavy weapons fire saw all void shields evaporate and my Leman
Russ explode, taking 2 of the Renegade Command Squad with it.
Could have been worse I guess, last game I lost the Medusa in T1, so I
guess the remedy to this problem is to bring more tanks!
Having taken the first punch I wanted to make sure my return strike would
be at least equally effective! I try to regenerate some shields (no luck),
move my infantry up, my Medusa moves into range of the Skyshield and the
Devastators, and my right flank moves up also. Then I open fire. My plan
here was to kill those 15 marines on the landing pad faster than they would
kill all my armor. With lots of AP3 templates and my regenerating void
shields offering some protection, I was hopeful even with the 4+ invul the
Ultramarines would get.
My first shot, the Medusa, hits, and annihilates a whole Devastator Squad
(my friend failed 5 out of 5 4+ saves - ouch). Unfortunately the Bombard
missed, as did the lascannon. Lasgun fire and supporting fire from my
Decimator whittled down the Tactical Squad from the Drop Pod somewhat.
T2
Unhappy with the loss of a whole heavy weapons squad, but no less
determined, the Ultramarines consolidate somewhat, with the Rhino moving
about a bit, unsure of what to do with my Bane Wolf threatening.
Shooting seems my Decimator taking some heavy damage, ultimately dropping
under the weight of fire. There goes Big Game Hunter… Some Infantrymen also
get mowed down by bolter fire, which makes me reconsider moving up one
squad on the left with the Decimator.
In my turn I promptly turn those poor soul around to abandon the enemy
Emperors Will objective and instead push toward Maelstrom No. 1. I also
claim Maelstrom No. 2 with my Plague Zombies. Oh and I again fail to
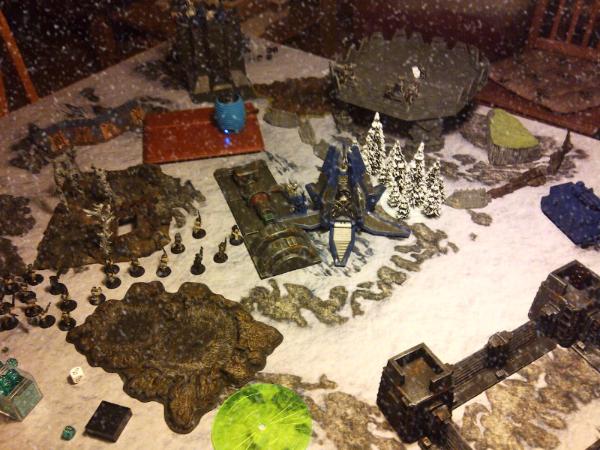
regenerate a Void Shield, the Decimator refuses to get back up for now, but
at least a Plague Drone appears, humming over the battlefield like some
grotesque and mutated, gigantic bumblebee. My Bane Wolf pushes forward to
turn the corner next time and move toward Maelstrom 1.
Lasgun shooting drops more Space Marines on the Maelstrom No. 1, allowing
my to claim it. My artillery also inflicts some wounds on the devastators,
but sadly no direct hit this time. I also change my mind here regarding the
Bane Wolf and flat out him at bit backward, behind some ruins for cover. My
opponent REALLY hates it after last game

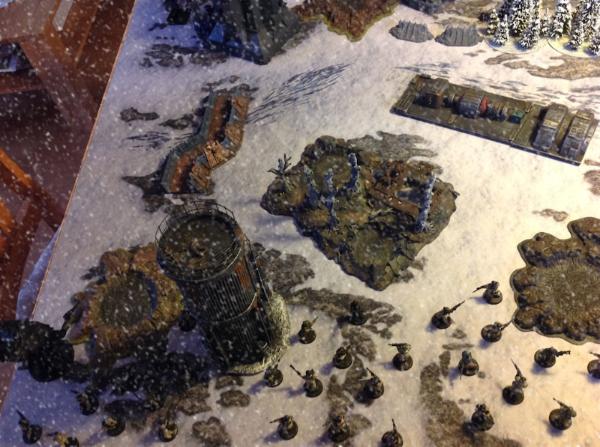
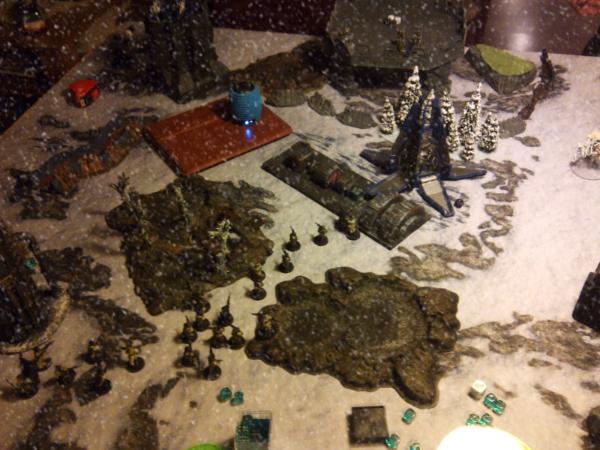
T3
The Rhino drives around again (I honestly can’t recall what the thing did
during the first half of the game?), the remaining Drop Pod Marines move to
claim Maelstrom 1 again, blowing up some more unfortunate infantrymen.
Heavy weapons fire, though diminished, still manages to wreck my Bane Wolf
and shake my Medusa.
I roll to see if my Decimator gets back up… AND
IT DOES! Father Nurgle
smiles upon his awesome but WAYYY overcosted demon engine! He also bestows
on it his original 3
HPs! Sweet!
I roll to see if some void shield come back up but there must be some
faulty wiring somewhere as only 1 does.
I move my Decimator in the direction of Maelstrom 1, as that one seems to
be the only one my opponent and I ever roll grrrr!! Infantry moves up and
shoots the last of the Ultramarines along with Papa Nurgle’s favorite,
removing all of them to let me claim it. By the way we’re tied at the
moment, with him having Big Game Hunter as tiebreaker.
I fire my Artillery at the Skyshield once again (no direct hits), and it
starts looking a little bit empty by now. Just a little though. Will it be
enough?
T4
Finally free of the Bane Wolf the Rhino moves up and unloads its cargo onto
Maelstrom 1, and the bolter fire mows down the rest of my first squad. The
objective is hotly contested!!
What with the Ultramarines fearing my Decimator almost as much as my Bane
Wolf, they are determined to take it down, dammit! All of the last heavy
weapons fire at it and they eventually bring it down again. Aw
So with that being my turn I roll so see if my Decimator would like some
more where that came from… AND
IT DOES! Haha, the look on my friends face!
This time it regains 2
HPs, but hey, I’ll take it! Under much groaning and
hissing - hard to tell if from the engine or the demon trapped within - the
massive hulk rightens itself and levels its Storm Laser once again at the
power-armored enemy.
With no good targets in sight, I decide to turbo boost the Blight Drone off
the board to claim line breaker next turn.
My lascannon gunner finally hits home and with a 5 on the damage chart
immobilizes his Rhino which could have claimed my Emperors Will next turn!
Phew!
My Bombard targets the large squad that just exited the Rhino and… eh,
misses. The Medusa fires at them or the Skyhield, I can’t recall for sure,
but either way, it misses, too.
My opponent now leads Maelstrom by 2.
T5
The Rhino fails to repair itself. The Space Marines surround Maelstrom 1.
The remaining Devastators wreck my Medusa. Captain Sicaran screams and
curses at the Decimator, threatening to come out of the bastion and
challenge it in mortal kombat.
The plague drone comes back in and shoots at the Skyshield, killing 2 more.
There’s now 2 Marines left on top of it, what a heavy toll my fire has
taken, but so has theirs, with 3 broken husks smoldering and smoking on my
side of the field. I shoot my Bombard and miss. Then I remember that I
could’ve turbo boosted with the Plague Drone to claim linebreaker instead
of shooting.
But the writing was on the wall either way - Renegades lose 5:1
Post-game thoughts
Whew - what a game. Once again the ITC missions proved to be well balanced
(we score at the end of the PLAYER turn), and lots of fun. That said, on
the drive home I realized how many tactical mistakes I made this time
around!
Here’s what I thought I could’ve done better:
List-crafting:
Now this is only a minor factor, as I wanted to try a Nurgle list and also
don’t want to include all the no brainer units in my list. My Renegades are
more of a fluff army right now, so I don’t plan on buying 6 Laser Rapiers
or 4 Wyverns or 200 Plague Zombies any time soon. That said, the Plague
Drone REALLY wasn’t worth it, the Decimator (see below) didn’t pull it’s
points, and neither did the Bombard. The Bane Wolf at least scared my
opponent away from Maelstrom 2, which by the way was rolled only once (see
below).
Next time I’ll most likely proxy the Blood Slaughterer again, which is a
little cheaper, too.
Deployment:
Deploy the Decimator in the center of my line - it’s too slow for a flank
and it could’ve impacted the game a lot more if it had been able to assault
the marines in Maelstrom 1.
Refuse the left flank from the start - bringing all of my forces to bear
against the center would’ve given me a better chance to hold onto Maelstrom
1.
Target selection:
I question if it was wise to concentrate my fire on the Skyshield Landing
Pad. Had I shot up his Rhino and his Drop Pod I would have eliminated his
only mobile components and therefore had a much easier time competing in
Maelstrom. My tanks might have exploded sooner, but afterward with only
infantry to shoot his Devastators wouldn’t have been as formidable.
Luck:
While my Decimator got up twice!! - I only regenerated 1 or 2 Void Shields
all game, despite losing all 3 in turn 1.
Also, Maelstrom 2, which I was sitting on all game, was only rolled once.
And lastly, I managed to score a “Hit” only twice all game, with 2-3 blast
templates fired every round. I actually checked if my die even had 2 Hit
symbols on it (it does).
Soooooooo after this mega wall of text I hope this was a good read and
thank you for commenting!
PS: By the way I apologize for the crappy pictures (apart from the first
onces) - I took them with my BlackBerry this time and they didn’t turn out
so well.


 ), so thanks for sharing.
 2 Wyverns shall be coming at some point, the models are really cool
