Disclaimer:
- Pictures were taken with a crappy phone camera with zero to none photo-artistic effort.
- A lot of proxies were used because a) to make it short, my car got jacked and they made off with what they thought was a toolbox full of expensive power tools and which was actually full of my expensive Tyranids right before the new codex debuted and b) The only things I bought so far are the big bugs, wanted to test out the power of the smaller ones before I buy truckloads of them.
- No Golden Daemon coming from us just yet as we are still building the army.
- It’s been awhile since I did a batrep with pictures so its not exactly picture perfect. And there were times I forgot to take pictures.
- I hope you mind the dirty table, it’s our work/playing area.
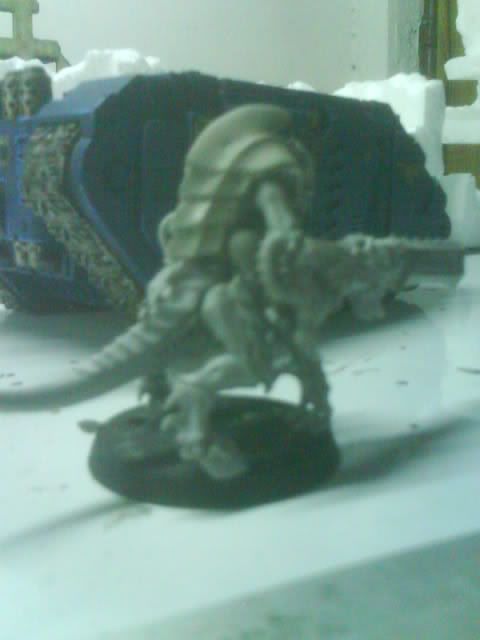
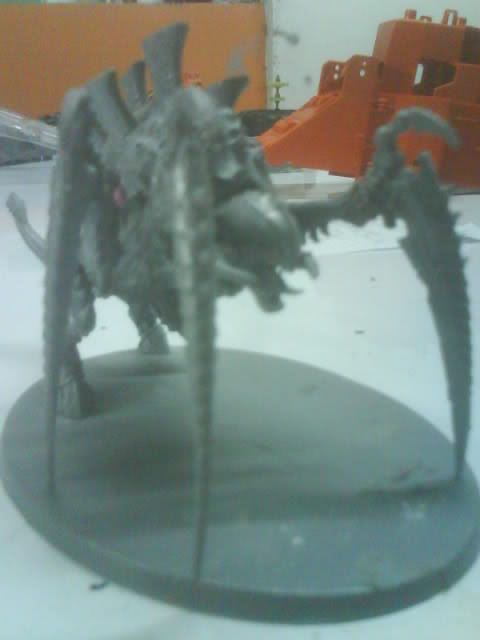
- I wanted to do a batrep because I was excited to use my newly bought and primed Tervigon and Warrior-to-Hiveguard convertion (see pictures below). Got them off a guy who does conversion cheap.
Bought the Hive guards for total $8 each, not bad (again, sorry about the pictures). I’ll post better ones next time.
The mission is Capture and control. 1850pts.
My army list:
Tyranid prime with boneswords 90
Tyranid prime with boneswords 90
Hive Guard x 3 = 150
Hive Guard x 3 = 150
Zoanthropes x 3 = 180
Hormagaunts with t-sacs x 27 = 216
Hormagaunts with t-sacs x 27 = 216
Termagants x 10 = 50
Tervigon (crushing claw, catalyst) = 200 (I tried not using a tervigon but the lack of playable and durable synapse had me using it)
Trygon = 200
Tyrannofex = 265
Space wolves (as good as I can remember it):
Rune Priest with murderous hurricane (ouch!), Living lightning, and the bird-thing (He dropped
JotWW… After my Hormagaunts beat 7 kinds of hurt on his Thunderwolf cavalry last time, “the swarm” put the fear of god in em’). Tailored for horde killing.
5 x (power weapon,
MotW)
Rhino
5 x (power weapon)
Razorback (Las-
Plas)
Note: I told him to use the wolf guards hence the spamming. And its not because they are some sort of uber unit, it’s because I told him to split them up and use them as Long-fangs meat shields. I also told him if he has multiple rune priest playing gunney, he should put them with long fangs to give them additional wounds, keeping the precious heavy weapons alive longer.
I think this will also be helpful to all spacewolves player out there (as if they aren’t hard enough to deal with as it is). Just so
SW players wouldn’t say we never gave them anything.

5 x Grey Hunters,
MotW, flamer
Razorback (
HB)
5 x Grey Hunters,
MotW, flamer
Razorback (
HB)
5 x Grey Hunters,
MotW, flamer
Razorback (
HB)
5 x Grey Hunters,
MotW, flamer
Razorback (
HB)
5 x Grey Hunters,
MotW, flamer
Razorback (
HB)
5 x Grey Hunters,
MotW, flamer
Razorback (
HB)
Longfangs (2
ML, 2
LC)
Razorback (Las-
Plas)
Longfangs (2
ML, 2
LC)
Razorback (Las-
Plas)
Longfangs (2
ML, 2
LC)
Razorback (Las-
Plas)
As stated earlier, the mission is capture and control. I won the dice-off.
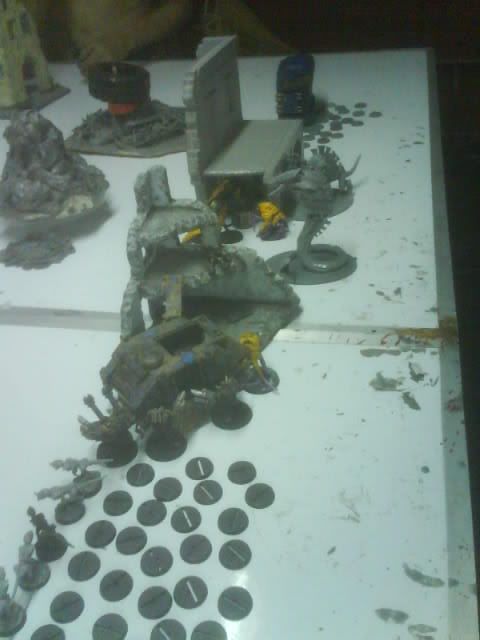
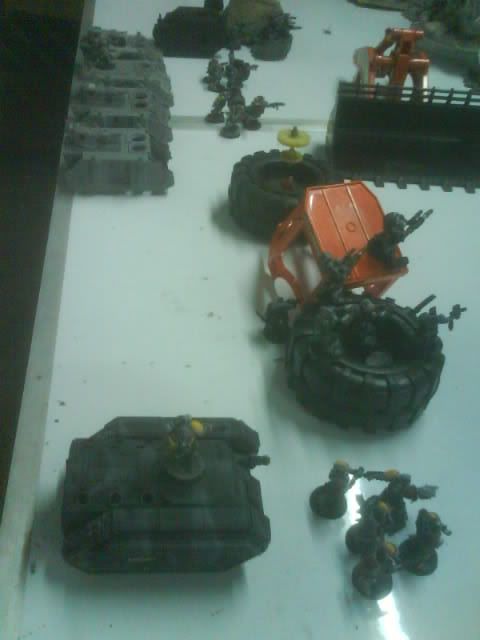
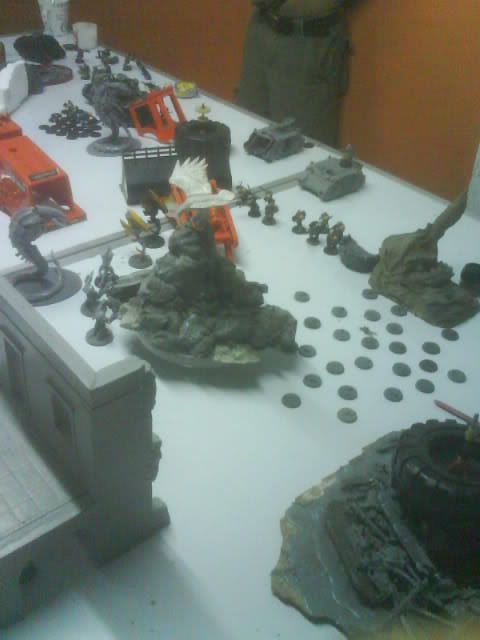
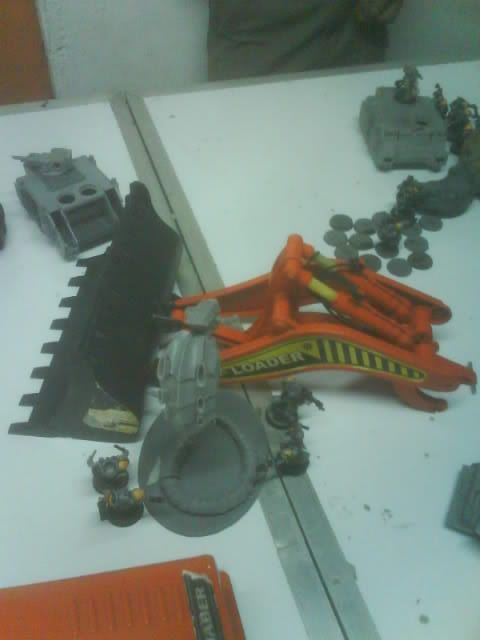
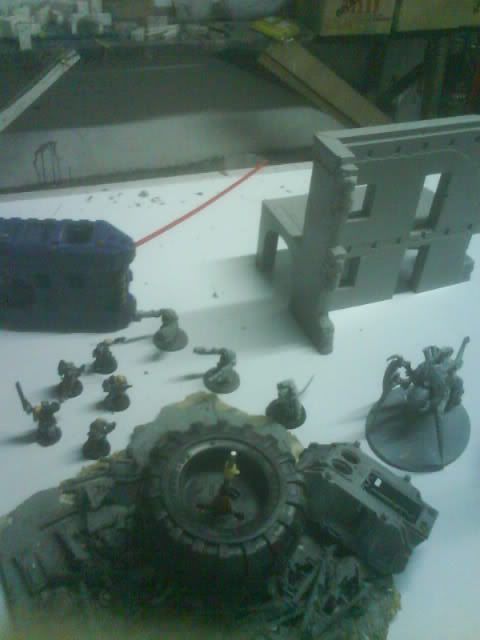
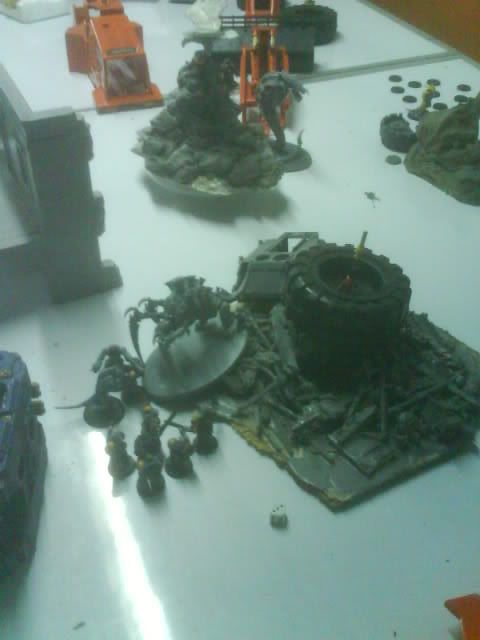
Tyranids Deployment
I deploy with slight risk, (from lower to upper part of the picture). The 10 termagants covers the 1st Hormagaunt squad (empty bases). To soak damage, Tyranid Prime (yellow guy beside the obliterators) joins Hive guard (obliterators). Tyrannofex (armless Trygon) deploys at the back of the Zoanthropes (partly hidden). Zoans deploy fully upfront, joined by a Tyranid Prime (Yellow Tyrant Guard) to soak insta-kill damage. The 2nd hive guard is deployed underneath the middle building, where I placed my marker, unseen. It’s the only steal initiative contingency plan I had. Everything else was open for a turkey shoot. Right behind those Hive guards I deployed my Tervigon. The 2nd Horma squad (empty bases) was deployed on my right side.
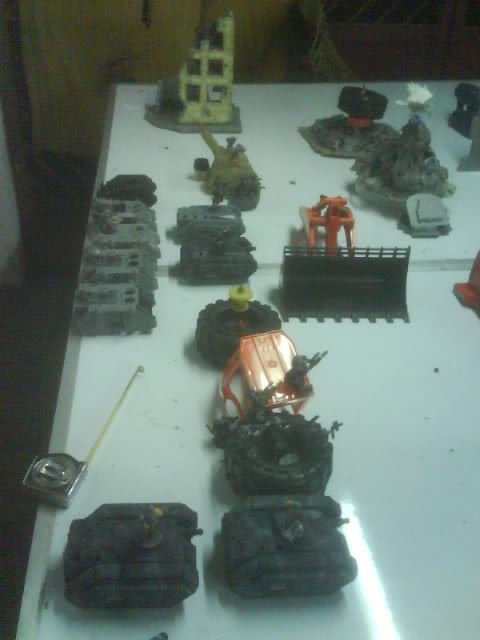
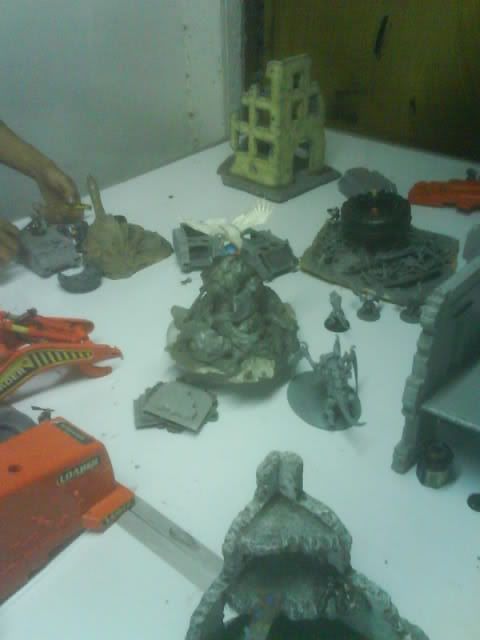
Space Wolves Deployment
He deploys in standard shooty formation. (from lower to upper part of the picture). 2 grey hunter squad in heavy bolter Razorbacks (Chimeras). A squad of long fangs deployed on the industrial wheels. 4 Las
plas Razorbacks without cargo was deployed right on his table edge, sandwiching his Rune Priest in a Rhino. Another 2 Greyhunters onboard a
HB razorback in front of those to give Razorbacks behind them cover. The 2nd Longfang squad was deployed on the yellow hill, behind of which was his marker. He put the 3rd Longfangs squad on the 3rd floor of the yellow building so hormas would take a lot of time to reach them. The last 2 grey hunters squad on board a
HB Razorback he deployed on his left flank (unseen).
Tyranids turn 1
He underestimates the Elites range. Hive guards and Zoeys (blast) range is actually 30” (6” movement + 24” range). I make him pay for it. My Tyrannofex blasts a
HB razorback and 2 Hive guard squads pulverized 2 more
HB Razorbacks. Amazingly, he makes all “explodes” saves except 1 (a preview of what is in store for me).
He decided not to join the Rune Priest with middle Longfangs squad and the Zoeys templates them killing 2
ML and 1 wolf guard. The Grey hunters beside them got pinned.
I parked Hive guards behind impassable terrain.
Note: The tervigon became sterile on the first turn (13 kids) and it camped on the flag for quite some time so I don’t have too many pictures of it.
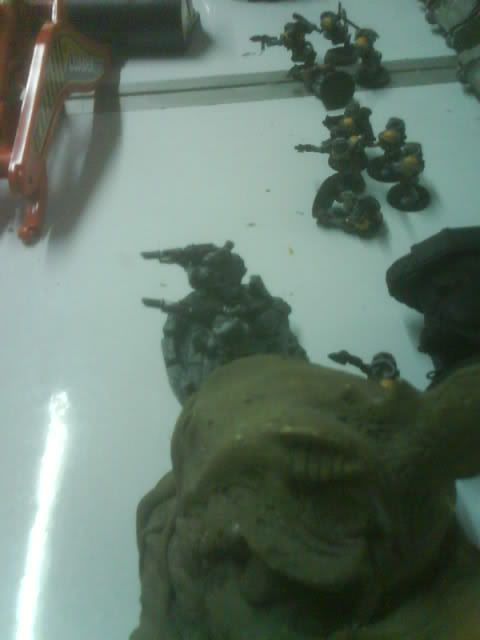
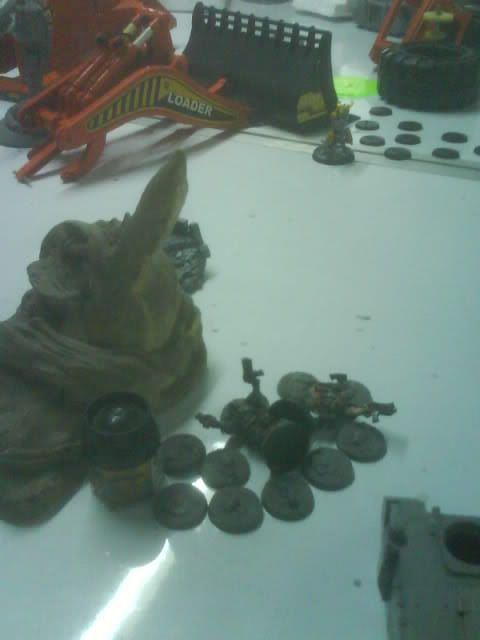
Picture below: 3 Grey Hunter squads suddenly found themselves without their ride.
Wolves Turn 1
They might have taken offense to those Zoeys and almost everyone blasts them. But because it was joined by a Tyranid prime, it made 3 successful cover saves, 2 heavy bolter saves, and took 3 lascannon wounds to go down, Zoeys invul saves 3 auto-kill wounds but took 1, reducing their numbers to 2 zoanthropes. It took all of the long fangs and a couple of the Las-
plas Razorbacks to do this. (Note that while it may not always result this way, joining the Tyranid prime with infantry squads mean you get to allocate a save to the prime for every unit that shoots them and that is no small thing.) Small arms fire blast the horde but cover saves reduced their casualty to a minimum. (Pic Below: The
SW gunline)
Tyranids Turn 2
Trygon comes in from reserve near the Longfangs on my left (pictures seen on Wolves Turn 2)
Using bounding leap I was already half across the table on turn 1, so on turn 2, I was within assault range for both of my horma squads. The 2nd Hormagaunt squad on my right flank assaulted the long Fangs squad in the middle. Because of the lack of assault grenades and their counter attack (I don’t care what they say,
IMO this codex was not play tested properly
) the Longfangs squad struck first but got unlucky and only killed a single Horma. When the Hormas retaliated and the longfangs almost pulled off an improbable number of saves but was still wounded enough for a wipeout. I consolidated backwards to avoid being toasted by flamers. (pic below: The hormas leave a messy pile of Longfangs flesh)
The 1st hormagaunt squad (on my left) caused massive amounts of wounds (18!) with only 2 guys dying! Must have some kind of runic-armor-mojo that I don’t know about. They counter attack and I lose combat and more Hormagaunts died because of fearless.
Wolves Turn 2:
On the upperleft you can see that the trygon has appeared during my turn so half the longfangs right beside it aim for the 20 foot monster but only wounds it once. The rest of the army aims for the Zoanthropes (yellow headed guys) in the middle of the table wiping them off the face of the table. While another pack of grey hunters give their comrades, still tied up in close combat, a hand further thinning the 1st hormagaunt squad in my left flank (upper part of the picture too fuzzy to be seen). The Rune Priest (Rhino in the middle) zaps the 2nd Hormagaunt squad (right of picture) with murderous hurricane, killing a few AND making sure if I move next turn I make a difficult and dangerous check for EACH HORMAGAUNT in the squad! (I’m under the impression that Phil Kelly made cards for Magic: the Gathering).
Tyranids turn 3:
Shooting was so abysmal I forgot to take pictures of them (Hive guards even hit 4 times and got four 1’s!). I only assault pictures. As shown below, they may have Long Fangs, but the Trygon’s got longer and decimates the Longfang squad and consolidates towards the Rune Priests direction.
Because the
SW were making law-bending armor saves the Tyrand prime on my left flank decides to speed things up and chopped the other Grey hunter squad to bits to help the struggling 1st Hormagaunt squad.
Wolves Turn 3:
The remaining Long fang squad and the rest of the Las
Plas Razorbacks make sure my Trygon pays for killing off the Right flank Long fangs. Through a barrage of low
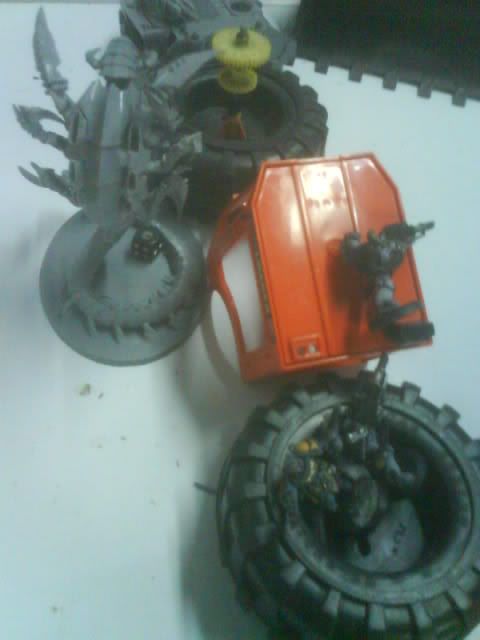
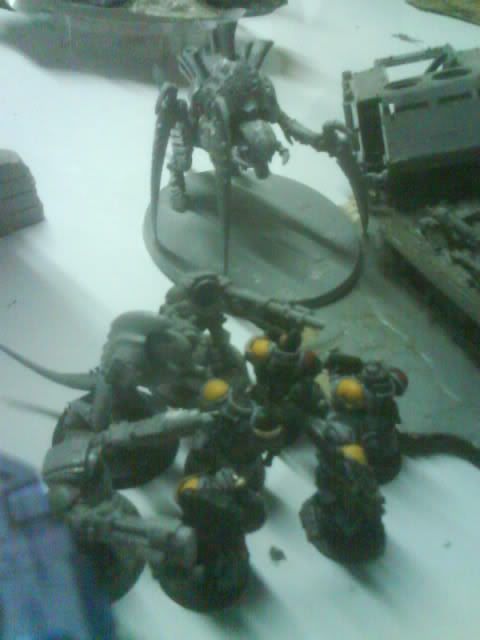
ap, high powered guns, the earth shakes as the mighty Trygon is brought down. This still gives the Tyranids a huge tactical advantage as most of the firepower was aimed at the Trygon and not at the 2nd Horma squad at the middle of the field which can kill as well as claim objectives. (Picture below, Las
Plas Razorback fires point blank to bring the monster down!)
Picture below:
After making another enormous amounts of save only two grey hunters die and they not only tie up the 2nd Hormagaunt squad but kills a few more of them as well, reducing their effectivity even more. The grey hunters shown below are getting their points worth just by holding the whole Horma squad at bay, by this turn the Hormagaunts are just hoping they end the close combat during the
SW turn or else they get another healthy blast of Murderous hurricane by the Rune Priest who was just a few inches away.
The grey hunters right beside these guys (sorry, forgot to take pictures again) decide to trust their comrades to be able to stop these creatures and decide to go for the Tyrannofex making its way in the middle of the field. They assault the monster and Mark of the Wulfen does 3 wounds to the monster! The lumbering giant fights back and kills 2 and makes his fearless save.

========
His troops update:
- Two of the Grey Hunters squad on his left flank (my right) has been swarmed and digested by the 1st Hormagaunt squad.
- Two grey hunters in the middle of his deployment zone, one got tied up by the 2nd Hormagaunt squad. The other went for the Tyrannofex.
- Two squads of Grey hunters onboard Razorbacks on his left (my right) moving 6” slowly towards my objective, shooting
HB on the way.
========
Tyranids turn 4:
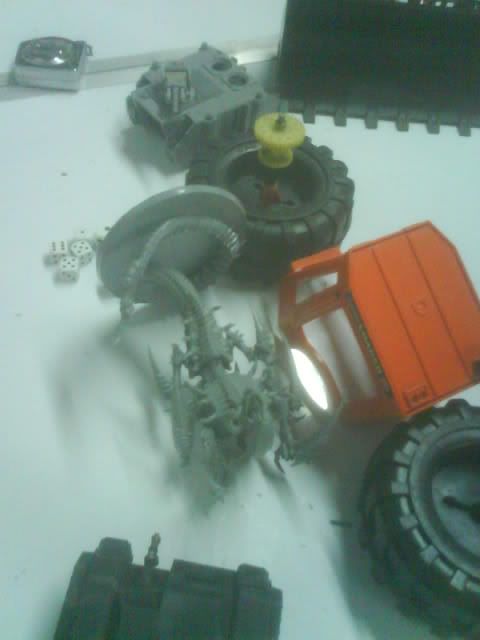
Hive guard wrecks the Rune priest rhino and makes them disembark right on his objective marker. The other Hive guard wrecks one of the Grey hunter’s Razorback on my opponent’s left side forcing them to footslog. 2nd hormagaunt squad still struggling with the grey hunters and Tyrannofex slowly fighting off another squad of grey hunters.
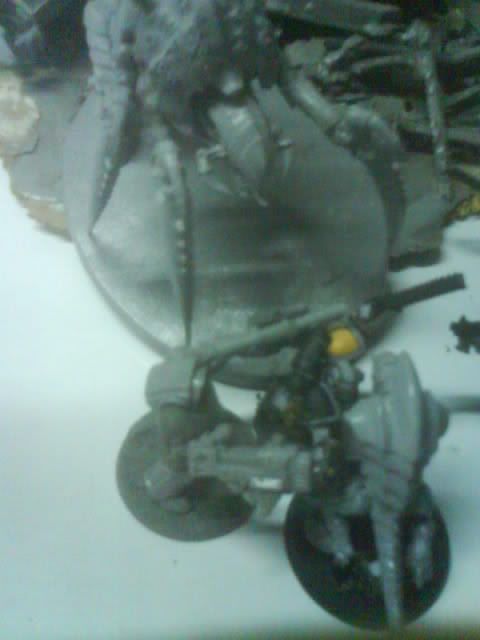
Picture below: Tyranid prime (yellow headed guy) together with a depleted 1st hormagaunt squad (beside the Tyranid Prime hidden by that heavy machinery thingie) assaults the Las
Plas Razorback responsible for gunning down the Trygon. It explodes and takes more Hormagaunts with it. Note: don’t mind those
SW watching on the sidelines on the upper right corner of the picture. That’s our deadpile (the table is 4x8). In the middle the Tyrannofex kills one but still has to go mano a mano with the
MoTW guy.

Wolves Turn 4:
With most of the units caught up in close combat
SW shooting proves irrelevant and only causes a single wound to the Hive Guard. His left most Grey hunters begin to mobilize to try and go for my objective as only a handful of gants (spawned on the 1st turn) are the only ones guarding it. Most of their other vehicles are either wrecked, exploded, or immobilized with no weapons, only 3 remain mobile, 2 without weapons, and the last functioning one had grey hunters still in them and making for my objective. No shooting proves relevant so he goes directly into his assault phase and although the grey hunters fought with valor, FINALLY, after
40k years of fighting, the 2nd Hormagaunt squad in the middle of the table dispatches the 2 remaining grey hunters and rolls a 6 for consolidate to go around the wrecked rhino and go after the Rune priest with Wolf Guards contesting his objective.
His troops update:
- Two of his
GH squads on his right are gone.
- Only a lone
GH remaining with
MotW slugging it out with a Tyrannofex as they both fail to do damage during the
SW turn.
- Another
GH squad in the middle are finally dispatched by the 2nd hormagaunt squad.
- 2 remaining squads on his left (my right). One of which got his transport blown. The other circling towards my objective.
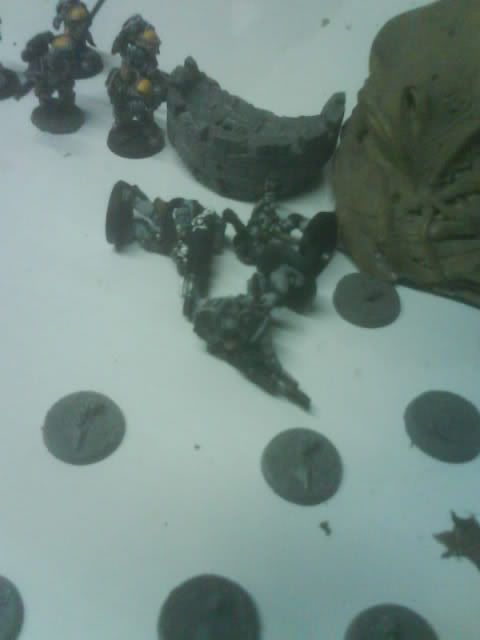
Picture below: 2nd Hormagaunt squad finally off-ing the two
GH.
Tyranids turn 5:
More movement from the bugs, mainly going to my right flank as the wolves has been attempting to encircle with vehicles, loaded or not, going for a contest of my objective. Tervigon blocks one of the Razorbacks path. The Hive guard goes further right to block the footslogging grey hunters (behind the big tire) making their way through the scrap yard.
2nd hormagaunt squad assaults the wolf guard and causes 14 wounds! However, the Spacewolves decides they aren’t frustrating enough and saves 13 of them! They dice more bugs and after fearless saves I knew the Horma squad couldn’t take another loss in combat.

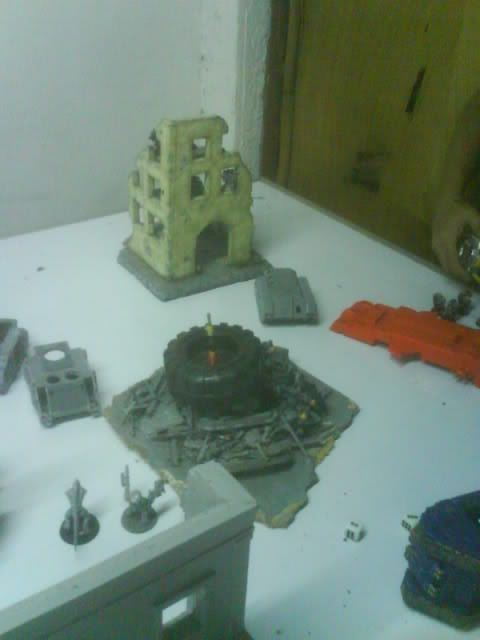
Picture below: Tyranid Hive guard preparing to block the Grey hunters from advancing.
Wolves Turn 5:
The road is blocked! So near yet so far… The objective is 16-18” from the hive guards (behind the wall of the grey colored ruin) and about 20” from the Grey Hunters. The grey hunters blasts the T6 wall with flamers and bolt pistols then assault… A single hive guard dies.
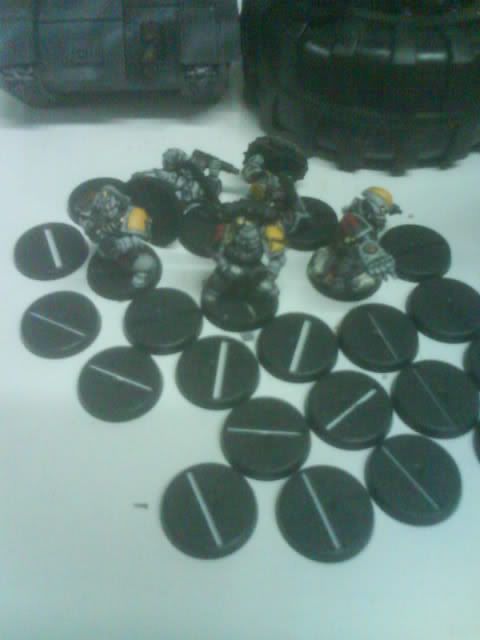
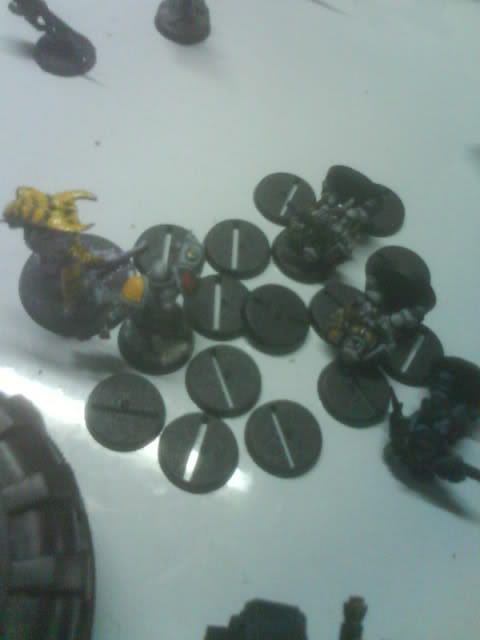
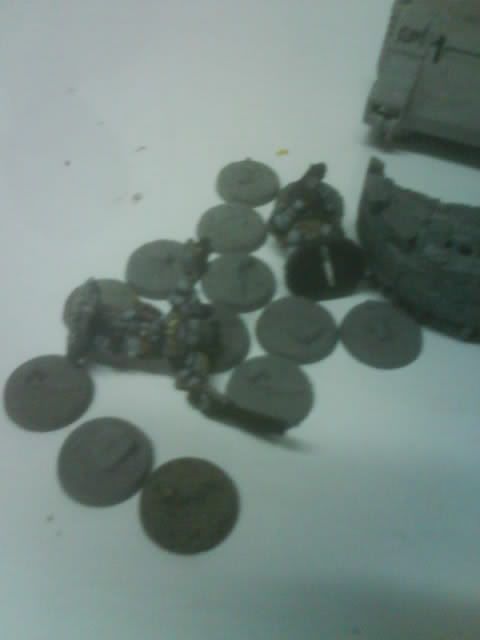
Picture below: Wolf guards finally die to the relentless swarm (erm… a swarm of 8?). beside them is the Space wolf objective. I rolled a 5 on consolidate and I line up just enough to give me coversaves while claiming the objective.
Tyranids Turn 6:
Space wolves do not have enough turns to take their objective back… most of my troops either do not have line of sight or out of range. The only relevant units now are the grey hunters moving in on my objective, my hive guards tying them up and the Tervigon setting to bolster the Tyranid line.
Tervigon sets up for the assault and…
Bam!
… Grey hunters squad reduced to a single man.
Wolves Turn 6:
By the Space wolves turn 6, the 1st and 2nd hormagaunt squad has a strong hold on the Space wolves objective. He has a single grey hunter locked in close combat with the tervigon and Hive guards and the last grey hunter (as seen in picture below) squad still standing cannot get to my objective without engaging the Hive guards or Tervigon in close combat. Additionally, should he kill the Hive guards and woundless Tervigon he was a long ways off.
Being a true space wolf, the last Grey Hunter charged the fray valiantly but fails to wound the tervigon. It lashes back and kills 2 grey hunters.
We rolled for the game length and rolled a 2 effectively ending the game. Tyranids win 2 objectives to 0.
It was a good game, but there is a good chance that this will probably be my last win against his Spacewolves as I had him discover for himself
SW tactics that Tyranids have little to no defense against at all (Rune priest spam,
JotWW spam, Murderous Hurricane, Long Fangs, free flamers, counter attack from cover, and of course, the good ol’ massed bolter fire from 40-50 infantry). I had him enumerate the anti-tyranid tactics he has learned so far and they now seem to be spot on. Next time he knows what to kill, what to kill with, and even how to cripple the Tyranids as a whole.
We have played a total of 5 games. I won all of them but each one is getting harder to win than the last one and I am almost out of Tyranid tricks. Spacewolves has too many anti-nid tricks up its sleeve.
A few examples of the big inconveniences that hinder the Tyranids are the lack of assault grenades(apparently, evolution allows them to travel into space but not hurdle bushes and foxholes), auto kill (without Tyranid Primes joining Zoanthropes they die incredibly fast), balancing synapse to killy units ratio, and monsters that are either insanely overpriced or low initiative that die to
JotWW or thunderhammers or both. Plus the fact that they are giving flamers away like candy nowadays. Armies like Imperial Guard can kill of 50 or more small critters turn with barrage so position and manoeuvring your troops is of the utmost importance.


 .....Bay Area Open GT 2013 - Best Tyranids
 .....LVO GT 2014 Team Tournament - Best Generals
