Mission: Seize Ground - 4 Objectives
Deployment: Pitched Battle
Initiative: Tyranids
Deployment:
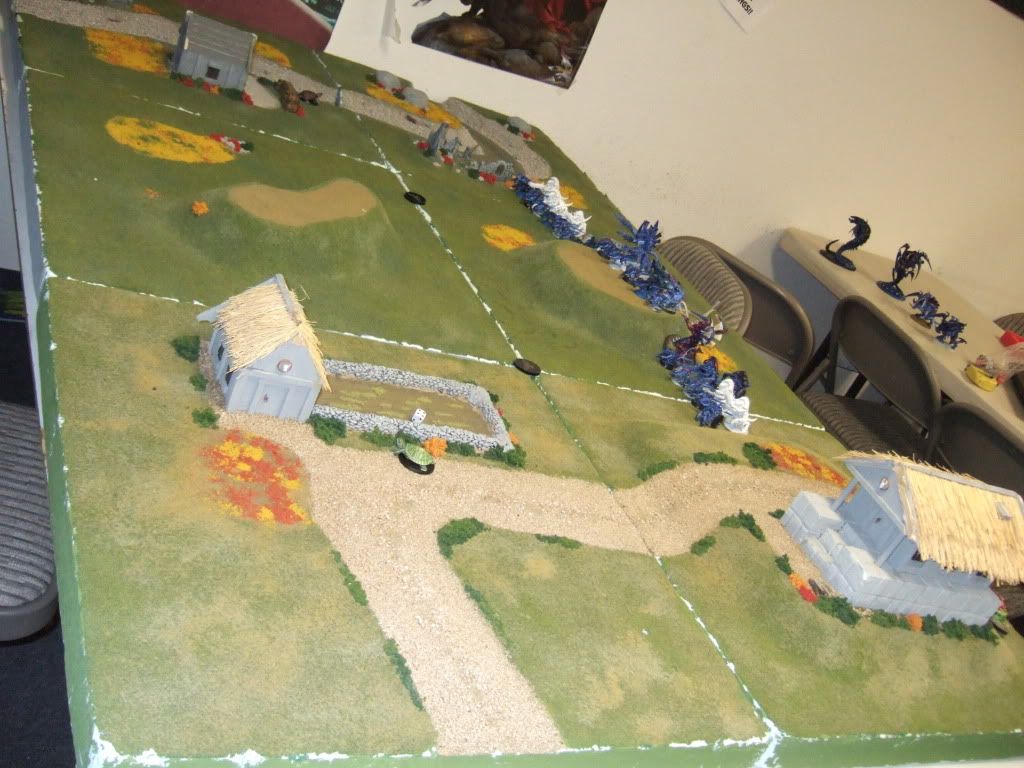
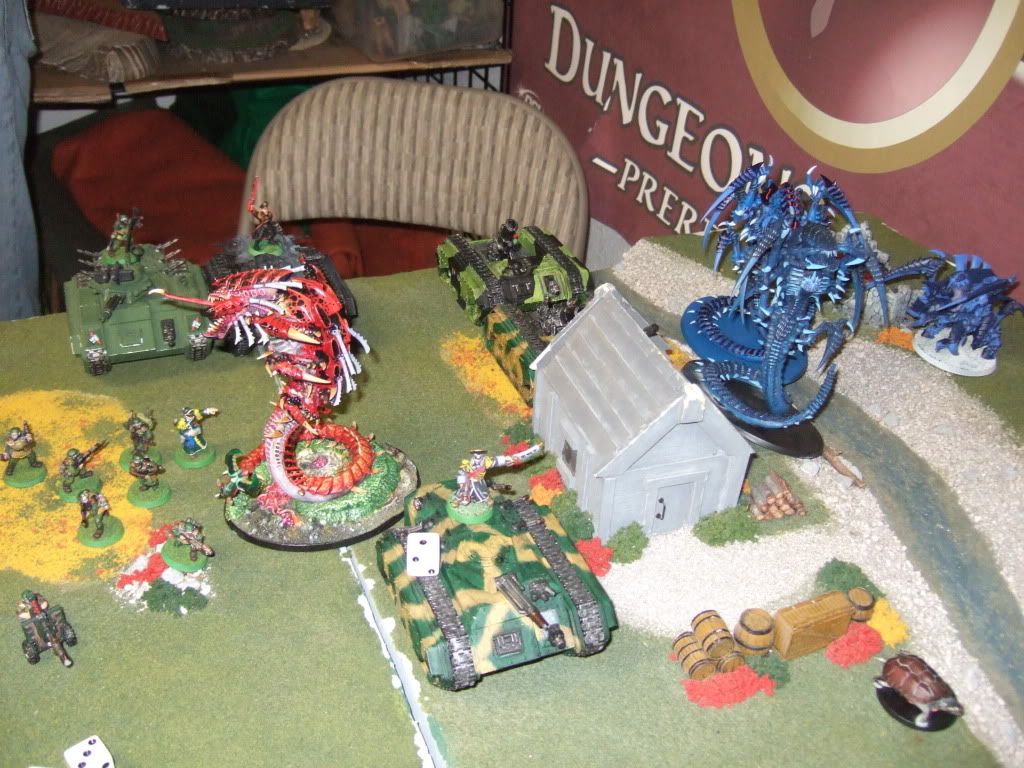
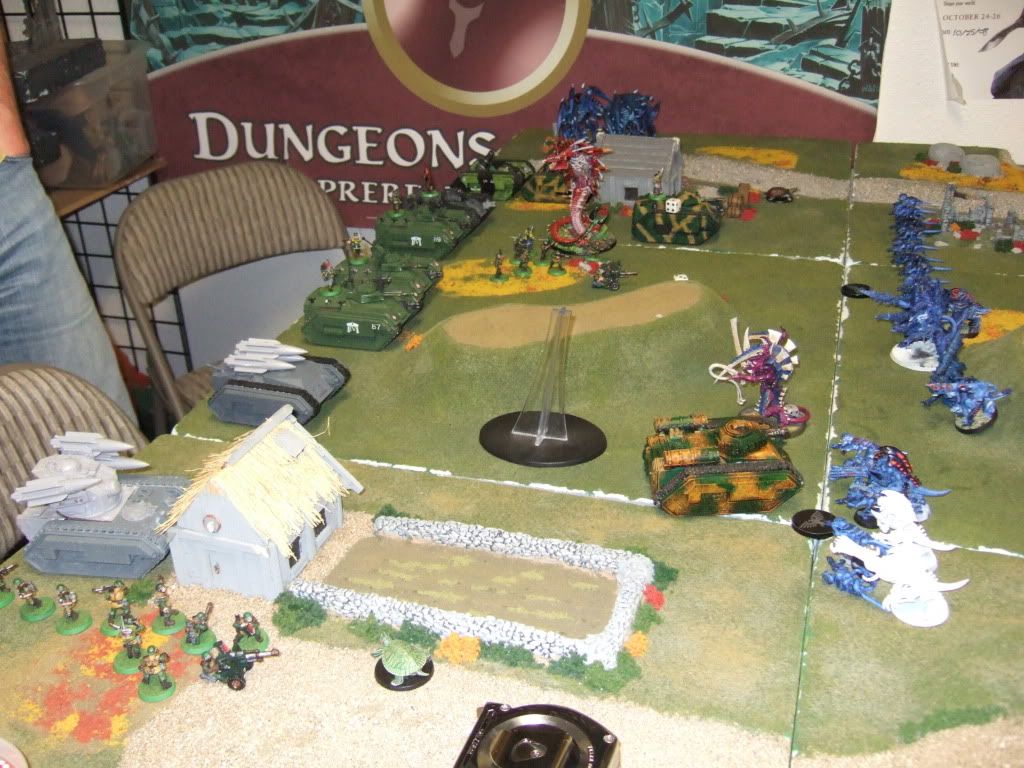
This is how the terrain looks like.
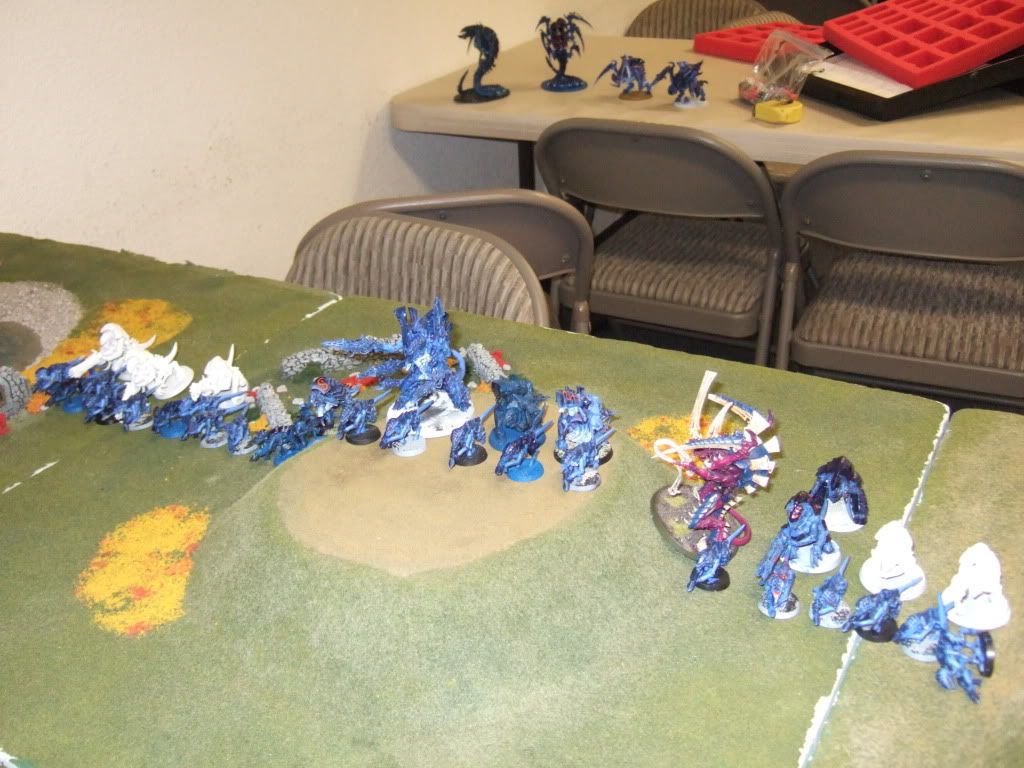
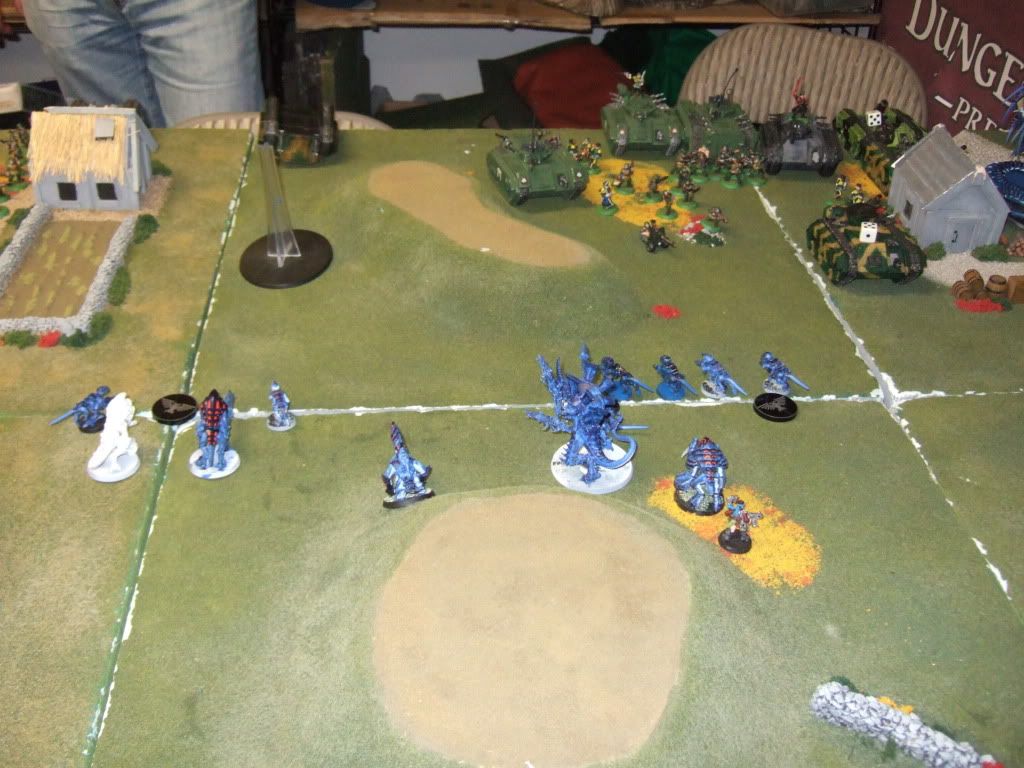
Nid deployment. Basically, I deployed in such a way that my hive guards and tyrant+guards are getting cover from the gaunts.

The mawloc is hiding behind terrain getting ready to burrow on my turn. The trygons will be deepstriking and the tervigons outflanking.
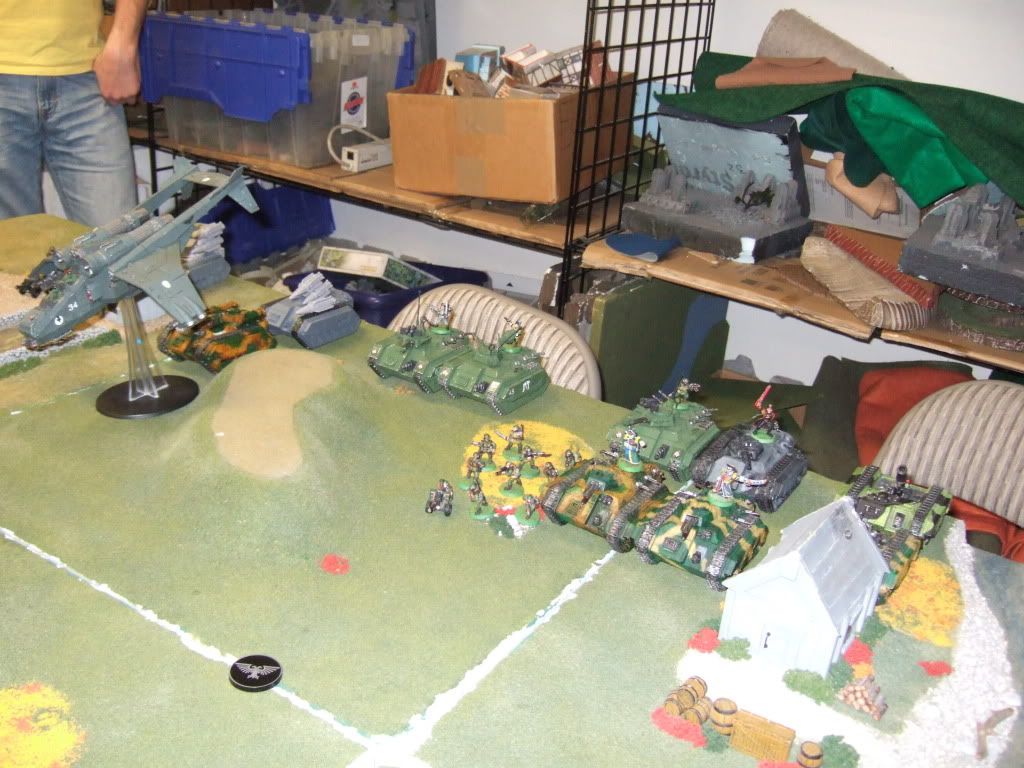
Guard deployment. Both vendettas scout move for the flat-out cover save. He leaves nothing in reserves.
Guards fail to seize as the game begins.
Tyranids 1
The mawloc burrows underground. Everything runs forward except the hive guards. They fire at the vendettas.

Before the hive guards shoot.
After hive guards are done shooting. Both vendettas exploded despite their cover. 5 guardsmen die in the explosion of the far left vendetta (the other vendetta was empty). They also explode one of the
CCS's chimera, killing a few guardsmen in that explosion as well.
Imperial Guards 1
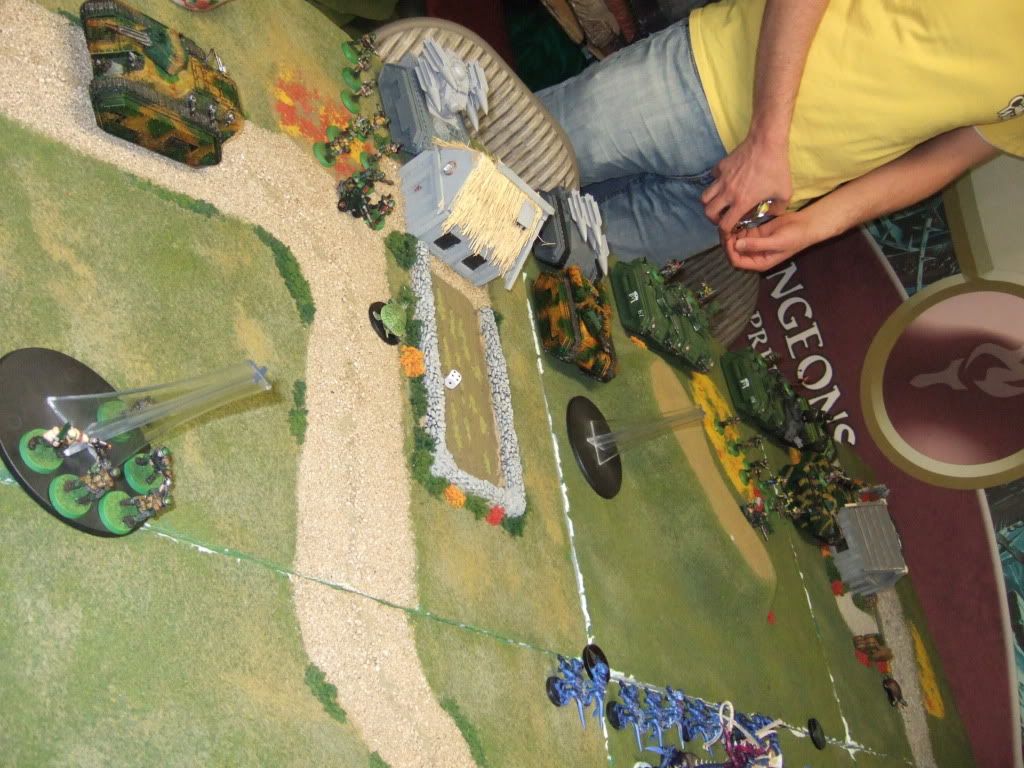
He moves some of his tanks no more than 6" except his banewolf, which moves 12" towards my left tyrant. Then he lets me have it with everything he's got.
His griffons take out the 3 hive guards on the right with 2 direct hits, and since they were indirect fire, I didn't get cover. His manticores, banewolf, multi-lasers, autocannons and Psyker Battle Squad (
PBS) combine to put 1 wound on my left hive guards, kill a bunch of the left gaunts, kill the left tyrant guard and reduce my left hive tyrant down to 1 wound. Those manticores and griffons are nasty. They have got to go.
Tyranids 2
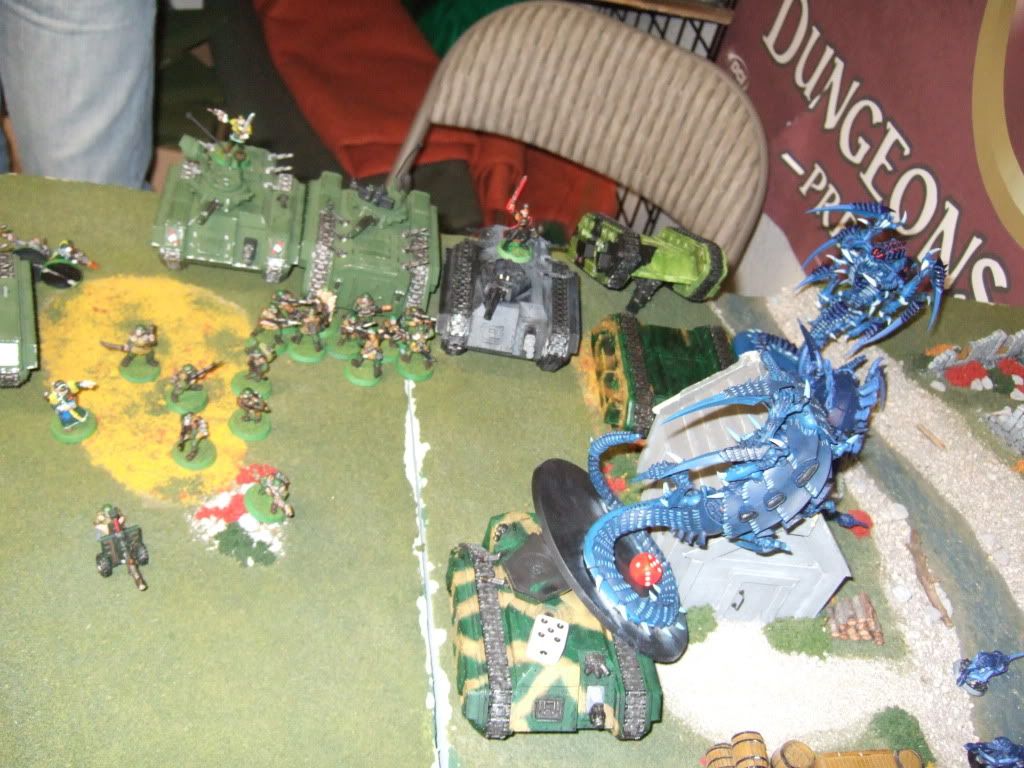
Both trygons and 1 tervigon comes in. The tervigon outflanks on the right side. I also deepstrike both trygons onto his right flank as well to overload it. On top of all that, my mawloc comes out on top of his
CCS and chimera on the right side, shaking his chimera in the process. The tervigon wounds itself due to Perils while giving one of the trygons Feel No Pain.
All my other units move forwards. Some of my units run forwards, including the healthy dakkarant.
This time my hive guards aim for his manticores. Their shots are golden and wreck both manticores. The trygons shake one of his griffons with their shooting and the tervigon runs.

My lone, wounded tyrant shoots at the side of the banewolf and manages to destroy its weapon as well as shake it. He then assaults it and despite needing 6's to hit, explodes it. Unfortunately, the explosion kills some more gaunts as well as 1 wounded hive guard.
Imperial Guards 2

His guys disembark and the
CCS gives the order to take down the mawloc with meltas (i.e. they're twin-linked). Then they gang up and neutralize the mawloc.
The rest of is shooting - including 1 griffon, some autocannons, a bunch of multi-lasers and a newly arrived Marbo with his demo pack - is enough to take out the wounded tyrant and another hive guard.
Tyranids 3
My other tervigon comes in on the left flank. The right tervigon produces 9 gaunts but rolls doubles. The gaunts then run towards the objective, 1 trygon goes after his
CCS and the other trygon and tervigon go after his griffons. My 2 squads of gaunts are already at objectives so look for some type of cover. The hive tyrant and hive guards move forwards, ignoring Marbo.
In shooting, my hive guards are only able to wreck 1 chimera and my dakkarant kills some guardsmen. The newly-arrived tervigon drops a big pie plate (cluster spines) onto the infantry squad, killing about 5. He is just out of assault range though.
But not my trygons. 1 trygon assaults his
CCS, taking 1W from difficult terrain, and wipes them out. The other trygon and tervigon charge the griffons. The trygon wrecks both griffons before the tervigon even has a chance to strike.
Imperial Guards 3
The beginning of the end. He is almost overrun and is getting desperate. He starts moving towards the objectives. Marbo moves towards the lone hive guard. His other
CCS issues the command to Take It Down on the trygon and his whole army concentrates on my wounded trygon. The bring it down to just 1 wound left. As he is getting pretty discouraged, I remind him that his PSB, even though they're within Shadows range of my tervigon, can still fire their laspistols. He then proceeds to defy my trygon's wrath with 5 laspistols from his PSB out of their chimera. He wounds it twice, I fail both saves and the trygon is out of here.
He also kills off my 2-gaunts on an objecive. Finally, Marbo charges the lone hive guard, also wounds it twice and I again fail both saves and my hive guard dies.
Tyranids 4

The left tervigon spawns 9 gaunts but craps out afterwards. It then
FNP's them, once again suffering perils and blasts the infantry squad with another large blast, killing some more guardsmen. This time they fail morale and run off the board before my tervigon even gets a chance to assault. Meanwhile the gaunts shoot at the 5-guardsmen (who were survivors from the vendetta) and kill a few. My last remaining unit of hive guards then finishes them off.
To show my disdain for Marbo, I let my 5-gaunts finish him off with their fleshborers (he had the nerve to actually kill 2 hive guards!).

By this time, my tyrant has reached his lines. I then pile in for the kill, exploding the
PBS's chimera, killing a few psykers in the explosion, and then killing a bunch of guardsmen in assault.
At this point, I've got 3-4 objectives, he has none and no way to contest and would probably not survive next turn so he calls it.
Victory to Hive Fleet Pandora!!!
Automatically Appended Next Post:
Post-game Analysis:
Tyranids: In hindsight, I think I actually made a mistake going for his vendettas on turn 1. With my tyrants in cover due to the tyrant guards and gaunts, I could've weathered probably a turn of firing from them. I should've tried to take out the manticores and griffons instead, as they actually did the most damage. This way, I wouldn't have lost my hive guards so early. Other than that, I think the balance of a foot army supported by deepstriking support worked out rather well this time. I also felt that a hellhound might have done more damage than the banewolf. That hellstorm cannon would've really put the hurt on my hive guards.
But what really won me the game was winning the initiative.
Imperial Guards: I felt his inexperience against the nids really showed here. Just by deploying differently would've made a difference - if he could deploy in such a way to minimize the shooting of my 30" range of my hive guards (24" + move 6"). Also, if he had probably castled up, he might have been able to better support his units when my trygons arrived. Then again, I believe his Manticores and griffons did have a minimum range and he was concerned about my mawloc burrowing on a tightly clustered formation.
After the game, I suggested an
Inq Lord w/Psychic Hood, Emperor's Tarot, 2x mystics and 3x plasma warriors in his future builds. He has used the above configuration before (but without the plasma warriors) and it has proven annoying to my wolves at 'Ard Boyz. But when you scale it down to 1850-2000pts, it becomes much harder to justify the 150pt+ unit. But the warriors are a cheap way to get plasmas into the army to help combat terminators and monstrous creatures.
Overall, I caught him unawares this time around. Next time I face him, I'm sure he'll be much more prepared to take on an army like mine.
MVP's:
Tyranids:
Hive Guards - without a doubt, the best units this game. They took out 2 vendettas, 2 manticores 2-3 chimeras and some infantry and made it easier for my big guys to snack on lunch.
Imperial Guards:
Company Command Squads + Veterans - There wasn't any particular unit that dominated, but the combination of his meltavets and company command squad toting meltas and issuing orders manage to bring down 1 mawloc and 1 trygon.


 .....Bay Area Open GT 2013 - Best Tyranids
 .....LVO GT 2014 Team Tournament - Best Generals


