Switch Theme:

How To Make Samurai IG  [RSS] Share on facebook Share on Twitter Submit to Reddit
»
Author Message
Advert


Forum adverts like this one are shown to any user who is not logged in. Join us by filling out a tiny 3 field form and you will get your own, free, dakka user account which gives a good range of benefits to you:
  • No adverts like this in the forums anymore.
  • Times and dates in your local timezone.
  • Full tracking of what you have read so you can skip to your first unread post, easily see what has changed since you last logged in, and easily see what is new at a glance.
  • Email notifications for threads you want to watch closely.
  • Being a part of the oldest wargaming community on the net.
If you are already a member then feel free to login now.


Made in us
Rough Rider with Boomstick


Hello everyone,
Some people have asked me how I make my Samurai IG, and it’s really simple. In this tutorial series I’m going to show you what you need to make samurai IG. There are multiple patterns to how you can make them, so I’m going to show you what you need to make each pattern and what the results look like as a kind of reference guide for anyone wanting to give this style of army a go.
Ashigaru

Fuyu Pattern armor

This is the first type of armor I’ve made, it’s a bit wonky but it’s serviceable with the right parts.
Here’s what you need:
WGF ashigaru head (helmeted or unhelmeted)
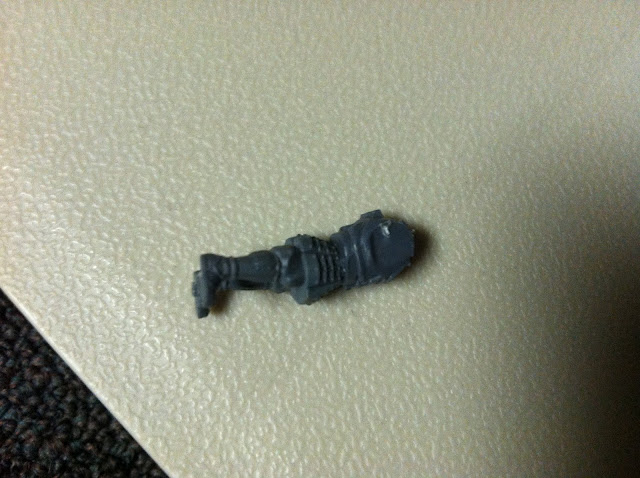
Cadian torso
WGF ashigaru legs (I prefer to save the crouching ones for heavy weapons teams)
Cadian arms
Cadian gear “fanny pack”


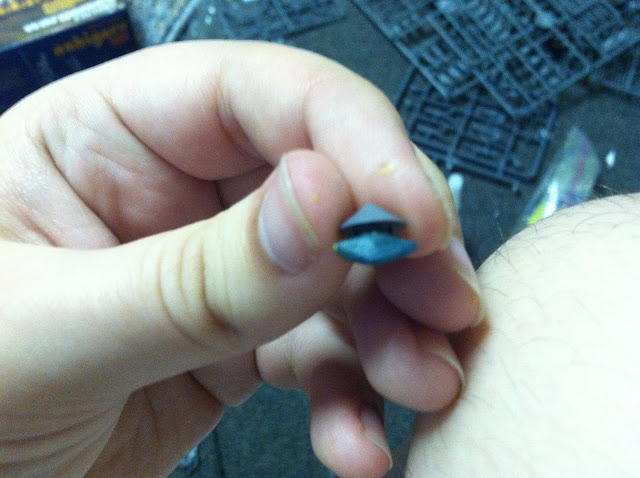
Just assemble the model like any other, but when you glue to torso onto the legs the torso will overlap the legs by a bit, don’t worry this can be fixed. Just slide the torso back so that overlap is all in the back.

See what I mean

Now the important part of making this model presentable is to use the “fanny pack” to cover up that overlap. Position it so that the tip of the canteen is on the belt, but the bottom is on the legs, effectively covering the gap.


Now the Ashigaru heads are based on a smooth joint. This is a problem because the cadian heads are on a ball joint. To make the ashigaru heads fit on the cadian bodies you’ll need to snip off the “collar” of the cadian body.


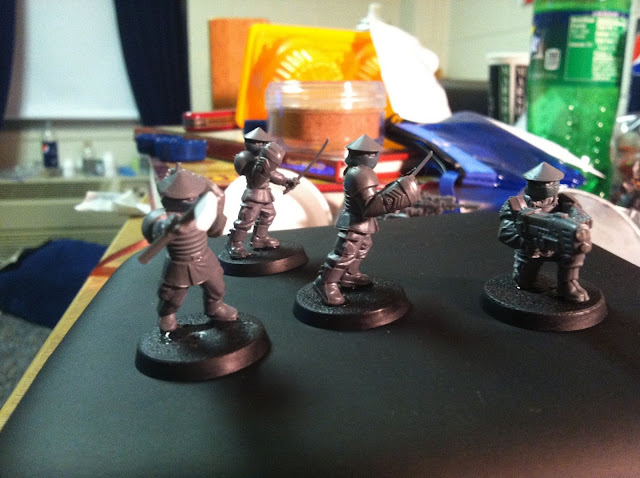
After that assemble the model like any other, and your end result will be something like this:


Now there are some problems with the Fuyu design. As some have noted on my blog they seem to have “Johnny Bravo Arms” and this is true, however with an effective paint job this can be made to look like they’re wearing heavy coats and armor. That’s why I called it the Fuyu (winter) pattern.

Fonsu pattern armor
This is actually the pattern I recommend for anyone who wants to make Samurai IG, it looks a lot better in my opinion and doesn’t have the design flaws the Fuyu pattern does.

Here’s what you need:
WGF ashigaru head
WGF ashigaru body
Cadian legs
Cadian arms


The assembly of the Fonsu pattern is the same as any miniature, and the end result should look something like this:


Note: you can mix the patterns to get more bang for your buck, that's what I'm doing.
That’s all for now, I’ll update this tutorial with the other troops types soon.

Admiral Chester W Nimitz wrote:The war with Japan had been re-enacted in the game rooms here by so many people and in so many different ways, that nothing that happened during the war was a surprise.

My Cold War NATO IG, love to know what you think 
   
Made in ie
Warp-Screaming Noise Marine


Ireland

Personally I think the Fonsu style is better, the other just looks a little too top heavy.

But top marks, the fonsu looks very natural and a coat of paint will really do the trick.


Made in us
Rough Rider with Boomstick


yes, that's why I recommend the Fonsu Pattern. however there is one flaw I've noticed: the left arm has a small gap that needs to be filled in with GS. it's fairly simple but I recommend if you start up a Samurai IG army using the Fonsu pattern you should stock up on GS.

Admiral Chester W Nimitz wrote:The war with Japan had been re-enacted in the game rooms here by so many people and in so many different ways, that nothing that happened during the war was a surprise.

My Cold War NATO IG, love to know what you think 
   
Made in us
Rough Rider with Boomstick


All right, I kind of let this go dead for a bit, but now I'm back on track. Today I'm showing how I make my ninja, and once again it is very simple:
start with the legs and body of the Fonsu Pattern (I like to use the "running" set of legs to give a more dynamic pose)

now the key part of this is the head and the "ninja mask" to make it take an Ashigau head with the helmet on and mix together a pea sized piece of GS:

(sorry about the bad pic quality, my phone just would not behave)
now flatten the GS into a rough I guess it would be a shape similar to an eye:

now place the GS over the face of the head and blend it to the sides and bottom, leaving the eyes and if you want the nose of the model visible:


I'll leave the armaments of your ninja up to you, but I find that special weapons arms make good grips for knives and other ninja weapons, and the tip of the yari from the Ashigaru kit make exelent knives once you cut off the pole. here's an example of some finished ninja:

Admiral Chester W Nimitz wrote:The war with Japan had been re-enacted in the game rooms here by so many people and in so many different ways, that nothing that happened during the war was a surprise.

My Cold War NATO IG, love to know what you think 
   
Made in au
Dipping With Wood Stain


Cool tute buddy, didn't know about these models, thanks =)


Forum Index » Painting & Modeling Tutorials
Go to: