So recently I was asked if I could build Tau Manta for a friend who didn't feel like spending the big bucks at Forgeworld. The stipulations were that it had to be cheap, and had to be built in two weeks time. I thought about it... and took the challenge. So, here's all the build photos and a quick step-by-step to what I did, for anyone who feels like following suit.
Materials used:
2-3 sheets of 36"x48" foamcore board
Maxi-cure extra thick superglue
Elmers school glue
1/4"x1/4"x36" basswood rods
6x Pop rivets
1" wooden dowel
2" diameter cardboard tube
8x finishing nails
1 tube painters caulk (white)
1/4" aluminum channel from Home Depot
Tools used:
18" metal ruler
Exacto knives and a few blades
Fine point sharpy
A good pencil
Graph paper
caulk gun
Step 1: Drawing out the design
I started out by looking for general dimensions of the Manta on Forgeworld. From there I drew a basic outline on some taped-together graph paper.
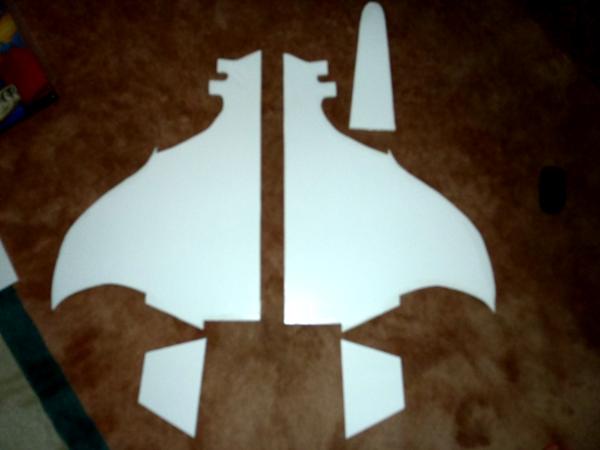
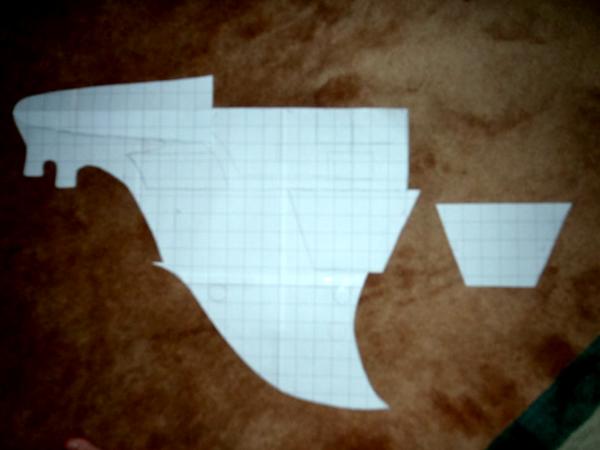 Step 2: Cutouts
I used foamcore board for 90% of the ship, cutting lines traced on in pencil and then cut out with a jigsaw with a very fine blade. I also used an exacto knife for all the smaller cutting, but it work out just as well for the larger pieces.
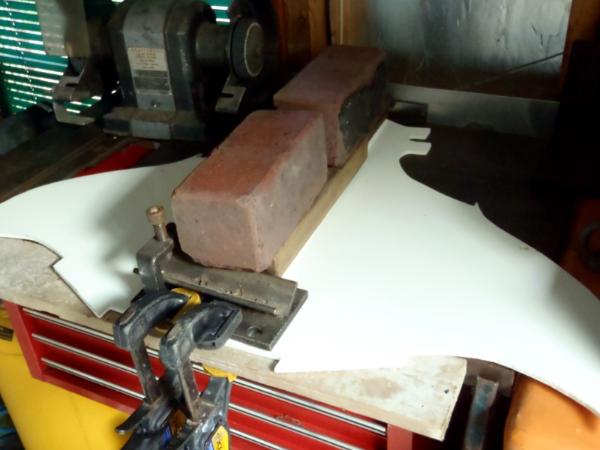
 Step 3: Starting the gluing
I used both Elmers school glue and Maxi-cure super glue to put this model together. The Elmers was used for any of the large face-to-face glue areas of foam while Maxi-cure was used for any of the edge gluing. When putting the wings together, I glued a flat piece (about 2" wide) down the entire seam so that it would be face-glued to each wing and keep the whole thing together. The problem I had was that the foam wasn't perfectly flat, so it would warp up in spots and not stick properly. My solution? Bricks and clamps.
 Step 4: Putting it together
Once I had the major surfaces glued together I started drawing out the smaller pieces (based on images from Forgeworld) and working to try and make foam (with all it's hard right-angles) come out to look similar. It was a test in aesthetic art that just kind of worked out. I made sure all my cut lines were pre-measured and cut straight so that all the seams would line up nicely, then I started gluing it all together.
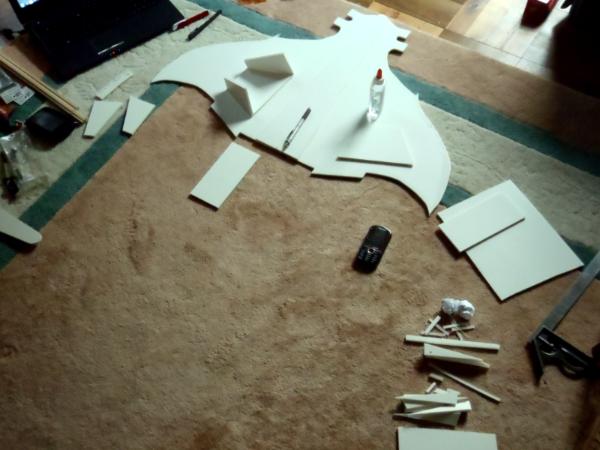
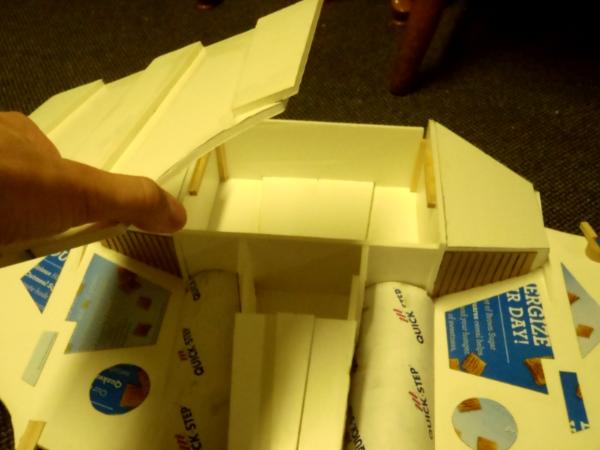
Laying it out before gluing to make sure pieces fit and look good.
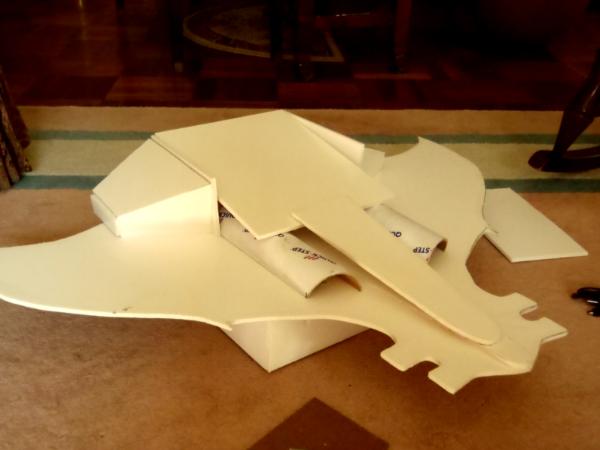
A lot more assembled, with a Tau Hammerhead for scale. I used the basswood to reinforce corner joints. The bottom compartment (to the right) is attached by sliding it and locking into place by a set of 4 basswood tabs that fit into holes in the main wing/frame (hidden under the engines and the intake tubes)
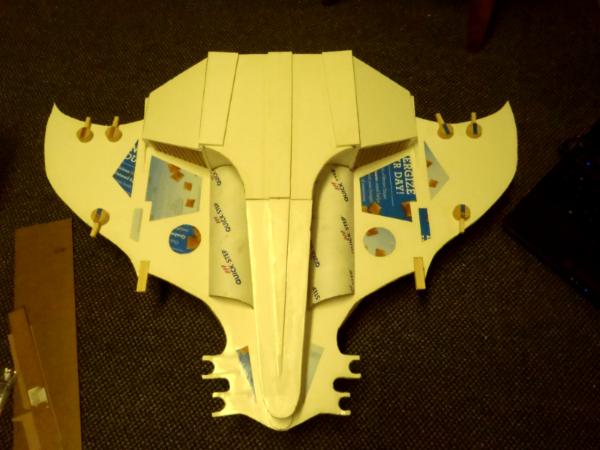
Glued together with the top compartment closed.
 Step 5: Detailing!
For the detail bits, I initially thought about dremeling out lines on the wing/frame, but decided that would be too much work and take too much time with too much chance to screw it up. Much too much all around. Instead I cut out pieces of cereal box in shapes that looked good to me, and glued them on with Elmers. For the turrets I cut down the dowel and attached basswood for the barrel. Finally, I used the pop rivets to act as a bushing on which the turrets could fit snugly, and still rotate.
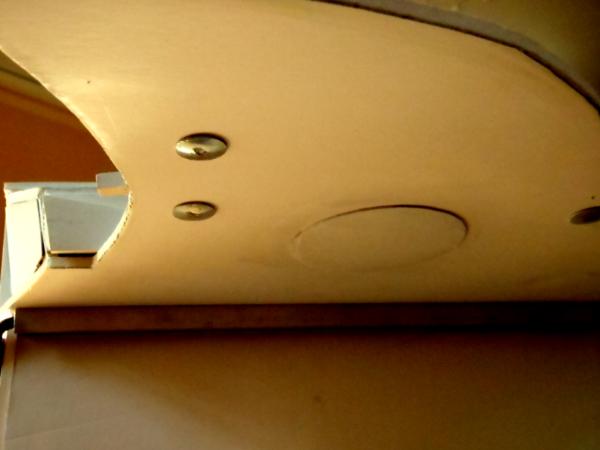
This is the bottom of the wing where you can see the pop rivets attached, and some of the detail bits I put on the bottom
For the air intakes on the engines, I used cereal box cardboard again, overlapped and glued in place with superglue and Elmers. I would recommend gluing brown cardboard side down, since the shiny side paints better.

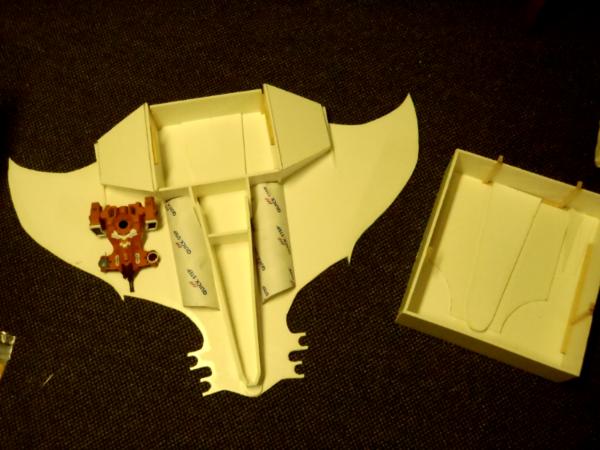
Quick view of the interior and some of the detail bits.
 Step 6: Coating and Finishing
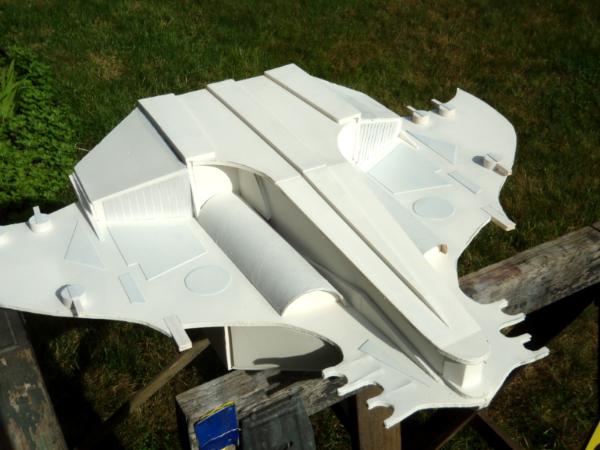
Before painting, I used the painters caulk to fill in all the divots in the foam edges anywhere I found them, as well as any joints that were not perfectly seated, and anywhere else I felt needed some touching up. I then coated down every exposed foam edge with Elmers glue, since the solvant in spraypaint dissolves foam. After the glue and caulk dried, I took it outside and primed the whole thing.
Looking pretty all in white

 Step 6: The Stand
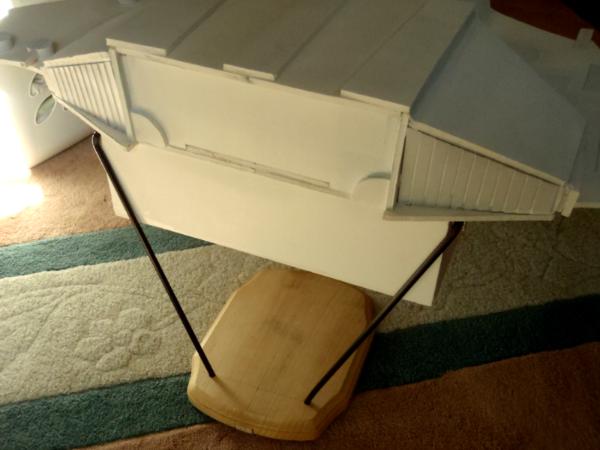
To make a stand I used 1/4" metal rod that I got from JoAnn Fabric on clearance from their home and garden section for a flower hanger or some thing. Cut it. Bent it. I super glued the aluminum channel on the underside of the wings on each side of the bottom compartment so that the rods had somewhere to sit. For the base, I used a wooden plaque I also picked up at JoAnn for a couple bucks. Drilled some base holes for the rods, put some foam furniture pads on the bottom, and will prime it later.
Boom. Stand.
 Step 7: The Damage
All in all this build cost me around $20 plus time. I spent probably a grand total of 10-12 hours of work, mainly cause I was figuring out how to cut each piece of foam out to look like I wanted it to look. Once I started going and had my designs down, the work actually went pretty quick. It was decently easy, a lot of fun, and my friend loved it! If you've got any questions on what else I did, used or want some clarification on anything, let me know. Otherwise, thanks for checking out my Manta, and I hope to be back with more projects!


 Sven Bloodhowl's Great Company 2750
 Nihilakh Dynasty WIP
 Loki's Thousand Sons: 700 WIP
