How do!
Forgot this board existed, so going to clog it up with a quick guide, using Castellax.
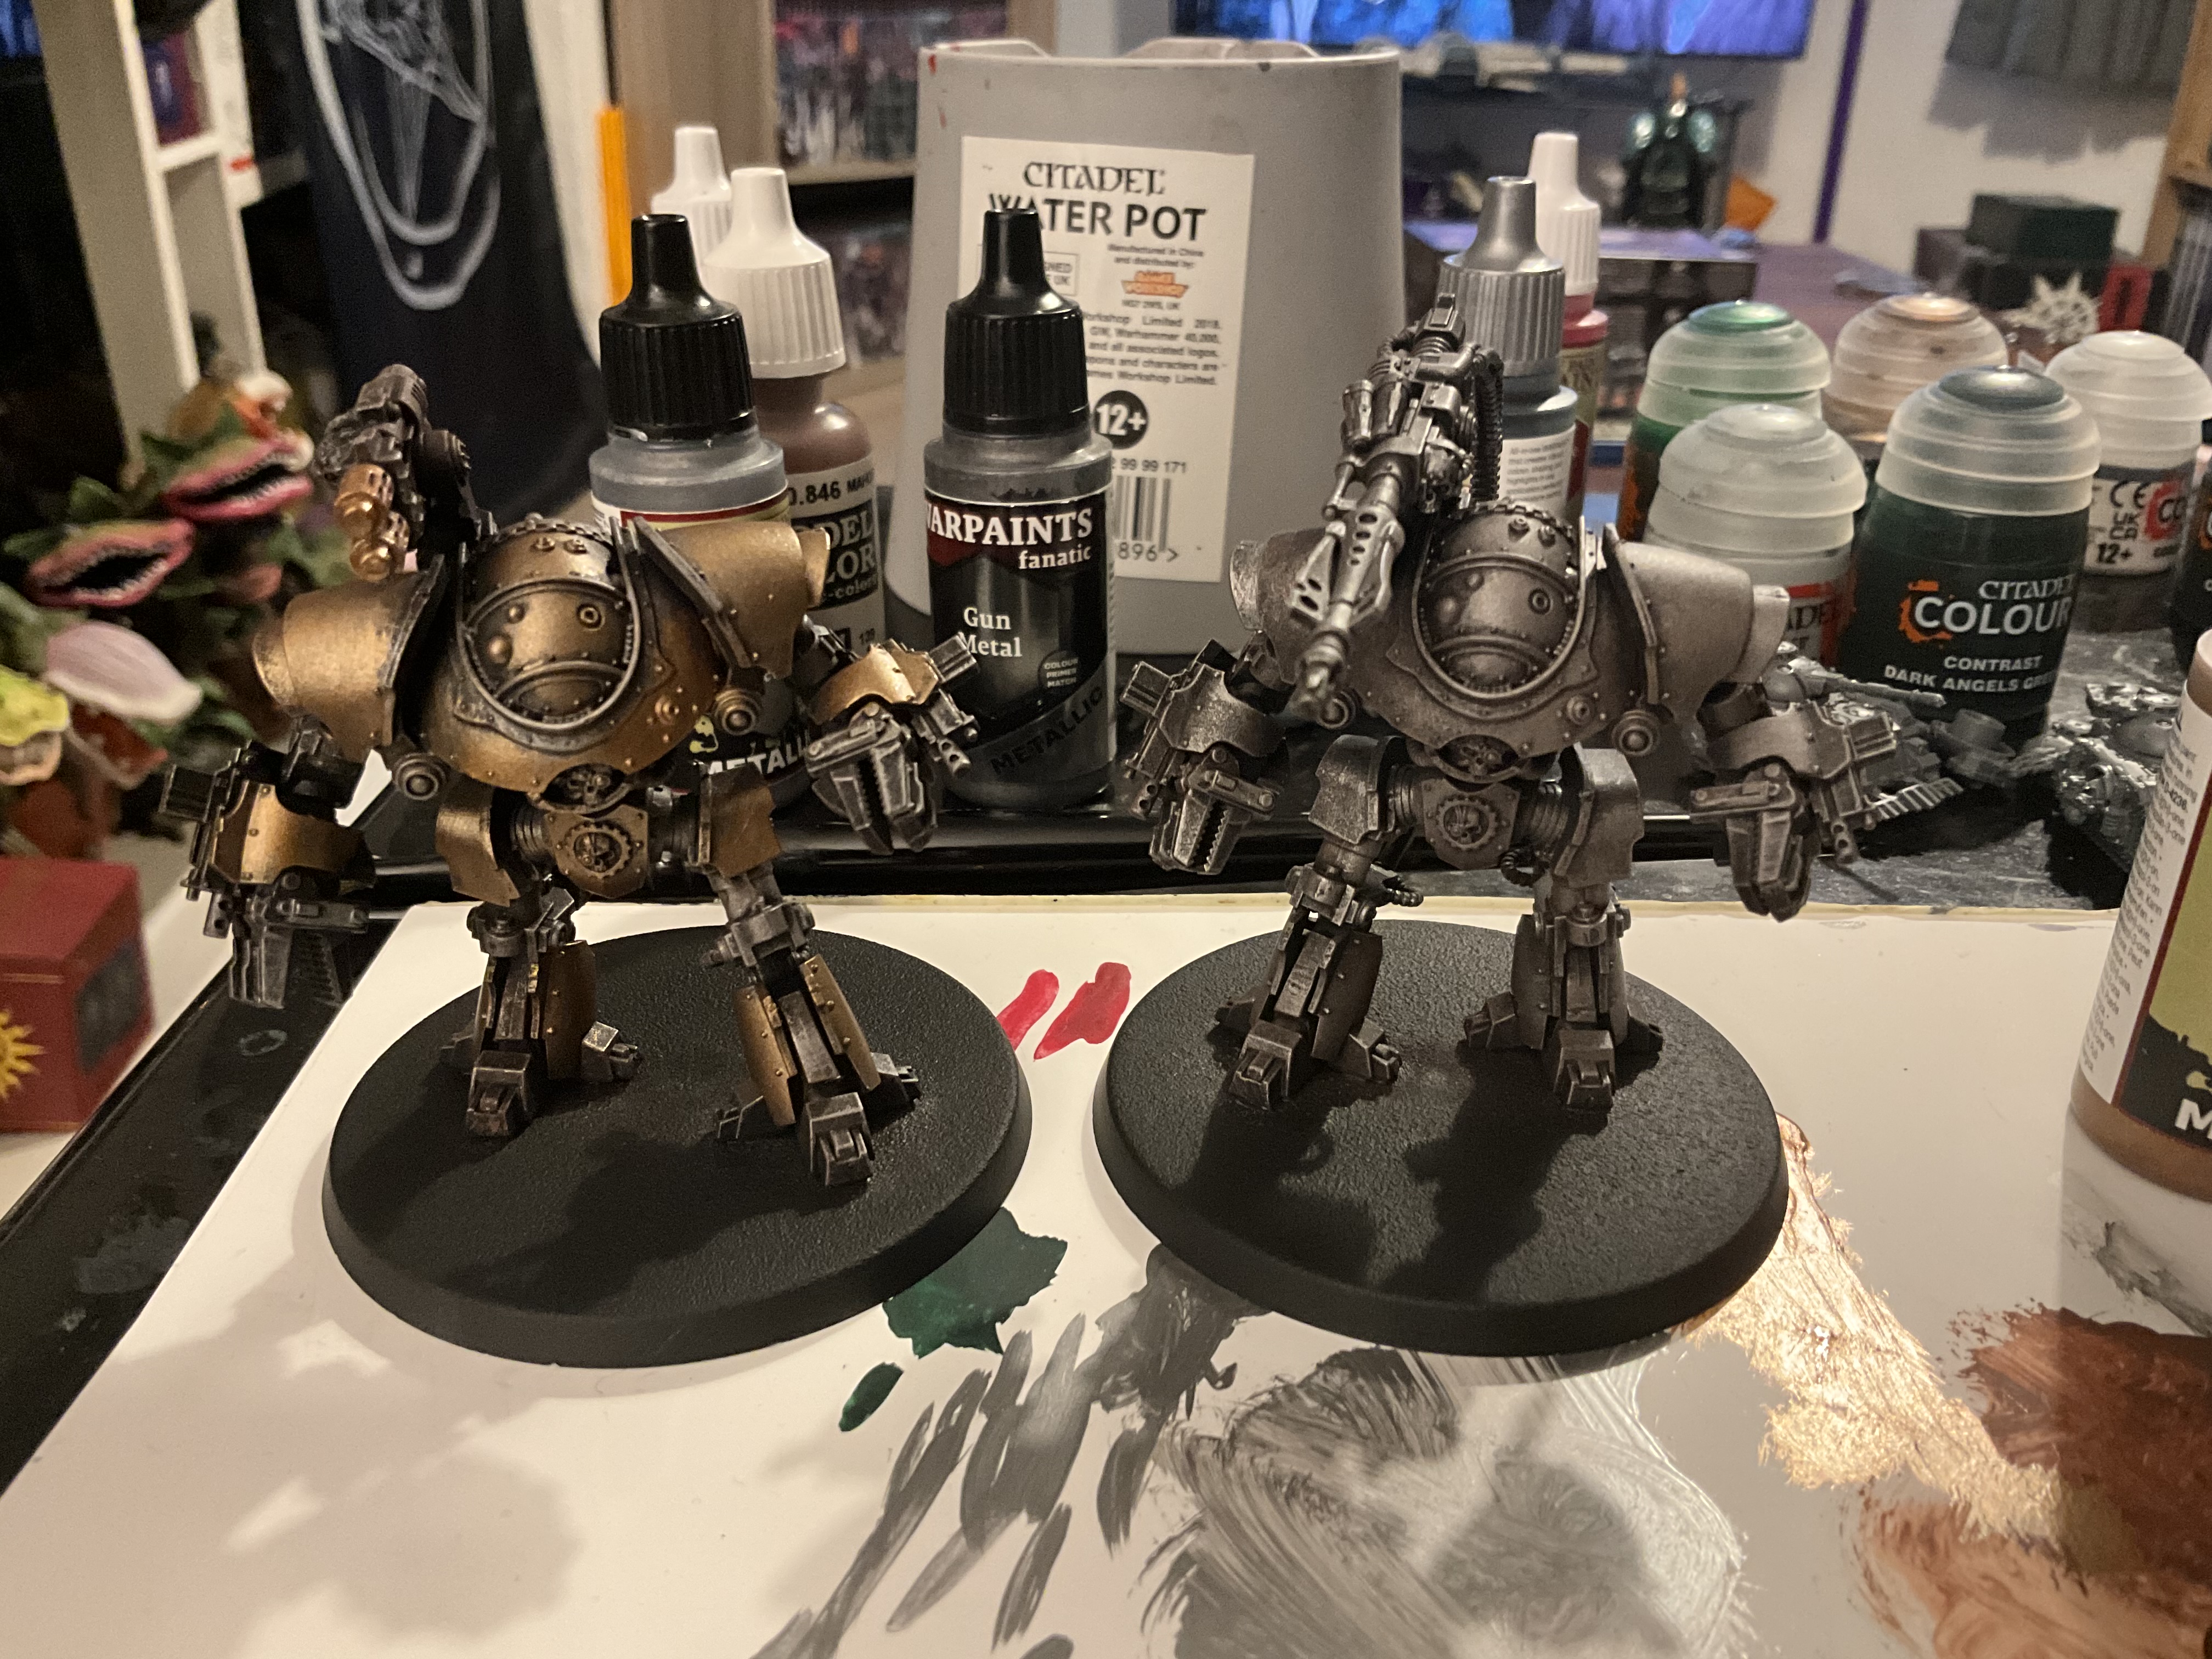
First, spray your models black. I used Citadel Chaos Black, but any such spray will work.
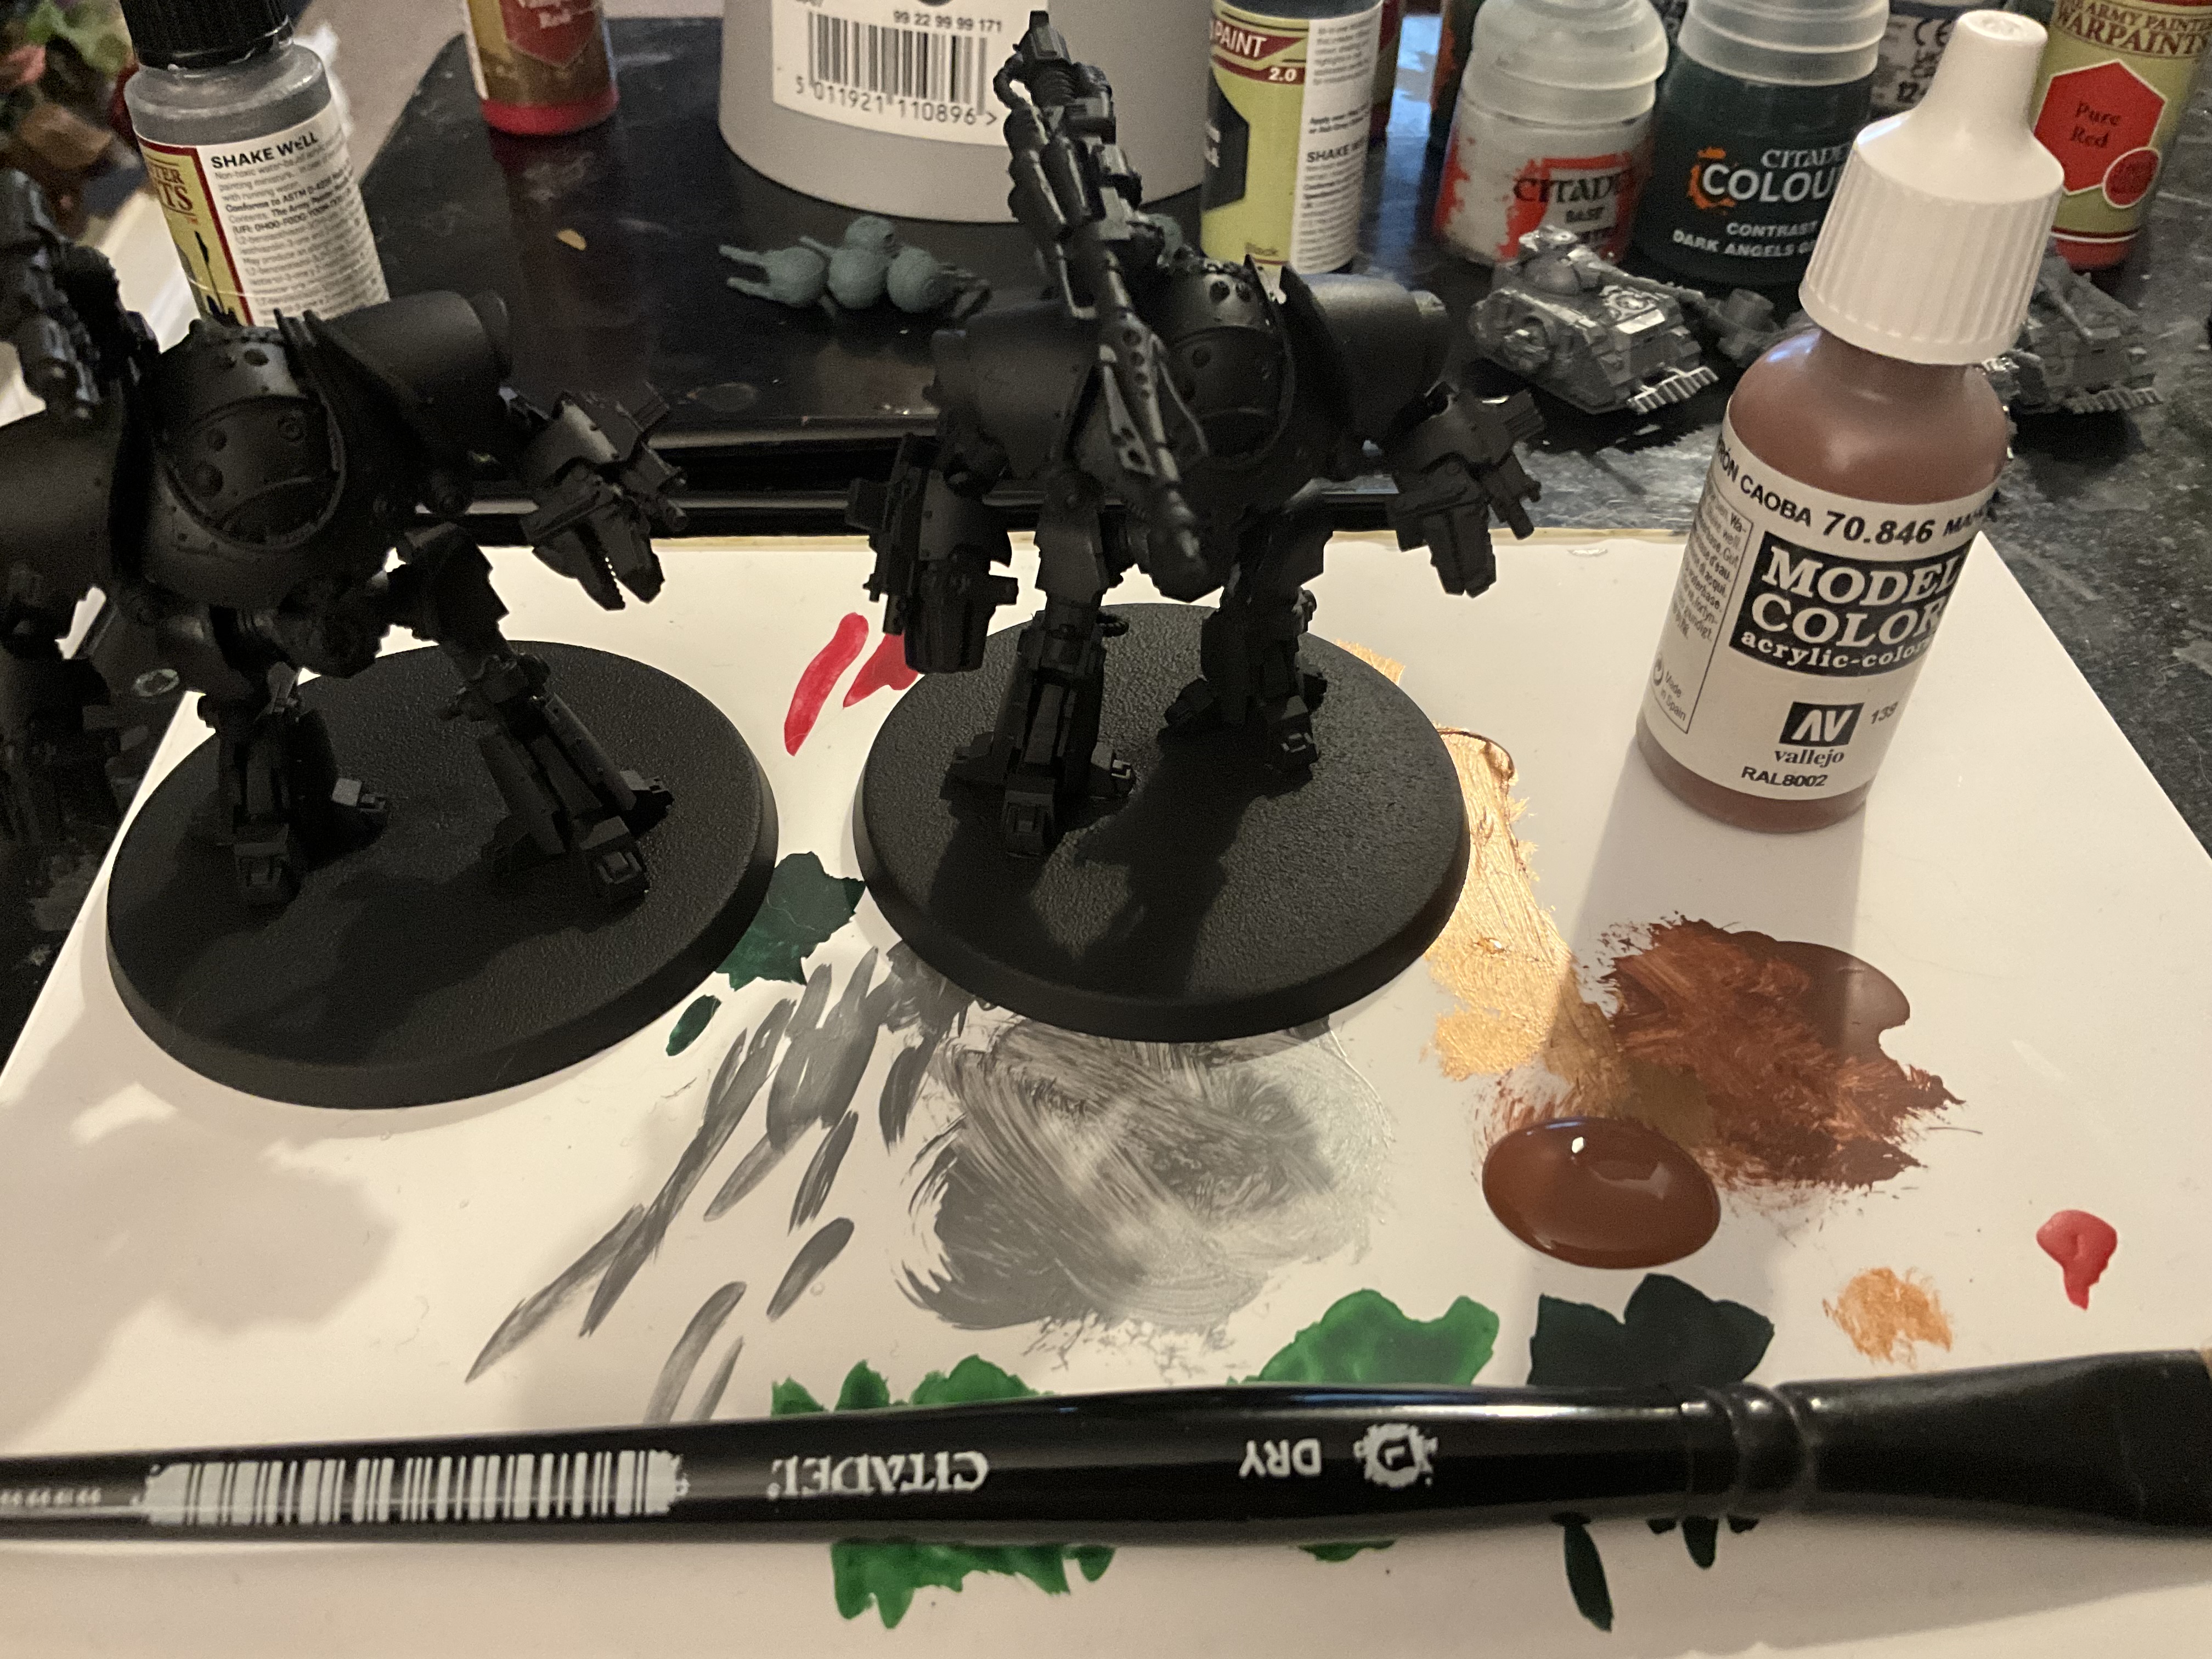
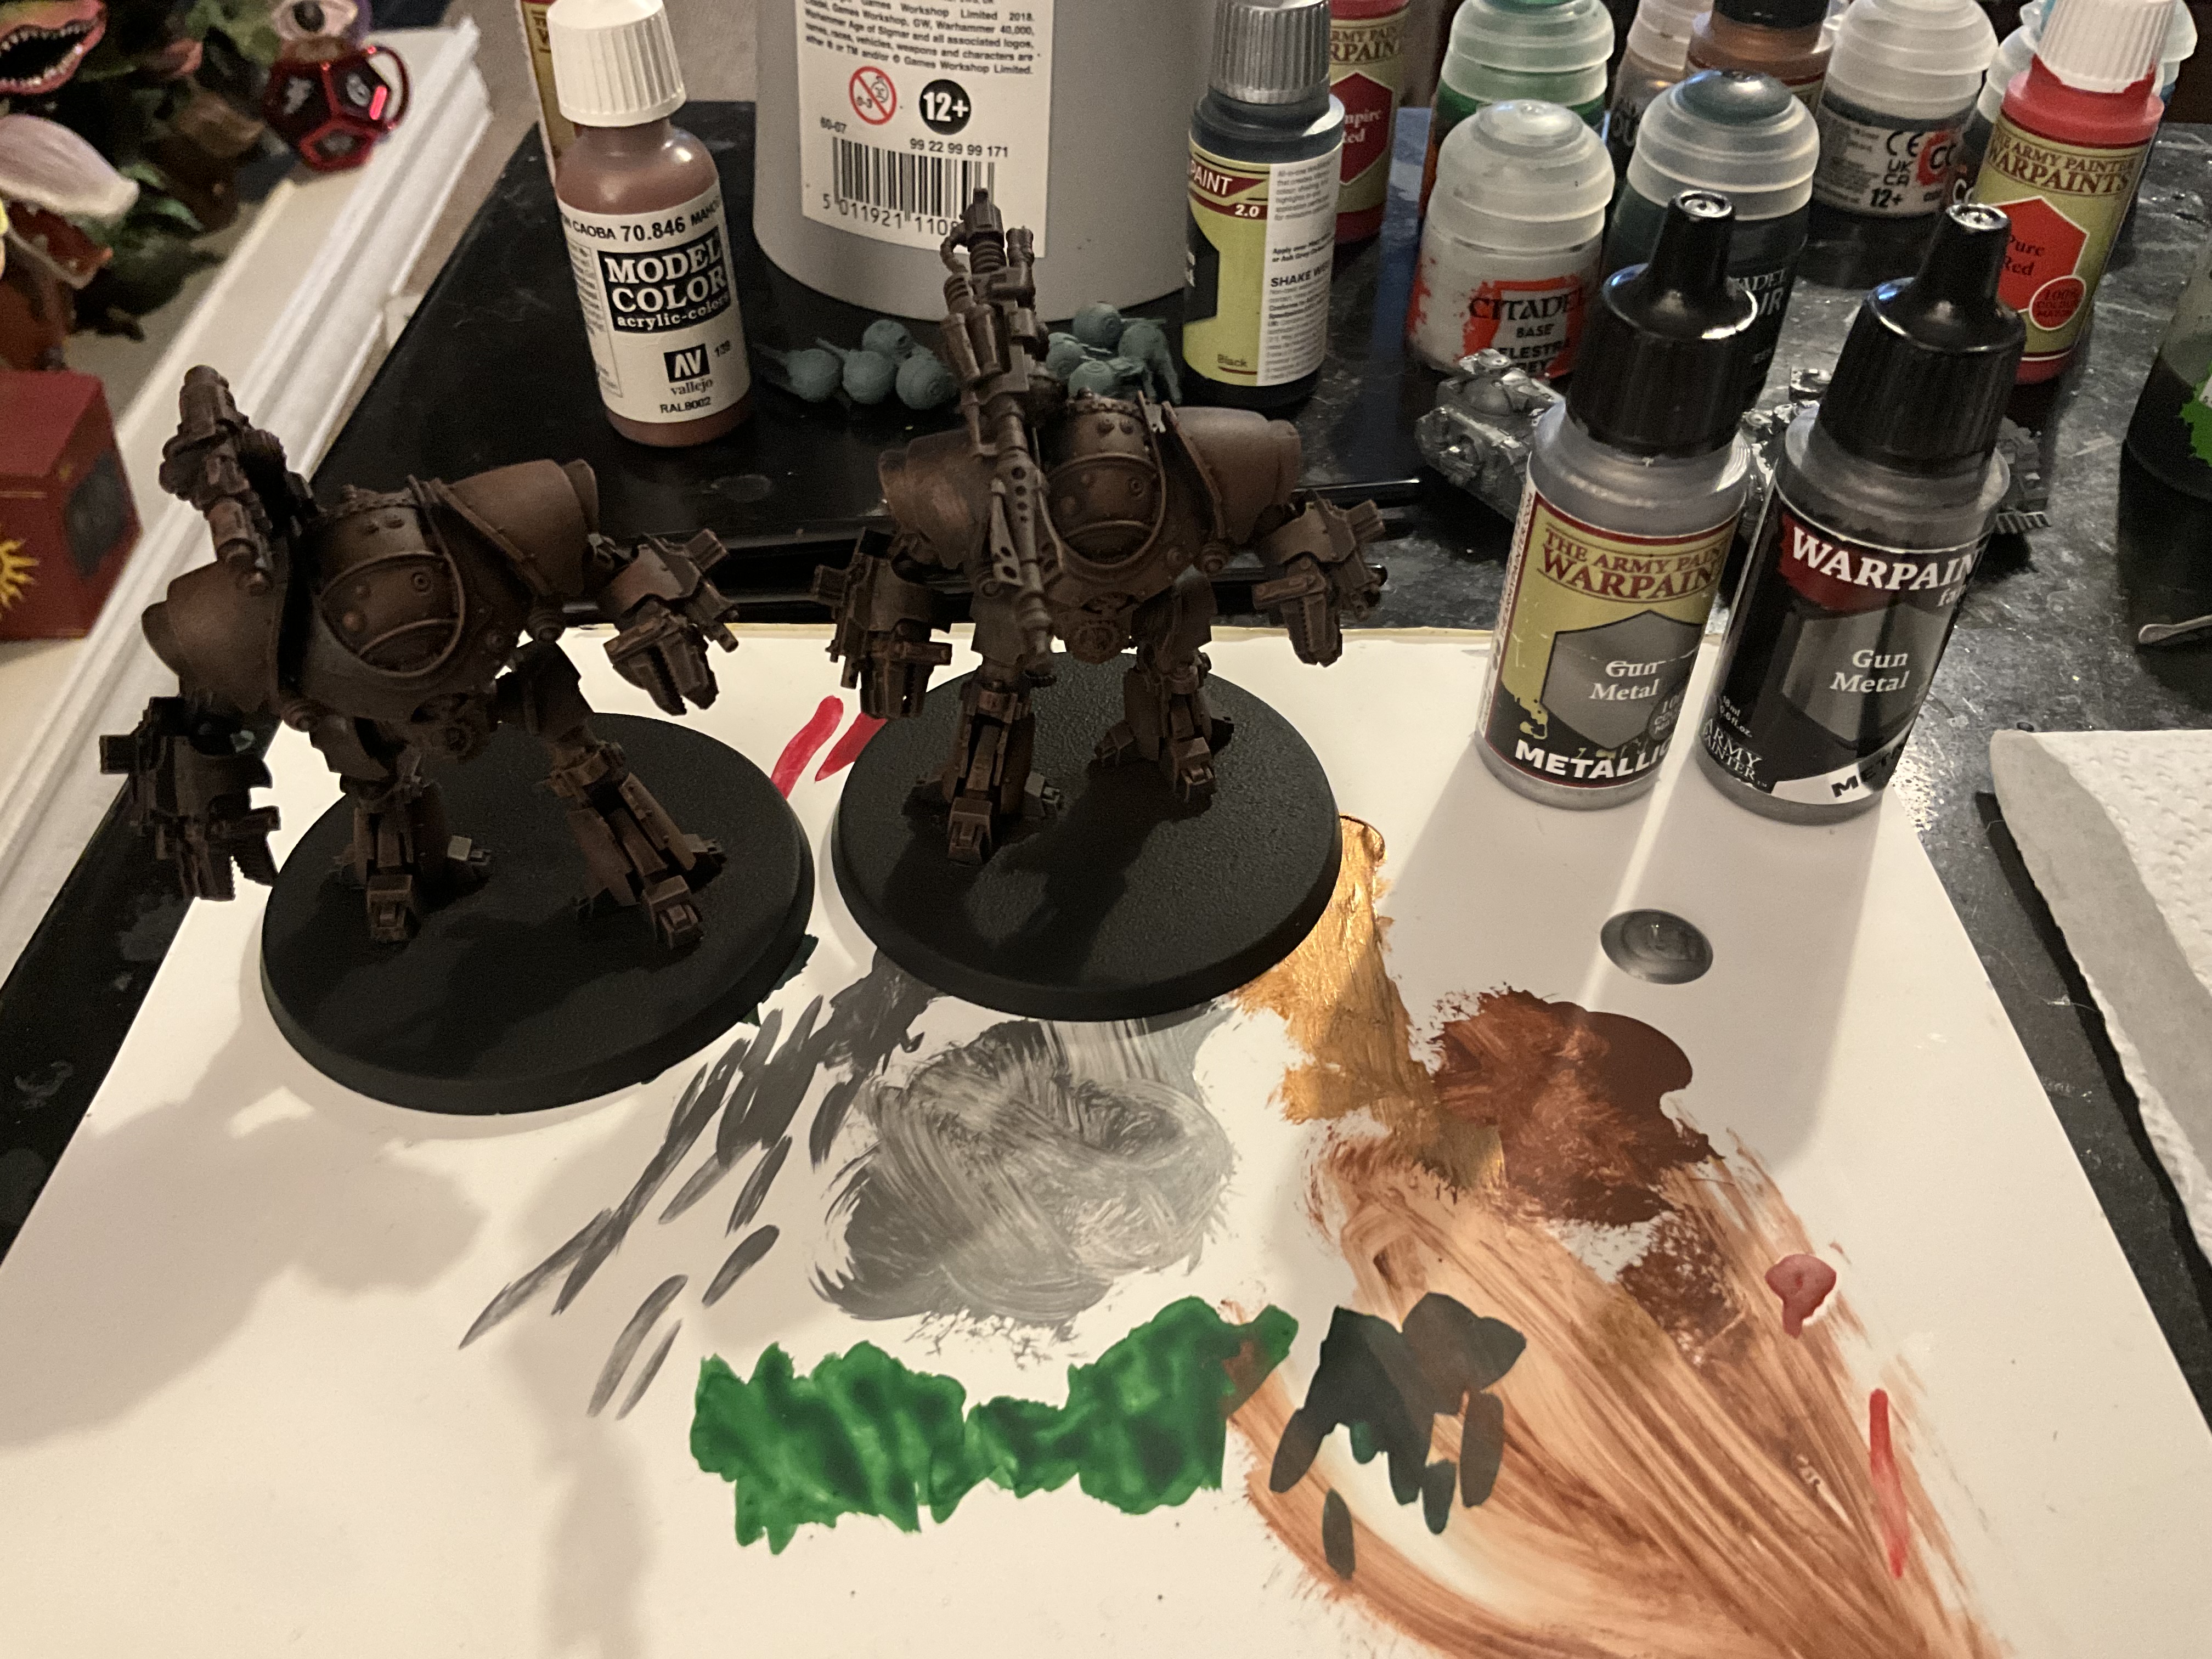
Second, I use a warm brown, here Model Color’s Mahogany. I apply this as a fairly generous drybrush over the entire model.
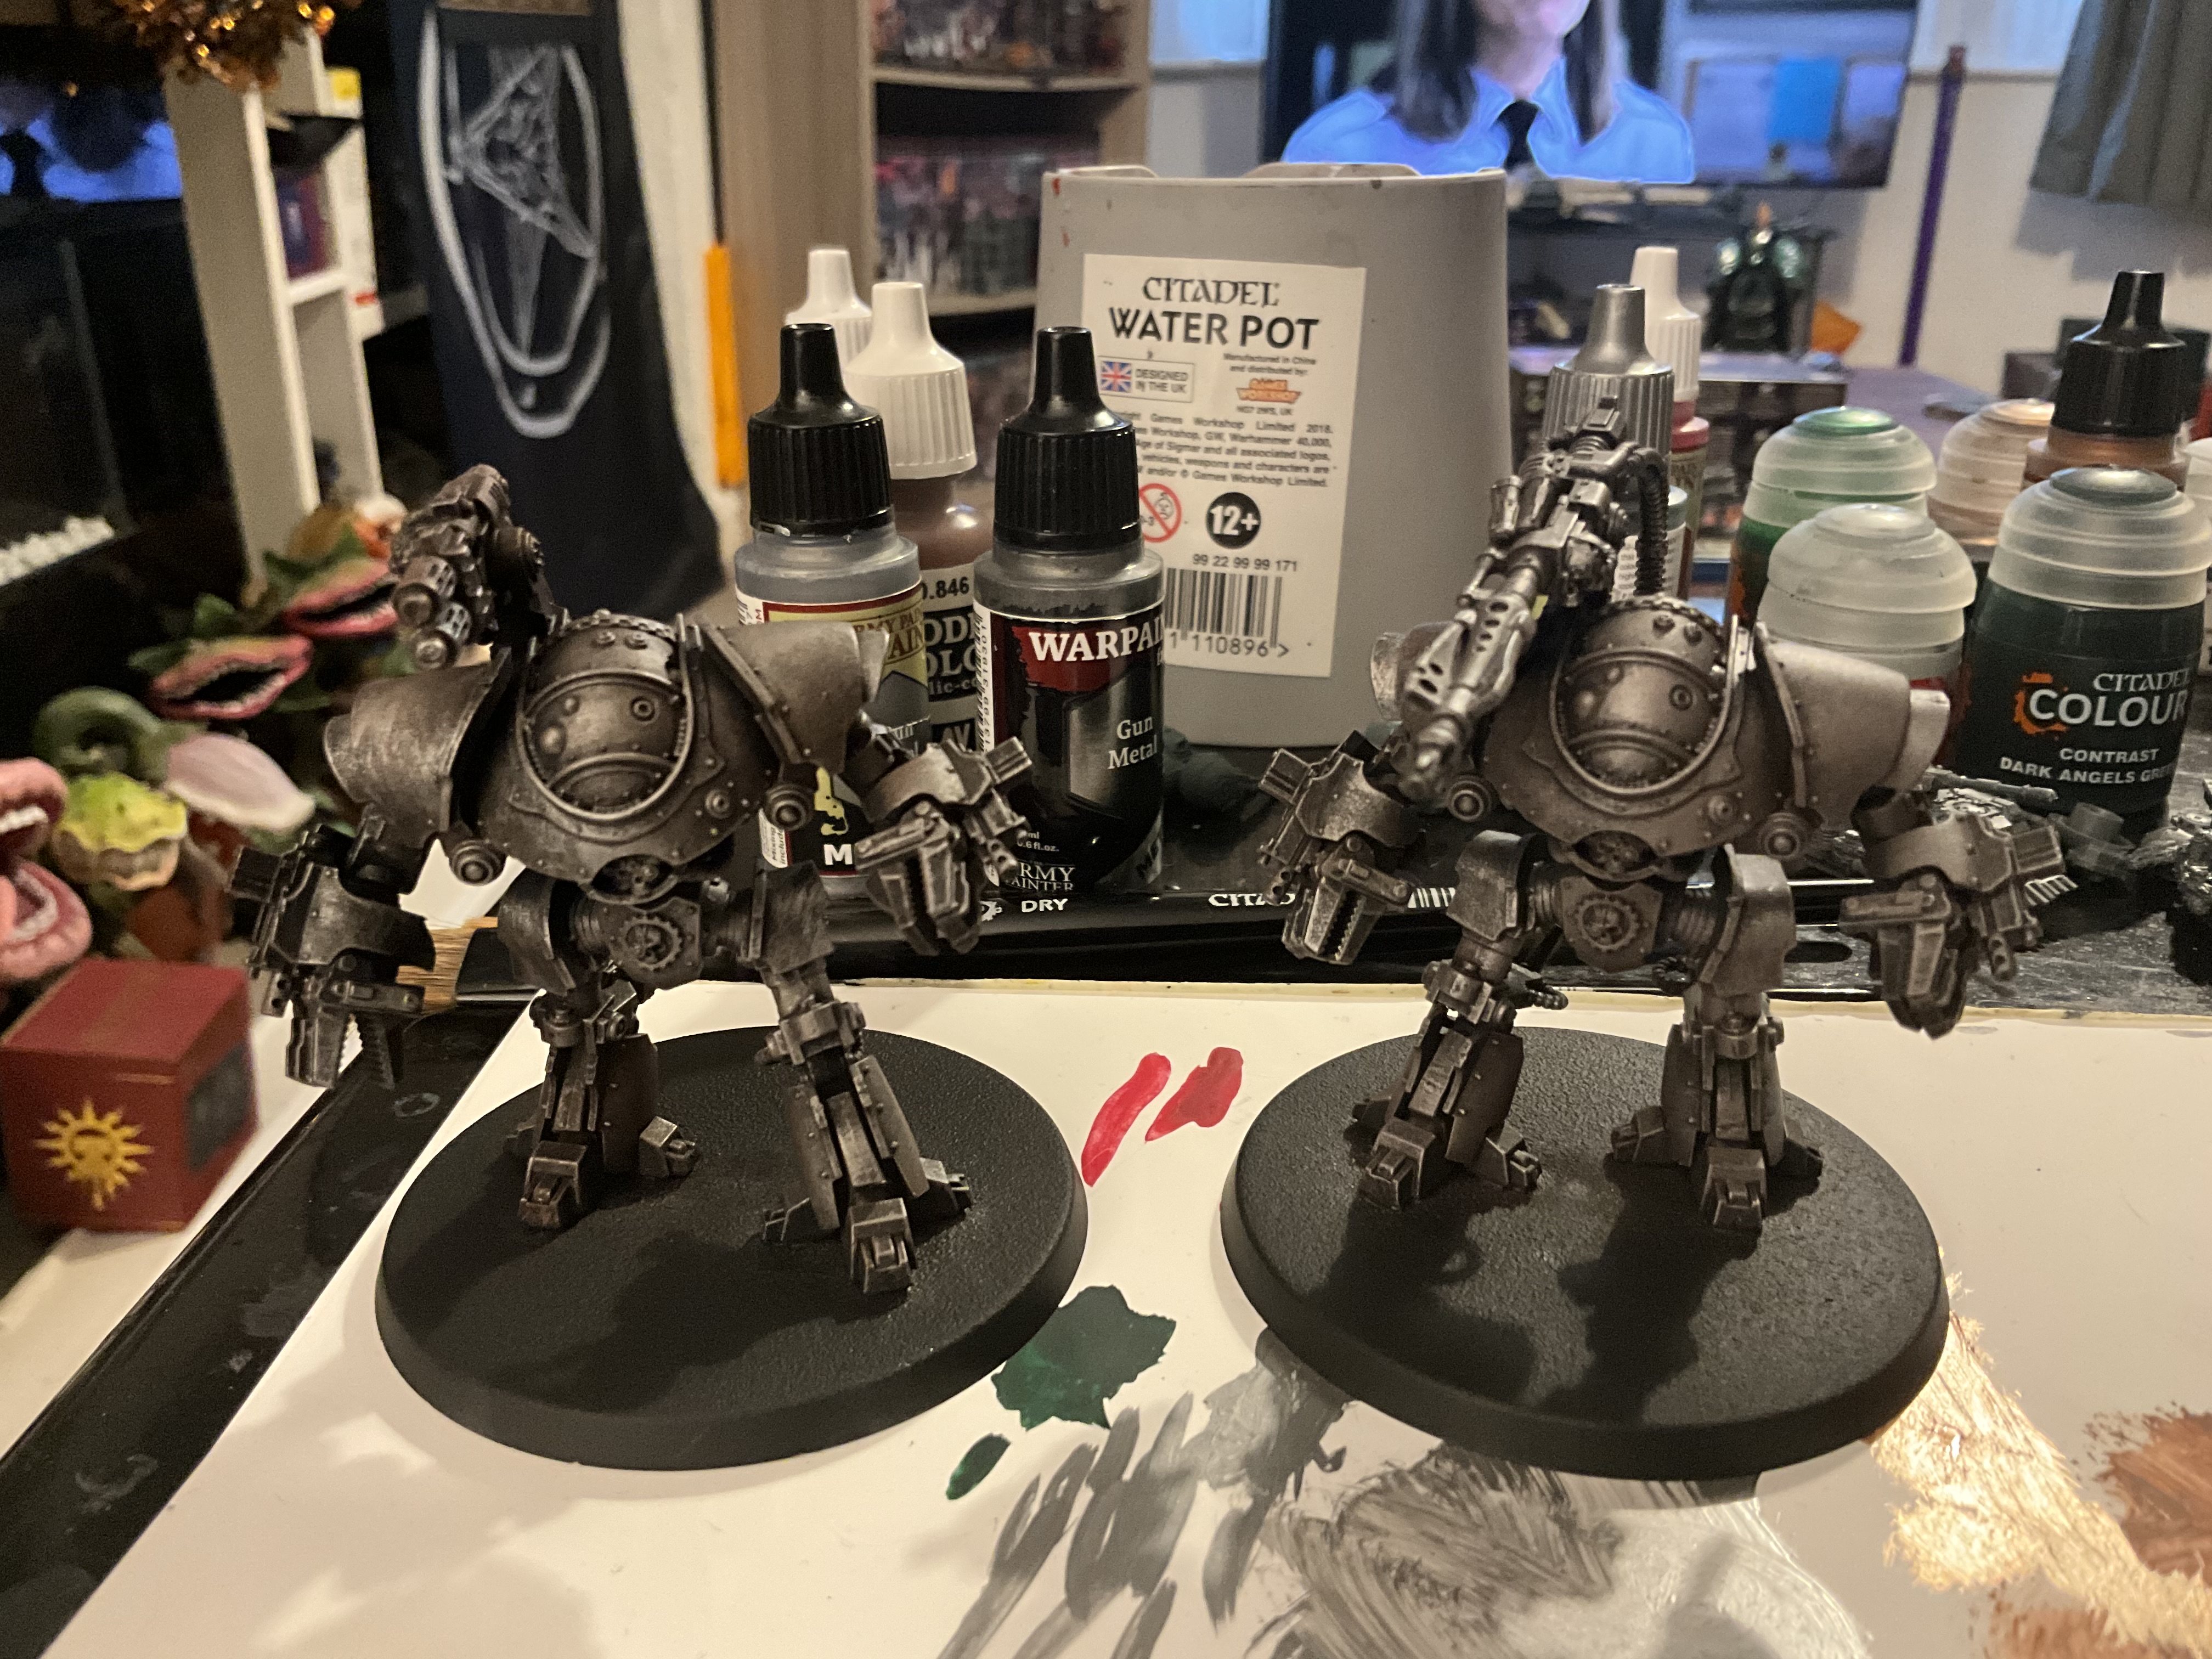
From there, a second drybrush, this time with a gun metal tone. I’ve used the appropriately named Gun Metal, from Army Painter.
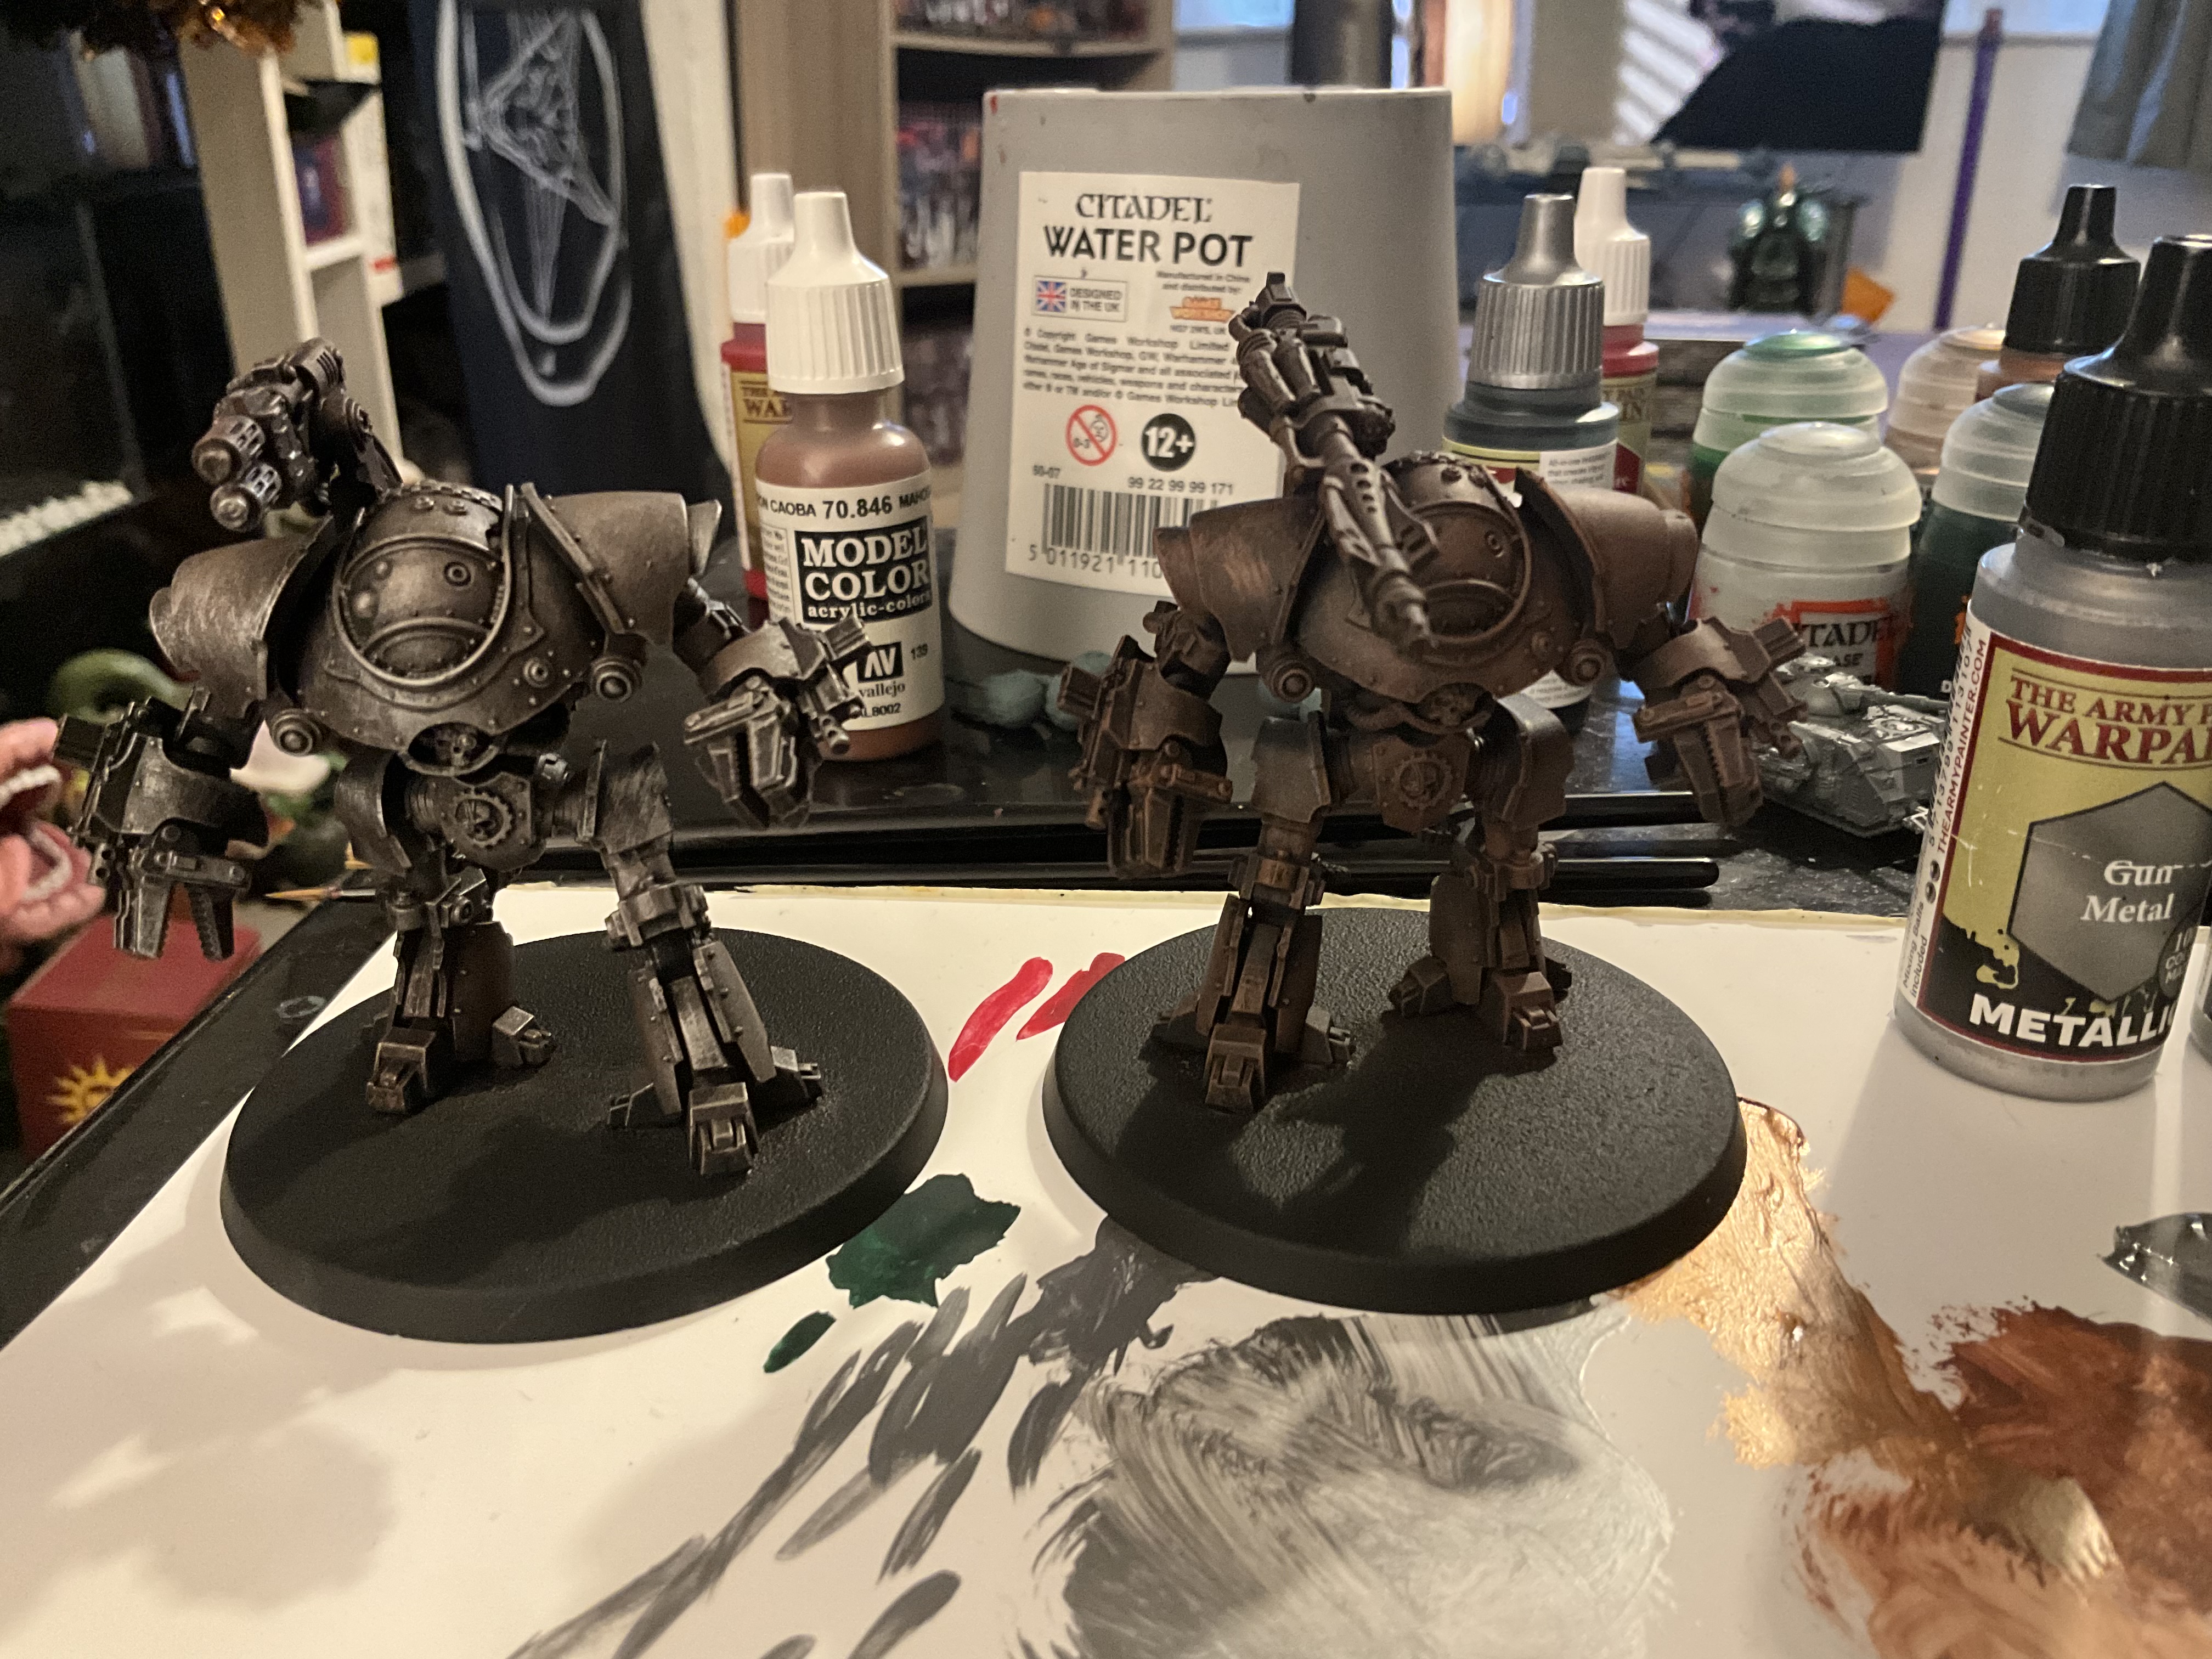
As you can see, this leaves us with a pretty satisfactory dirty metal tone, with the brown and gun metal working together to create a lot of shade. Sufficient that I didn’t feel the need to add a wash.
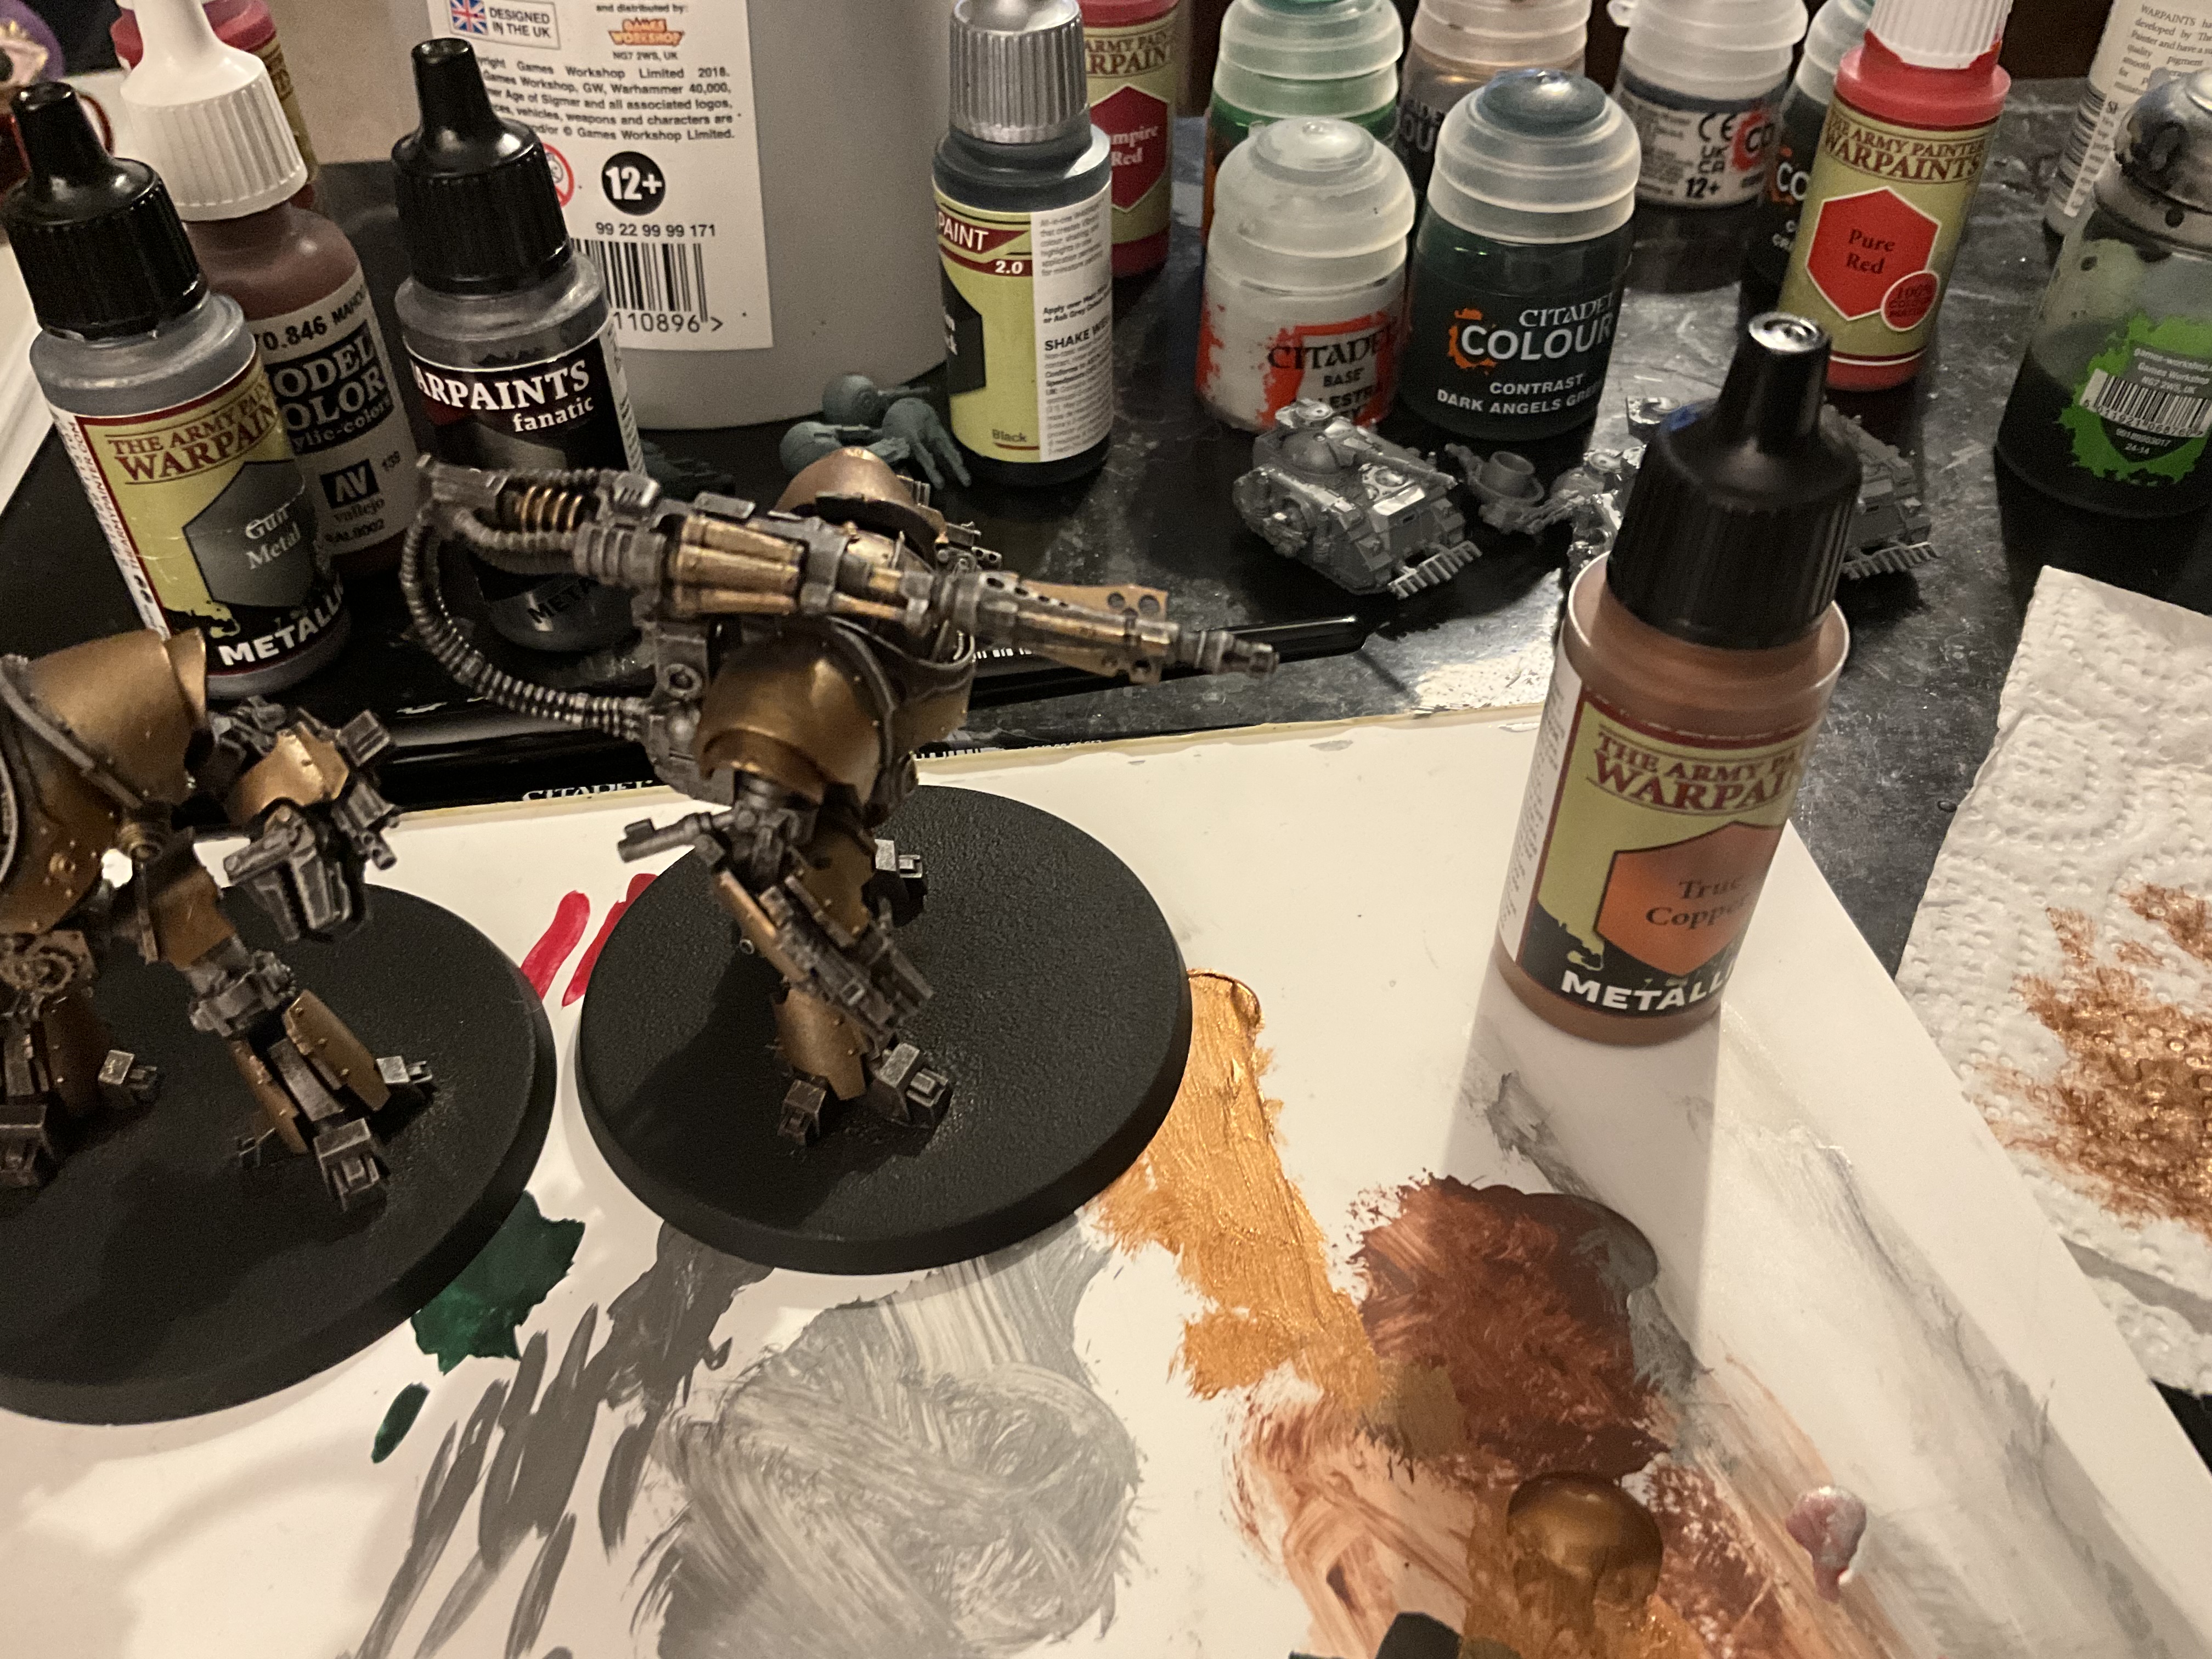
It’s then time to add some variety. I again used an Army Painter one, True Copper. I applied it to the armour plating, and to areas I figured needed the variety to highlight points of visual interest.
From there, I used Citadel Contrast Ork Flesh to do the armour plates.
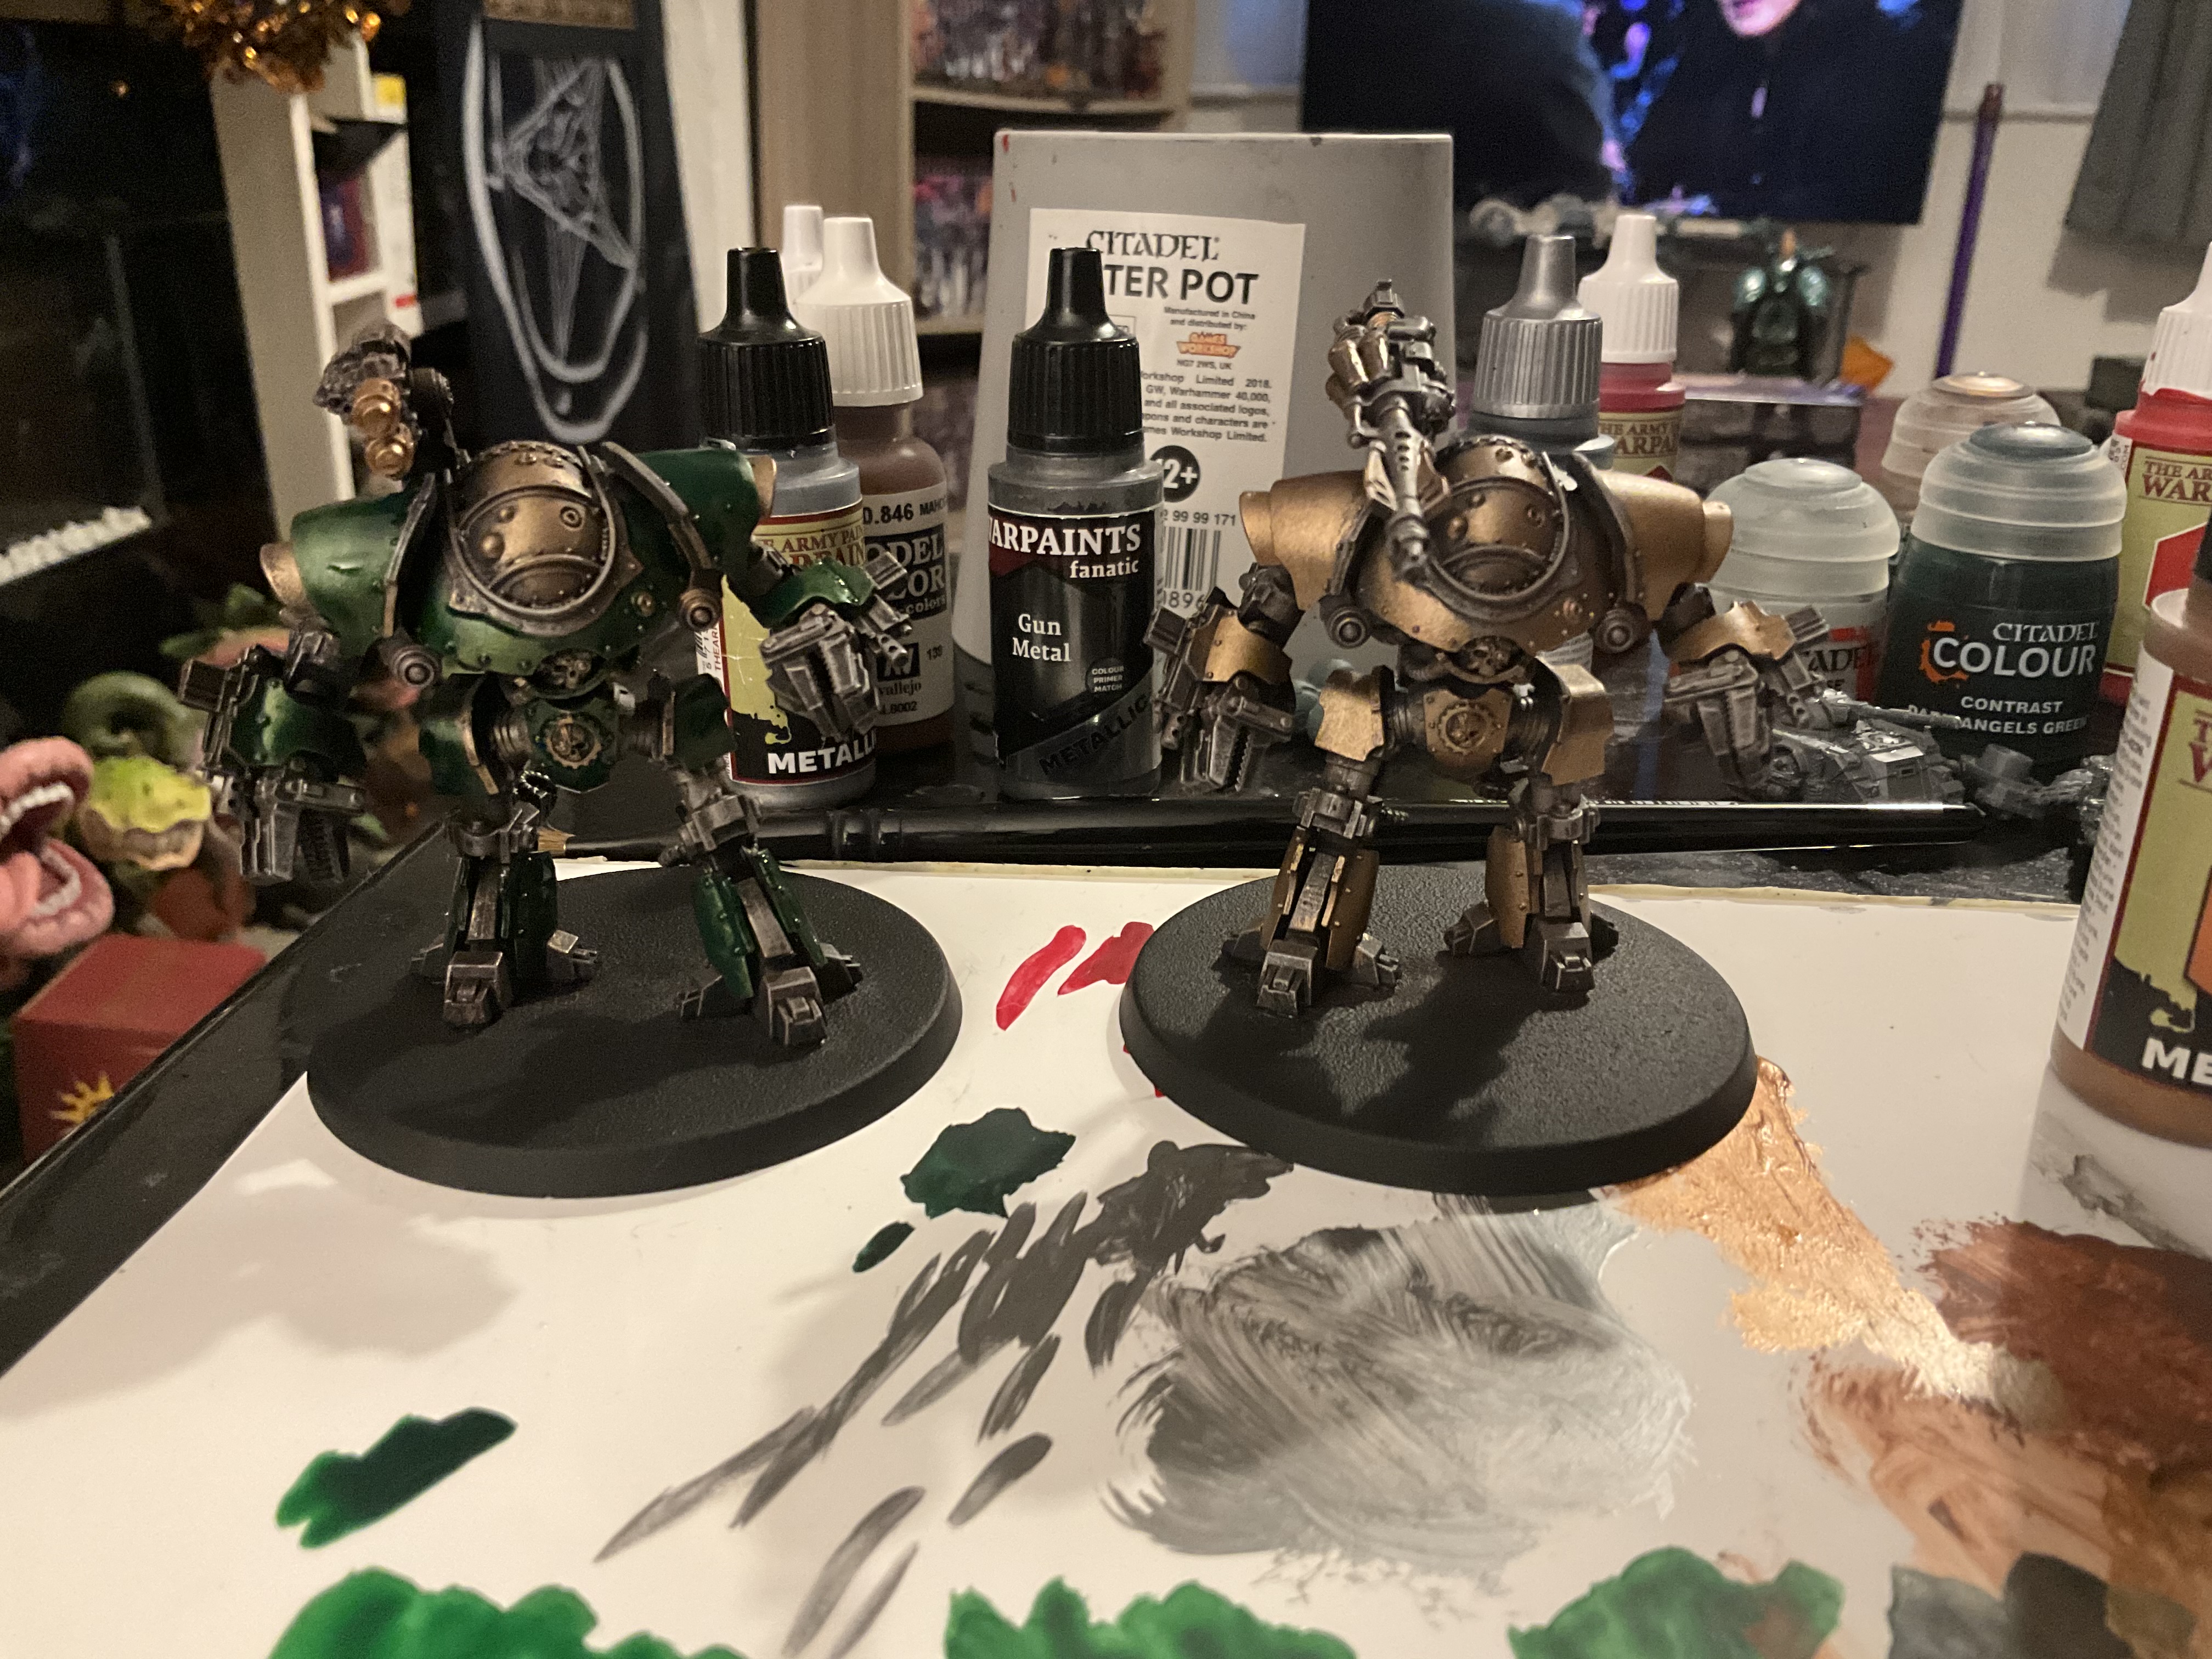
At this stage I felt it looked overly dark, and wanted to brighten it up a little, without mucking around too much. So I used Gun Metal, slightly thinned, to pick out certain areas. I also used Vampire Red to add a splash of colour.
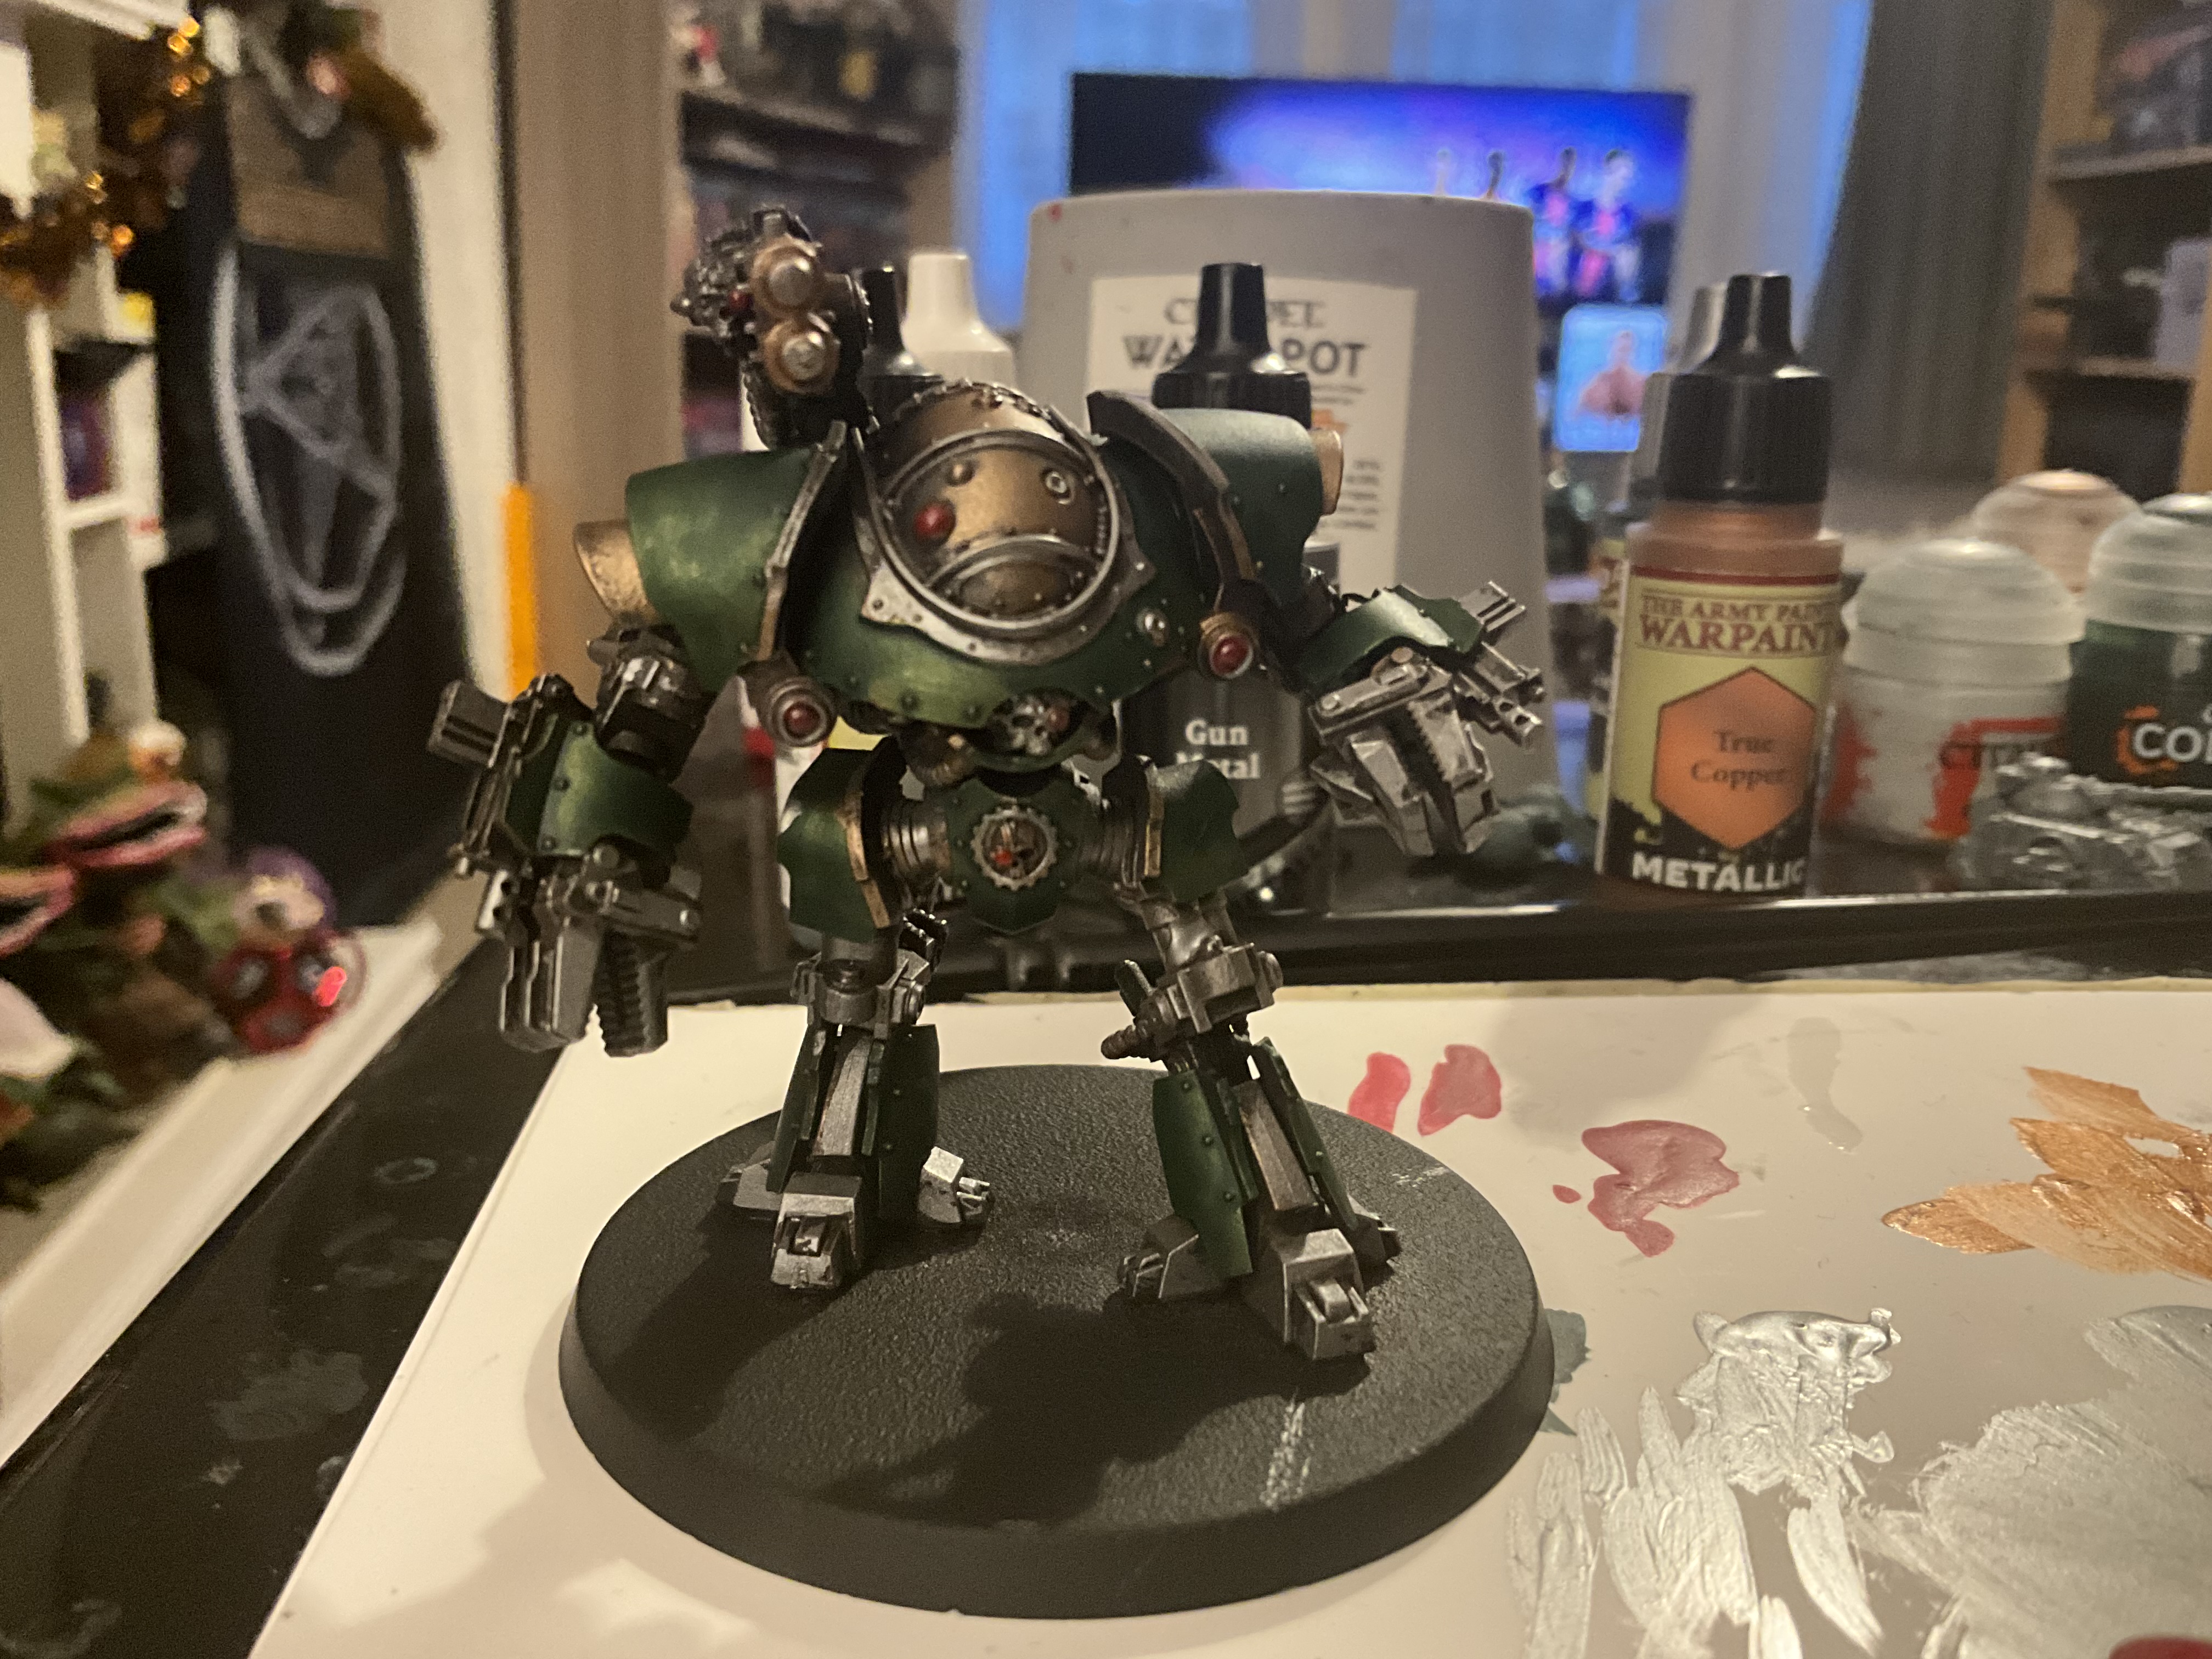
However, I’d left the colours looking a bit unbalanced, as the legs were predominantly Green and Steel, but the Torso predominantly Green and Copper. To address this, I revisited the shin and big bit of the toes in Copper, and finally added a very thin wash of Citadel Agrax Earth Shade to the same bits, just to knock back the shine a little.
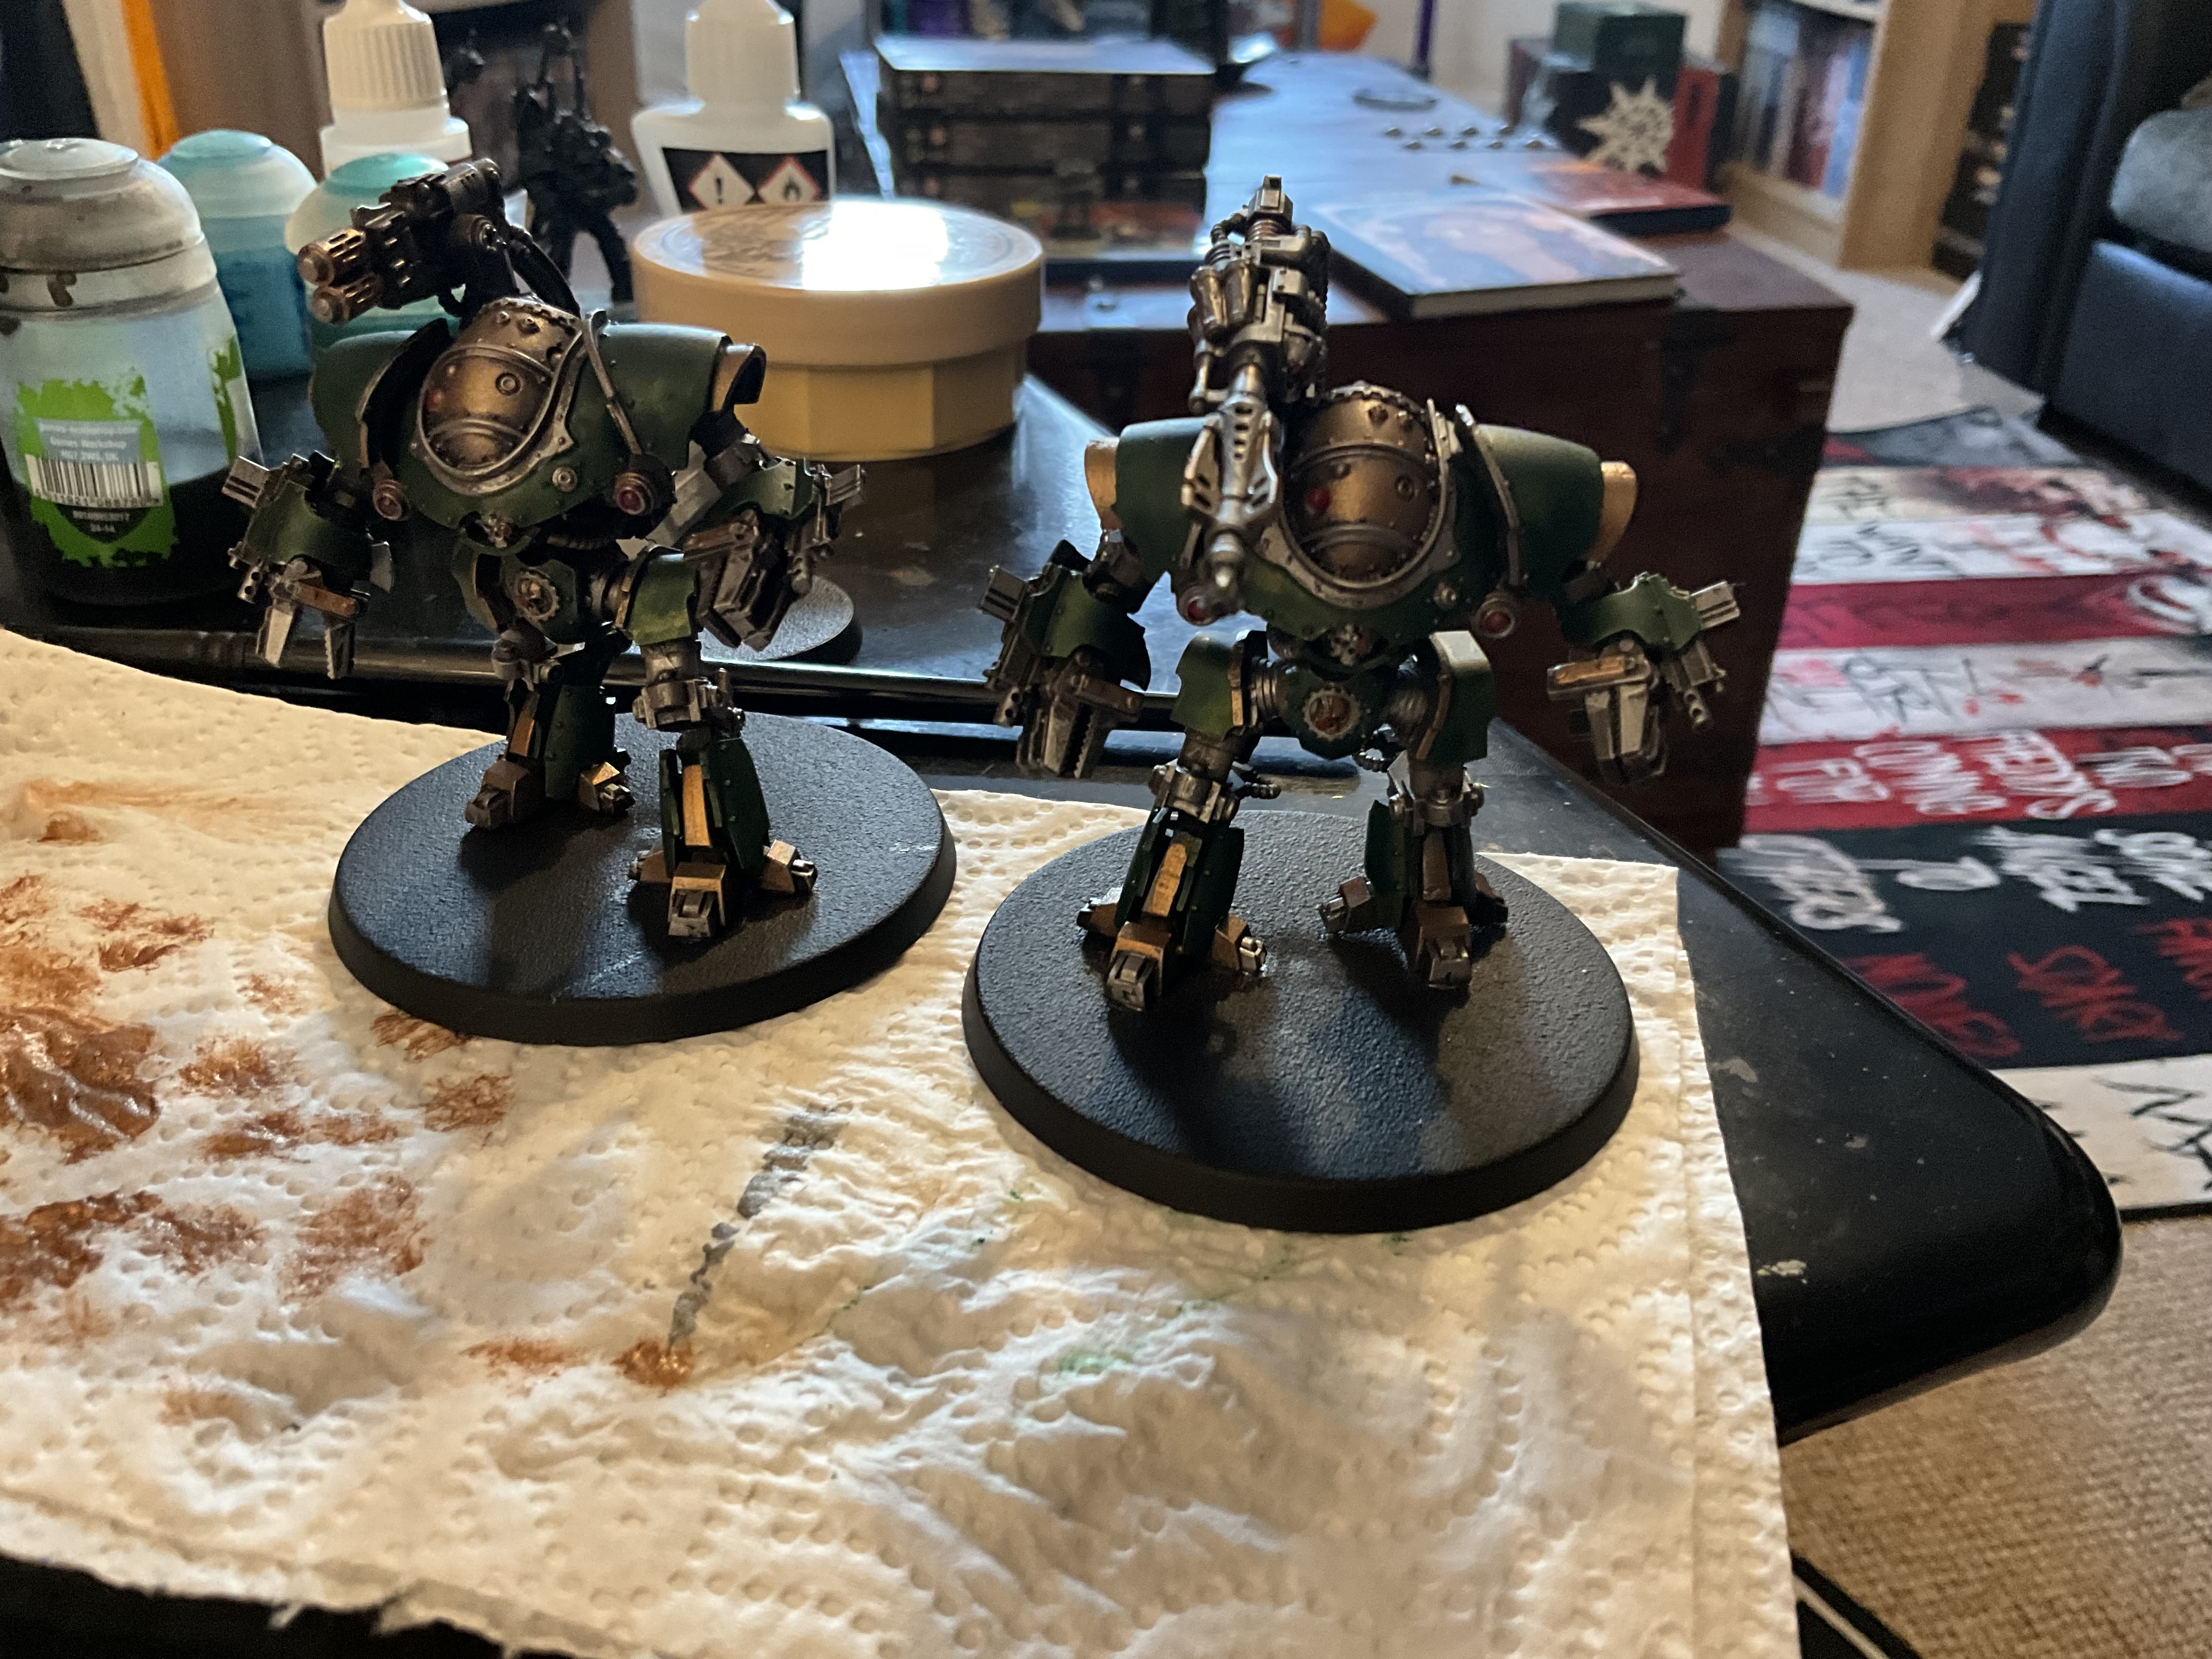
And there you go. Two Castellax painted in maybe 2 or 3 hours total. The base recipe (black, mahogany, gun metal) is what I use on my Necromunda terrain, and it can be used as a starting point for pretty much any Mechanicum scheme. And I’m sure you can adapt the other stages by using different metallics in place of the copper to compliment (complement?) your preferred Shrine Colour.

