Assembling an Exorcist
Since the Exorcist is sent out in a generic box without instructions, this article will endeavor to help others assemble the Exorcist with step by step directions.
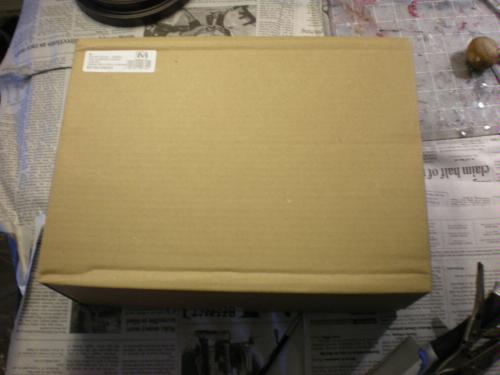
Exorcist contents
When you order your Exorcist from Games Workshop it consists of the rhino sprues, the immolator sprue and a box of metal bits.
-05021312-400px.jpg)
Exorcist Box Contents
-05021935-300px.jpg)
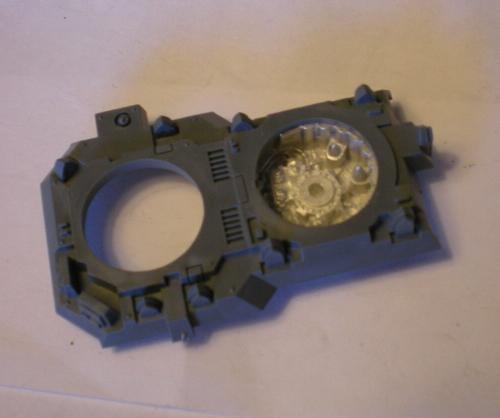
Immolator Sprue
-08022716-300px.jpg)
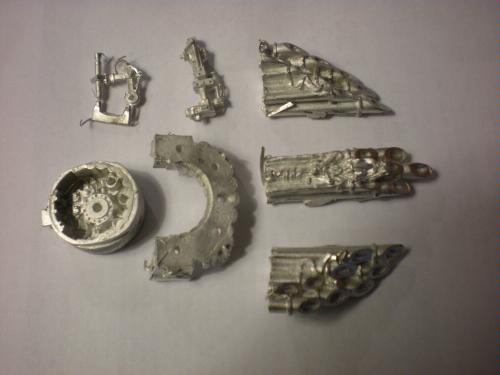
Metal Bits
-05022146-300px.jpg)
Rhino Sprue #1
-05022354-300px.jpg)
Rhino Sprue #2
Step #1:
Clean all of the flash from the metal bits, and wash in warm soapy water to remove any release agent.
Rhino assembly
You assemble your rhino.
(Do I need to show the rhino assembly?)
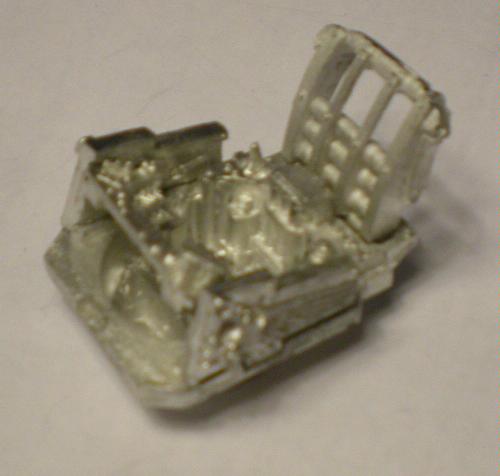
Organ Assembly
Pieces you will need:
The organ consists of the organ base, the loaders pit, and 3 pieces of organ pipes, the loader, and the loaders arm. You will also need the top of the immolator.
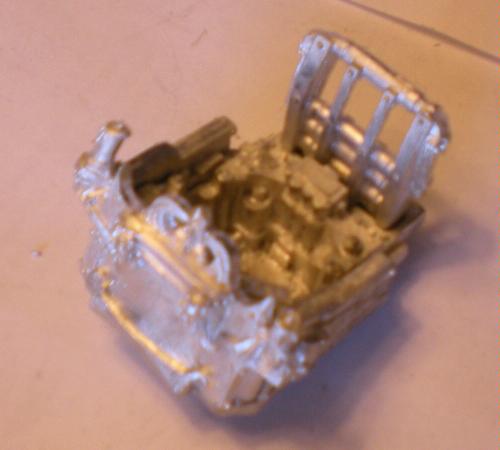
Step #1:
Glue the Loaders pit on to the opening in the back of the immolator’s top. Make sure that the missiles are in the back, and that it will line up with the organ and the base.
Step #2:
Try to fit the organ base on to the top of the plastic immolator top (the small end). My organ base was warped and did not fit well. I needed to bend and file it until it could fit decently. When it fits, glue it in place.
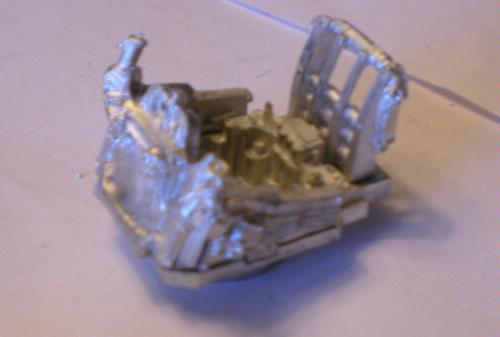
Step #3:
Glue the organ pipes to the base. These are long and heavy bits, so you might want to pin them down. I can imagine that if you don’t and you drop your Exorcist that this part will shatter and go in several directions.
Organist’s cupola
Pieces you will need:
The organist’s cupola consists of the base, the organist, the two sides, the front, the keyboard, and the missile rack.
-05024018-500px.jpg)
Step #1:
Take the base and glue on the two sides and the the keyboard at the same time. It is best to do them at the same time so they hold each other up. The keyboard fits into slots on the side of the walls.
Step #2:
Then glue the Front piece in place.
Step #3:
The last bit is to glue the missile rack to the back of the base.
Step #4:
Check to see that everything fits into the immolator top.
Note: It is best to leave out the organist until painting is complete so you can get to all of the parts, and finish her, but you can add her if you choose to.
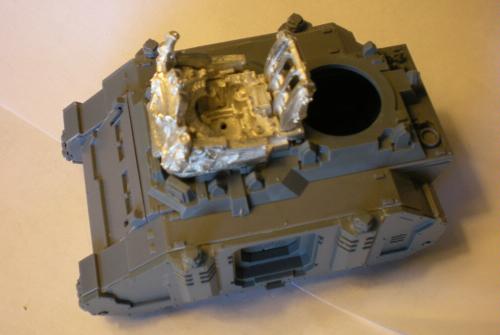
Final Assembly
Step #1:
Glue the Organist cupola to the Immolator top.
Step #2:
Glue the immolator top to the rhino.
Step #3:
Add armor panels and immolator decorative bits to taste.
Step #4:
Paint
Step #5:
Add loader
Step #6:
Add Organist
Stand back and admire your work.
