My buddy Darren and I pitted against each other this weekend, in a 2000 point battle,
between his Tau and my Blood Angels. After setting up the table, we rolled for a mission out of the Battle Mission book.We rolled for the Fighting Withdrawal mission from the Tau section. This meant the table was split diagonally down the middle, with one objective placed in the centre (powerplant)of the board,
a second placed in the far corner of the Tau table edge, with a third being placed in between.
Also I'll say sorry in advance for the quality of some of the photos, as they were taken in a smokey garage, on my iPod touch.
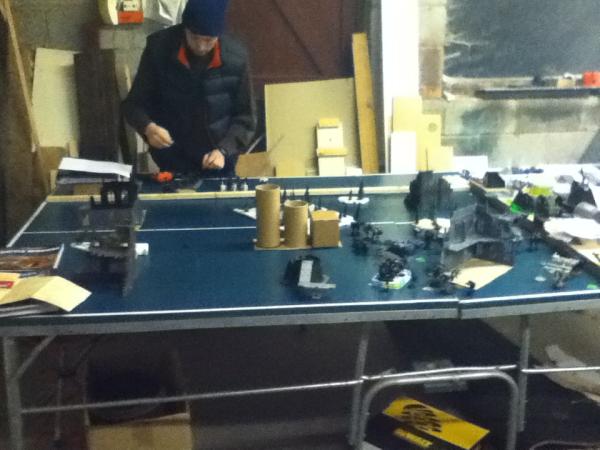
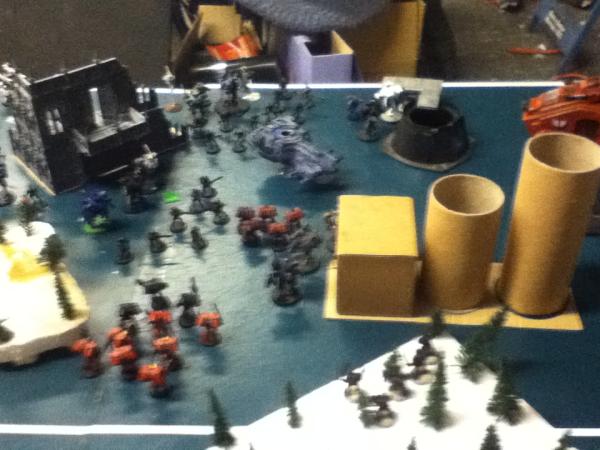
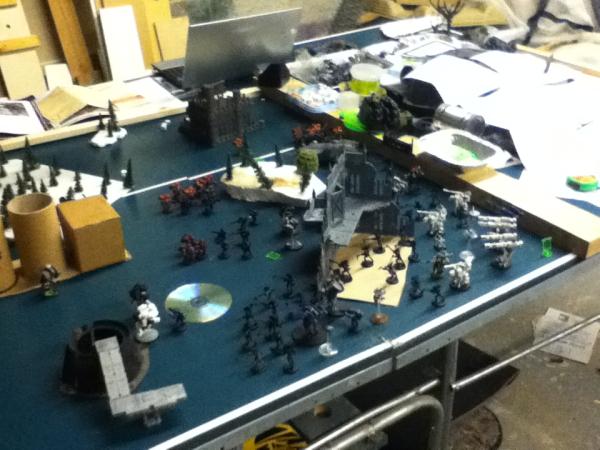
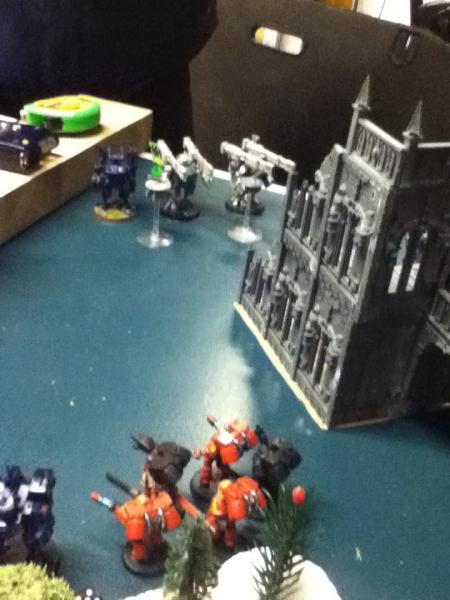
The table set-up
Tau deploy first in this setup, all units must be placed on the board, anywhere on the Tau side of the line.
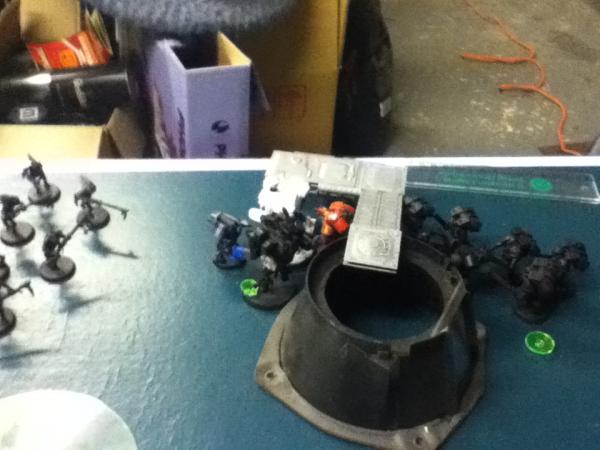
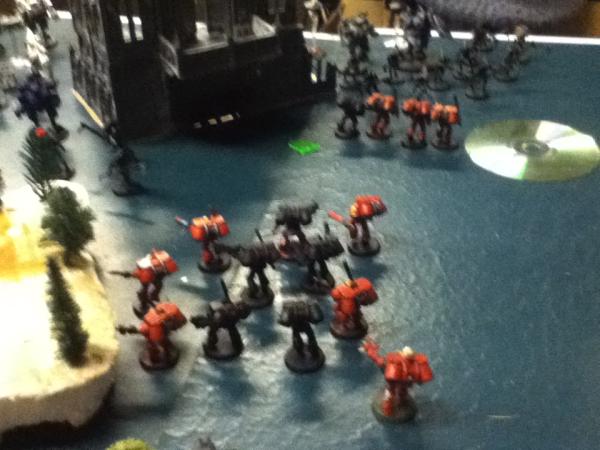
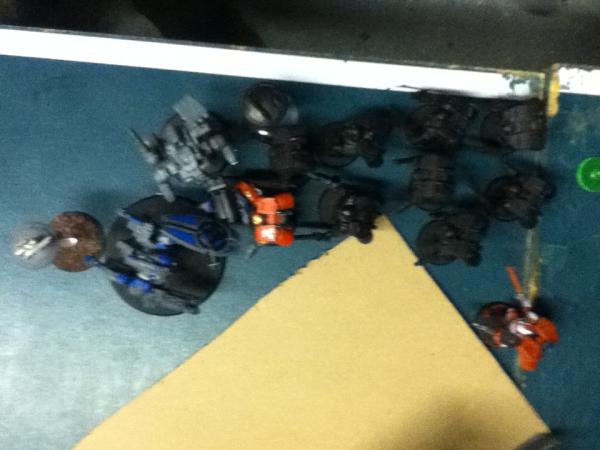
Tau forces were deployed around the two objectives in the corner, Broadsides at the rear, and crisis suits spread out further up the table,
each unit was wrapped up with Kroot/FW's, one lone suit team was placed on the central objective. And the two hammerheads towards the deployment line.
Tau Deployment
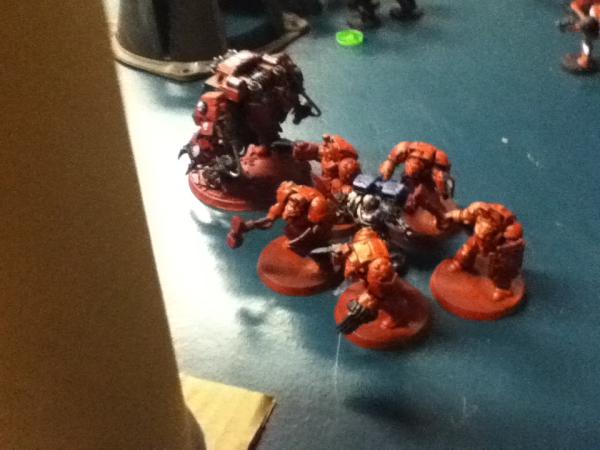
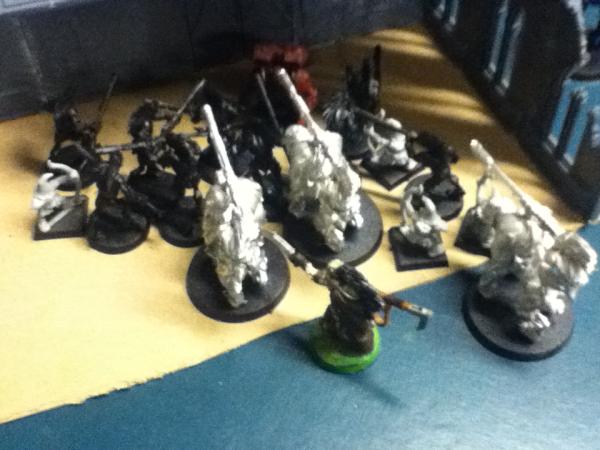
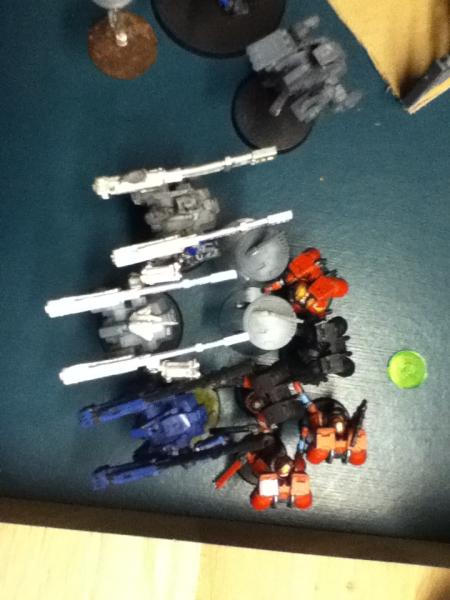
I then rolled for my Red Thirst, getting it on two Melta Assualt squads, I then deployed second, choosing to place everything on the board,
with my Dreadnought, Lib and Terminators in the Raven. I had my scouts deployed on the central objective, with my honour guard in front, two melta squads
were placed on my left hand side in front of the bulk of the Tau army, and the other two were placed in a flanking position to the right of the board.
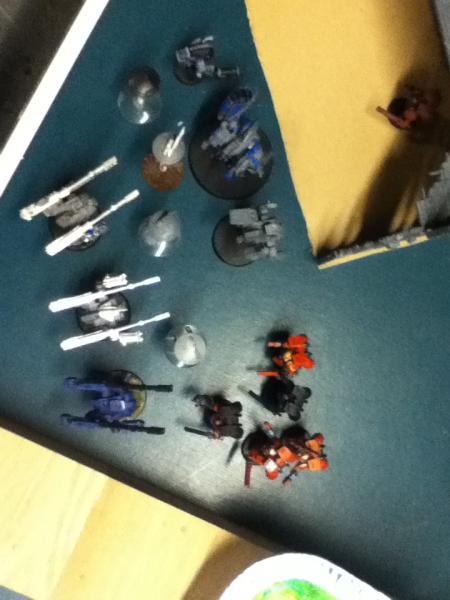
My Deployment looking Left to Right
Flanking Assualt units
Turn 1, (Tau failed to steal Initiative... Just. 5, Unlucky)
BA Movement.
I move my Melta squad with Red Thirst up into Melta range of the hammerhead, I move my honour guard up towards the second hammerhead, my second ASM squad move towards the
suits on the central objective.
Stormraven moves forward, and my two flanking ASM squads move up.
Honour Guard and Melta marines move up
Assualt Marines flanking around
BA Shooting
My red thirst squad melta the hammerhead, causing stunned and immobile.
My other melta squad melta the suits near the central objective, causing 2 instant deaths,
and one pistol wound.
The honour guard melta the hammerhead, causing an Immobilised result.
Stormraven TLLC the honour guard hammerhead and get a destroyed result, no hits in the explosion.
Scout squad try to thin down the FW, causing one heavy bolter wound.
Honour Guard Melta Hammerhead
BA assualt.
Red Thirst Marines assualt the hammerhead, finishing it off with a wreck.
Red Thirst marines Melta and Assualt Hammerhead
Tau Turn 1
Tau Movement.
One crisis suit unit moves out of cover, a kroot squad moves up towards my RT melta unit.
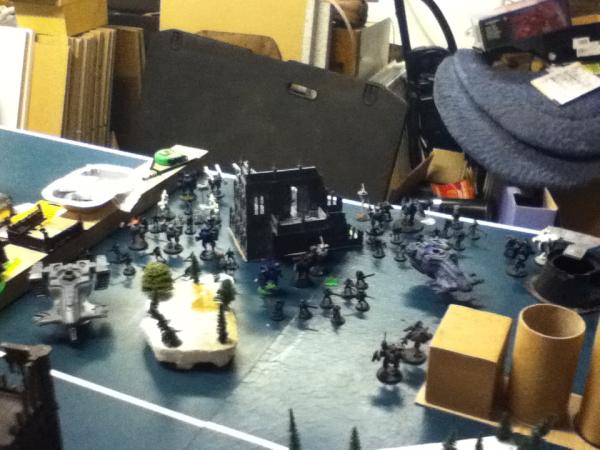
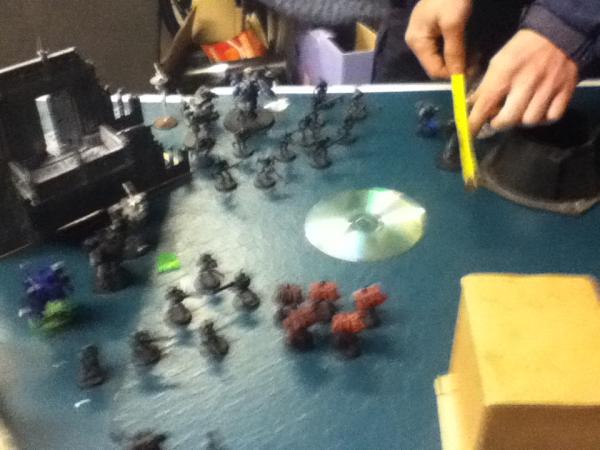
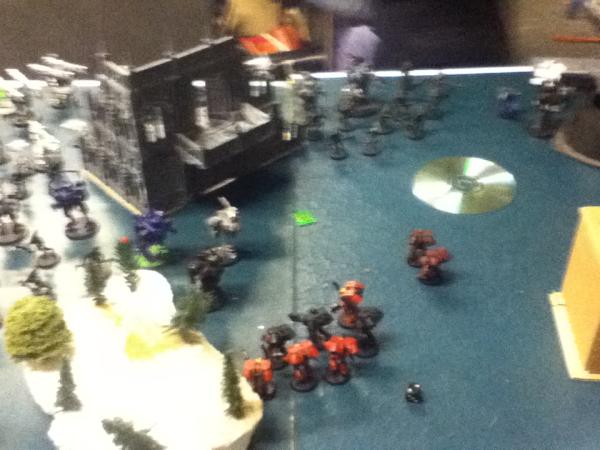
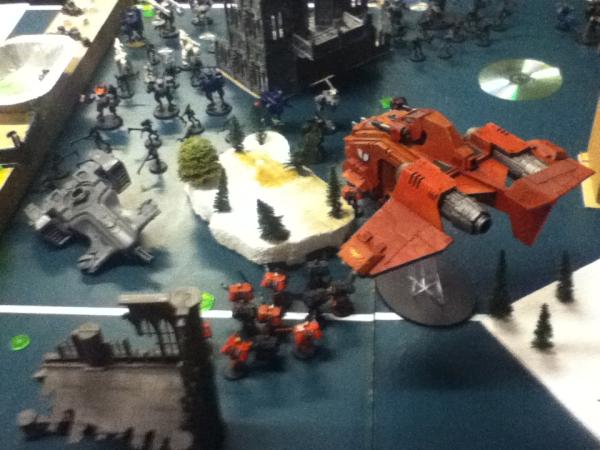
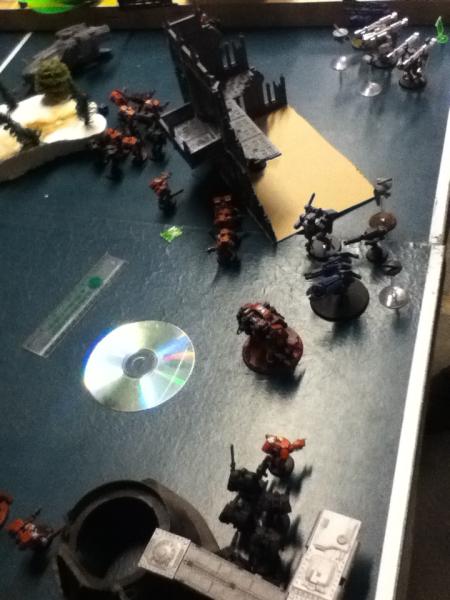
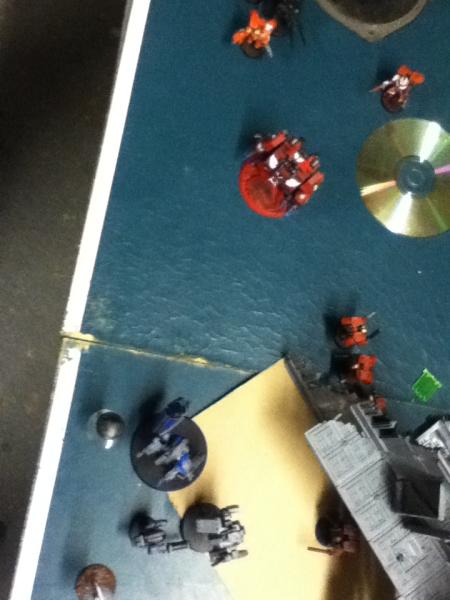
Overview of Battle so far
Tau shooting.
The kroot troop that moved up directs its firing towards the normal Melta marines, causing no wounds.
FW rapid fire on the same melta squad hitting and wounding 7 times, all but one saves
are made, I lose one marine.
A second kroot unit fires on the honour guard, hitting 9 times wounding 7 I make 6 armour saves and 1 FnP
R'myr's unit shoot the honour guard, causing 6 hits and wounds, I lose two melta marines, unit passes ld test.
Two more crisis units fire shots into the honour guard, wounding twice, I make both saves.
(At this point we had a short interval, to restoke the make shift heater, and eat the curry that
had just arrived.)
The third crisis unit shoots at my central melta squad, hitting 6 times, wounding 5. I make 4 saves, and lose one
marine.
Broadsides fire on the same melta squad, wounding twice with the RR and the SM, one marine dies.
The HQ crisis suit unit shoot the honour guard killing one marine.
Tau Assualt
Daz realises that its assualt or be assualted for his FW so to avoid my furious charge he assualts my melta squad.
I kill two fire warriors in the assualt, and lose no marines. Sgt. rolls snake eyes to hit. which doesn't make a
difference as the fire warriors get swept.
He jumps his suits into better LoS or cover for his next turn.
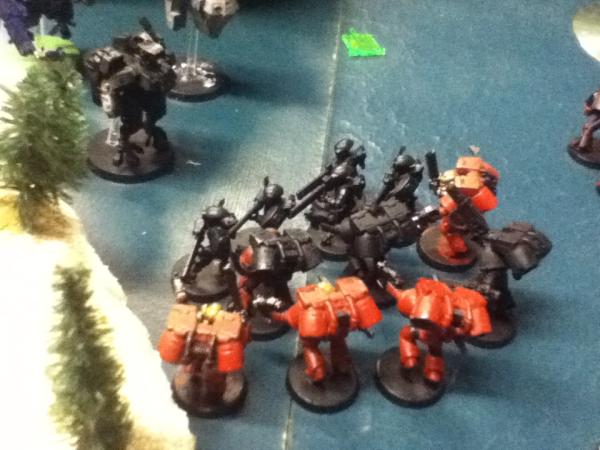
Honour Guard and ASM after taking a fist full of shooting
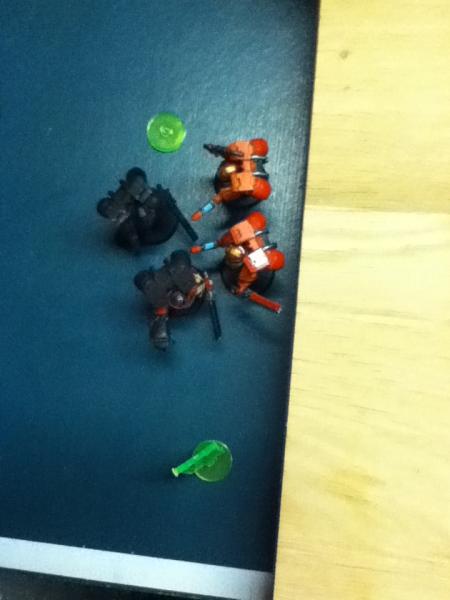
Fire Warriors and ASM (briefly) locked in assualt
(Thoughts on Turn 1)
The mission setup, really played into my hands, allowing me to get into assualt range from turn one and taking out the hammerheads early on will make my life a lot easier later on.
Turn 2
BA Movement.
Stormraven drops off its package and turbo boosts over to the left side ASM.
Sudojoe Edit: You cannot drop off models and then turbo boost (flat out move) unless you are using the "blood skies" rule which would make you take a deep strike and cannot assault. See Page 70. 2nd column
Honour guard and the melta squad move towards the crisis suit team.
My Flanking assualt squads continue to move around.
Terminators and Dreadnought after Disembarking
BA shooting.
Stormraven PoTM bloodstrikes broadsides, but drones make 2++ save.
Melta squad and honour guard fire on the crisis suit, taking down 1 suit.
BA Assualt.
Honour guard and Melta unit multi assualt the crisis suit team hitting 22TIMES! causing 10 wounds, killing off both of the
suits. Got to love those dice!
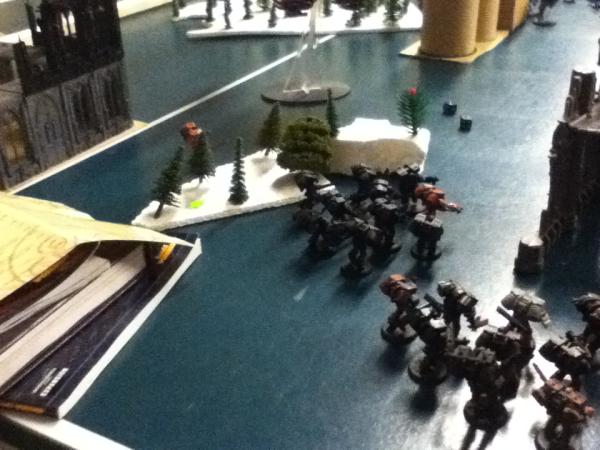
Assualt terminators with libby assualt the crisis suit by the powerplant finishing him off.
Terminators finished off the crisis team by the powerplant
My flanking melta marine squad with red thirst, assualt the far right crisis suit team through their cover. I only get Sgt. into btb with three marines within 2" of him.
Marines fail to cause any damage, and the suits kill one marine. Thankfully my Sgt. takes a wound off one of the suits. Combat is drawn, and the suits fail their attempt
to Hit and Run.
Marines assualt crisis suits through cover, getting tied up in contact
Tau turn 2
Straight on to the shooting this turn there was no Tau Movement this turn, they were
either tied up in assualt, bubble wrapped or swept!
Kroot unit bubble wrapping the HQ suits, shoot at the melta assualt squad, killing one marine.
The Krootox unit shoot at the same assualt squad taking down the Sgt.
The HQ unit then fire at the same unit again, killing off another marine, the unit fails its leadership test and falls back 4"
Broadsides open fire on the Stormraven, exploding it, and hitting seven marines in the explosion, none are killed though.
R'myr and his kroot bubble wrap shoots on the honour guard, failing to kill anyone.
Now you see it
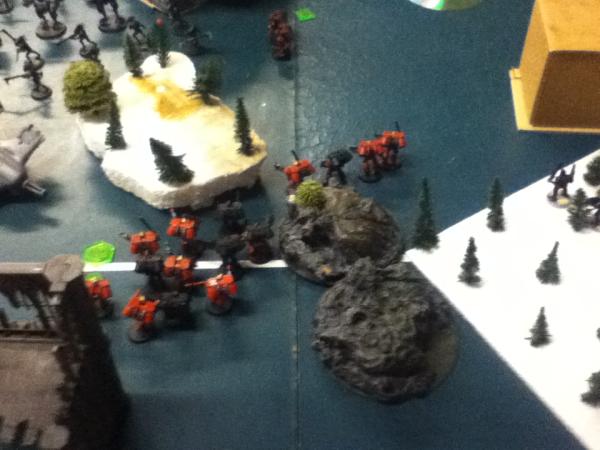
Now you don't
Tau make no assault movements this turn.
(Thoughts on turn 2)
Made a bit of a balls up with the Stormraven this turn, dropped off the goods far to far away from the action, I don't often play with units that can only move 6" so i was working in auto pilot.
However I did make some decent assaults, killing off a couple of units.
Turn 3
BA Movement
I move the Red thirst marines out from behind the hammerhead wreckage and the raised woods, my honour guard moved up to the door of the ruin (We made an agreement at the beginning of the match that any model with a 40mm base or smaller could pass through doors) ready to assualt the kroot unit hiding within.
My melta unit auto regroup and moves up, the rest of my units move to close in on the cornered Tau.
ASM preparing to Assualt the Tau forces
I go straight into assualting, My Redthirst melta squad assualts the kroot bubble wrapping the crisis suit hq. 11 wounds are made,
with no sharper! Bye Bye Kroot.
Honour guard pass test to assualt through cover, killing 7 kroot. The Kroot hounds kill off my remaining melta gunner, and the noviatiate surivives the rest of the attacks, and then sweeps the entire unit! At this point we had a slight conflict of rules, can a unit still sweep if it is required to take a morale test for losing 25% of its models? If it can, in what order do you take the tests? We played it as it can, as the sweeping advance is made during the phase, and the 25% test is only made at the end of a phase?Right?Wrong?
Sudojoe Edit: You do not check for 25% casualties taken in close combat. Your unit won combat and gets to sweep. Doesn't matter how many people are left. (page 44 top left)
The one man Kroot killing machine!
The regrouped melta squad assualt R'myr's kroot bubble wrap. Killing all of the them in a sweeping advance, and losing no marines.
My Furioso joins the ASM's locked in combat, bring down the entire unit single handed!
Everyone else consolidates towards nearest unit. At this point, I might as well have been playing with Rage!
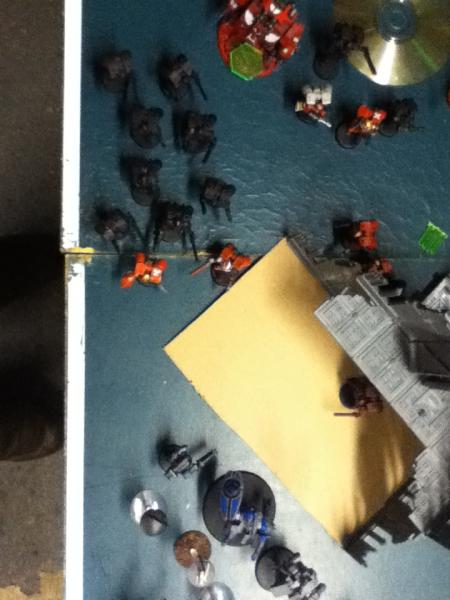
The Battle field after my last round of assualt, things aren't looking good for the Tau
Tau turn 3
Tau Movement
Hq Suits move towards the hammerhead wreck, R'myr moves away from the imposing Dreadnought! Can't say I blame him after watching its fellow crisis team being ripped apart by those Blood Talons.
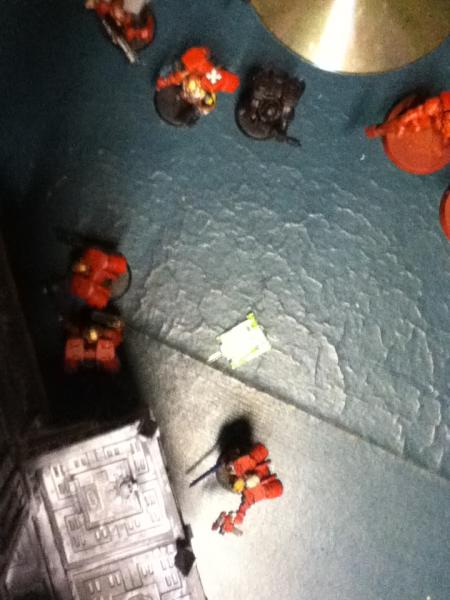
Tau HQ running away, leaving the Broadsides to their fate
Tau Shooting,
HQ suit unit shoot at the redthirst melta unit hitting 8 times killing one marine.
Broadsides open fire on the same unit Rail Rifles taking down one melta and two normal ASM, one more dies from smart missile fire. Unit passes it Ld. test.
Daz splits R'myr and his bodyguard's fire, shooting at the melta squad with R'myr trying to get them off the middle objective, killing off one more marine, the unit passes its Ld. test. And the Suits firing at the Dreadnought, Immobilising it.
Red Thirst unit after being thinned down by some heavy Tau fire power
Tau Assualt.
R'myr jumps away from the dreadnought again, and the HQ suit unit jump over the Hammerhead wreck (running away really)
R'myr jumping away from the Dreadnoughts Melta and Flamer!
Thoughts on turn 3.
Well I felt this was the turning point in the battle, I've killed off all the bubble wraps, and daz only has his two hq units and broadsides left, I still haven't lost a full unit, and I now control two objectives, Turn 4 should just be a case of sweeping up and controlling objectives.
Turn 4
BA Movement
Red thirst unit move up close to the broadsides, terminators move towards R'myr followed by the two flanking assualt squads.
The remaining marines from my first Red Thirst squad move to assault the Broadsides.
The Flanking Assualt Red Thirst Marines close in on R'myr
BA shooting
My flanking Red Thirst unit melta R'myrs unit but his drones make 2++ saves.
BA assault
Both Red Thirst units charge into assualt, the first unit assaults the broadsides, marines wound 8 times but all saves are made. Broadsides, wound 3 times but I make all saves, despite making the mistake of taking them out FnP range. Powerfist manages to kill off one drone. Broadsides fail the Ld. but don't get swept, instead they fall back 5" running off the edge of the world. Low blow for Daz!
The second unit charge R'myrs unit, I direct my attacks towards the suits killing 2 drones and putting a wound on the suit. R'myr hits marines twice but i make all saves, R'myr takes 3 fearless wounds, failing one save.
ASM's charge the Broadsides.
R'myr takes the brunt of the charge from the Blood Angels
At this point with me controlling all objectives, Daz only having two units left on the board, one of which was going to get massively assualted next turn and the other in the middle of nowhere. Also the snow at this point was falling pretty heavy outside, and it was closing on midnight, he conceded.
Objective 1 - Held
Objective 2 - Held
Objective 3 - Held
Final Result
Blood Angels 3 Objectives
Tau 0
Victory Blood Angels
After thoughts,
I felt confident that I would have this one as soon as we deployed, just being able to deploy that close to his units really gave me an edge. I made a few tactical errors i.e dropping off my Termies and Dread too soon. Both units were kind of redundant in this battle, and I'll be switching them back out for some VV's next time round, they were only in for the fun. I also had one Assault squad which didn't get into any combat. Which just goes to show how one sided this mission was for me, why this scenario is in the Tau section I have no idea. Tau never want opponents to get as close as I could deploy at all in the game, not least before the game starts.
I hope this report wasn't too terrible to read. We are both still novices of the game so any advice on our list and tactics would be appreciated by us both. Thanks :)
