Hey all.
Well after deciding my Stone Golems chapter monastery is carved into some very vertical granite cliffs, I need me some jump packs!
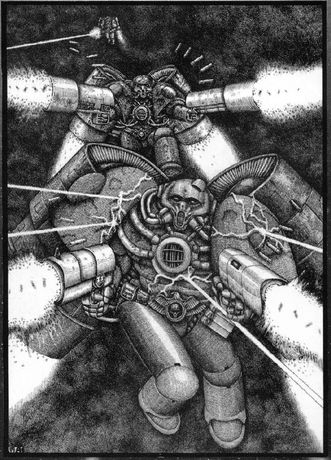
There is something slightly too modern and efficient about the current models, though. Even the HH era throwbacks seem just a tad under done. I really kind of like the "way too big" look from the old Rogue Trader book. :D
Time for a build!
Daedalus Pattern Heavy Jump Packs
Please be advised, these packs count as Very Bulky!
(Yeah, I just made up the Daedalus Pattern name. It goes with my mini terrain brand)
Now I don't actually expect anyone to duplicate this method. My wife thinks I've gone insane. But here it is for posterity. Measurements are in inches. Deal.
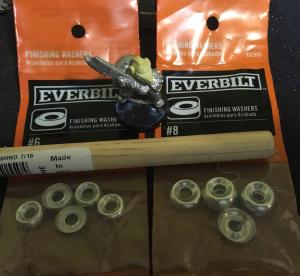
Equipment:
Size 6 finishing (beveled) washers - (2 per marine)
Size 8 finishing washers - (2 per marine)
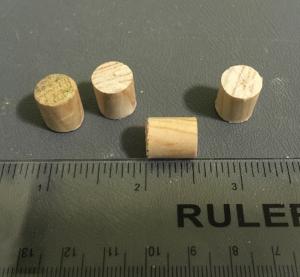
7/16" wooden dowel - (1" length per marine)
Marine backpacks - (1 per marine)
Quite thick cardstock - (I used a Premium cracker box)
Whatever pinning wire you like
Tiny drill
Cyanoacrylate glue
Ventilation! - (cue Vader asthma)
Small saw or etc for dowels
Craft knife/scissors/cutting board
A good lamp! - (Aziz! Light!)
SO yeah cut 1/2" lengths of dowel, 2 each for your squad.
Check how long a piece of cardstock wraps around your dowel. Oh, it's a hair under 1.5"
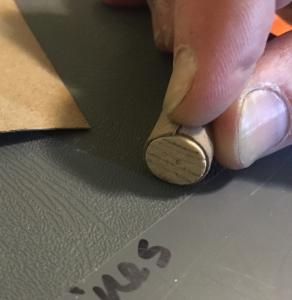
Now check how long a piece needs to be to wrap around THAT. Just under 1 5/8"
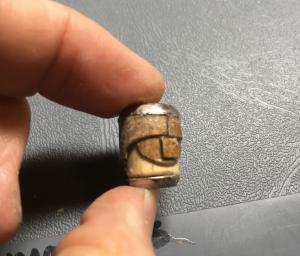
Draw a pleasing pattern for these plates that wrap around the jump engine.
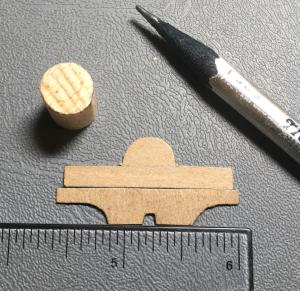
Yes, we want this particular cardstock 2 layers thick at the top of the jump engine. No cardstock wrap at the bottom edge of the dowel. The #8 bevel washers are wider than the dowel, and go on the top. You guessed it, the #6 washers are 7/16" wide and go on the bottom.
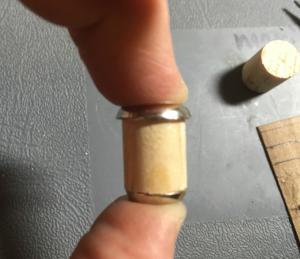
Super glue the inner wrap flush with the top of the dowel. Soak it it "just enough" glue to make it waterproof and plasticized. You know this trick right?
Keep the glue off your fingers. :D
Don't breathe the fumes.
When that's dry, wrap the second layer around that BUT it needs to be like 1/16" or 1/32" or something BELOW the top edge. You need a bevel at the top for the beveled washer to fit over.
I wrapped it so the seam is opposite the seam of the inner plate, for stability.

On the bottom of the dowel, add a little piece of cardstock and/or bevel the dowel edge, again so the beveled washer contacts the form.
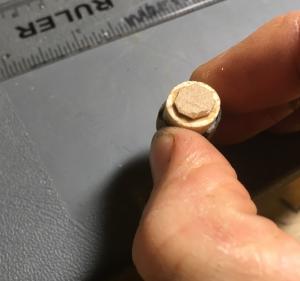
I also added another tiny plate to make a wider solid surface where the engine glues to the backpack.
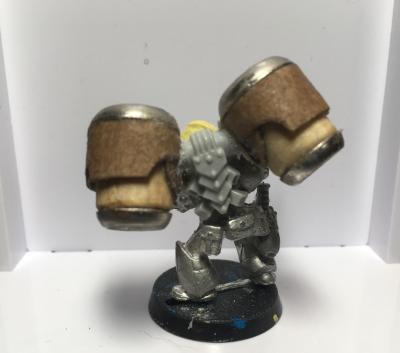
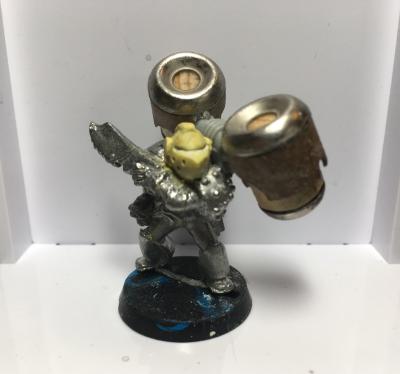
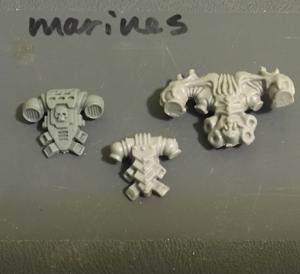
Now trim the ball vents off your backpack, angled back and up-ish, in the shape you want your engines to attach.
Personally I have some modern packs, some Old School packs, and some Old School Chaos packs. After a test, I'm going with the old Loyalist packs, since the engines are already so big.
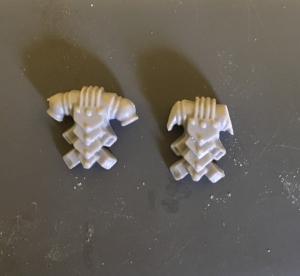
Pin & glue in place.
Pin & glue to your marine.
Look OP AWESOME!