Building a Desert Terrain Board in 7 days
Written by by Redbeard
Intro Story
I got bored with the cityscape that I'd been using for a couple of years now, and needed a change. I've been an Ork player since the old codex, and have always enjoyed the orky feel to terrain, and it's a nice break from the Imperium-centric terrain that Cityfight stuff lends itself to. The Ork theme means desert, it means scrappy looking buildings and an opportunity to use up all sorts of random stuff I've collected over the last couple of years.
Building the Board
Materials for the Board
The materials for this table are broken down into materials for the board, and materials for the features.
I have decided to use high-density MDF for the board, instead of insulation foam. I've used foam in the past, and while it's easy to work with, it is not very durable. It chips and damages easily, and I expect this board to be in use for at least a year of weekly gaming. With that in mind, here is the material list for the board:
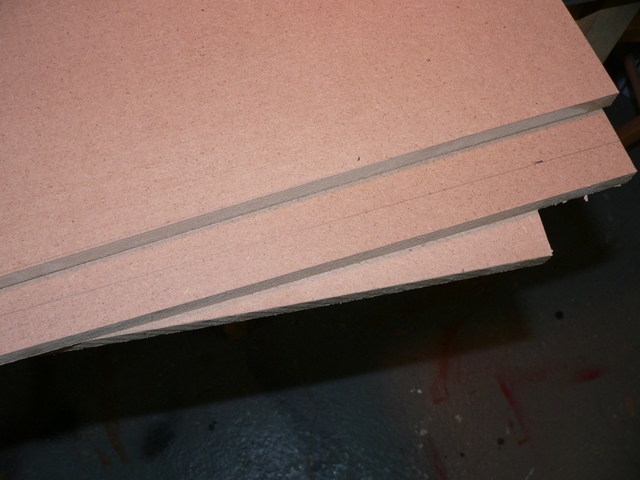
- 3 2'x4'x1/4" MDF boards for the board base
- 1 2'x4'x1/2" MDF boards for the hills
- 1 2'x4' Hardboard sheets for basing the features
- 1/4 gallon of primer paint
- 1/4 gallon of base colour paint
- 1/4 gallon of highlight colour paint
- 7 tension pins to hold the boards together
- Wood Glue
- Play Sand
Total cost for materials: $40
In addition, the following tools were used:
- Jigsaw
- Power Drill
- Clamps
- Circular Saw
Assembling the Board
Day One is building the Board. I went to Home Depot to pick up the materials, and set to work.
I had the guys at Home Depot cut my 2'x4' pieces into 2'x2' pieces. Of course, the measurements aren't quite right, and if you need the pieces to line up nicely, they need to be precise, so I measured each square, and trimmed them to exactly 2'x2' using a circular saw.
Next, I have to lay out the boards, and make sure they fit together well, sanding any edges that aren't flush.
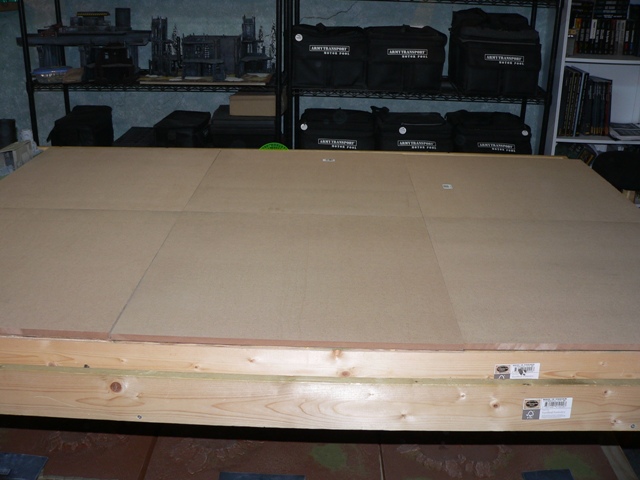
In order to make sure that they stay like this during games, I am going to use pins to hold the boards together. They're cheap ($.50 each) and do the trick for things like this.
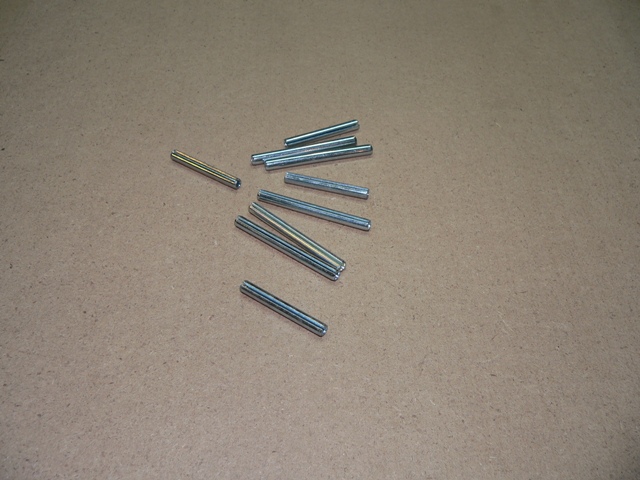
With the boards laid out, mark the centers of the boards, and put the pins in the middle:
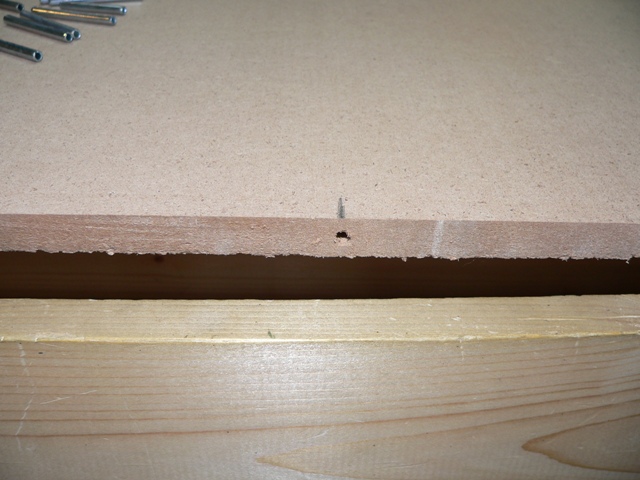
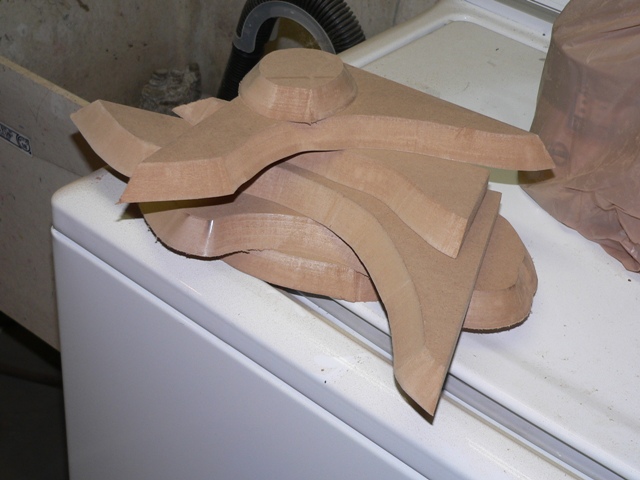
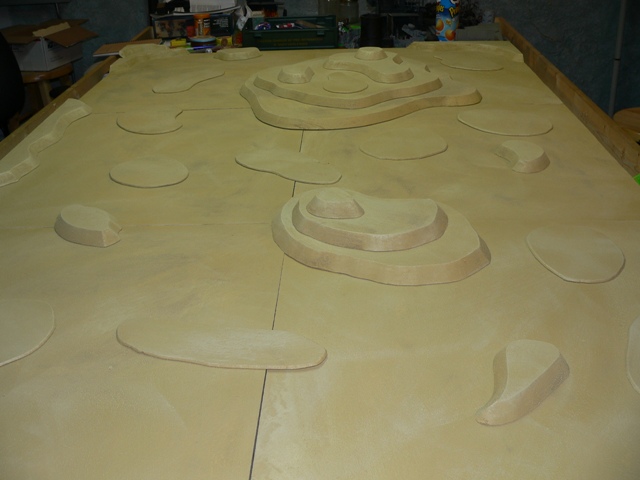
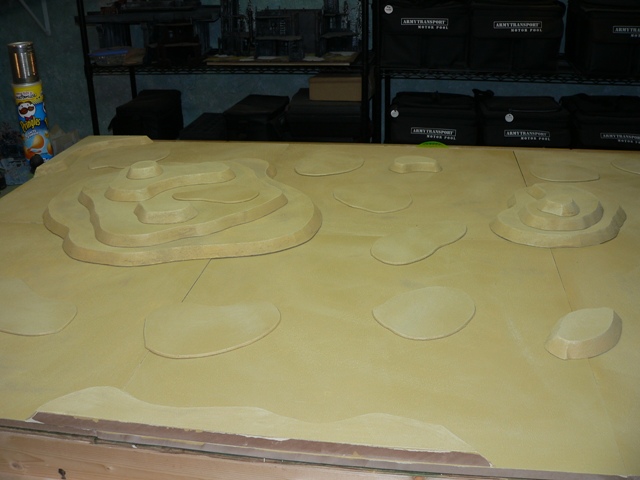
Once these are done, I put the bases back in place, and move on to making hills out of the 1/2" MDF. To do this, I use a hand jigsaw that can adjust the angle of the cut. Starting with the biggest hill piece, I cut out the levels of the hills.
Any leftover cuttings can be turned into corner hills too.
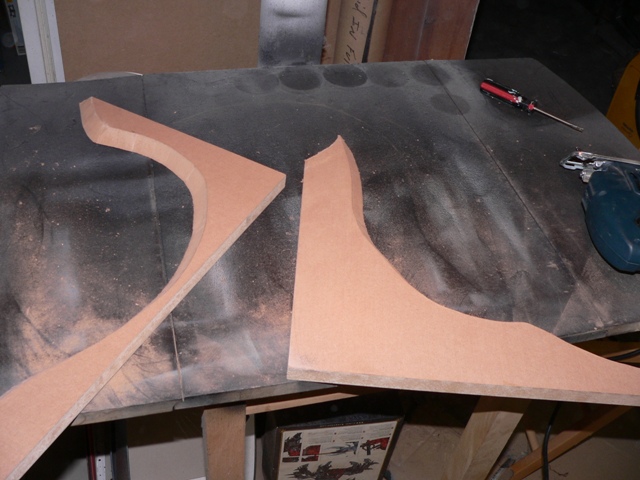
Waste not, want not, get as much out of the wood as possible - you might not need it every game, but it's good to have variety.
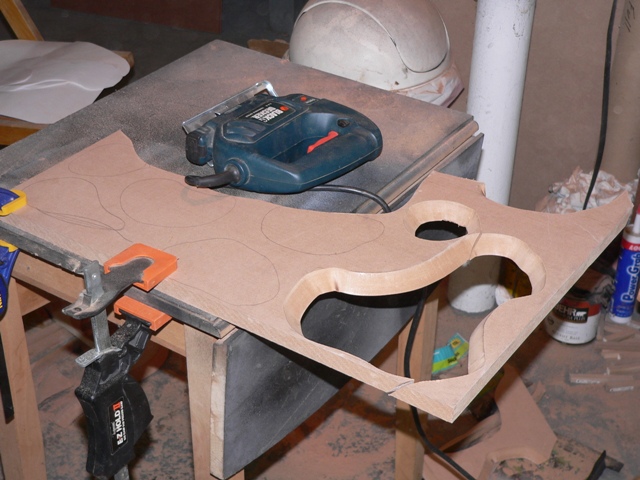
I put the hills aside, so that I can sand them all at once.
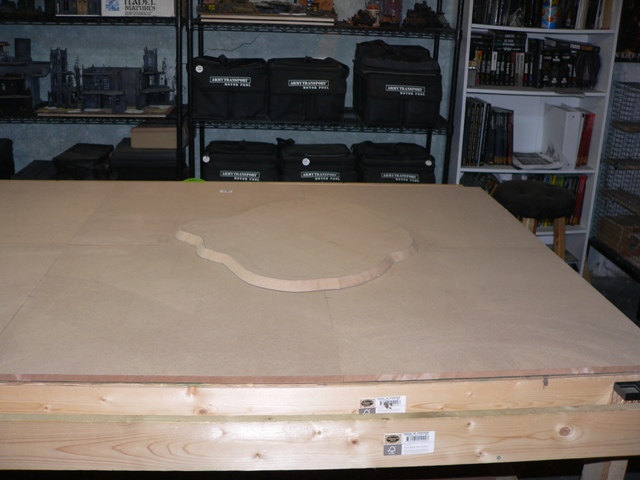
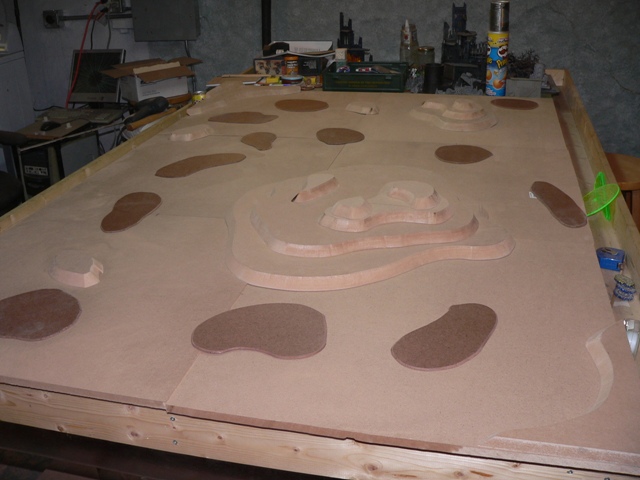
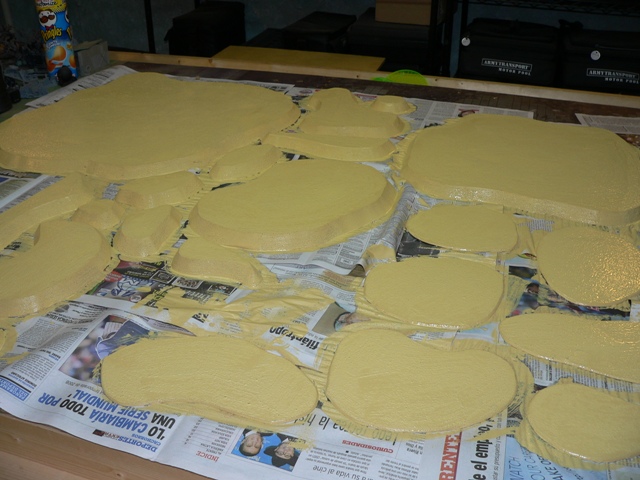
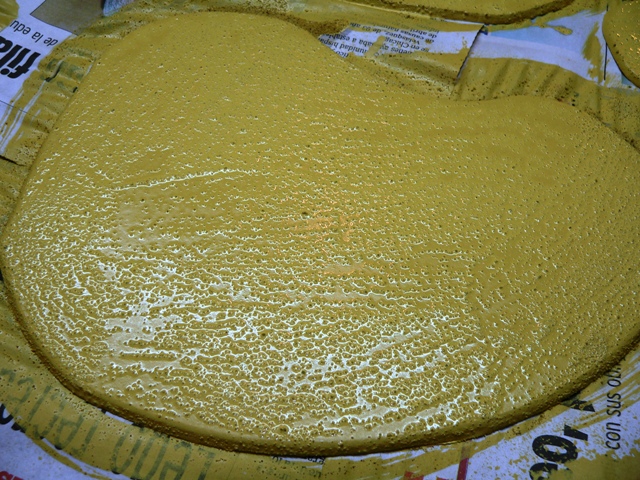
I then went through the hardboard as well, cutting out random base shapes. When done, this is how much of the table can be covered:
Cleaning up the mess. Seriously, if you take nothing else away from this little project log, learn this lesson. Keeping everything clean means that your wife (gf, mom, etc) will tolerate, or even encourage your projects. Leaving a mess means that they'll associate your hobbies with their messy house and resent it.

Last step for the night: Gluing the corner pieces to the board. This will be left to set overnight.

Painting the Board
Days 2, 3, and 4 are dedicated to painting the board.
Day two, everything is primed using a outdoor house paint primer. This will make sure that the following layers of paint stick well.

I use a 3" paint roller to apply this paint, as it makes for nice even coat. To do the hills, I roll the edges first, and then put them on a sheet of newspaper and roll the tops.
Day three is about applying the base colour, and texture (play sand) to the boards. First, I use the roller and apply a first coat of paint without the texture. This ensure a smooth coat of paint. Then, I mix up a 1/3 water, 1/3 paint, 1/3 play-sand mixture, and paint this onto everything with a brush. The paint will hold the sand in place, while the water makes the mixture paintable.
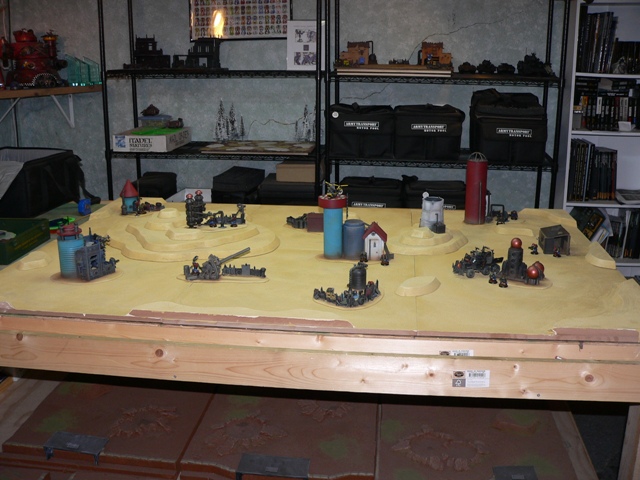
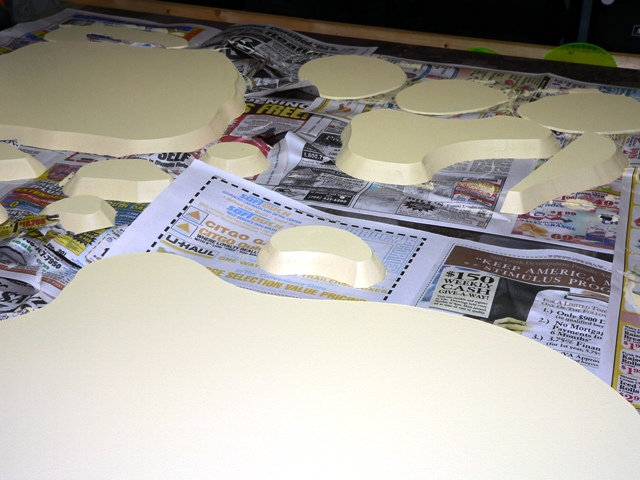
Day four is then spent drybrushing the lighter highlight colour onto all the boards and hill pieces. The end result looks pretty good so far.
Making Features
Having a vast desert is pretty cool, but it needs more to bring it to life, and that's where the terrain features come in.
Materials
It's going to be orky - materials here are all sorts of stuff that I have lying around, and a trip to a local craft store.
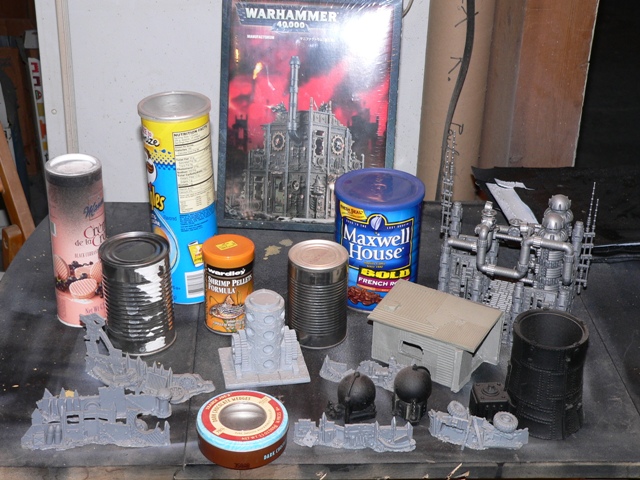
- A selection of cans and tubes
- A Cities of Death Manufactorium
- An Armorcast smokestack and chemical balls
- IMEX Chemical Plant and Powerplant
- GW Orky Barricades
- JR Miniature Terrain shack and Drill
- A couple of wooden bird houses
- Bag of popsicle sticks
- Bag of bendy straws
- Plastic Whisk
- Bitz Box
Building the Features
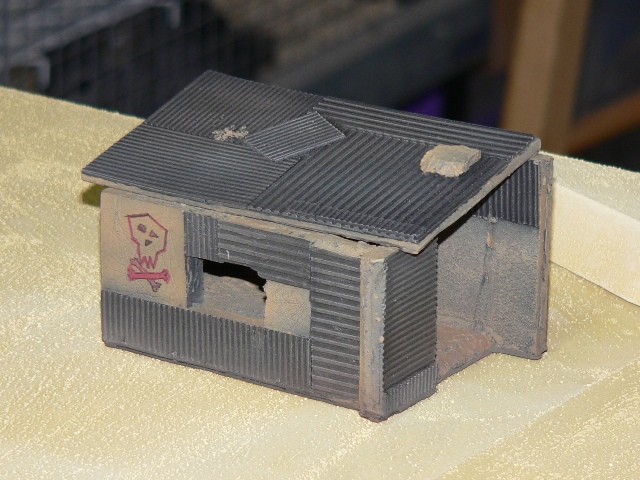
Day Five is spent assembling these parts into the features that will decorate the table and give it life. None of these pieces are glued down yet, so that they can be painted without risk of messing up the desert boards. After I decided what was going where, I wrote down what parts went on each board on the bottom of the board.
I've only included a couple of sample pictures here.
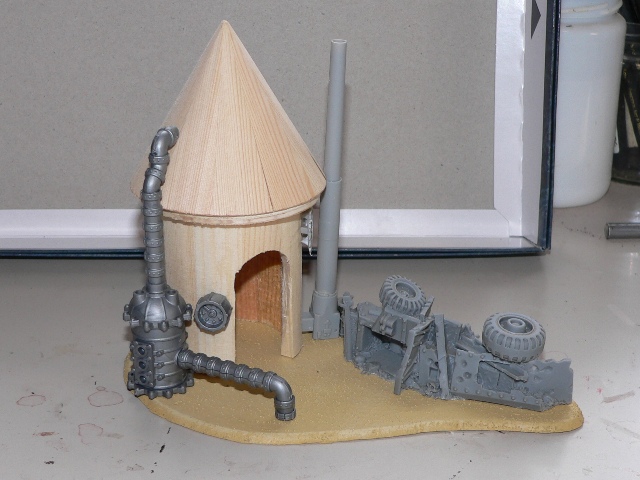
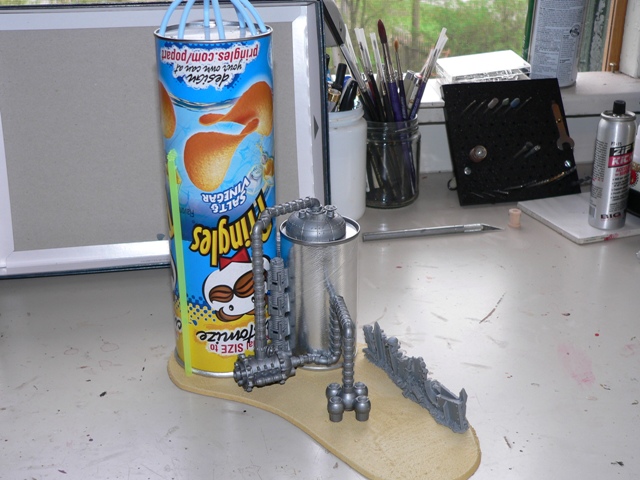
After everything was assembled, I applied a couple of coats of Roughcoat to all the cans and tubes, and then primed everything black.
Painting the Features
Day Six and Seven were spent painting the features. I started by airbrushing the base colours onto everything. I used some inexpensive craft paints for this, and while it took a couple of coats, it worked just fine. It is important to remember that this is terrain, not a golden demon entry.
After getting the base colours down, I drybrushed everything with a craft metallic paint. After that, I started to pick out the details, and do a little bit of orky drawings in a couple of places. I purposefully avoided a rust look on the metals, because a desert is a dusty place, but not one that leads to rusting.
Once the pieces were done, I glued them to the bases. One thing to note is that where pipes go into the ground, I added a sludgy green pool around them, representing the pumping effect of trying to get raw materials out of the planet. These also got water effects after the pieces were glued down.
Finally, I airbrushed two coats of browns onto everything, to make it appear dusty and dirty.


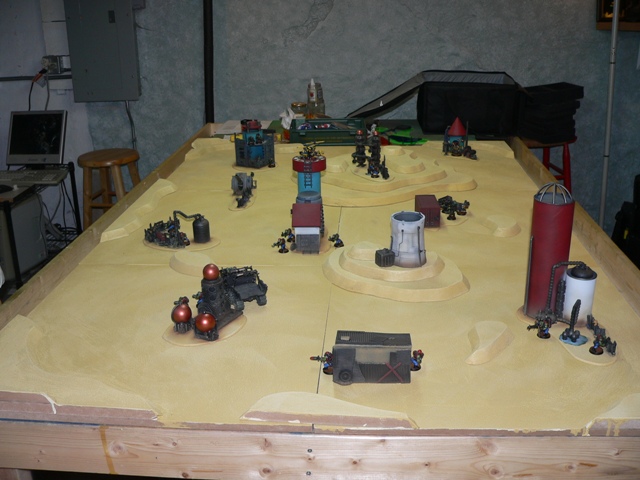
After seven days of work, I've got a great new table. And the boyz are already scouting it out.