Hi dakka,
This is a tutorial on how to pant rust for orks the HAZZER way! Even though this is meant for orks I have used, just the rust mix on Space Marine vehicles and can be adapted to other races too. The overall effect that this can make is not fully rusty like effect but, can still leave ‘a rusty tinge’. However, you can make this really rusty depending on the amount of the rust mix that you leave in the metal area (step 4).
This technique is rather basic compared to many other painting techniques because I use this technique for ‘production line painting’. When painting my orks, in the future I hope to update this with more examples of layered and more aged rust. This tutorial was originally linked onto my blog (http://www.dakkadakka.com/dakkaforum/posts/list/357188.page ) to celebrate my 1000 post. All of the colours that I use are GW paints, if you don’t own GW paints here is an alternative colour chart.
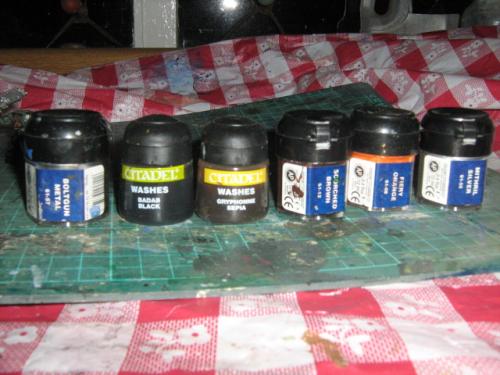
The paint that you will need is as follows;
•Boltgun Metal
•Badab Black Wash
•Gryphonne Sepia Wash
•Scorched Brown
•Blazing Orange
•Mithril Silver
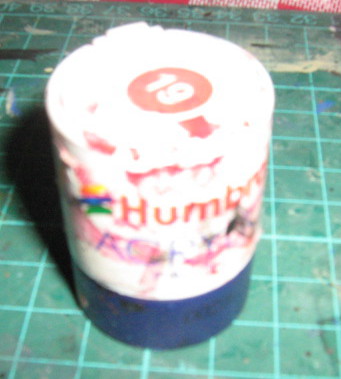
•Humble acrylic 19 (red for blood optional)
Rebmer the red is optional!
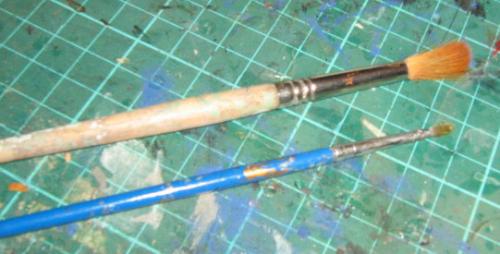
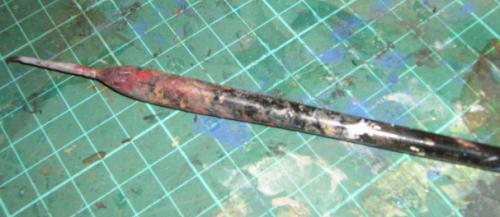
And the brushes that you will need are;
A drybrush and a wash brush.
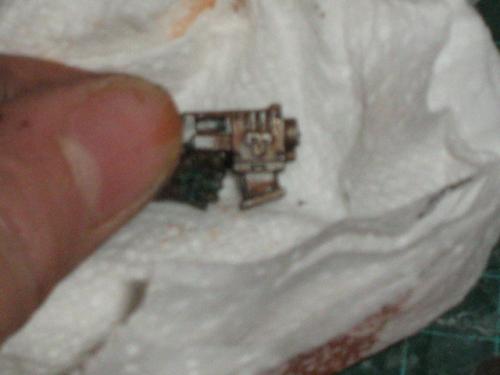
This detail brush is optional too because you will need it for the red. A rough GW equivalent for this brush would be a fine detail brush. I honestly prefer this brush to the GW because this is a decent brush which has kept its bristles in for longer and are good value for £5 bearing in mind I’ve had this brush for about 18 months. Army painter sells these types of brushes here.
1. Firstly begin with applying watered down Boltgun Metal to all metal parts;
2. Secondly then wash all of the metal parts with Badab Black;
3. Thirdly you add a wash of Gryphonne Sepia (this is the start of the build-up for the rust). You can also section off different areas of guns and close combat weapons, with the sepia make it look like there all different parts from a junk pile;
DA MESSY BIT!!!
4. Next you make up a 1:2 mix of Scorched Brown to Blazing Orange and drybrush this on. You can either to wipe this off to leave ‘a rusty tinge’ or leave the paint on to make the metal look more weathered. Alternatively you can do different sections or rust with different weathering. If you wanted to add more layers to the rust you could paint a 1:1 mix of Scorched Brown to Blazing Orange then a 1:2 of the previous mix then, just pure blazing orange;
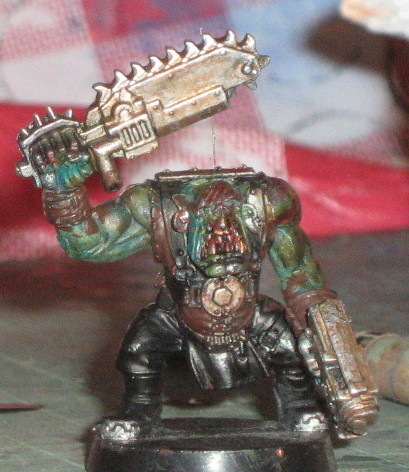
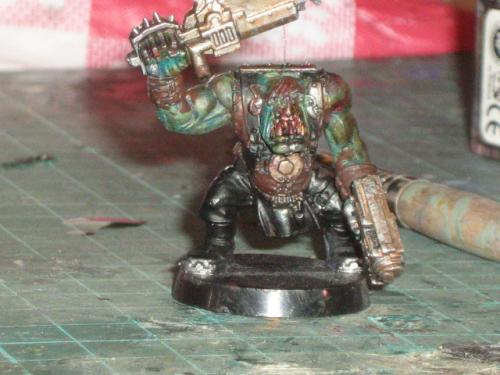
Here's a more heavily applied version of the rust without wiping;
And heres how I wipe the rust mix off to leave 'a tinge';
5. Lastly a highlighting drybrush of Mithril Silver is applied to the edges to synthesise chipping and battle damage;
DA BLOODY BIT!!! (Optional)
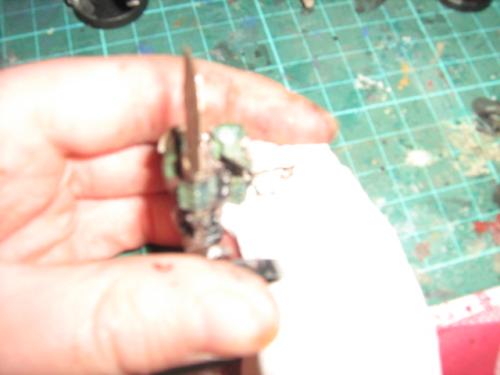
6. Finally to add blood I use the small detail bush which is shown in the second picture and just paint on the blood to the weapon. You can also add some to the recesses of the weapon to make it look like the ork has had a fresh kill. You do this by painting the red into the recesses then wipe it away leaving it only in but the deepest recesses. You could also add blood to the arm holding the weapon and close clothing to suggest that blood has splattered everywhere!
Done!
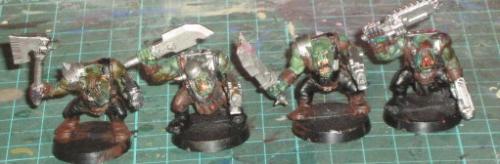
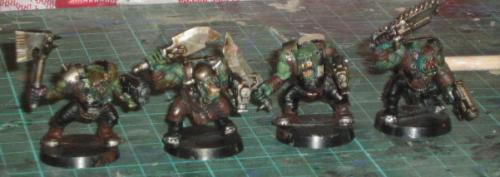
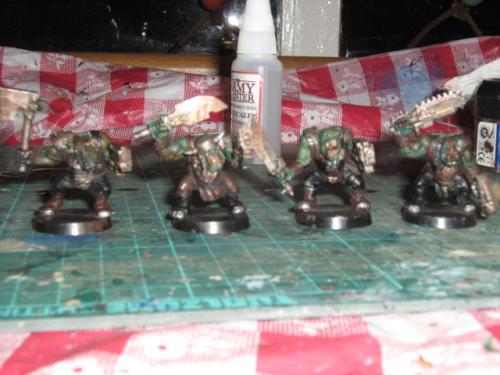
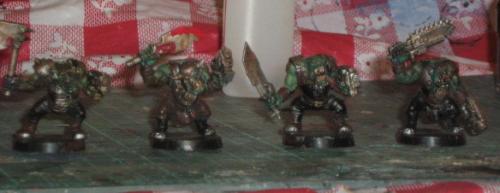
Heres a before and after shot of the orks.
Before;
After;