by Felix Flauta / malfred
The Asrai patrol had encountered the small Empire force almost by accident. Though nearly eliminated, the survivors' agility served to help them summon their Spellweaver while the Empire Battle Captain requisitioned the Knightly Orders to help push further into the Asrai woods.
However, the Asrai had time to raise The Hunt, and their Forest Spirits would be there to push the humans back.
Introduction
John Humphrey (author of the Plastic Legions blog ) and I were practicing for the Adepticon Escalation event. We had played an earlier match at 1000 points in which all my shooting could not save me against Imperial armor saves.
You can see John's write up of the battle (and more details of the 1000 point one) at his plastic legions blog.
Army Lists
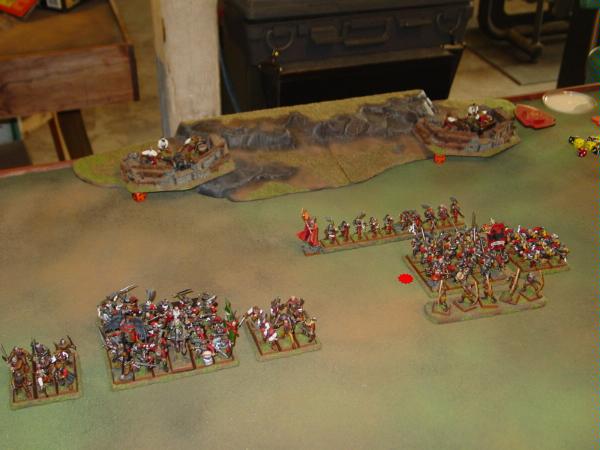
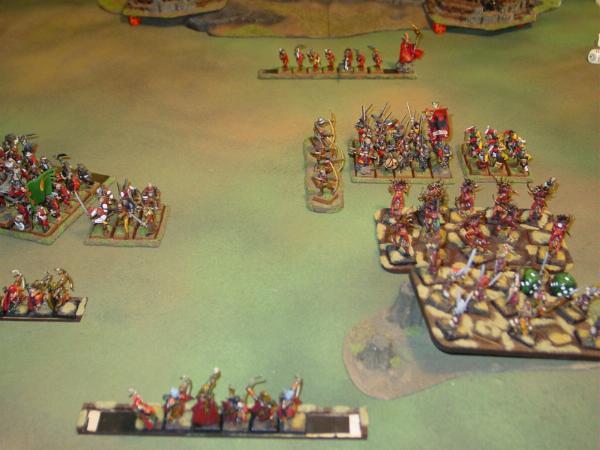
Deployment
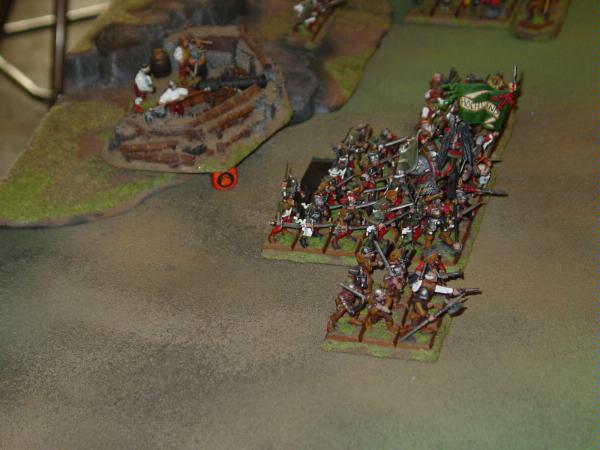
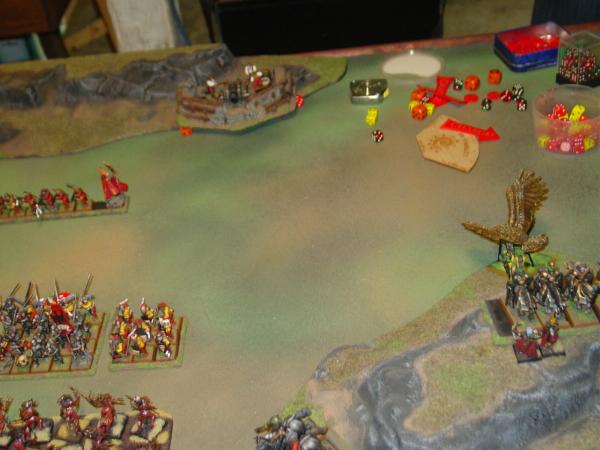
The General and Battle Standard Bearer joined their Swordsmen on the Wood Elves' left flank. Their detachments deployed on either side, protecting their flanks and ready to deal with any fast moving fliers or fast cavalry. They had faith in their Imperial Banner, which would allow them to reroll Psychology tests within 12", which could help against some of the fear causing elements in the Wood Elf Army.
Greatswords held the Imperial center, supported by elevated cannon shot, Handgunners and protective detchaments. The Warrior Priest joined them to improve their fighting capacities.
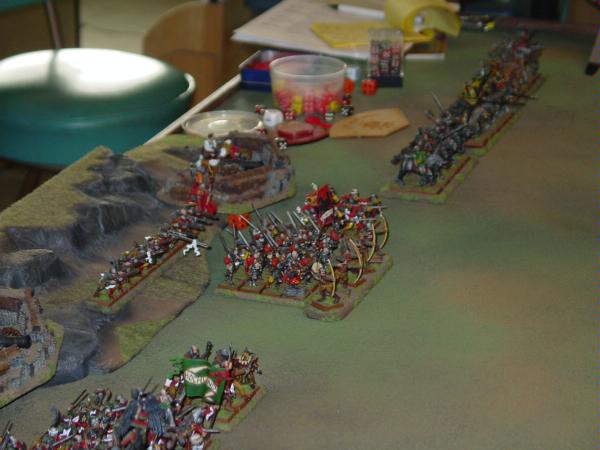
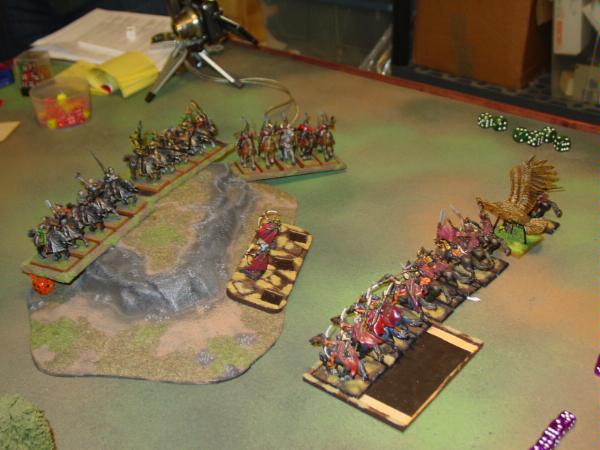
The Empire set up their fast moving elements on the Wood Elves' right flank. Here, the Pistoliers would try to soften up the Wood Elves with pistol fire while the Knightly Orders would charge anything that was left.
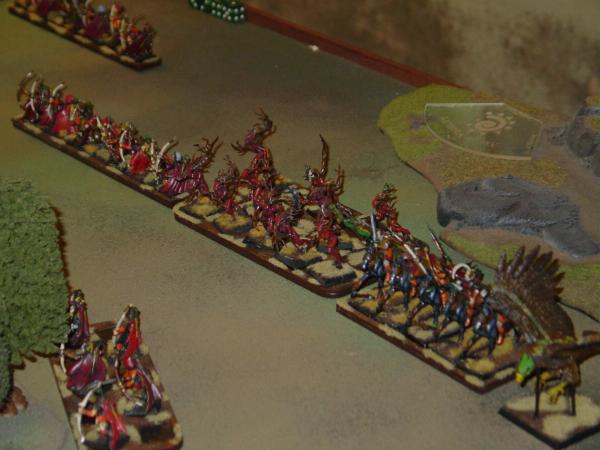
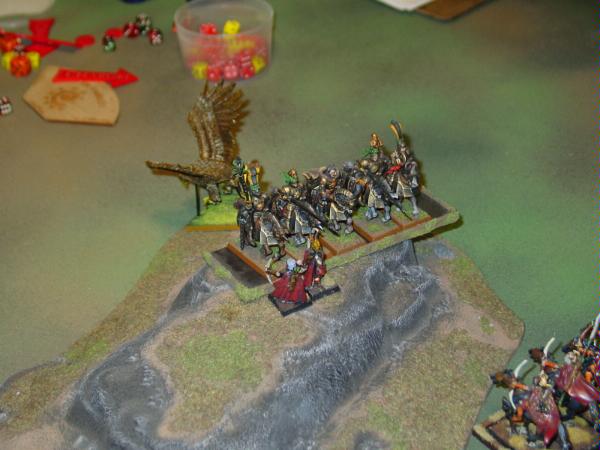
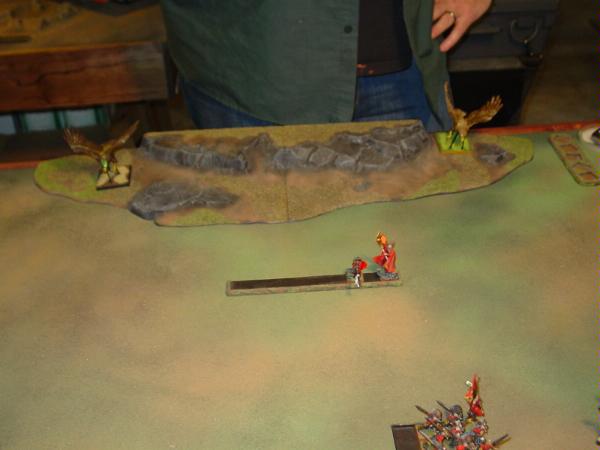
The Wood Elf Noble lead the right flank to face off against the Knightly Orders. To fulfill this task he had an Eagle, a unit of Glade Riders, the Wild Riders, and a forward unit of Glade Guard Scouts. They were ready to crest the hill if need be, and try to outflank the heavily armored knights.
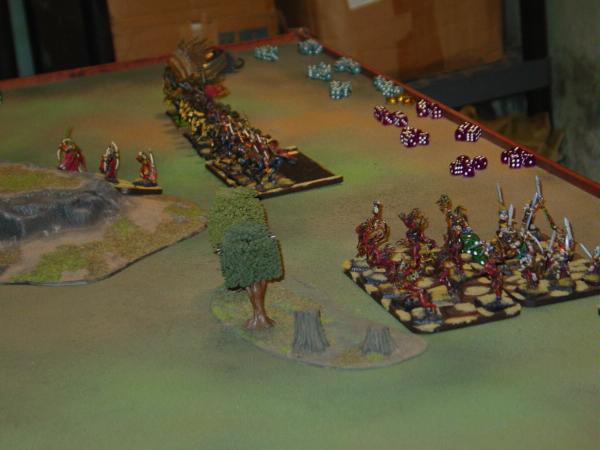
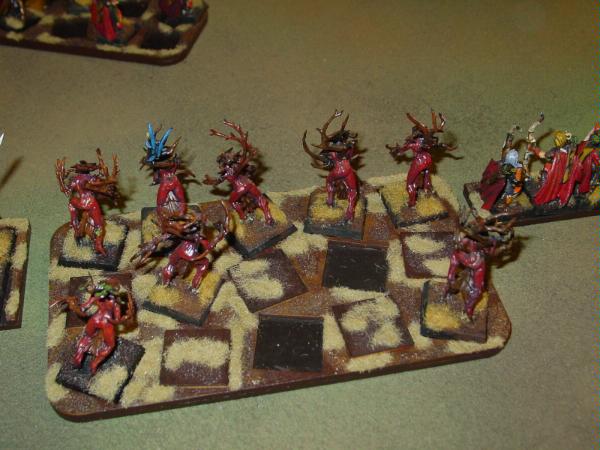
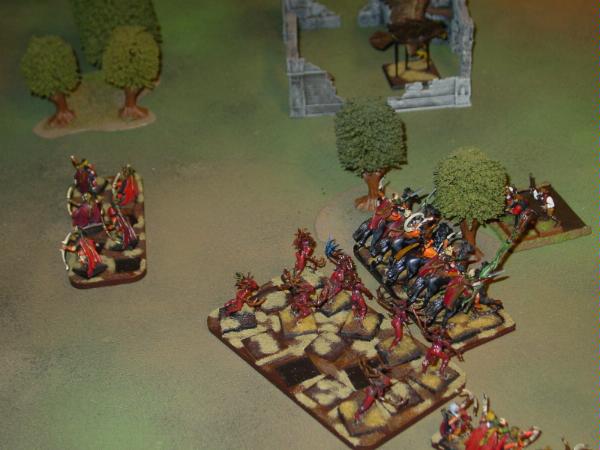
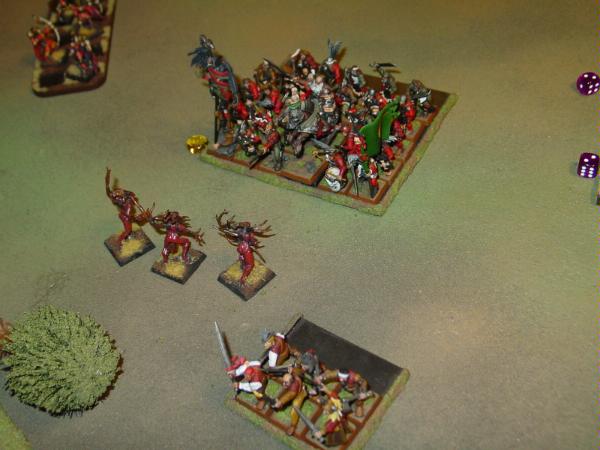
The Spellweaver stood with the Wardancers. Dryads and a forest screened them safely from cannon fire.
Both Glade Guard units were out in the open in the center of the table. One unit deployed forward and one deployed back to take advantage of the Asrai ability to move and fire without penalty. Depending on the situation they would either advance or retreat, still being able to shoot their arrows.
Dryads, Glade Riders and an Eagle filled out the left flank, and a unit of Glade Guard Scouts deployed behind the cover of some trees, watching the Empire Swordsmen.
Battle
The Empire quickly deployed and took first turn, moving up as fast as they could cover ground. Presented with no targets in range, the Handgunners also marched, taking the Battle Wizard along with them. He tried to Fireball an exposed unit of Glade Guard, but the Spellweaver used a Dispel Scroll to protect them.
The Cannons shot, but the two cannons were only able to eliminate two Dryads between the two of them. As a whole, the Cannons would prove to not have very good targets to fire at in the battle.
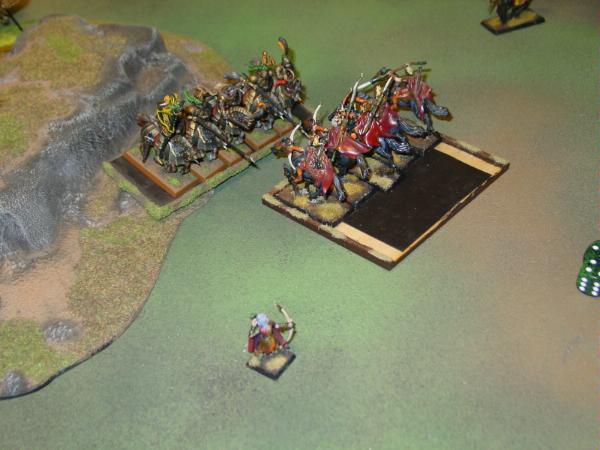
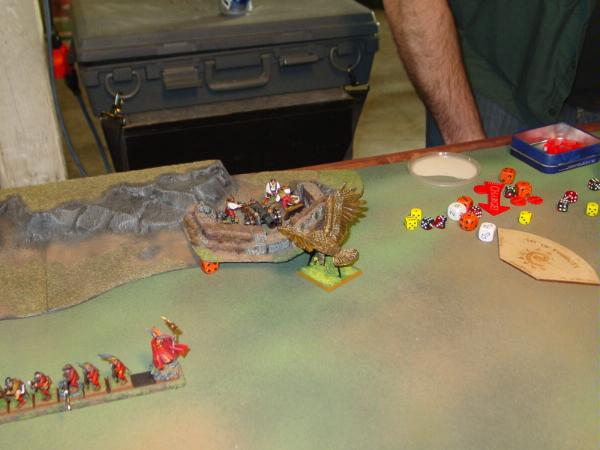
The Knightly Orders crest the hill and are almost surprised by the Glade Guard Scouts waiting there. However, the Pistoliers also marched up, removing three scouts in a rapid succession of pistol shots.
The Wood Elf Noble decides not to charge and instead leads the Wild Riders to outflank the Empire. The Great Eagle flies overhead, positioning itself between a Knightly Order and the Cannon.
The Knightly Orders could not be touched by the Spellweaver's Fury of the Forest spell, nor by his Malevolents. As a whole, magic would not do much of anything throughout the battle.
The Noble strung a single arrow to his bow, and as it released many more appeared in the sky above the Pistoliers. It was the last thing they saw before they were wiped to a man.
Glade Guard Scouts advanced through the woods on the left flank, covering the approach of Glade Riders and Dryads. Free Company attempted to dislodge their position, but they fled, disappearing through the woods.
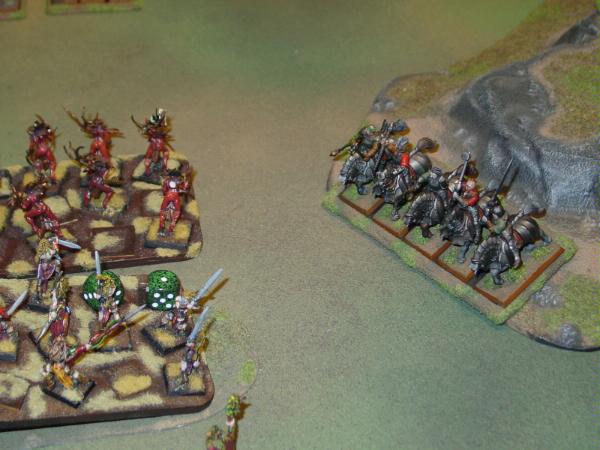
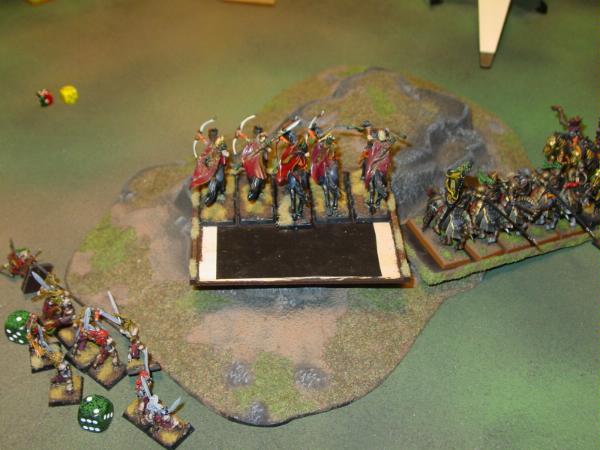
Bringing lances to bear, the Knights charged the remaining two scouts. Their dilemma: die to a charge and protect the Glade Riders a while longer, or flee and expose the Glade Riders to a charge that could take the Knights out of flanking range from the Wild Riders and Noble.
They stood against the lances.
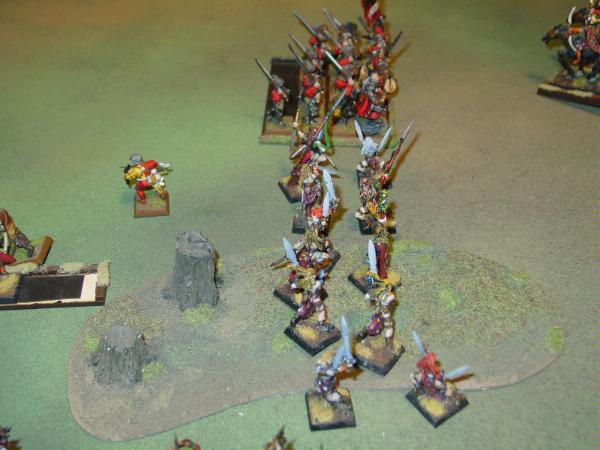
The Great Weapon Knights could not reach the Wardancers who were partially protected from chargers by the forests. Though the Knights were near enough, they would lose movement in the woods and so ended up standing on the edge of the hill.
The cannon would not shoot the Eagle for fear of hitting his Knights, instead it fired at the Wild Riders, eliminating two almost casually.
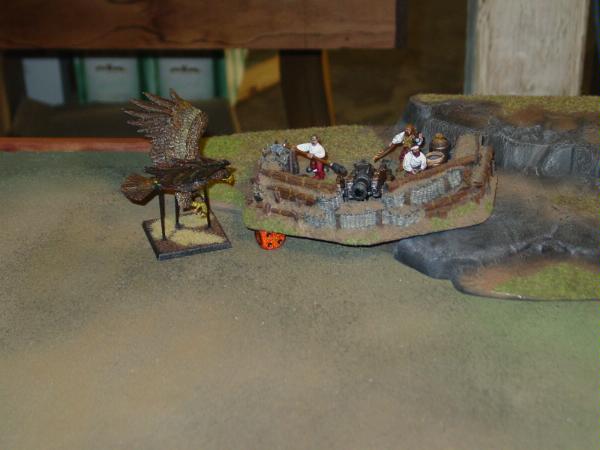
Though range was sketchy, the Battle Wizard attempted to use his Lore of Fire to eliminate the threatening Eagle. The Spellweaver used his second scroll, using up his supply. The Eagle had to reach its target at all costs.
Handgunners opened fire on the Glade Guard. Anything that hit, killed the lightly armored Elves.
The General's retinue were far enough and near enough, and so they marched forward, threatening the nearest Glade Guard bowline. In the center, the Greatsword's detachments repositioned to give them the ability to face off against the Dryads and the Greatswords filled the space.
One Scout was run to the ground. However, as the remaining Scout fled, she managed to outrun the Knights and the Knights were unable to pursue into the Glade Riders. A near miss! Unfortunately, the Scout would never return to this battlefield on this day, as she went for the safety of the forests.
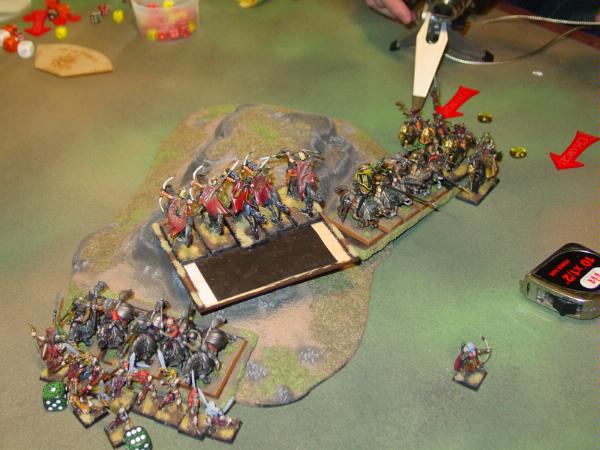
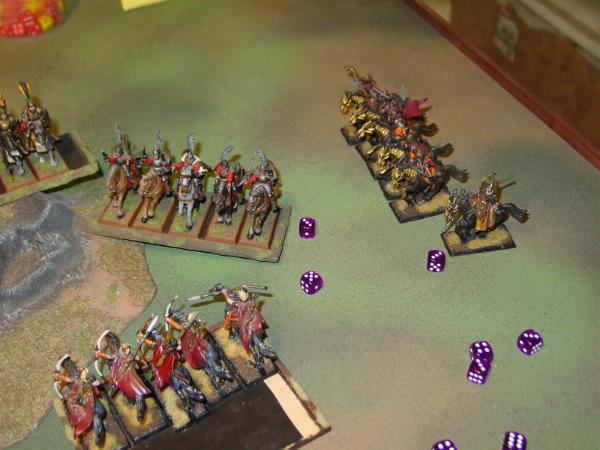
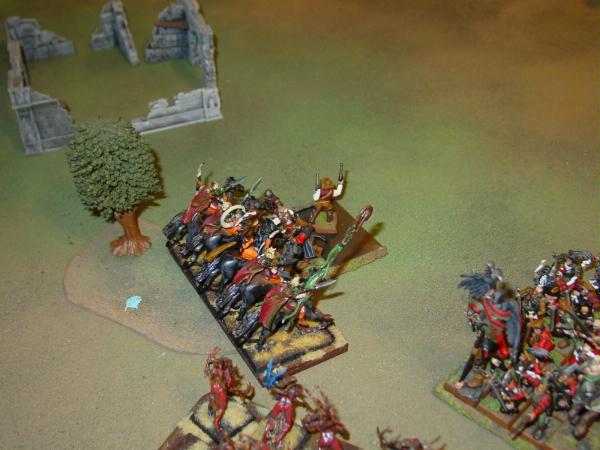
A picture perfect. Glade Riders positioned themselves behind the two Knightly Orders as the Knights are charged. One by the Wardancers and one by the Noble and Wild Riders.
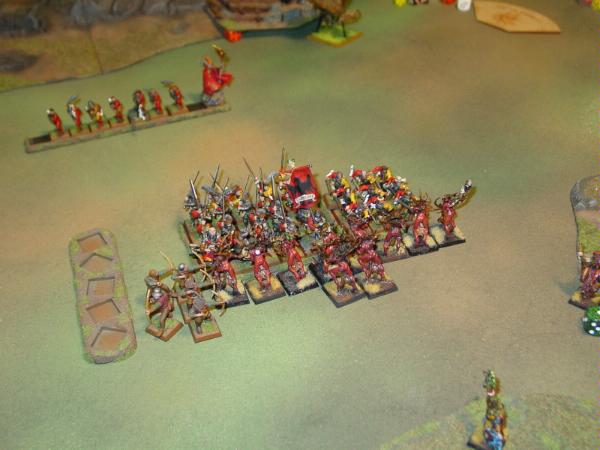
Dryads charge the Empire Swordsmen detachment to the right of the Greatswords, extending their line out to include the Greatswords, but they are counter charged by the Detachment of Archers.
All the Imperial units checked their Fear and fought the Forest Spirits with all their faculties. Though the resolution was close, ranks caused the Dryads to break and the Swordsmen pursued into the woods where the Spellweaver was hiding. He suddenly faced a mob of Empire troops in hand to hand combat.
The Eagle hit the target, killing two crewman and leaving one. When he broke to flee, the Eagle made certain to finish the job and pursued him off the table.
Glade Riders charged the Free Company through the woods. Charging with spears was enough, and none of them had a chance to strike back. One member was left alive, and he fled.
Behind them, the Fleeing Scouts rallied.
Both Knightly Orders died, one killed nearly outright by the Whirling Blades of Loec, the other overran by Wild Riders.
The Wood Elves' left flank was crumbling, though a few bright spots appeared.
The Great Eagle there could not reach the second cannon. The cannon readied the Grape Shot and managed to misfire, leaving it unable to shoot for next turn.
The Swordsmen charged the Dryads holding the left and handily broke them with the weight of numbers, ranks, and standards behind their attack. However, the Dryads were not caught, and so the Swordsmen and Free Company continued to pursue them.
Glade Guard arrows managed to whittle the Handgunners down over time, but rather than risk killing the last Handgunner and leaving the Wizard with a free command of the field, the Glade Riders opted to move towards holding ground in safe locations.
The Greatswords reformed to prevent a flank charge from the Wardancers, and the Free Company failed to defeat a lone wizard armed only with a stick that could move trees around.
In another blur of blades, the Wardancers chose to charge the Free Company in the flank rather than face Greatswords in the front. Winning the combat easily, they freed the Spellweaver and their pursuit move managed to put them in the Greatswords flank yet again.
Though they would later reform one last time, a frontal charge ended the Greatswords as they failed their command check even while Stubborn!
The Swordsmen attempted to catch the Dryads, and only managed to kill them near the end. The Free Company's pursuit took them into the Glade Guard and they fled off the table after losing in close combat.
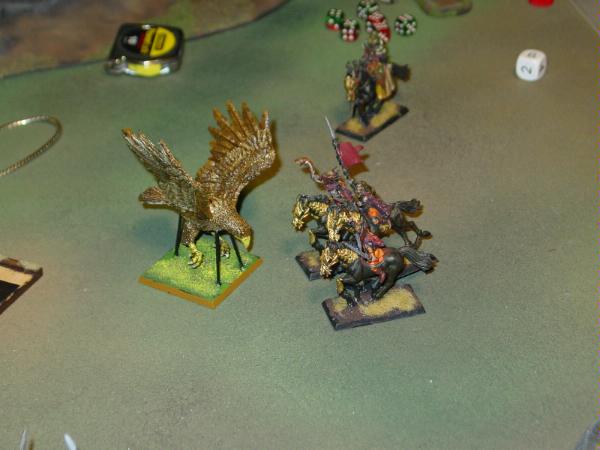
Both Great Eagle and Wild Riders charged the Battle Wizard and Handgunner. Figuring out the angle and probably distance of pursuit, the Battle Wizard chose to hold his ground reasoning that fleeing would only end with him getting run down with a spear or talon in the back.
Unfortunately, the horn of the Wild Riders unnerved them so much that they fled anyway, getting cut down in the process.
Though the General remained, the Scouts approached to keep the Swordsmen from marching. The Asrai would consolidate their victory
Conclusion
The game was a massacre. It was the bottom of turn five when I marchblocked his Swordsmen and Free Company. Playing further would have been a little silly seeing as I already had captured two standards.
I caught a few breaks:
- His Knights could have been closer to my Wardancers in order to get the charge on them.
- Missing Grape shot was big. After that, he would have been cannon sniping my Wild Riders, my Noble, etc.
- Greatswords failing a stubborn roll.
- Mostly crappy Pursuit rolls on his part.
- Swordsman block with General and BSB facing off against what was essentially two to three hundred points of light infantry.
I found that I didn't miss the Alter Noble or Eternal Guard. The Eternal Guard always felt odd to use, while Scouts, Glade Riders and Eagles made this army really flexible. I'm doing a better job of using my Wardancers (i.e., they're not getting shot). In our previous game I did not break targets on the charge, and I had a hard time selecting my second round of combat dance (Hint: stick with the Ward save one. I know because I did not do this and Wardancers died).
You can see John's write up of the battle (and more details of the 1000 point one) at his plastic legions blog.