A Tutorial
For Rusty, Grungy, Industrial Metal.
by: Dave Steingass
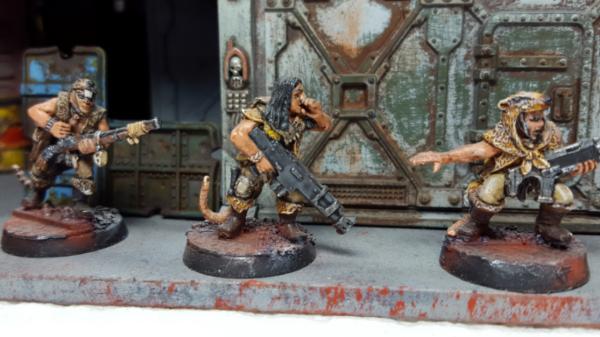
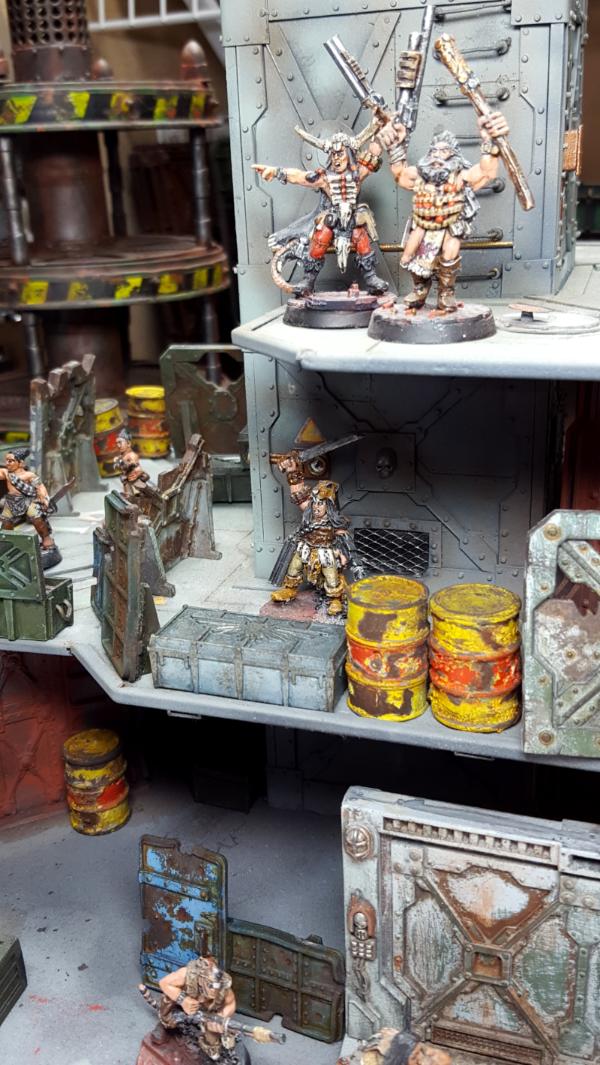
I live in the Midwest, United States. A part of the country known as the "Rust Belt" As a result, there is a lot of old industrial stuff exposed to the elements. When people stop maintaining this equipment, I've always been fascinated by the way it looks. In My Underhive, it looks a lot like "Abandoned Industrial Town, Anywhere, USA", a shining testament to the industrial age, some say.
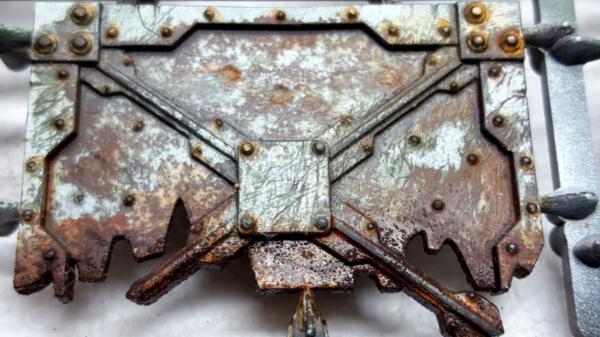
Old Industrial metal is often rusted, and rust often leaves parts of the paint as it slowly takes over. Its always random, or it tells you where moisture has been accumulating.
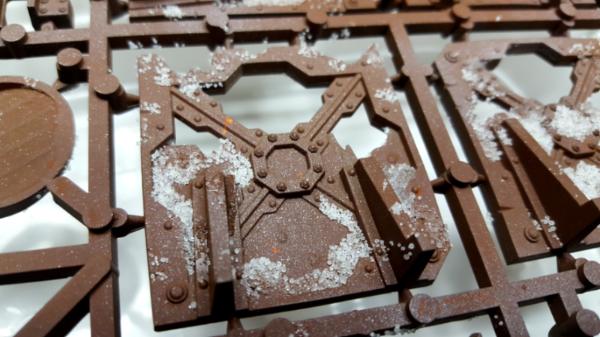
1: Prime the plastic your base rust color. I used Badger Stynylrez Red Brown Primer. Let this dry completely.
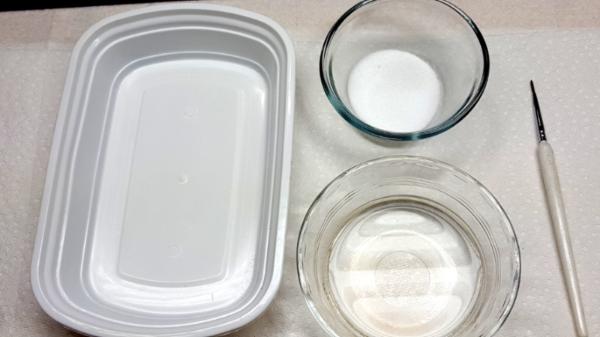
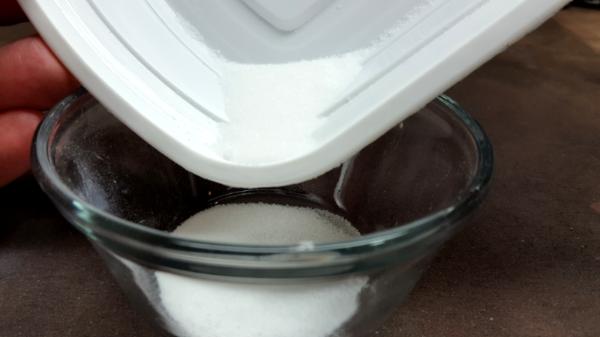
2. Gather a brush, some standard table salt, water, and something to catch salt, this will make a mess.
3. Using water, Paint where you'd like rust to be. In the real world, rust is random, or tells you where moisture has settled.
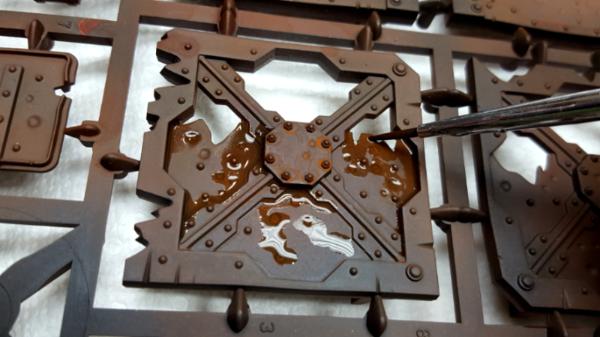
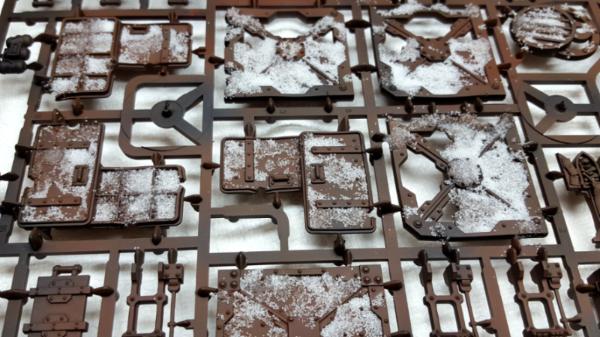
4. For this tutorial, I am using parts on a sprue for ease of painting. This will work on a full model too, just do one section at a time. As much as you are comfortable doing at once. Don't hurry.
Sprinkle salt on the water.
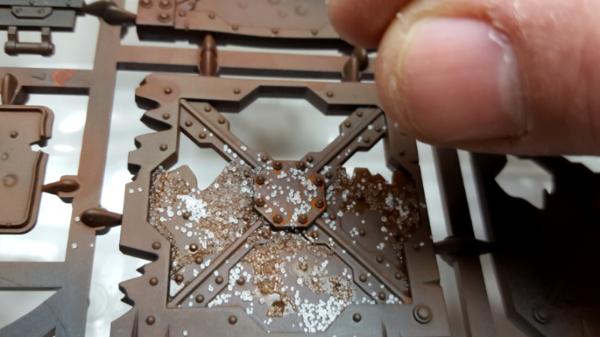
5. After most of the water is absorbed (give it a few minutes) shake off the excess in your pan. You can reclaim wet salt all day and reuse it, but NEVER reclaim salt that has been painted. Finish the part/section/sprue side.
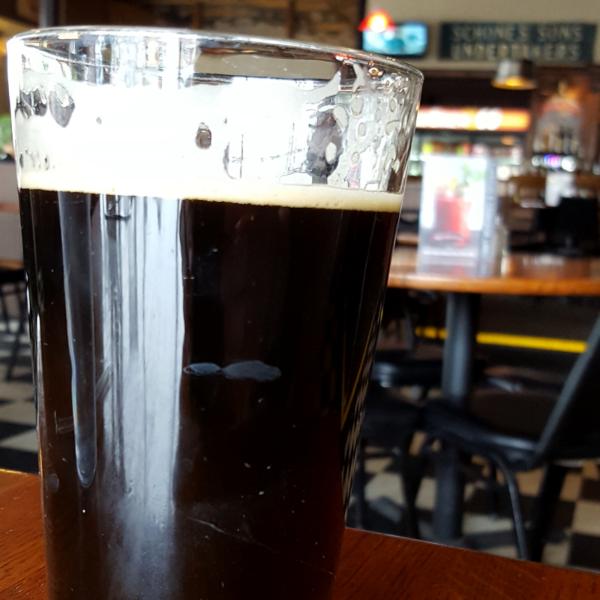
6. Go have a pint. Don't touch it until its dry. :nono:
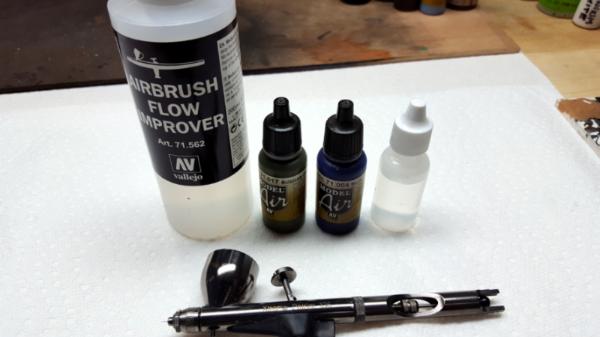
7. Gather your airbrush, and some base layers. I am using government green (russian green) and Blue for my basecoats. I always use a drop or two of Vallejo Flow Improver, paint, and a drop or two of water, then i stir it all up in the brush cup with an old brush. Works for me every time ;) YMMV
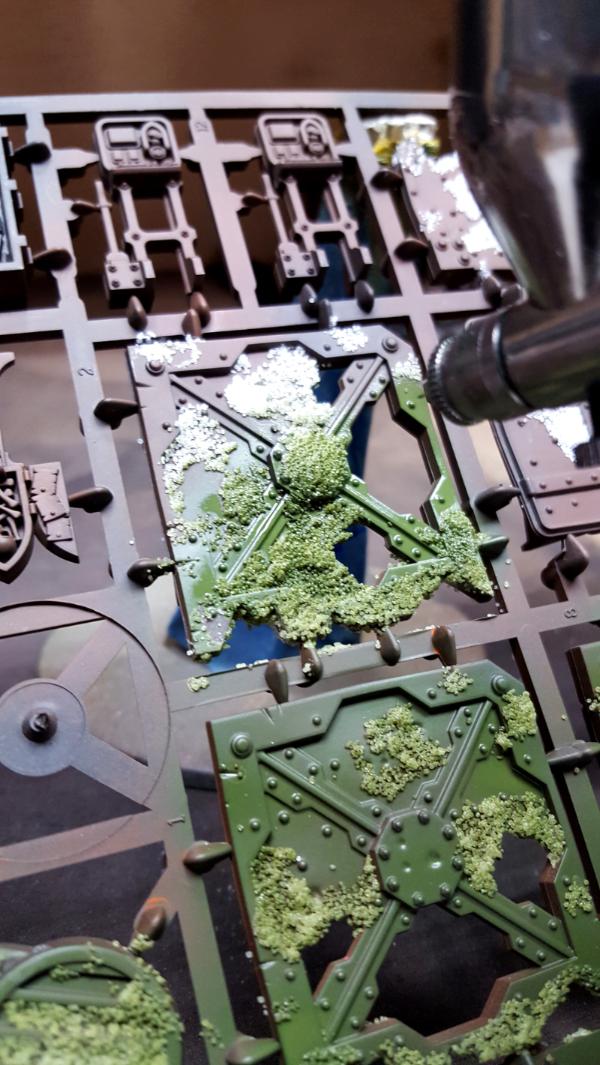
8. Paint the base color over the rust primer, salt and all
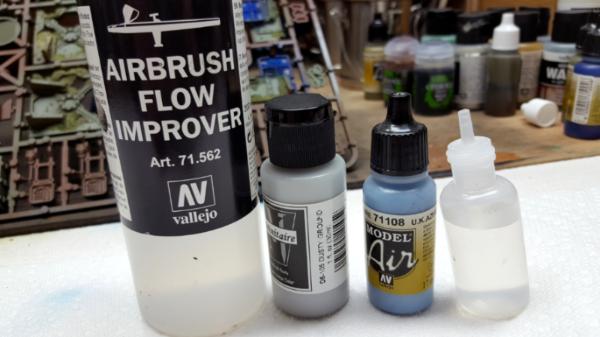
9. For the top coats, I am using Badger Minitaire Dusty Ground, and Vallejo Air UK Azure. I dont know if the colors are as important here as is that the colors MUST be of different VALUE in brightness as the bottom layer. You need CONTRAST between bottom coat and top coat. Light/Dark.
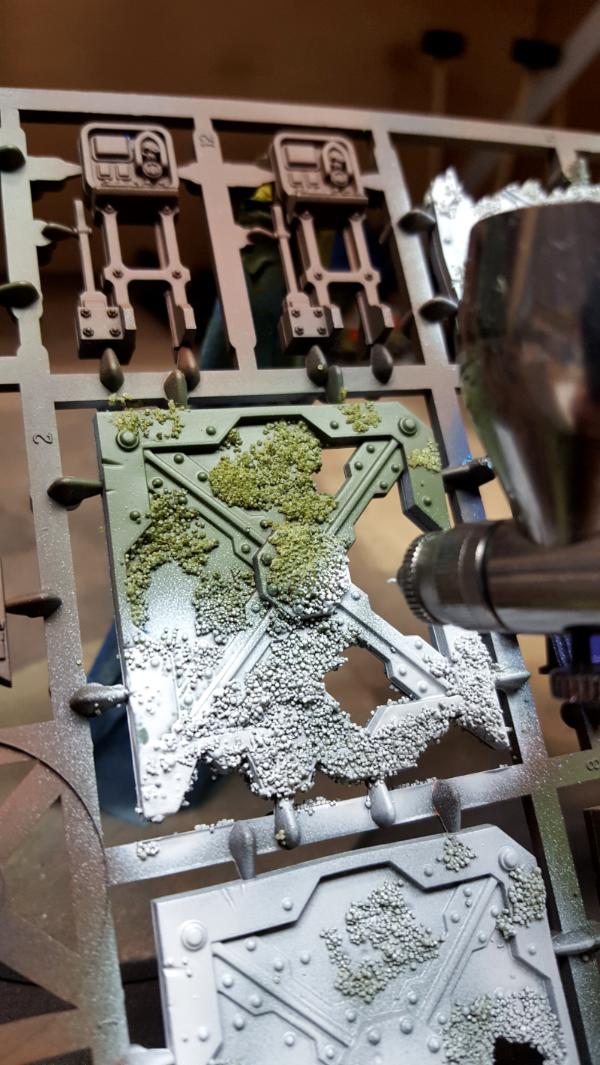
Paint them over the top.
[u][b]DO NOT HAVE A PINT - not now anyways, you MUST begin the next step before the topcoat dries!!![/b][u]
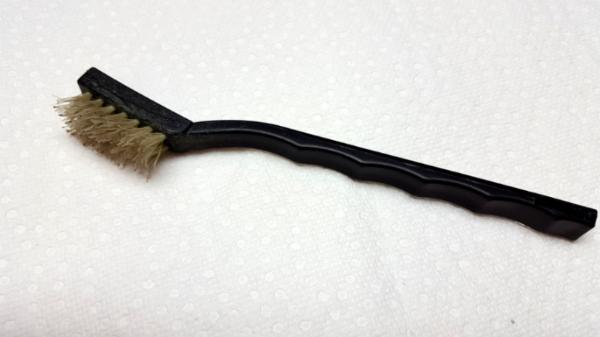
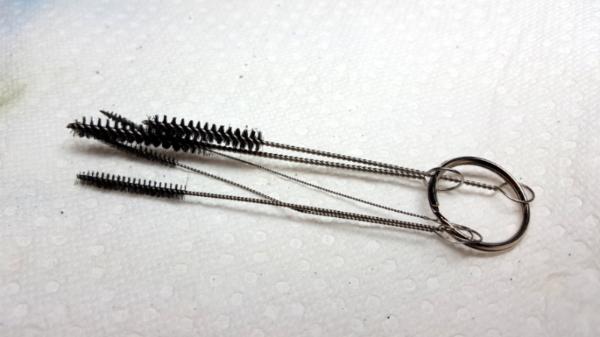
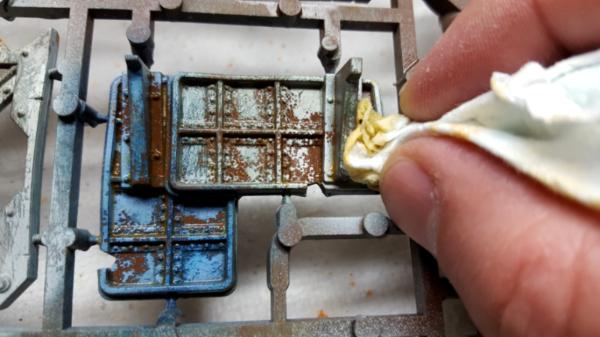
10.This is a nylon cleaning brush. Its just a brush, with nylon bristles, nothing fancy. Any brush that IS NOT harder than the GW Plastic should work. I would not recommend a brass or metal brush, it would be harder than the plastic. An old toothbrush, a scrubbing brush, I'd imagine a variety of bristle sizes would make this look even better.
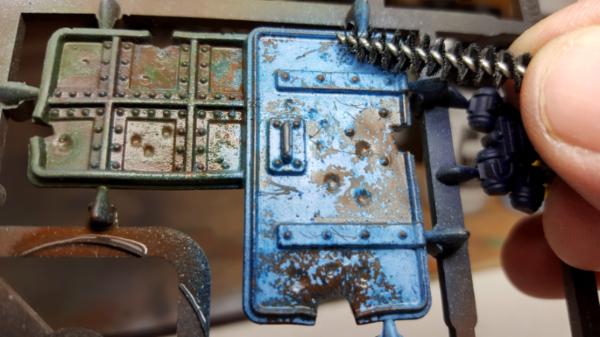
WITHOUT WETTING THE PAINT -Scrub the salt off of the plastic Over a trash basket, this is the messy part. DO NOT RECLAIM THIS SALT
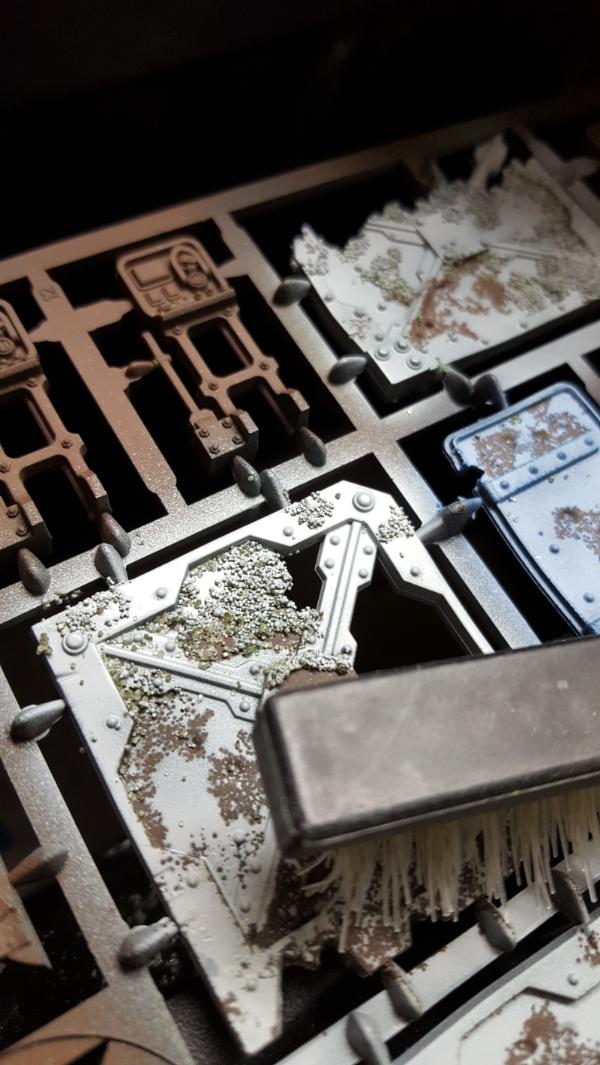
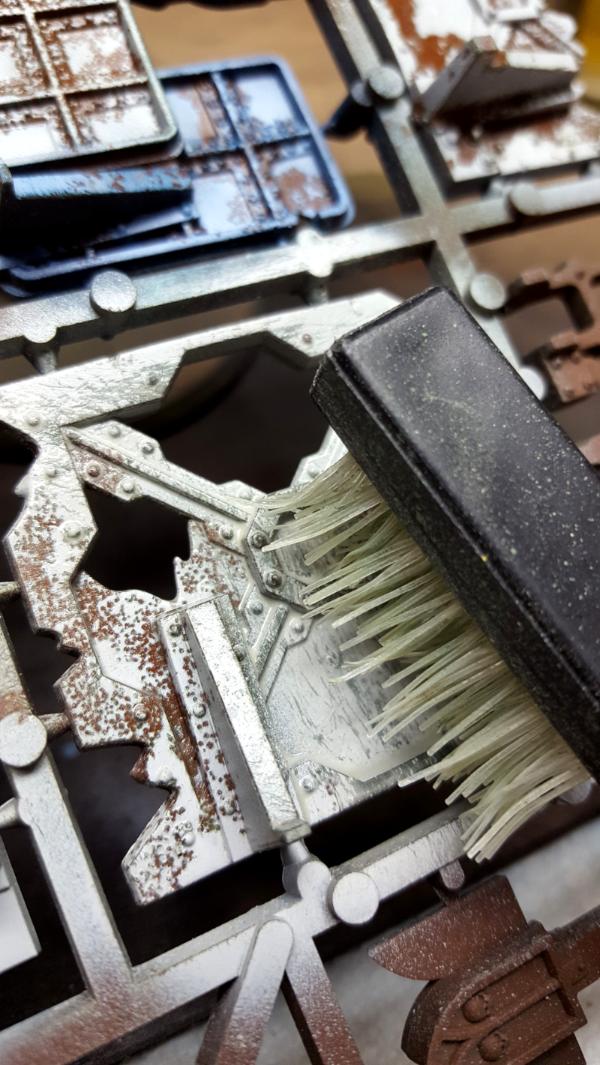
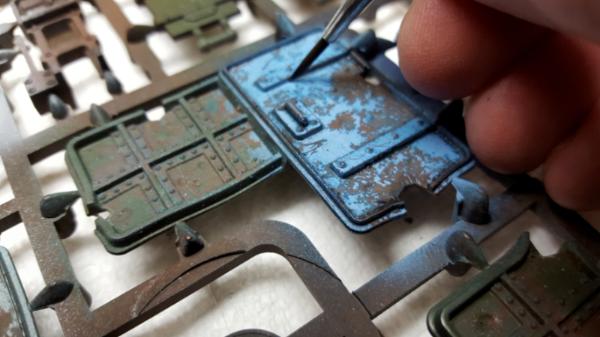
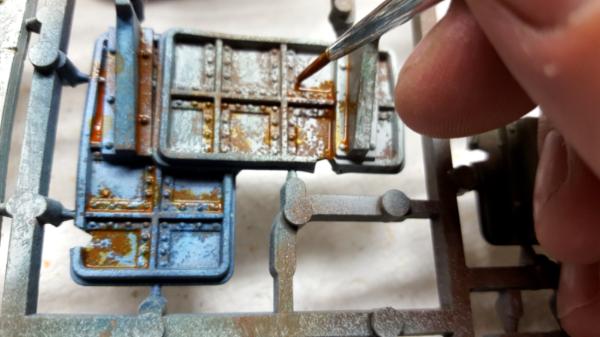
11. Now, we want to spray our part with WATER, just plain old water. I just use my airbrush. While the part is wet, take your scrub brush and go crazy! Making sure to scrub in all directions, especially on the edges! Scratches, gouges, chips, just let it all happen!
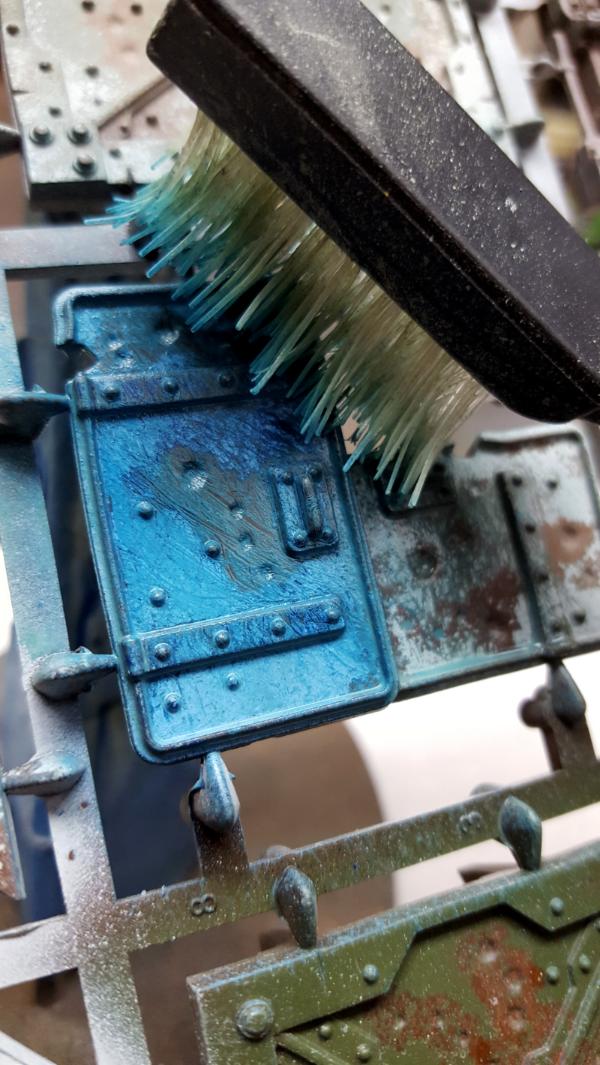
12. This is just a cheap set of wire/nylon brushes, You can use any metal thing you want.
Make scratches, gouges, go nuts! Dont be afraid to spray it again and again, you'll start to see the water dissipate the paint and make cool patterns layered over the scratches.
13. NOW we get to go have another PINT!
Let this dry.
14. For washes, This is what I'm using.

Everyone knows that nuln oil is magic, well Vallejo Oiled Earth wash IS Nuln Oil, and a lot more economical!
Vallejo Light Rust, Rust, and Dark Rust washes, and GW Typhus Corrosion (I decant them into dropper bottles- it is NOT sold this way)
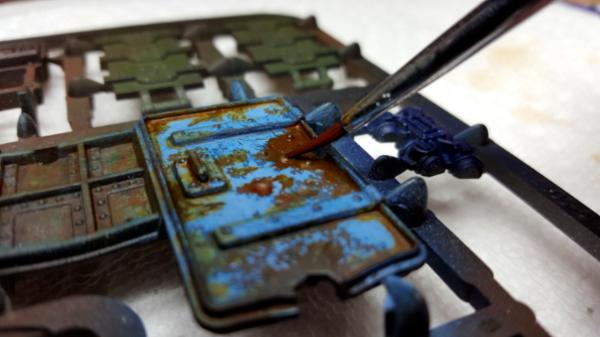
15. Start with the Nuln Oil wherever there is any plate-on-plate action, go easy, just a shadow. If you water down the nuln oil, let it seep into your scratches and cracks for shadow too.
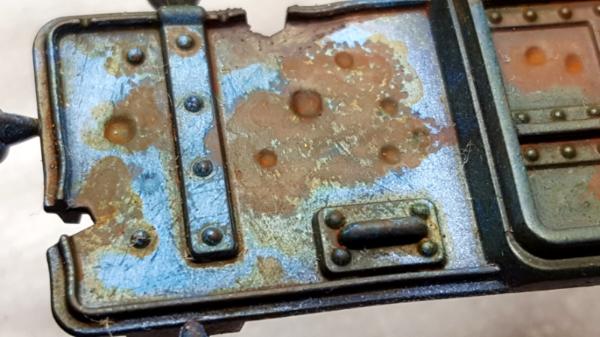
16. I do rust washes LIGHT to DARK
Starting with Light Rust
Dont be afraid to RUB the light rust into your scratches and cracks. It's oK to remove paint with this technique.
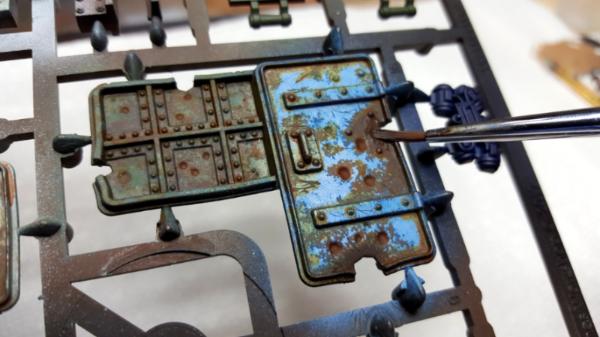
17. Medium Rust wash is used for all of the rivets and bolts! :waagh:
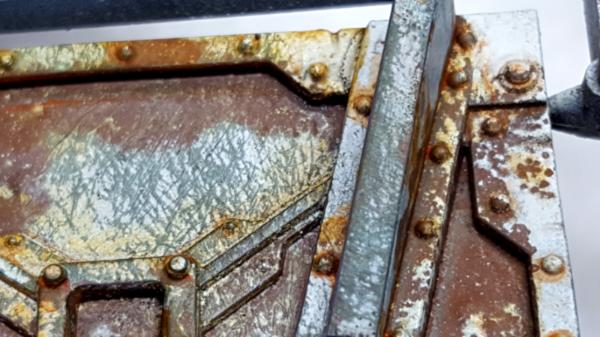
18. Dark Rust is used on any deep dents like bullet holes, or wherever metal has been torn or sheared. Also in the center of large splotches.
19. After Three washes, you're ready for ANOTHER PINT
This allows the washes to dry.
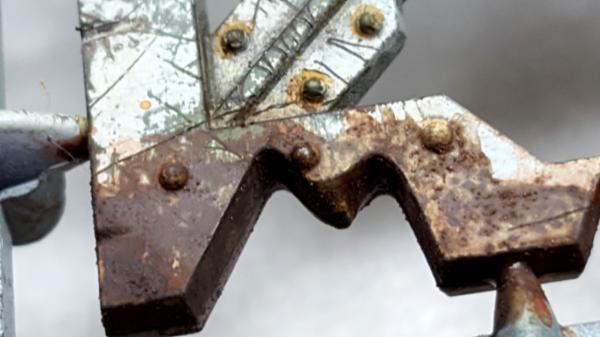
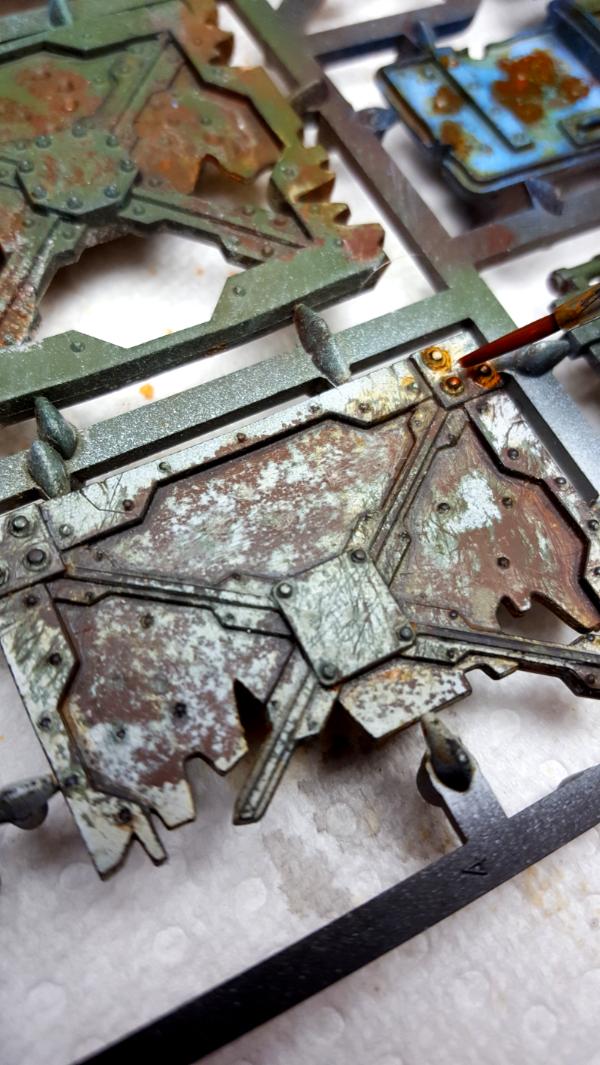
20. Finally, we go in with the Typhus Corrosion in the very center of large splotches and ESPECIALLY on the EDGES of the plates that have been torn or sheared off (the metal would rust there more rapidly with no paint to protect it)
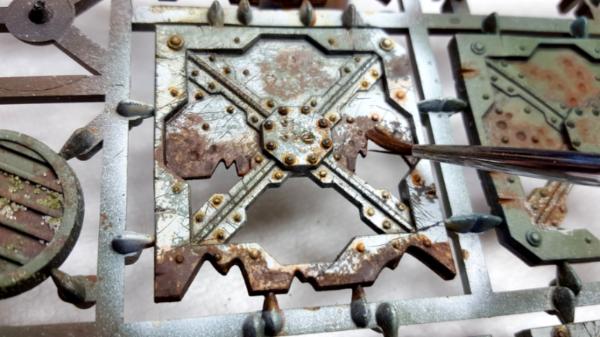
If you followed the included drinking steps, you should be feeling pretty good about your accomplishment right about now. :waaagh:
There is no wrong way to do this, and I'd LOVE to see how yours turns out!
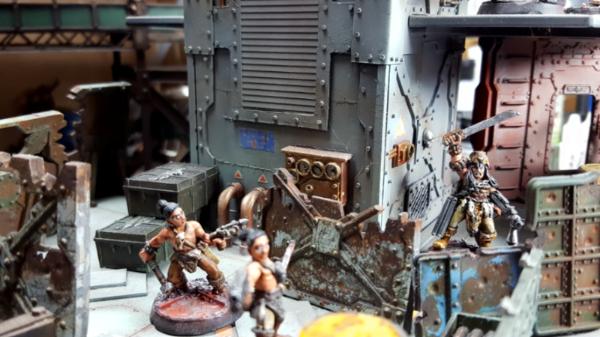
Happy Underhiving!
