...by insaniak]
For this tutorial, I decided to focus on a staple of Warhammer 40,000 Space Marine decoration, the wreath.
Bestowed (according to the older background material) upon marines for bravery, it tends to feature quite a lot on characters, and so learning to sculpt the wreath from scratch can be rather handy for customising or creating your own characters.
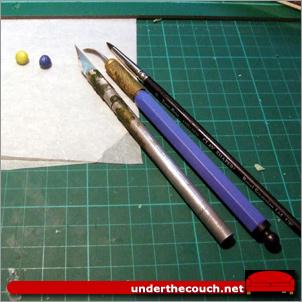
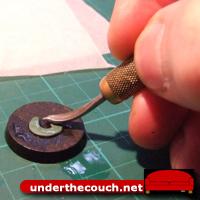
First off: Tools. You'll need putty (obviously), your sculpting tool of choice (shown here are a standard sculpting tool and a wax carver, which has a rubber tip that is just perfect for green stuff work where you don't need particularly hard edges) and a hobby knife.
A cup of water is also handy for dipping your tools before working the putty. It's best to keep metal tools wet (not dripping, but just lightly damp) otherwise the putty tends to stick to them. Some sculptors lubricate their tools with petroleum jelly (vaseline) or the like, but I find water generally does the job.
You can sculpt these in place on the miniature, or sculpt onto a flat surface and then glue it in place on the miniature once it is set, although this works best if you're gluing onto flat surfaces - for curved or irregular surfaces, I would go with sculpting in place.
Step 1:
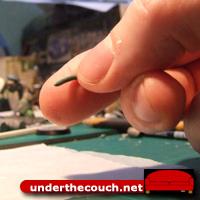
Start by rolling a small sausage of putty between your fingers. The thickness you want depends on how you want the wreath to look. A thinner sausage will get you a skinnier wreath, while a thicker one will get you a bulkier looking wreath.
Step 2:
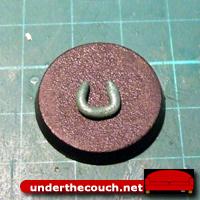
Bend the sausage around into a horseshoe shape, and press it lightly into place. You might want to try practicing a few on scrap plastic or a spare base to get the hang of it before you try sculpting one in place on a miniature.
Step 3:
Flatten out the horsehoe with the flat back of a sculpting too. As you push the putty down flat, you can shape it slightly so that it retains a rough (but much fatter) horseshoe shape. You want the end result to be fairly flat and an even thickness.
Step 4:
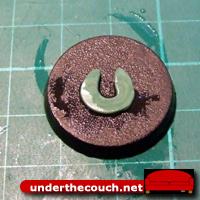
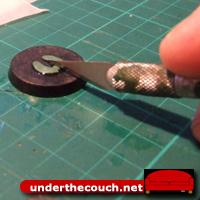
Take your knife, and cut two vertical slices into the putty at the bottom of the curve, as pictured. Don't cut right through... just deep enough so that the cuts are clearly visible.
Step 5:
Next, cut across horizontally at the top and bottom between the two vertical lines to form the shape for the wreath's binding. This time, you do want to cut right through, as you need to pull away the excess putty at the top and bottom.
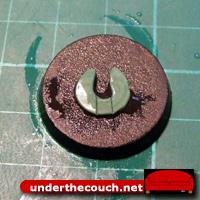
Step 6:
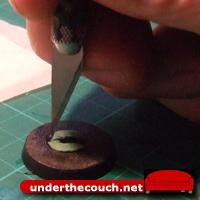
Score some more vertical indents into the binding piece with your knife. I generally do one down the middle, and then another either side of that first line.
Finish these lines off by holding your knife vertically, and scoring lightly into the top and bottom of the binding.
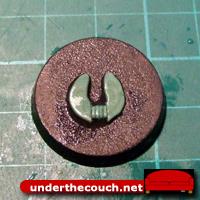
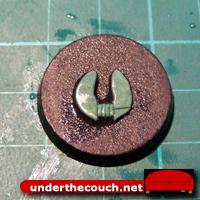
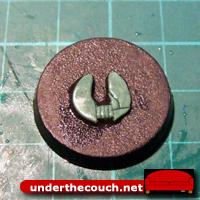
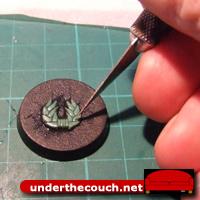
The proto-wreath with binding completed.
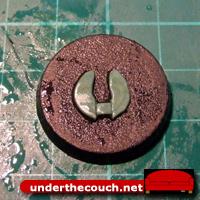
Step 7:
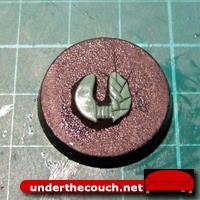
Next, use your knife to score a line horzontally, from about halfway up the binding and out to the edge of the wreath. This forms the first leaf.
Step 8:
Form the second leaf by scoring another line starting about a third of the way along the first leaf, and out to the inside edge of the wreath
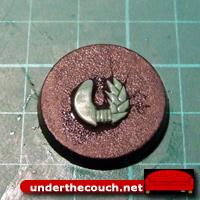
Step 9:
Repeat this procedure on alternating sides until you reach the top.
Step 10:
You'll have a small triangle of putty at the top of the wreath 'arm' once you have formed all of your leaves. This can be cut away with the knife. Then, work your way down the leaves, cutting away the protruding corners where the side of each leaf touches the tip of the previous leaf.
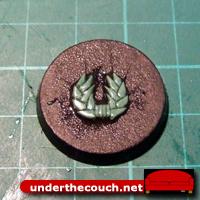
Step 11:
Repeat steps 7-10 on the other side. Try to get the leaves to more or less match up with the first side, but don't worry if they're not perfectly symmetrical. So long as both sides have the same number of leaves, and they're more or less the same size and shape, it will look fine.
Step 12:
Now take your knife and score a small line running up the centre of each leaf, from the base and extending about two-thirds of the length of the leaf. This gives a slightly stylised impression of the veins on the leaves.
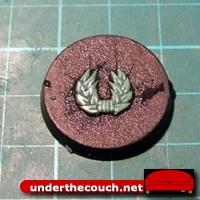
At this point, you have a basic wreath. For small wreaths, or for a basic larger wreath, this is finished.
If you want a slightly more detailed wreath, however, there's one more step:
Use the tip of the knife to score small lines running out from the centre vein on each leaf. These should angle forwards, and extend about halfway to two-thirds of the way out to the edges of the leaf.
You may find afterwards that you need to go back and tidy up or deepen the cuts on the edges of the leaves.
And that's it: One wreath. Go nuts!
Article from my P&M Tutorial thread here: http://www.dakkadakka.com/dakkaforum/posts/list/239287.page
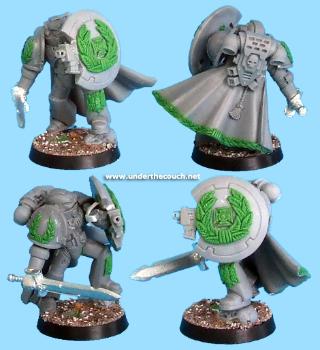
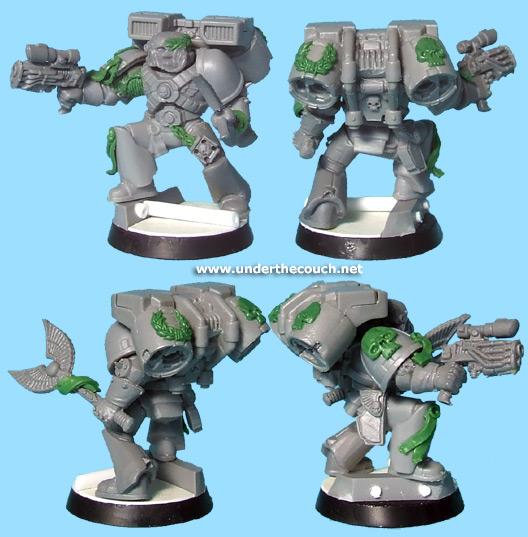
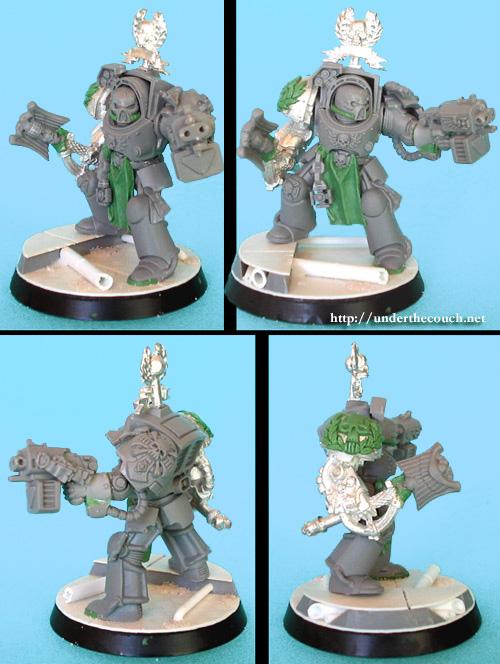
Some more examples in the wild: