posted by Panic
Intro
yeah,
The major problem I had with my urban table was that it was completely flat.
All the Models and Buildings placed on it were all at the same level.
This article is How I made Hills suitable for a urban table.
Materials
- Sheet of MDF wood - I used about 4 square feet of MDF
- Saw
- Pen or Pencil
- Tape Measure
- hammer
- Modeling Pins / or small nails
- Wood Glue
- PVA Glue
- Sand
- Grit/Small Stones/Debrie
- Black Paint
- GW Rough Coat Spray
- GW Black Spray
- GW Purity Seal
Marking out and Cutting
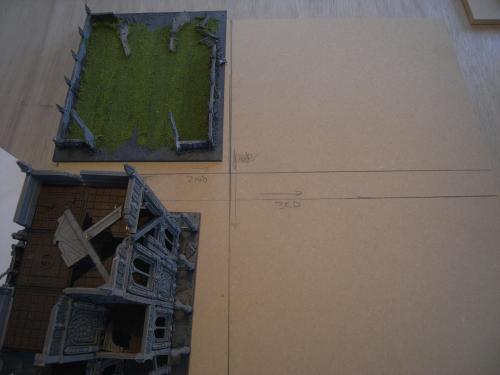
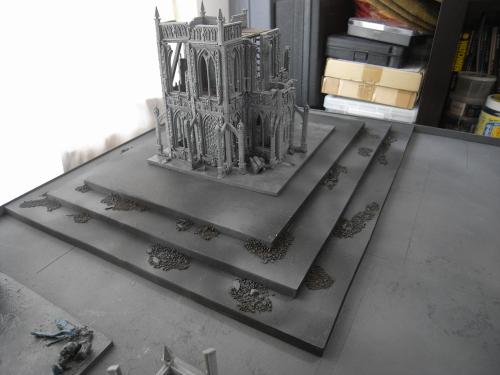
I placed several of my urban buildings on the MDF and marked out the minimum square sizes required.
After I worked out the top level sizes, I Marked out the bigger Levels. You may have to move things around to make good use of space.
I also used the tape measure and made sure that each Hill lower level was 50mm or 80mm bigger, So we would have between 25mm and 40mm for the models to stand on.
I also marked out a funky corner Hill.
The more time you spend working out your cuts, and their sequence, the easier the actual cutting work will be.
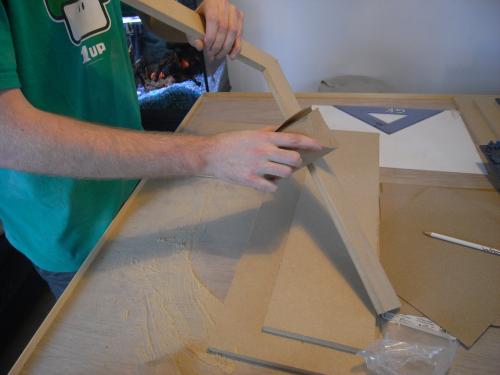
I used a JigSaw and a HandSaw.
Making the Hills
Preping the Hills
I sanded each level to remove the saw marks and slightly round the corners
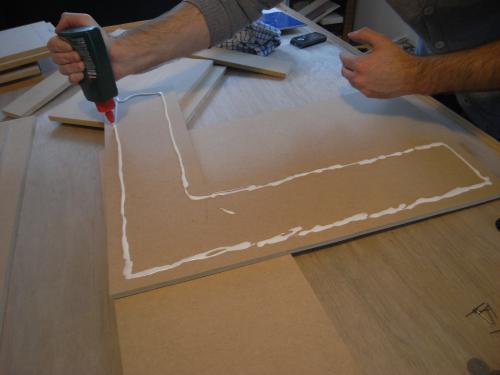
Glueing the Hills
A good ammount of Wood Glue is applied around the edge of each Hill level on the under side. about 20mm from the edge.
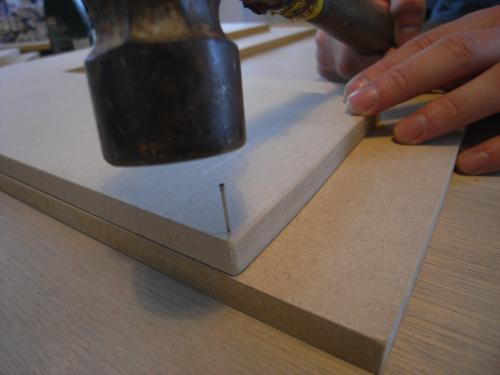
Next use Modeling Pins to hold the levels in place/tight while the glue dries.
These pins just hold the wood in place, It's the glue that's going to be the bonding agent.
I placed one pin at each corner.
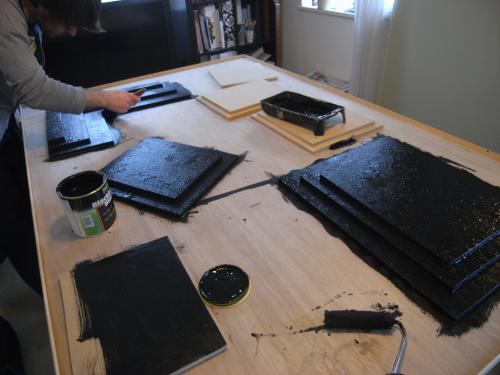
Painting / Detailing the Hills
Painting the Hills Black or Dark grey.
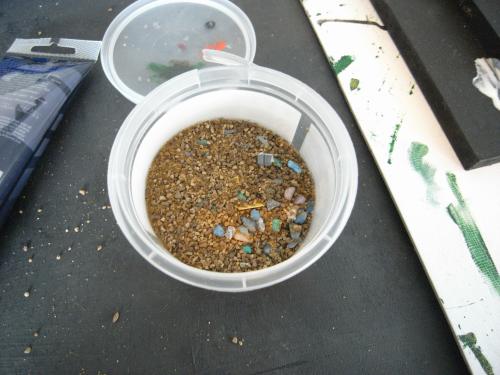
I mixed up the various grits I had.
(you'll need about three times the ammount in the photo altogether)
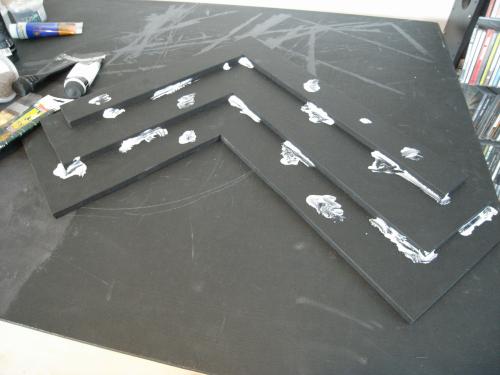
Randomly Put PVA glue on the hills for effect.
Don't put Grit on the upper levels where buildings will be placed... or they will be unbalanced and wobbly.
I Dusted the Glue patches with the sand mixture. I did this above a Game box Lid to catch the excess material that didn't stick to glue.
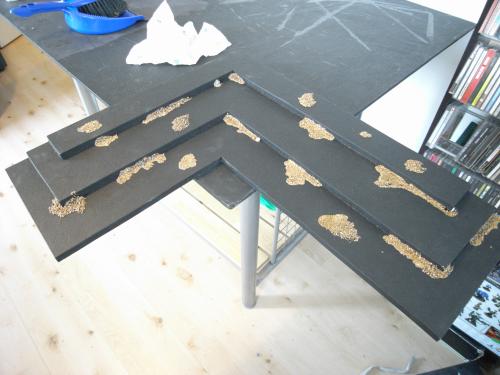
Next Wait till the Glue is Dried (best to leave overnight)
Next Paint the Grit bits black
Dust spray with GW Black Spray and GW Rough Coat till you get a pleasing effect.
Spray with GW Purity Seal to protect the terrain and trap the bits of grit in.
And your Done! Game Time!
Finnished Results

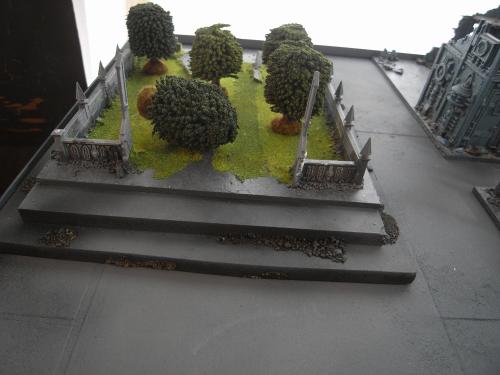
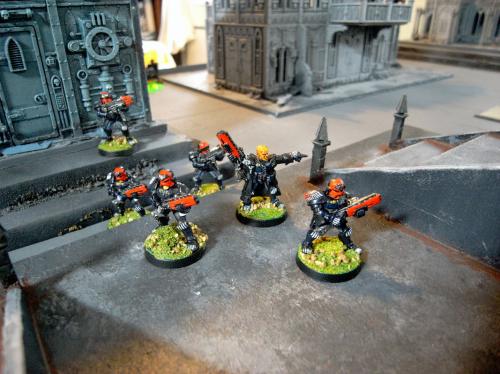
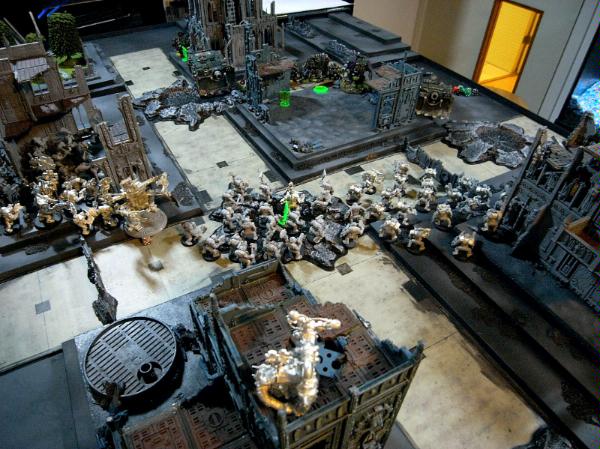
I'll try and get a better photo of all the Urban Hill terrain with a couple painted armies doing battle!
Hope you Enjoyed!?
Panic