Ok so my first Tutorial ... ever so be kind.
As many of you know I'm in the middle of a
PM invovling orginale
OOP Legion of the Damned minatures and a lot of people have commented about
the look of the bone on those guys.
So as requested this is my attempt to explain the method I use to make bone look like bone, made easy and only using a few colours and one wash.
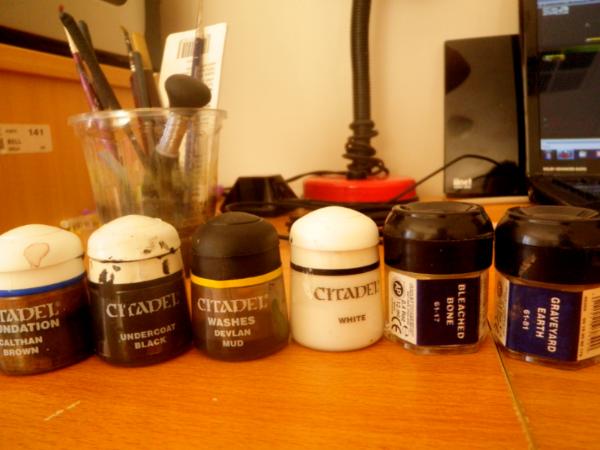
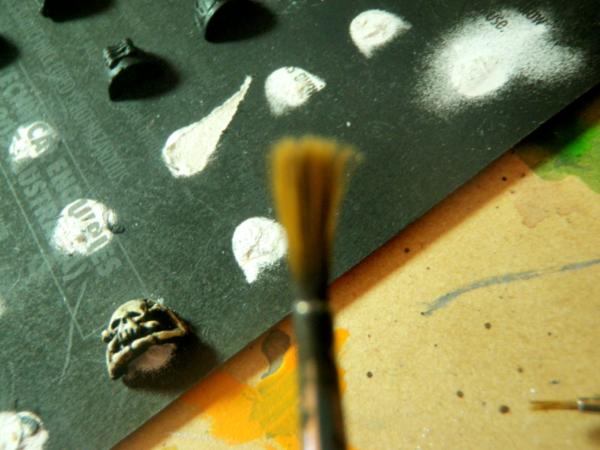
Paints needed
Calthan Brown
Graveyard Earth
Bleach Bone
Skull White
Wash needed
Devlan Mud
Touch up colour (wahtever your models base colour is in my case)
Chaos Black.
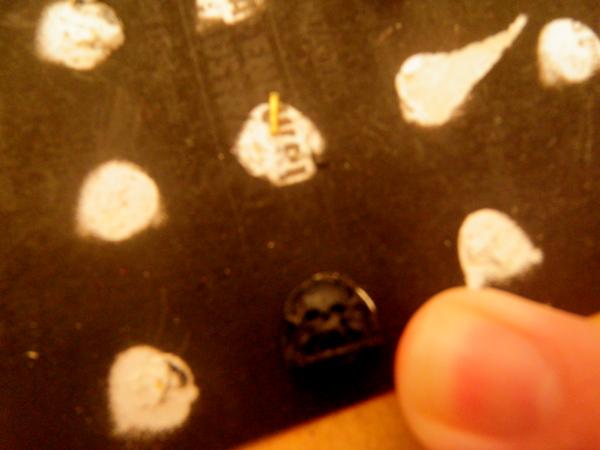
Start by applying a coat of Calthan Brown to the low and high detail areas of the bone leave some pitted areas black (such as joins or crease or overlaps) this gives us our shadow.
Next use a 50/50 Graveyard Earth to Calthan Brown mix and paint out the raised detail only, you can be creative here and leave some areas untouched it's up to you how light or dark you want your shadows to be.
Next is a 100% Graveyard mix again on highlights, at this point I begin to pick out detail and work my lighting in by painting only half of a bone length or the tips of a joint (ends of the bone)
After this it's a 50/50 graveyard and bleached bonemix doign the same as above but also covering some
fo the darker areas, you should use a light brush stroke or less paint on the brus for this deliberately leaving lines in your work and gaps, this will ultimately give our bone a textured look.
Nearly done, now do a full 100% Bleached bone picking out the eye ridges and tips
fo the bones any areas you want to be seen as catching light.
Finally (for the paint) we do a 50/50 Bleach boen and white this is a dry brush style layer focusing on the lines of the bone only.
Once that has settled you then librally wash with Devlan which nicely settles into the paint ridges and pokects you have created by layering the pain in the manner above.
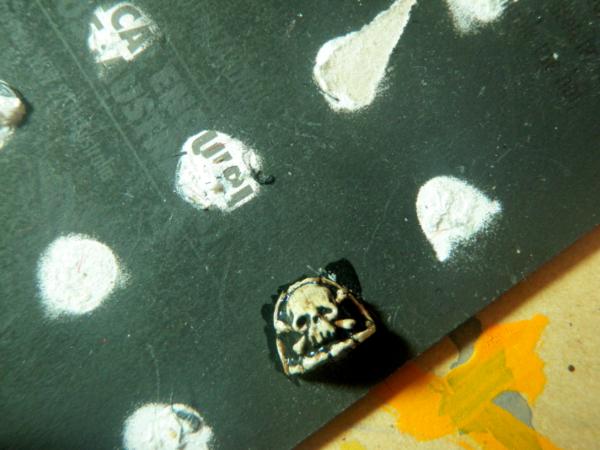
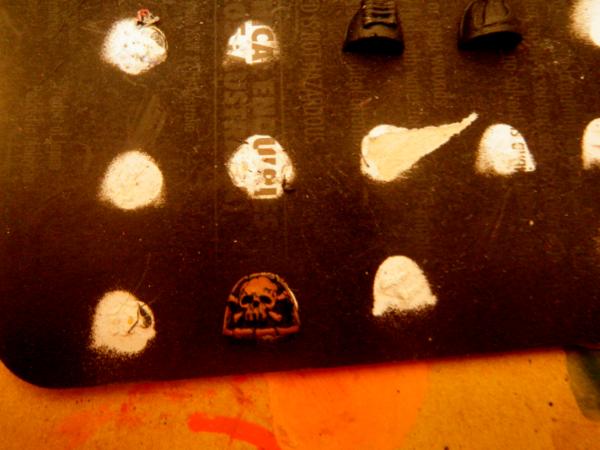
And that is that the end result is a nice multi layerd bone that only takes a few moments to paint and whoes results are excellent!
Now a note to the side this is for painting on shoulders and small detail larger items require more layers remembering to use less and less paint as you go form dark to light to created the 3d
paintjob for the wash to cling to.
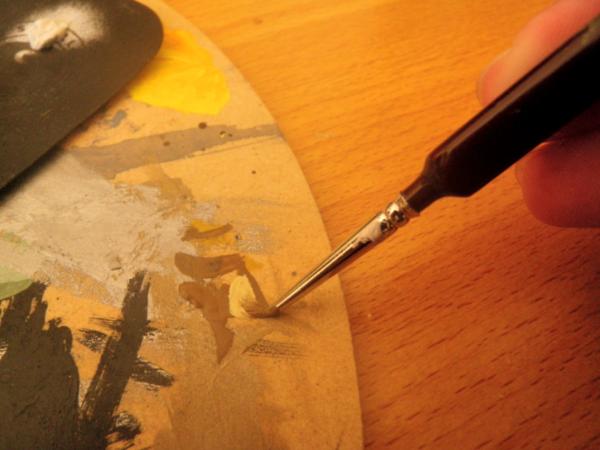
Oh and for applying the bone I use a damaged fine detail brush to give me better lines.
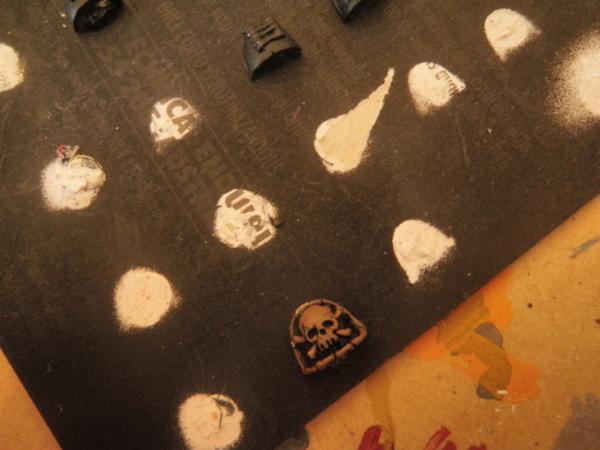
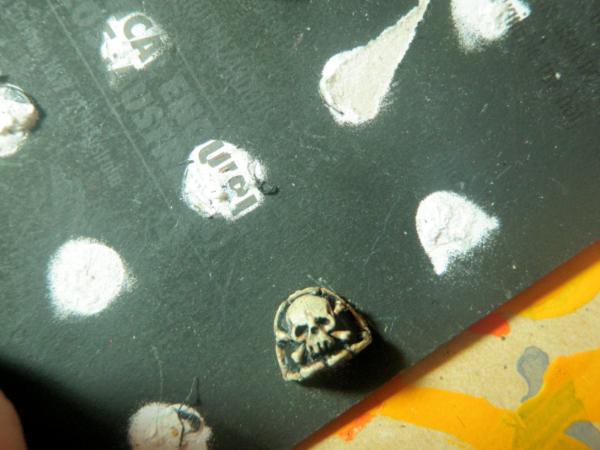
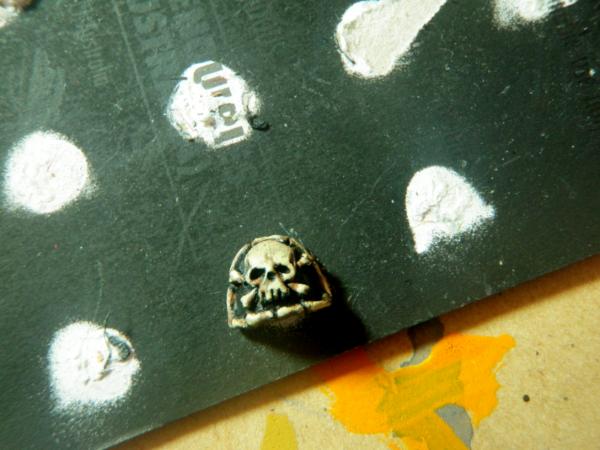
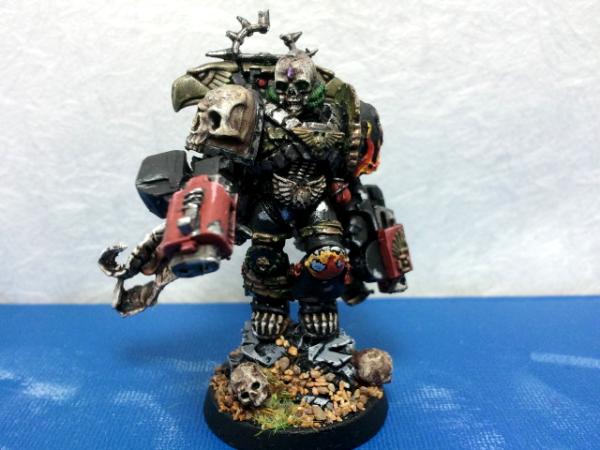
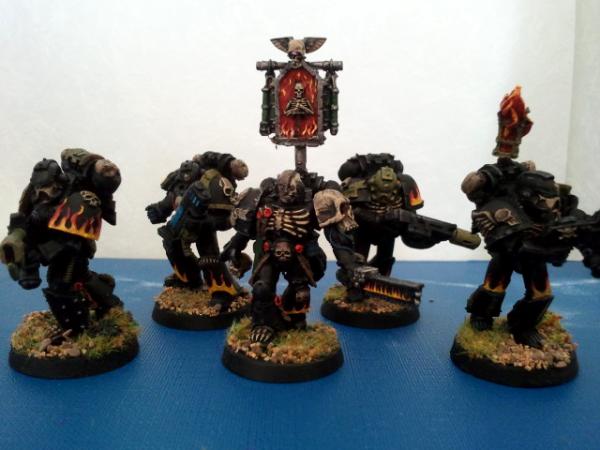
The end result
Thanks for tuning in!