Im breaking up my Main Pblog here into smaller Sub logs as it will allow me to file things a bit better, so I can see what is getting comment and what not.
Originally Posted (Mar 18 2010)
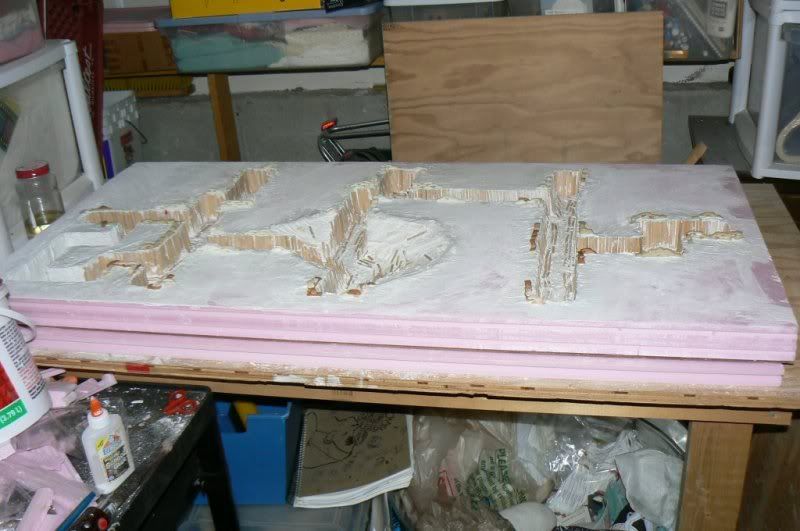
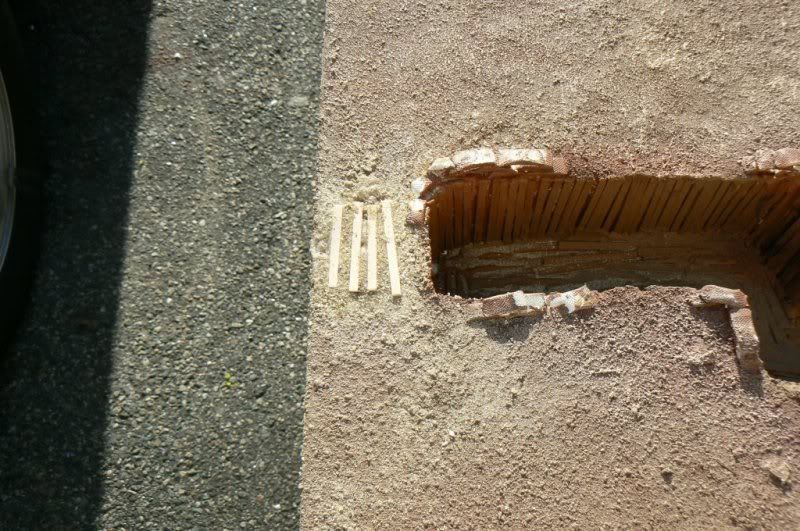
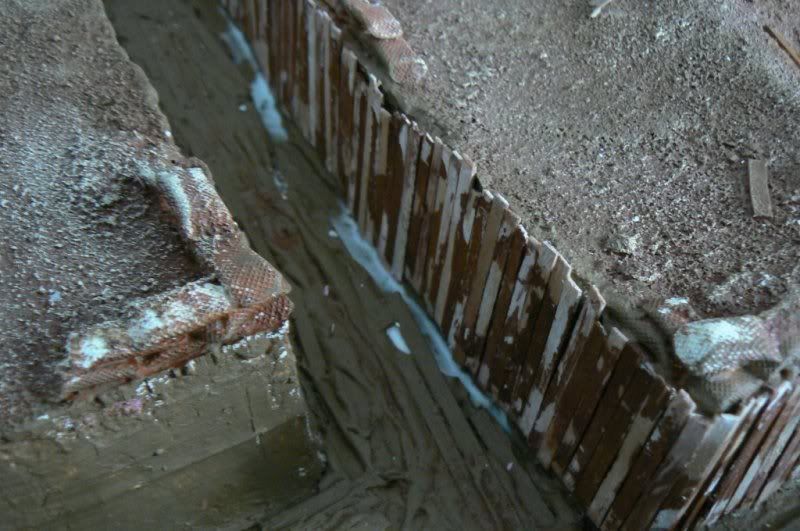
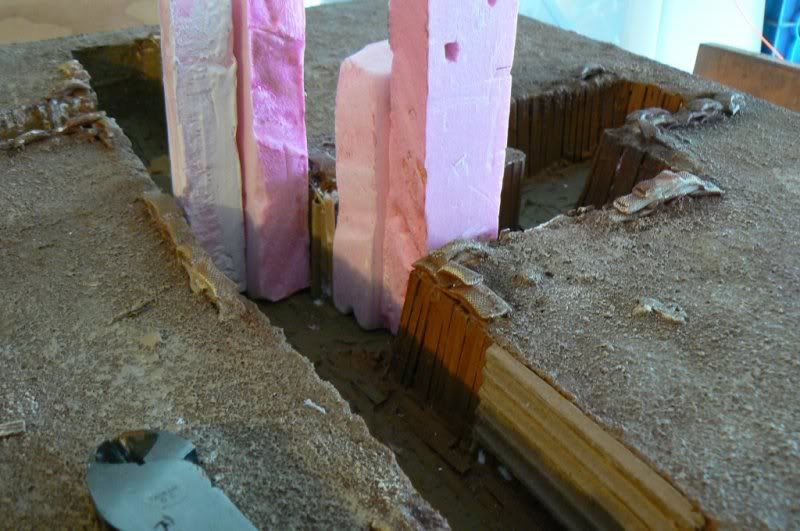
Well here's the deal I need to make a third segment. I want the whole board to look good but am tired of adding the wooden slatting to the trench walls. heh.
I've narrowed things down to three possible options
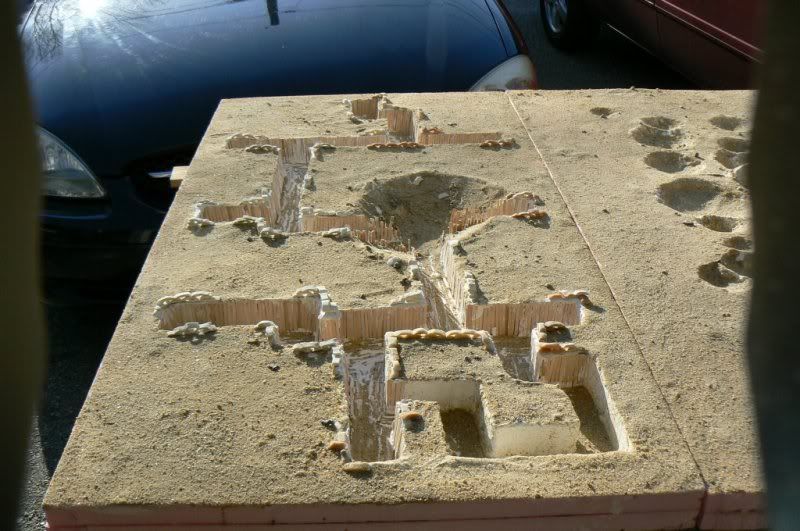
1 Another trench network... Its working so far.
2 A Shell blasted nomans land. circa 1916 winning option
or 3 the Lame O way out leave it flat
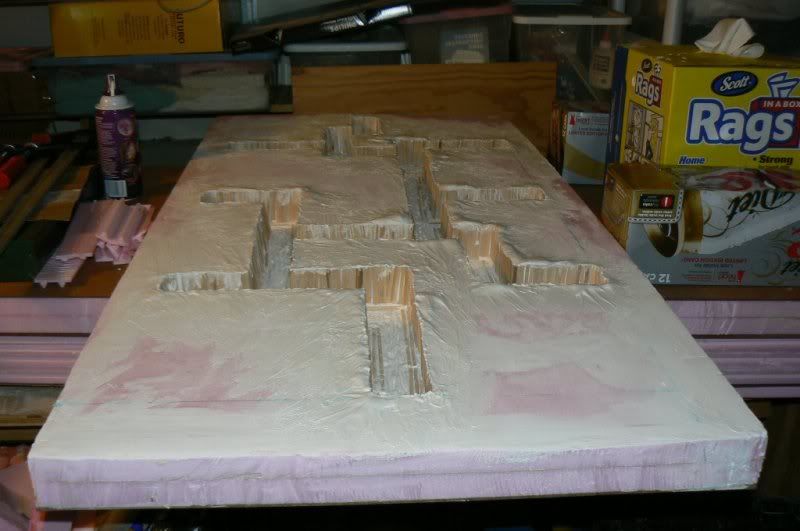
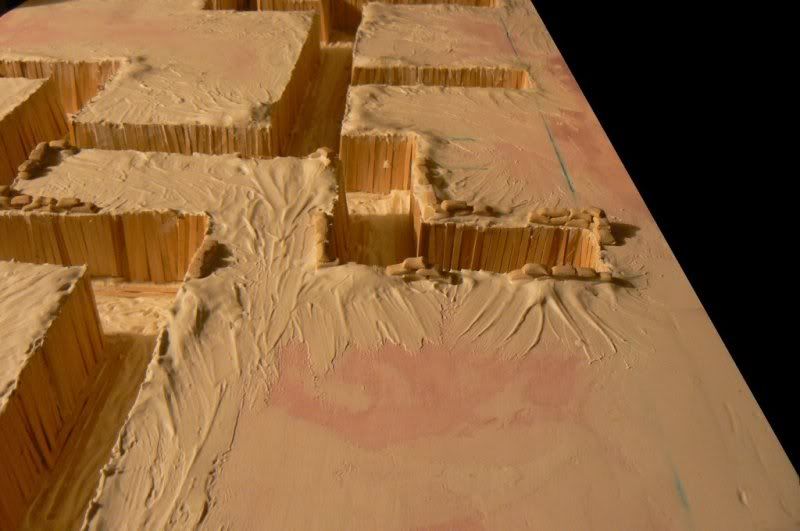
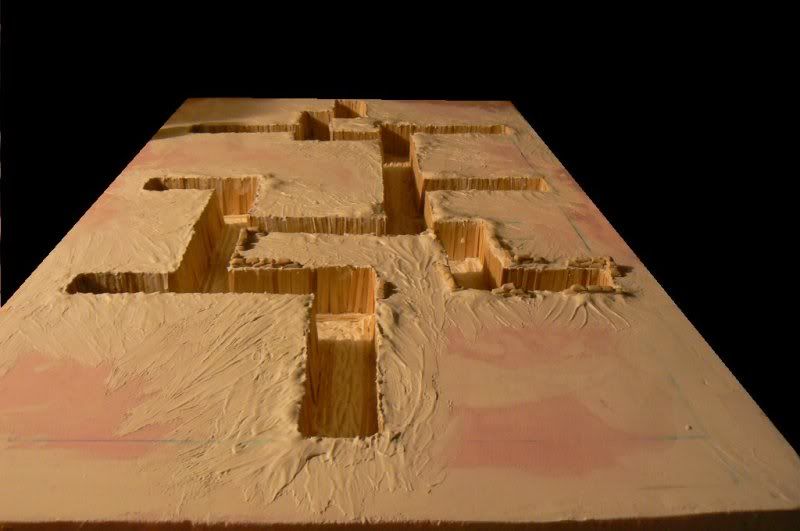
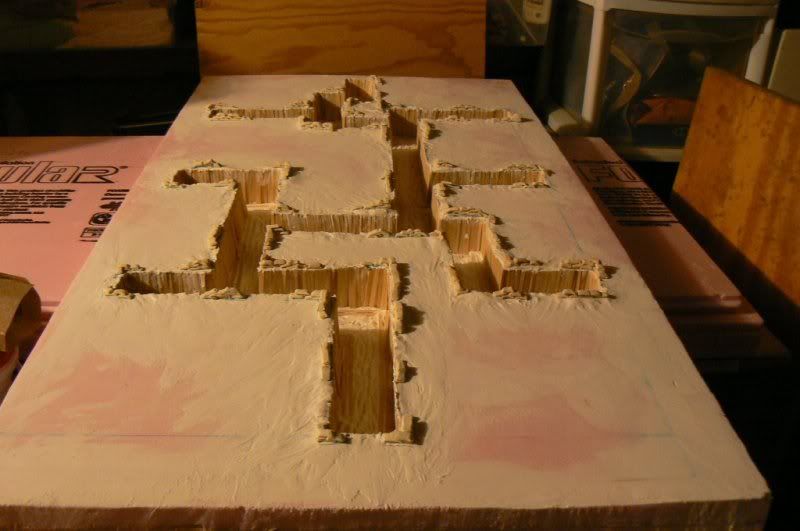
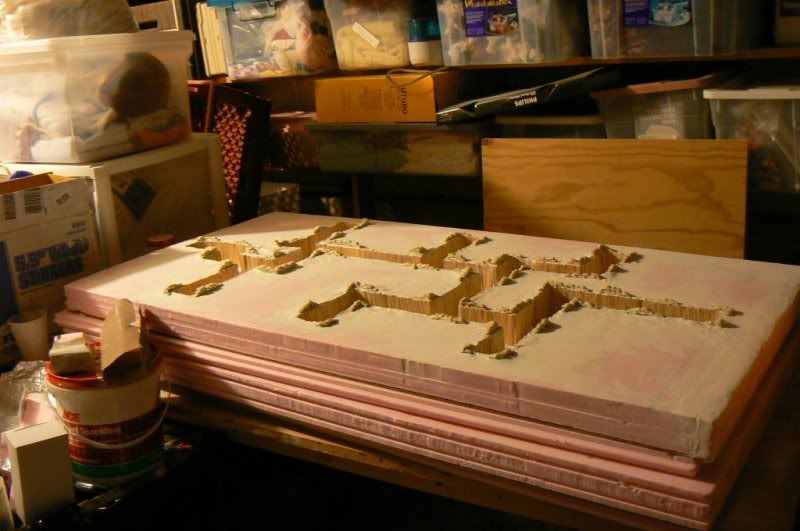
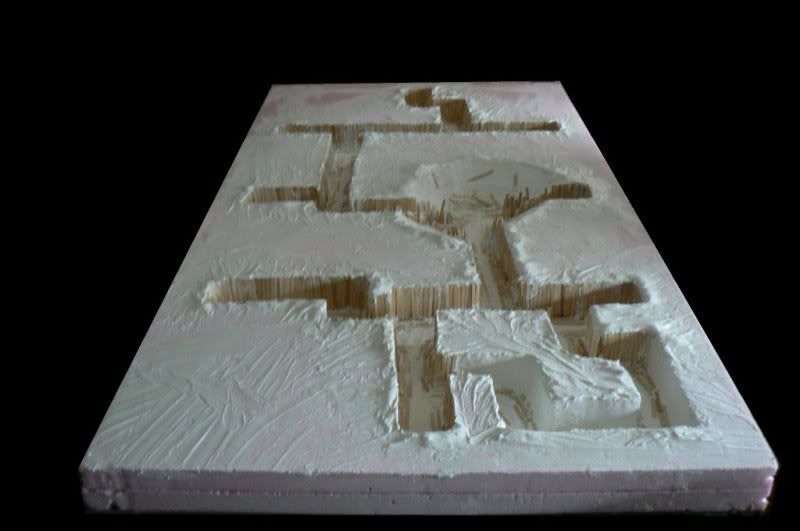
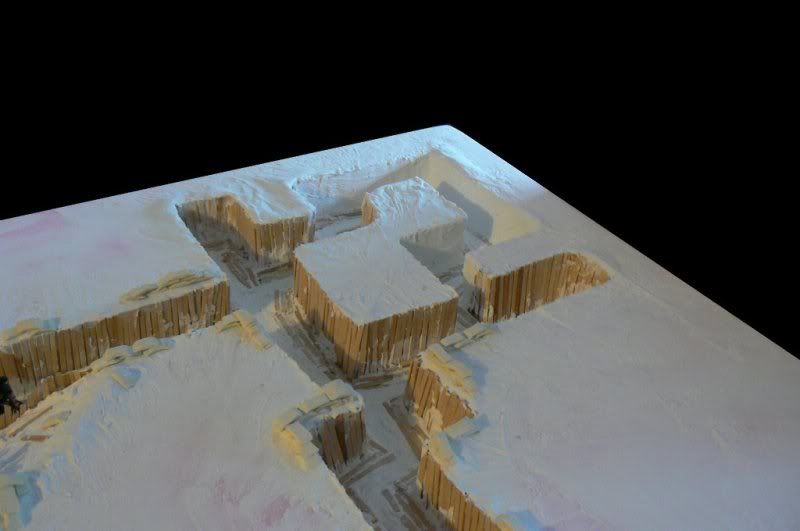
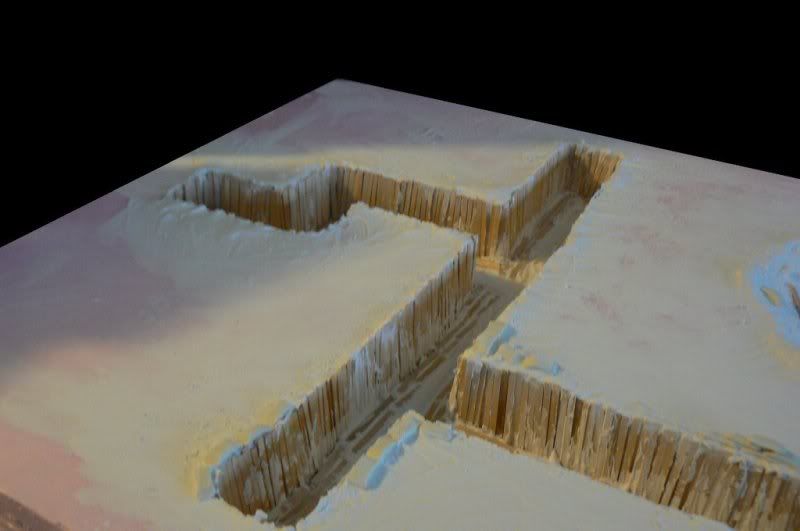
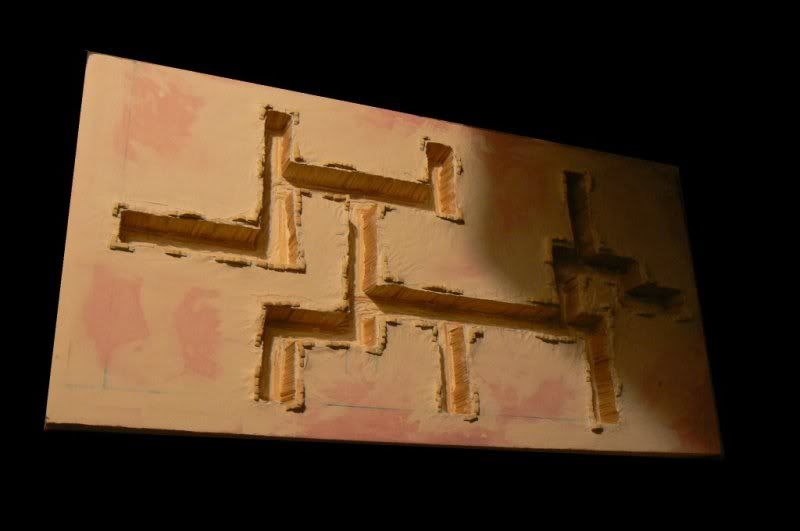
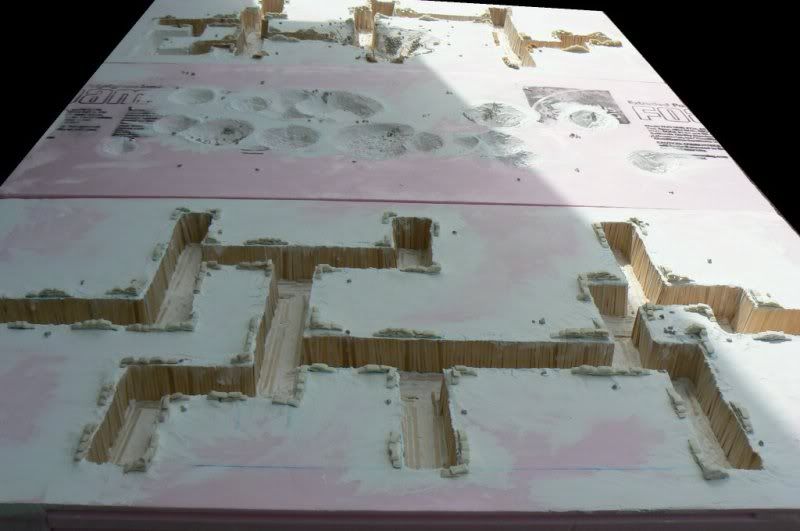
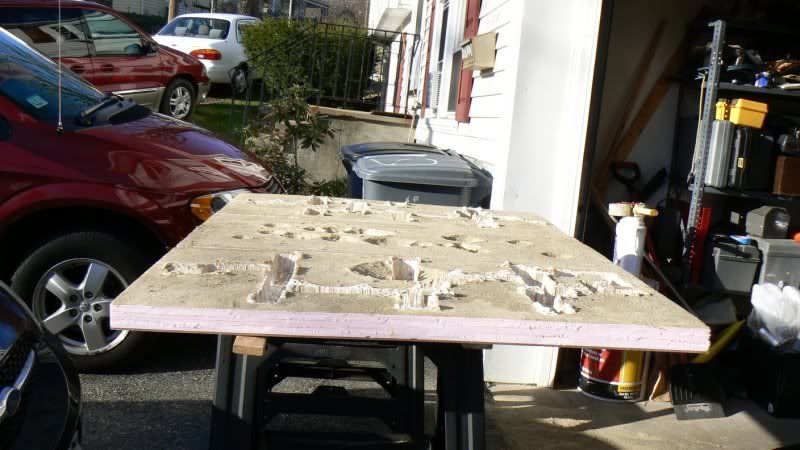
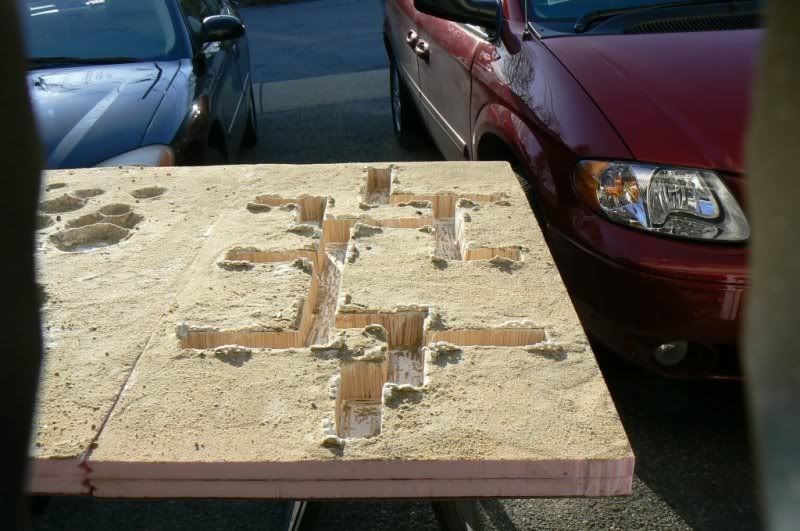
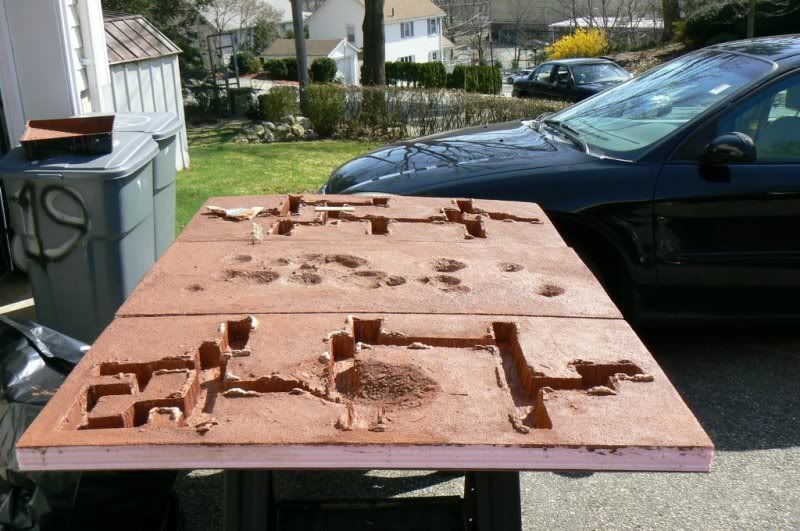
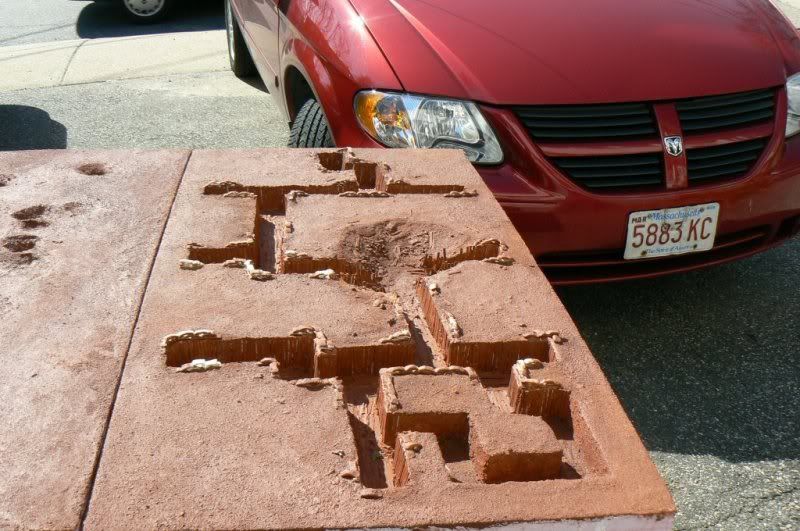
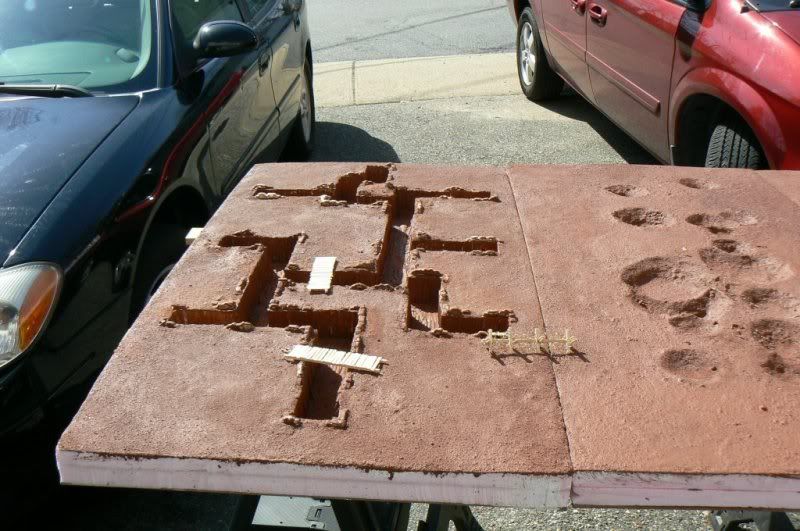
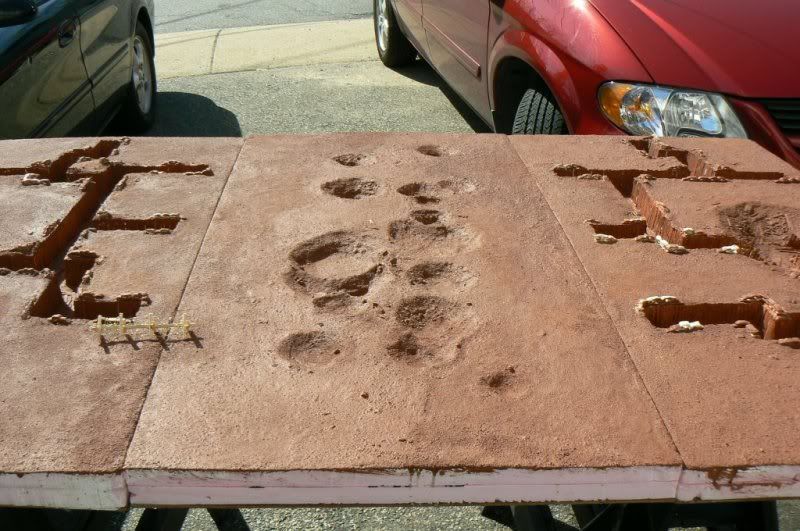
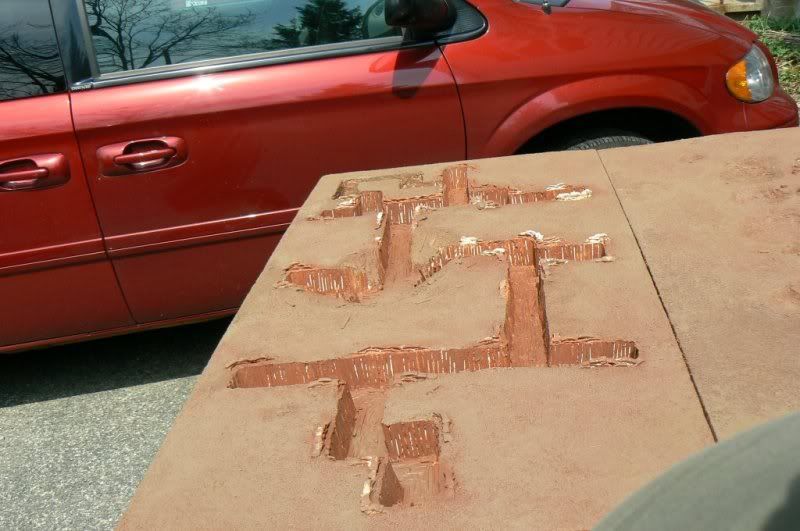
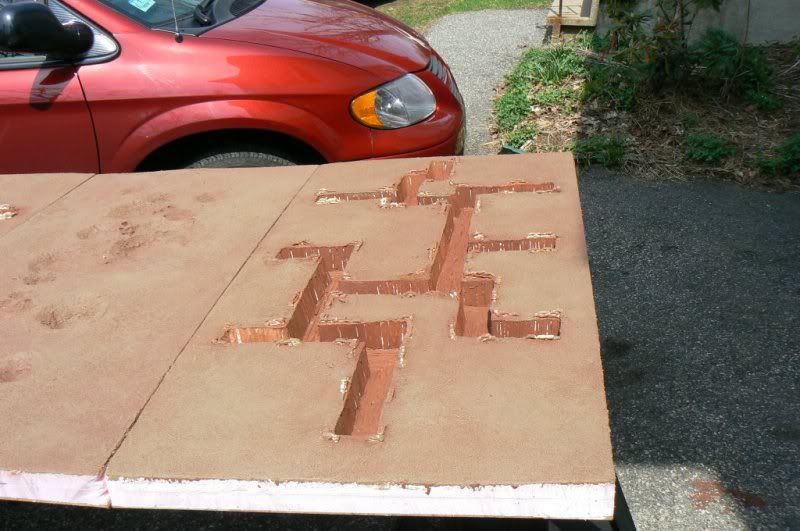
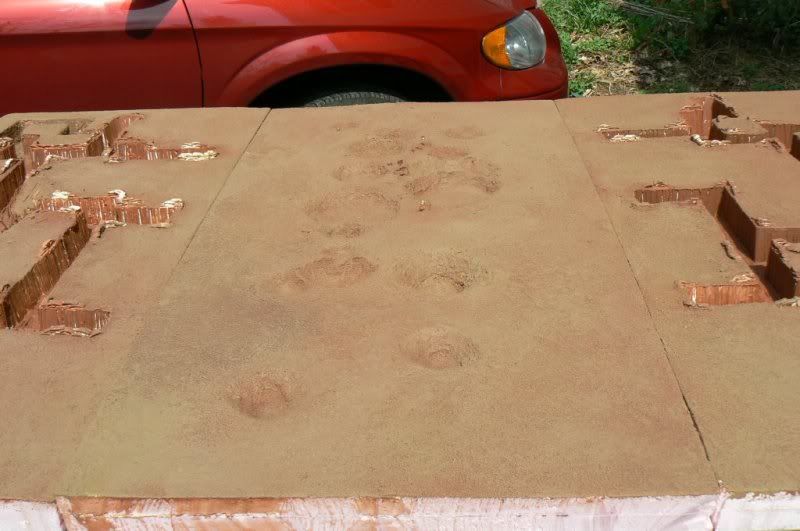
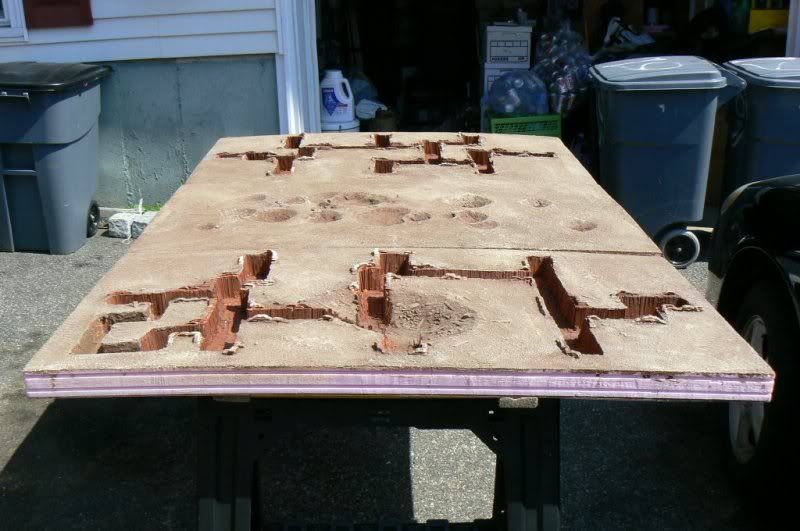
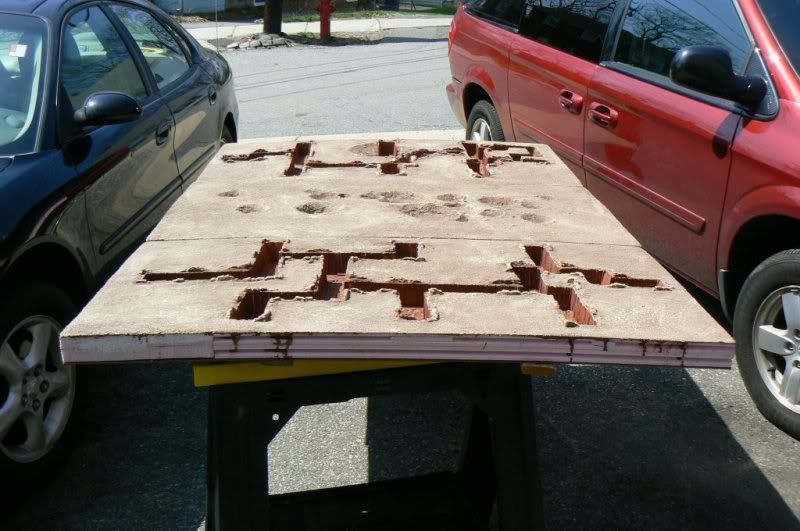
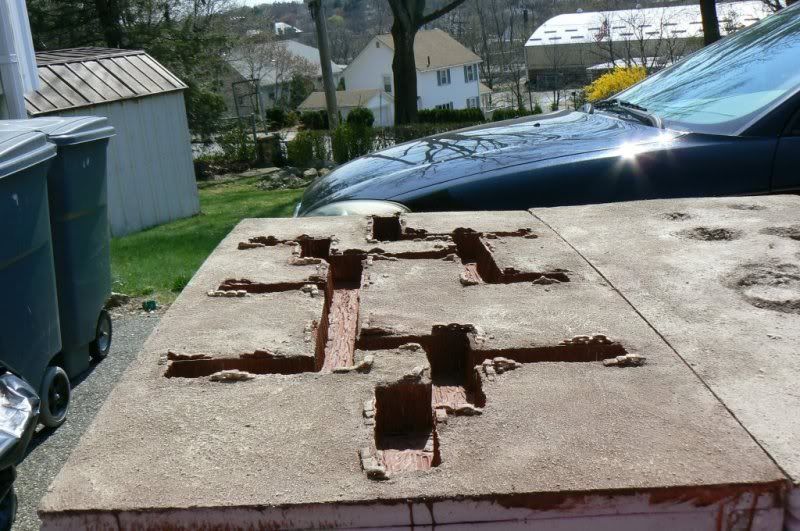
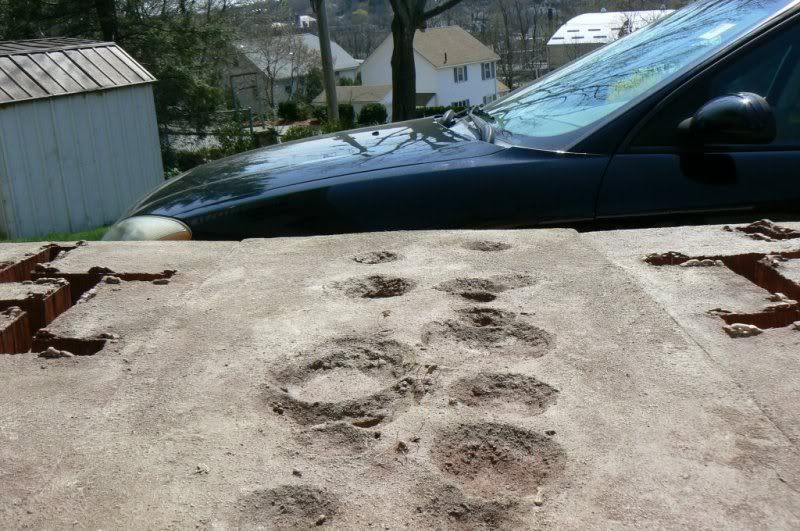
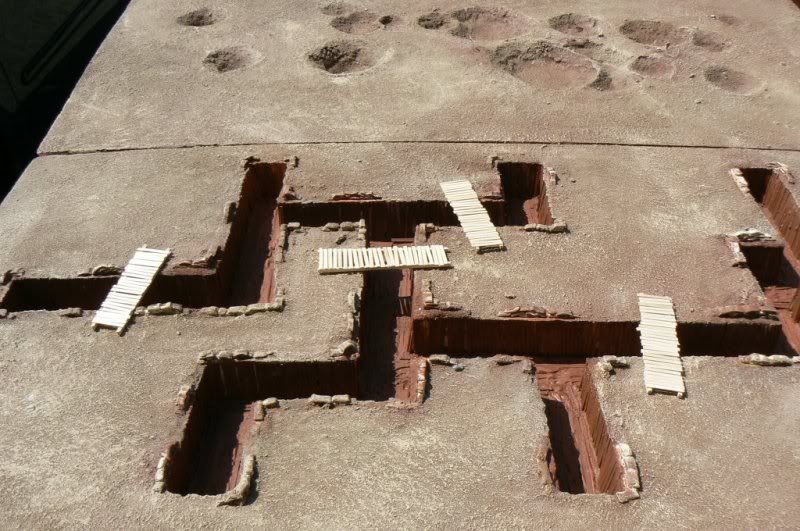
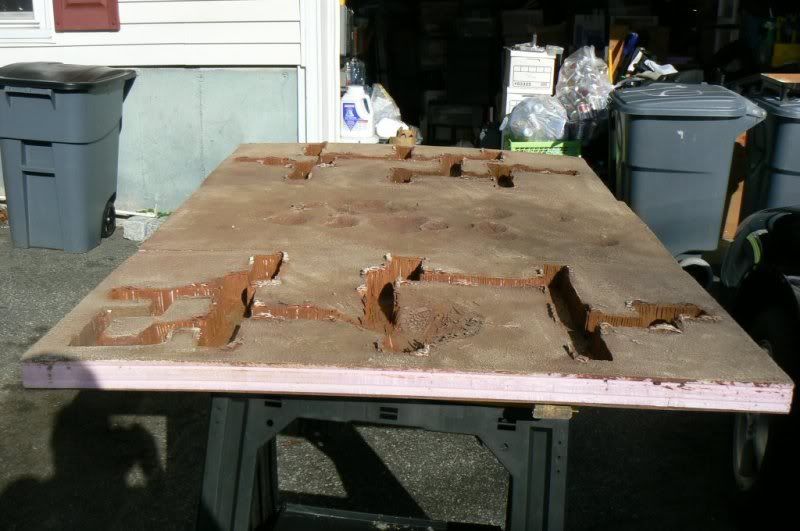
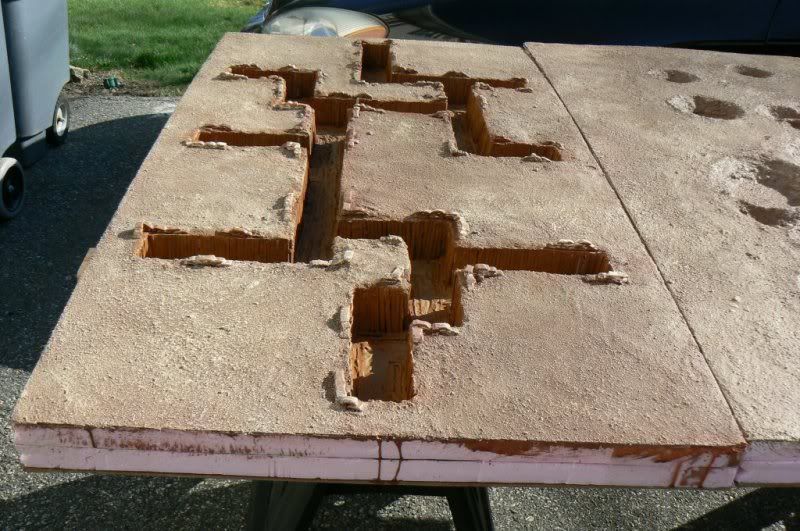
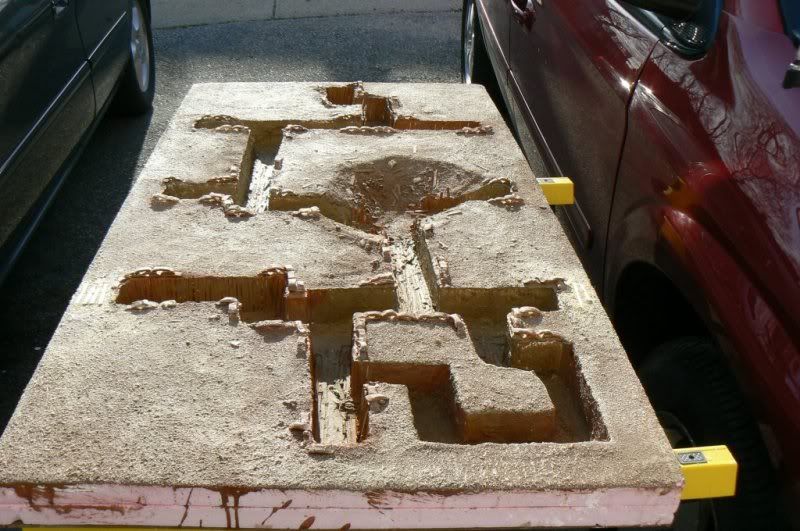
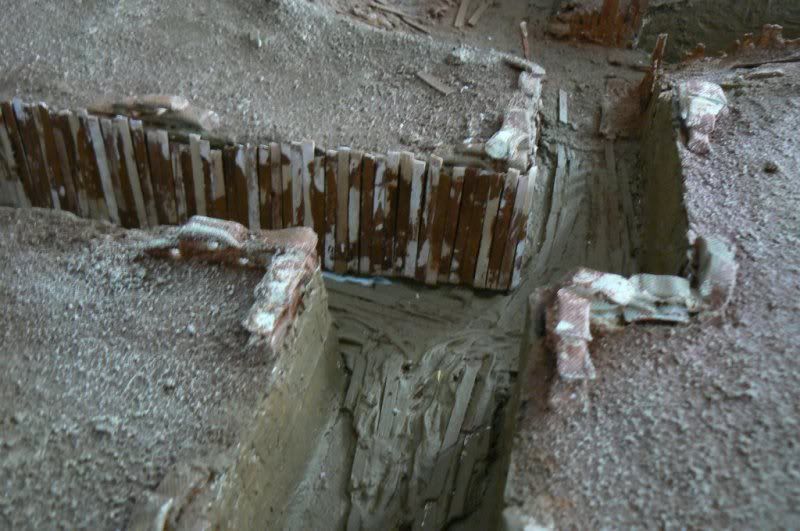
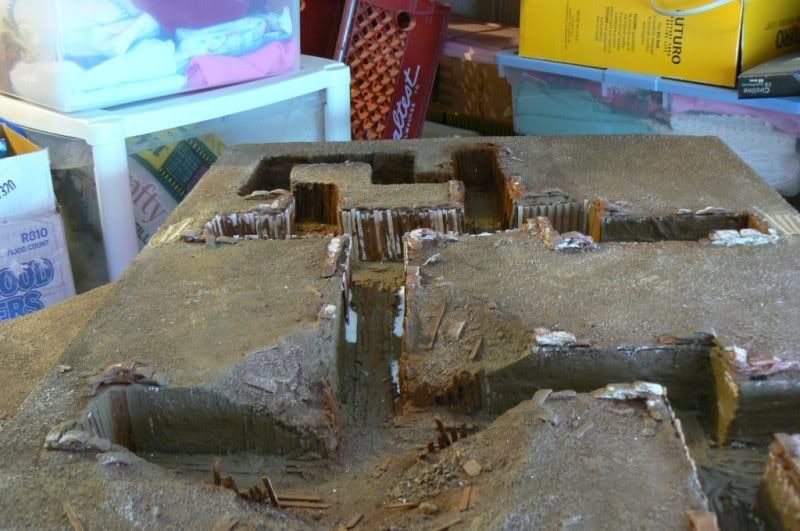
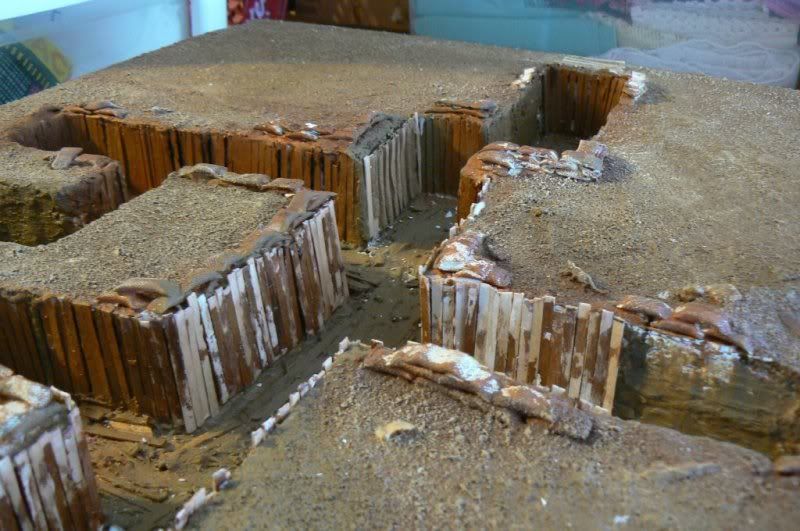
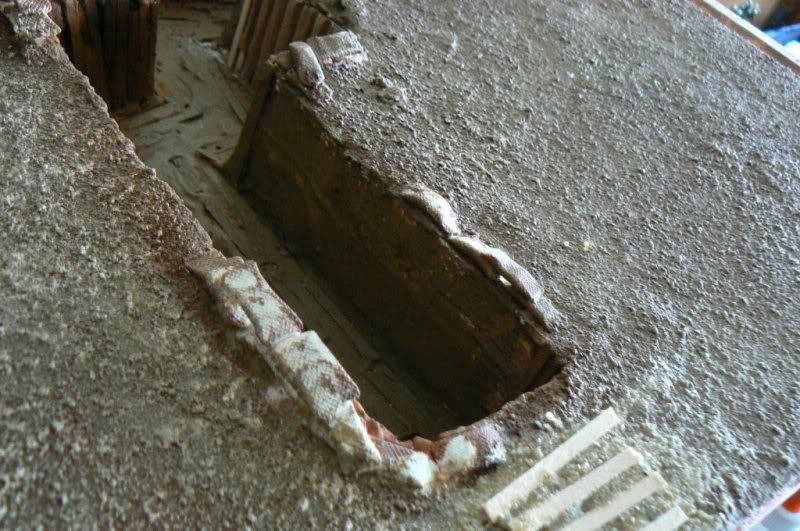
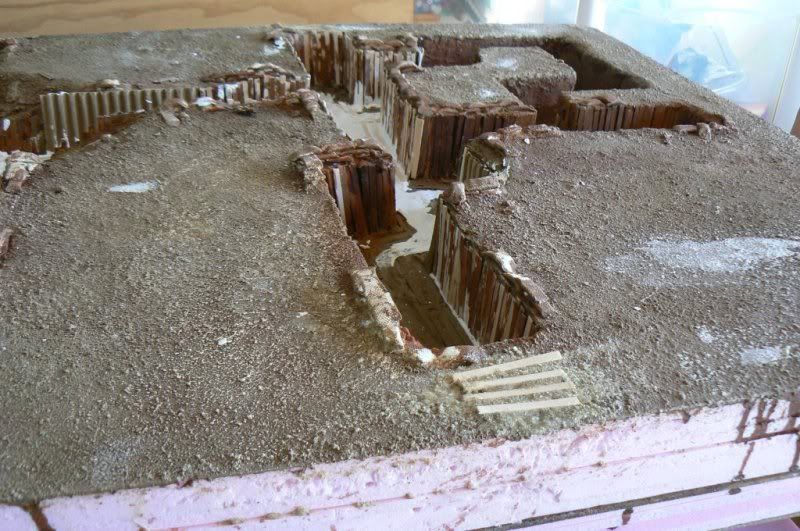
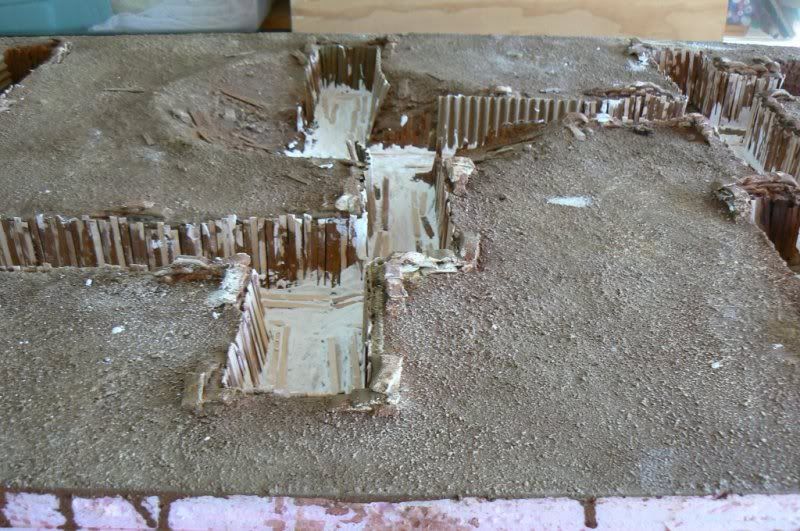
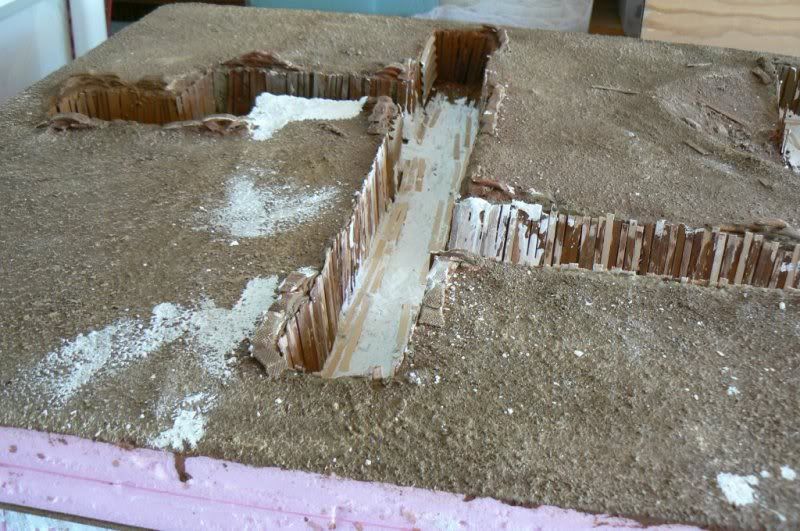
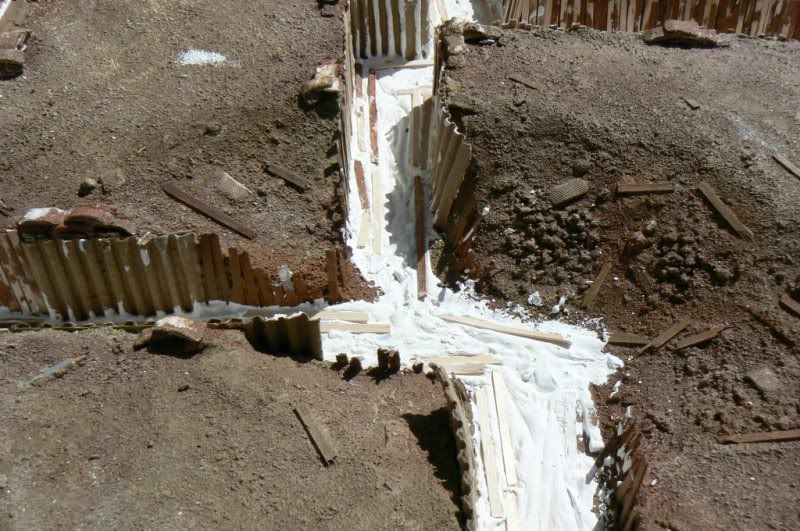
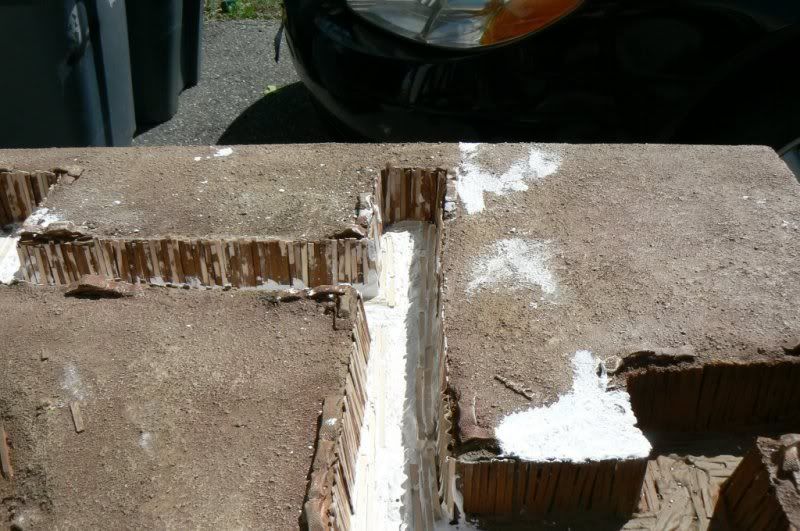
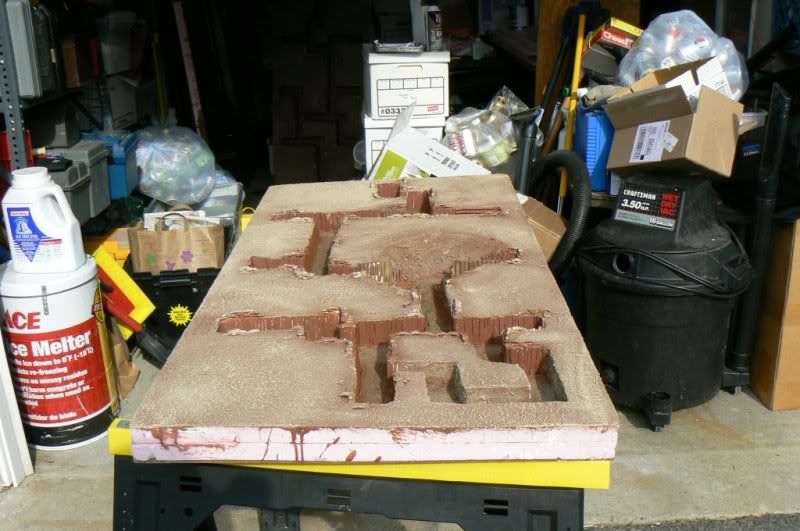
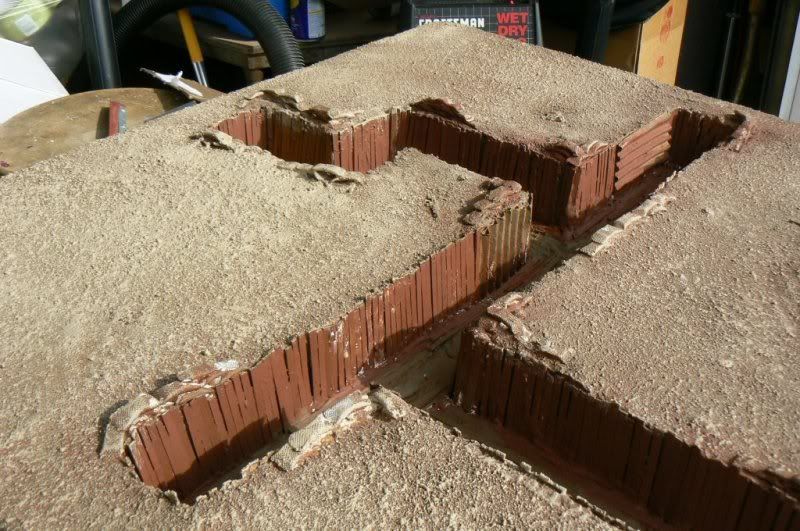
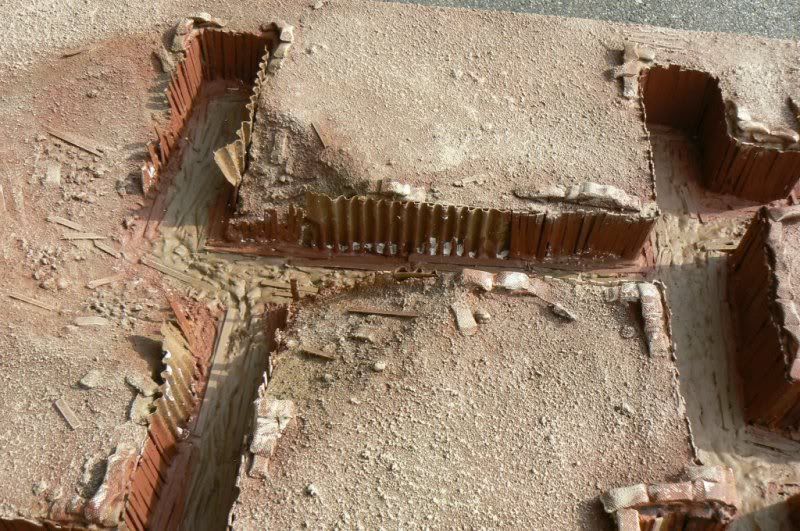
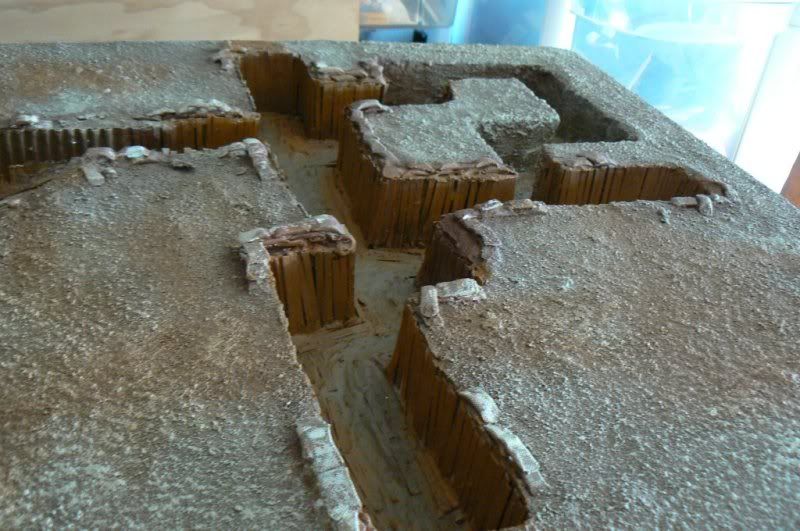
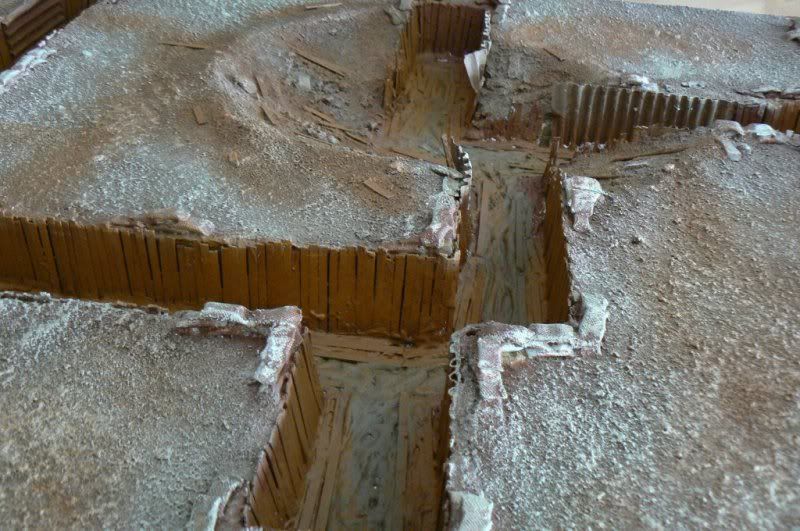
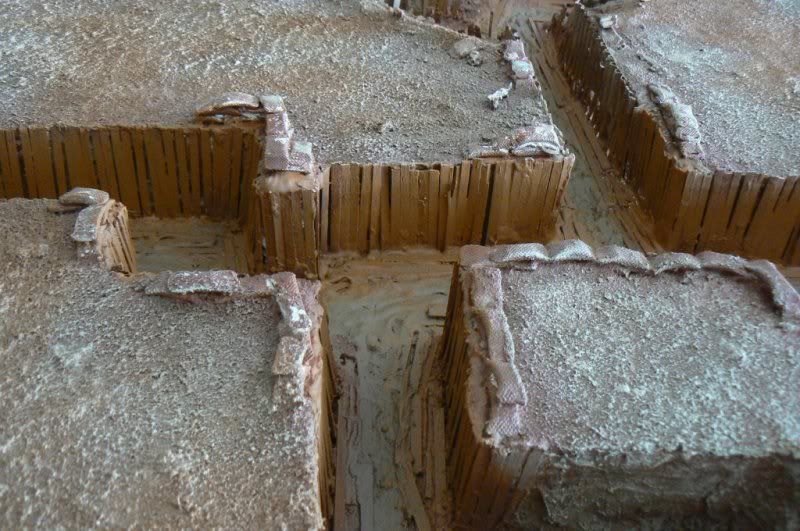
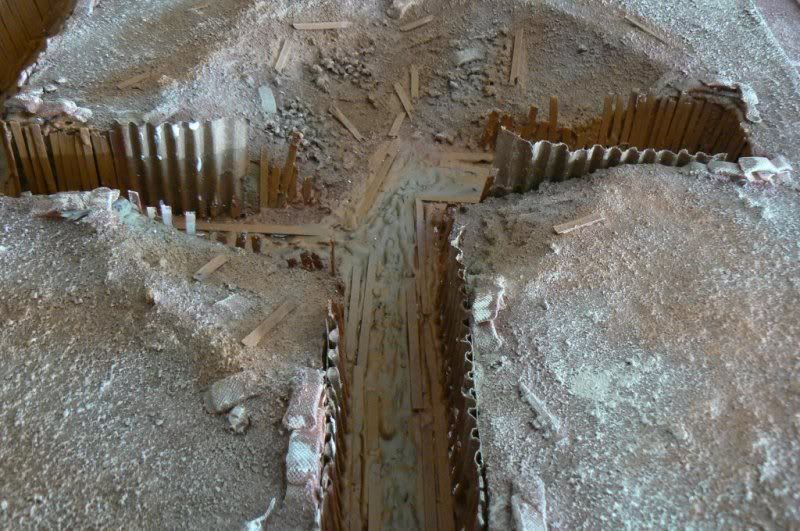
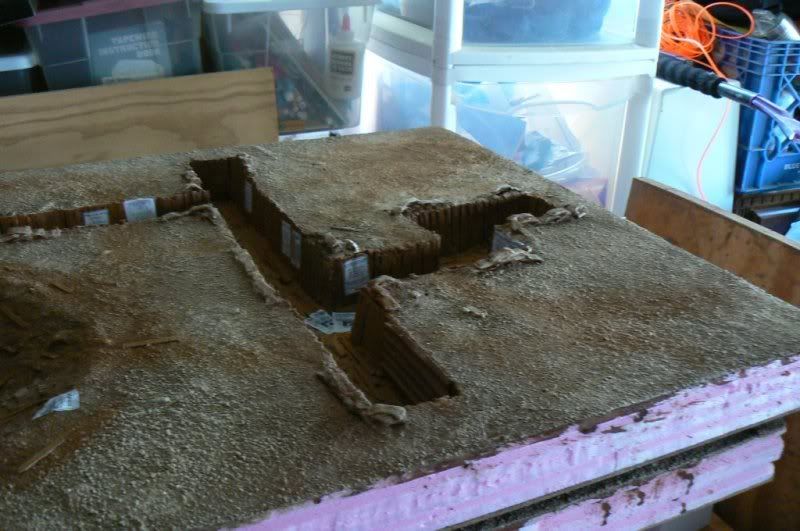
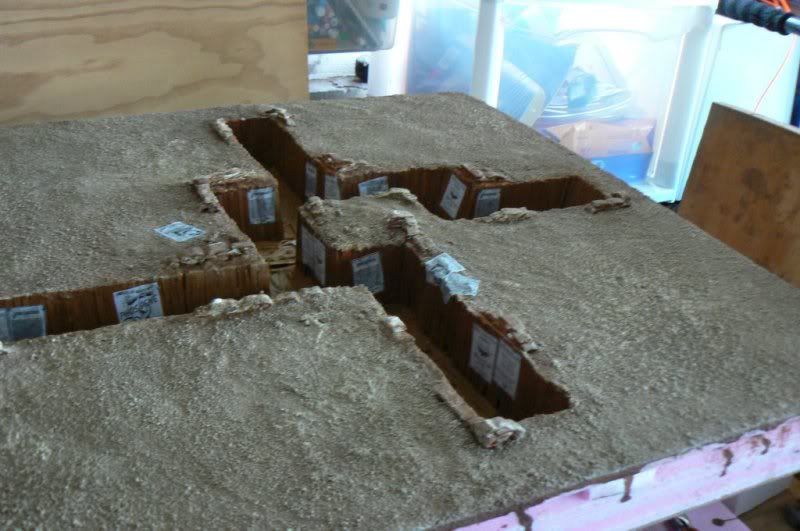
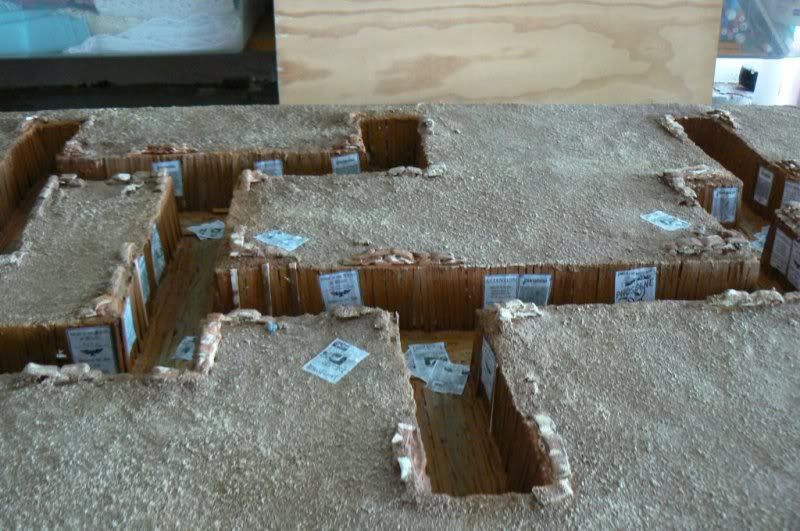
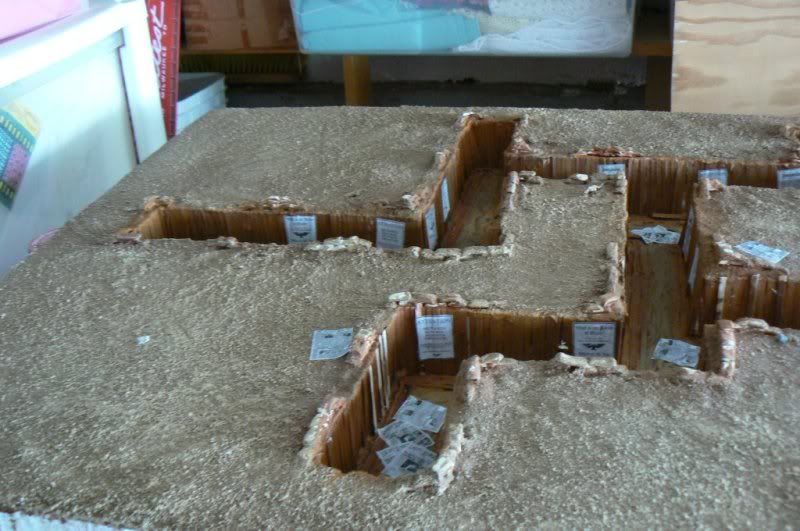
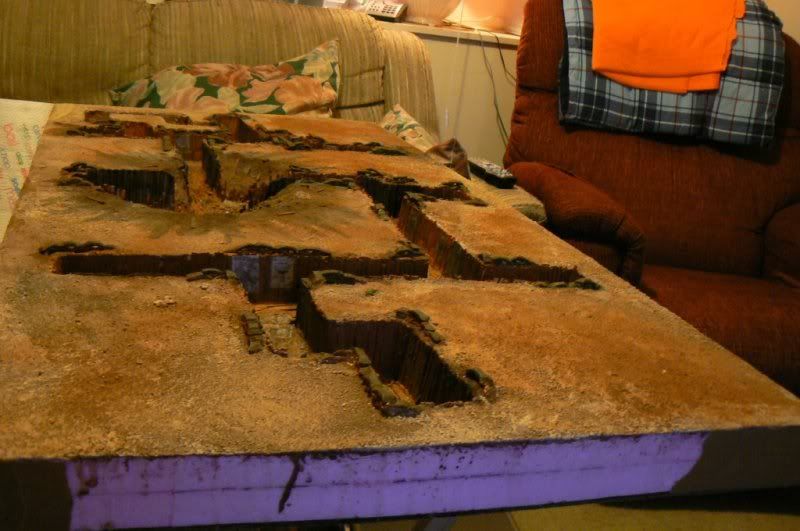
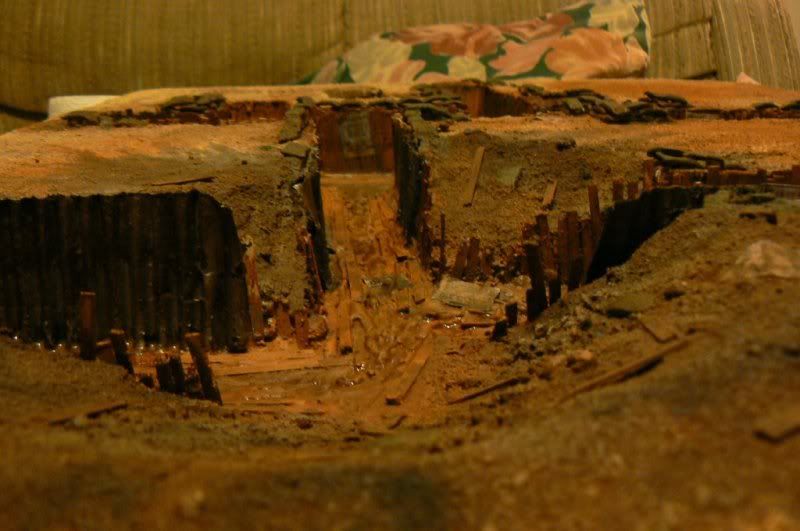
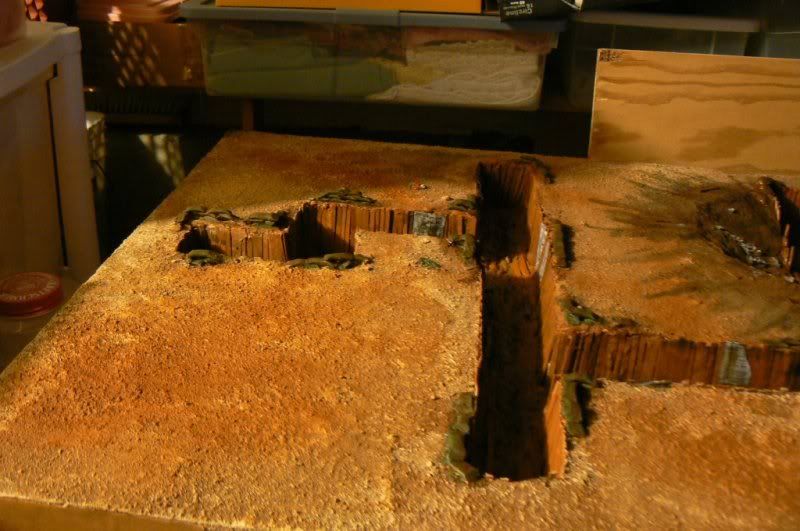
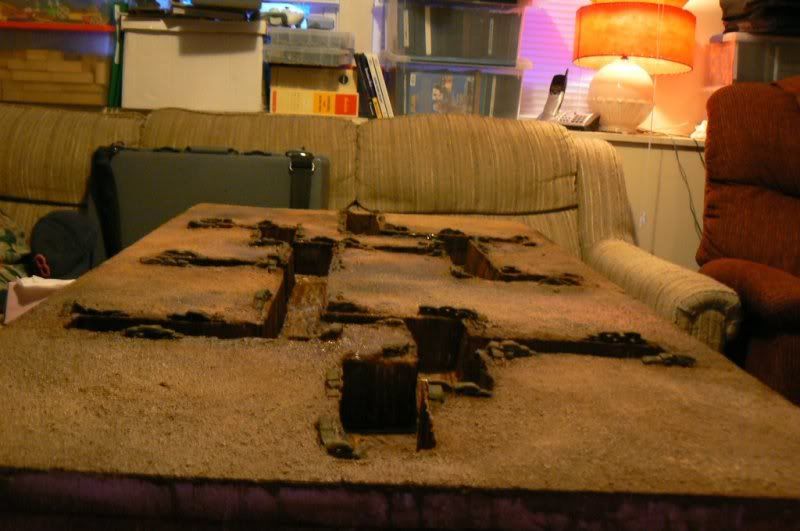
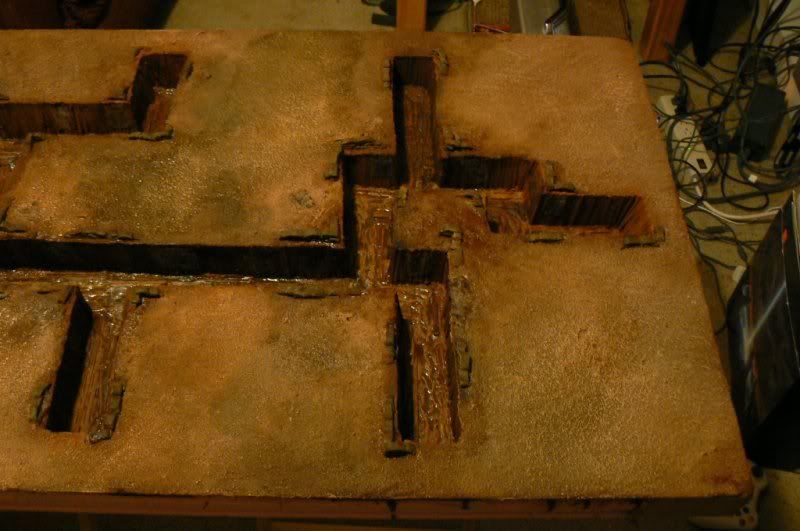
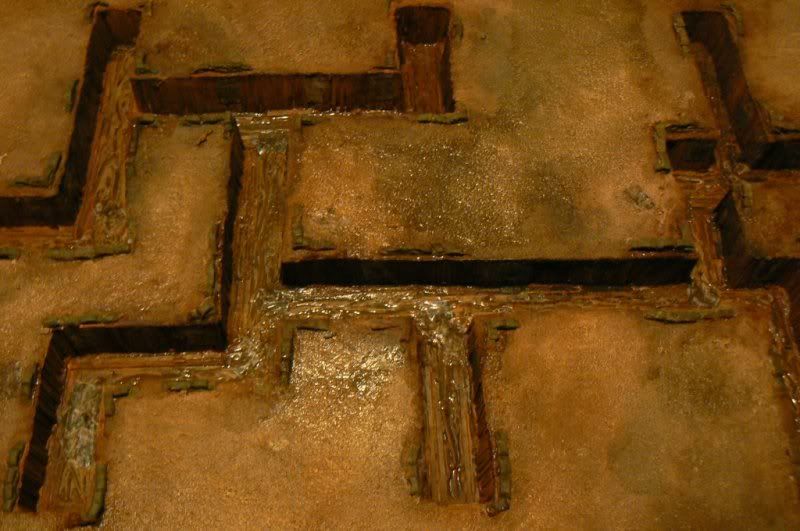
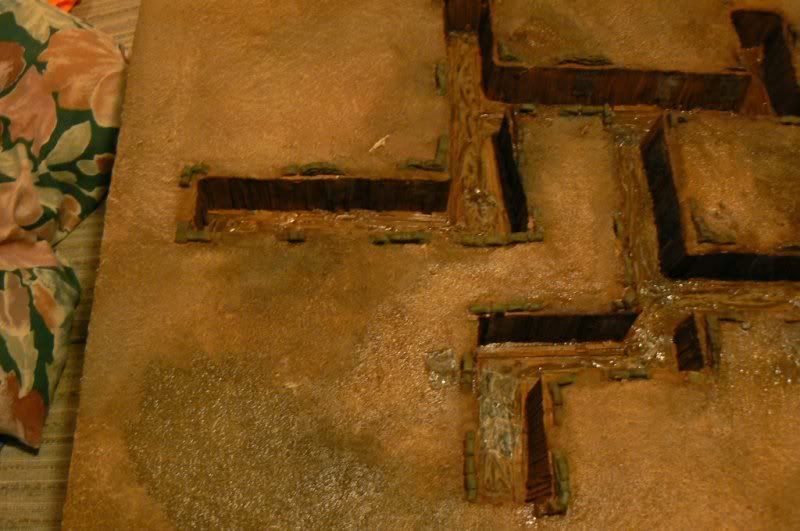
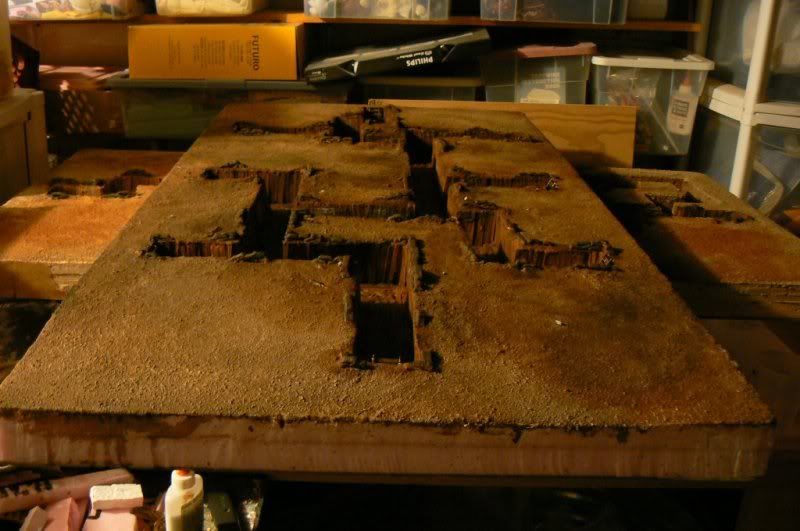
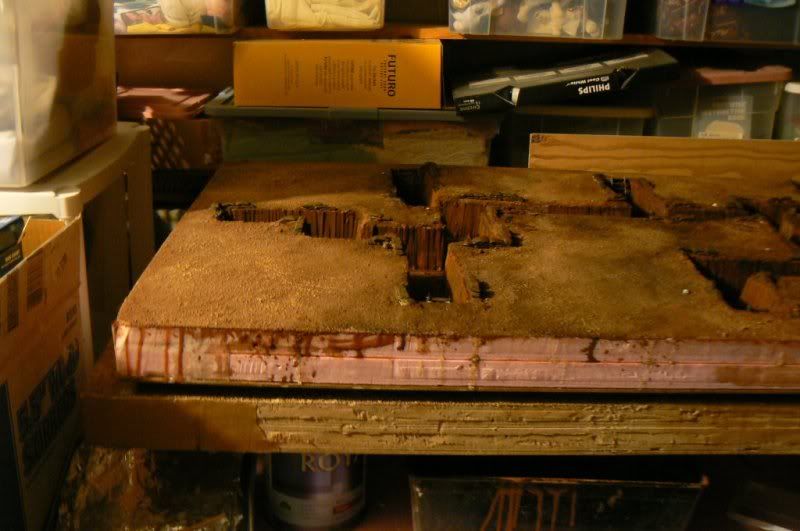
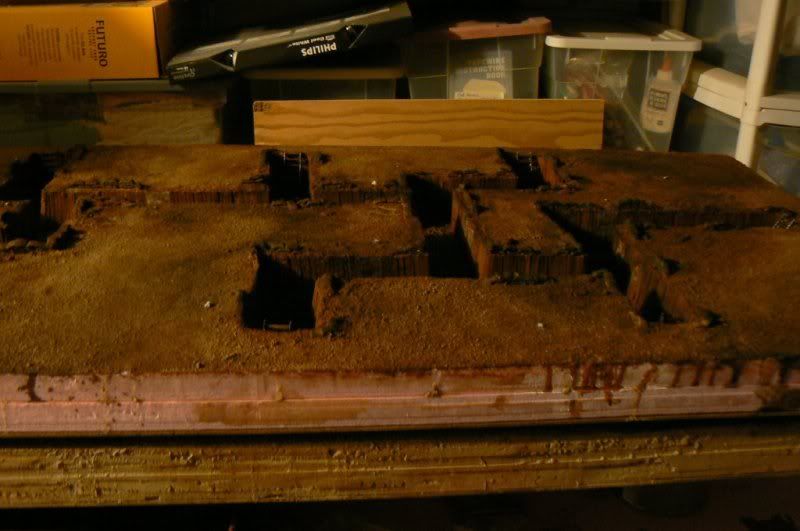
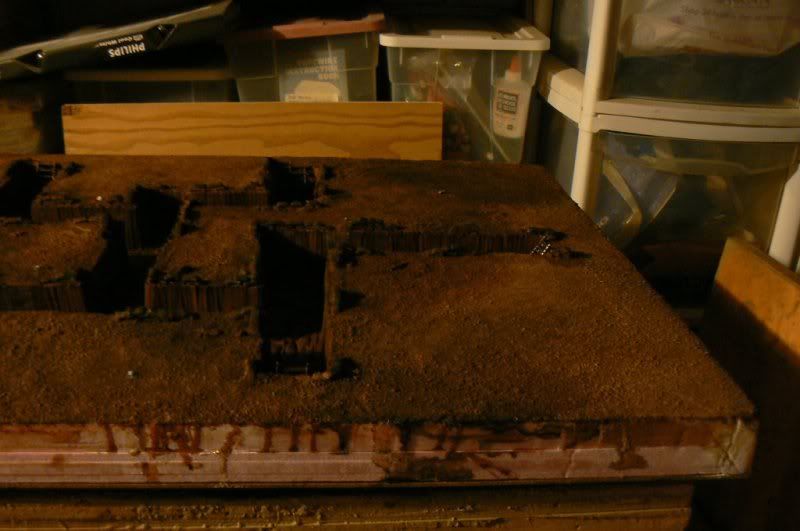
Here's the what Ive got to work with
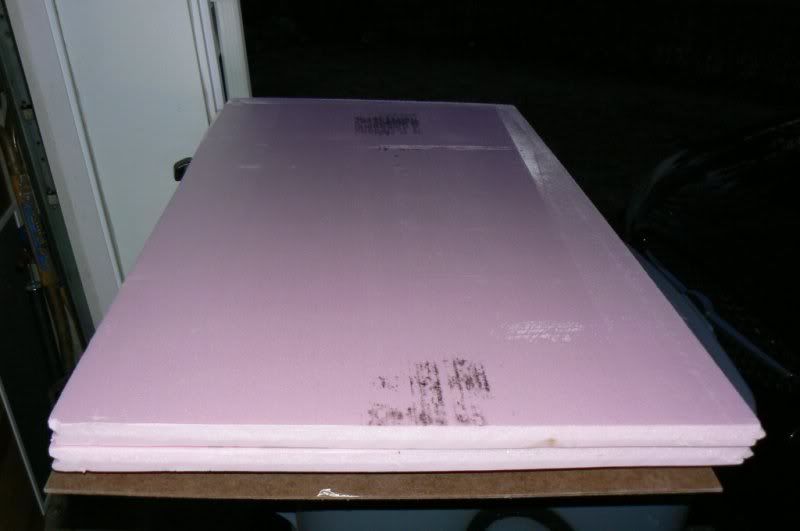
Here's what I've got done so far.
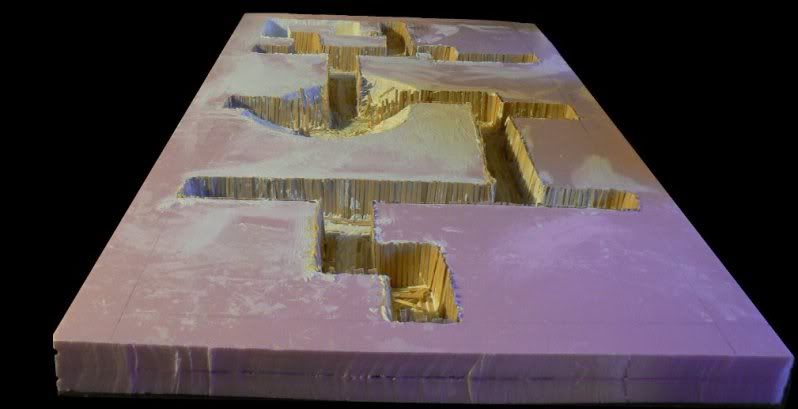
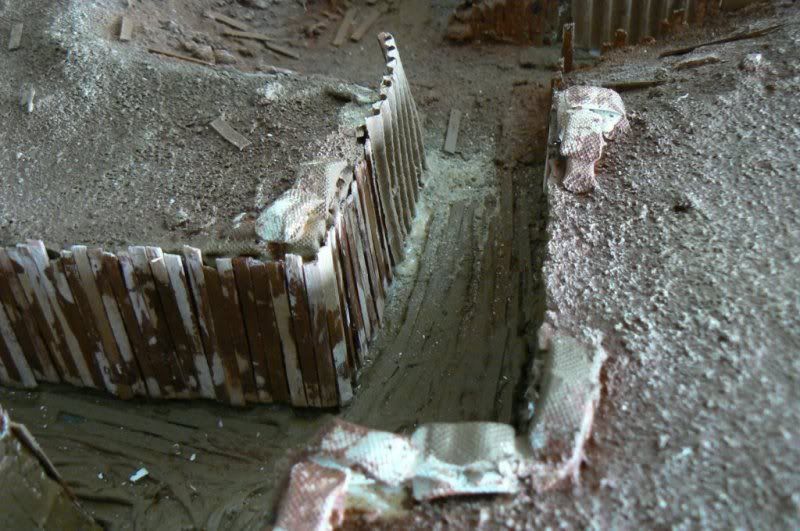
the first segment I made (was also kinda a tech demo, test piece)
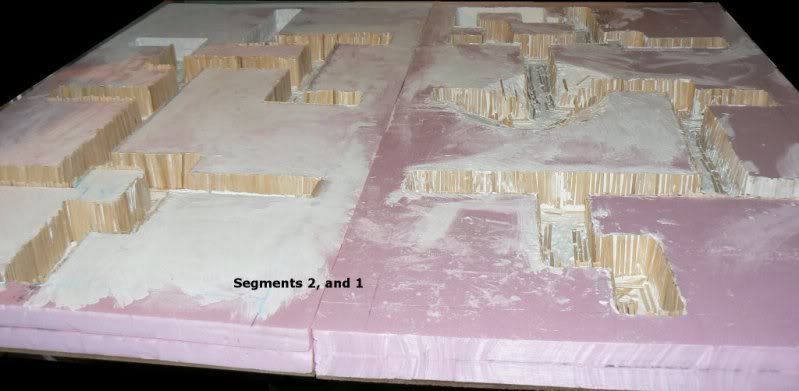
Both trench segments.
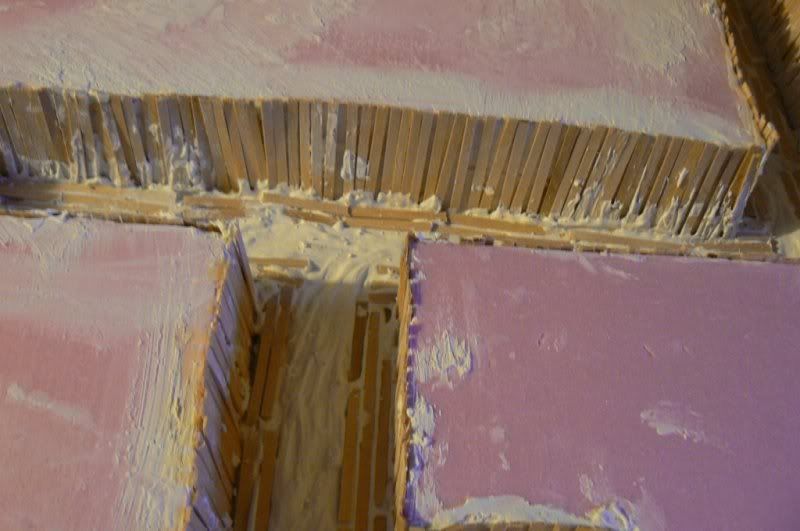
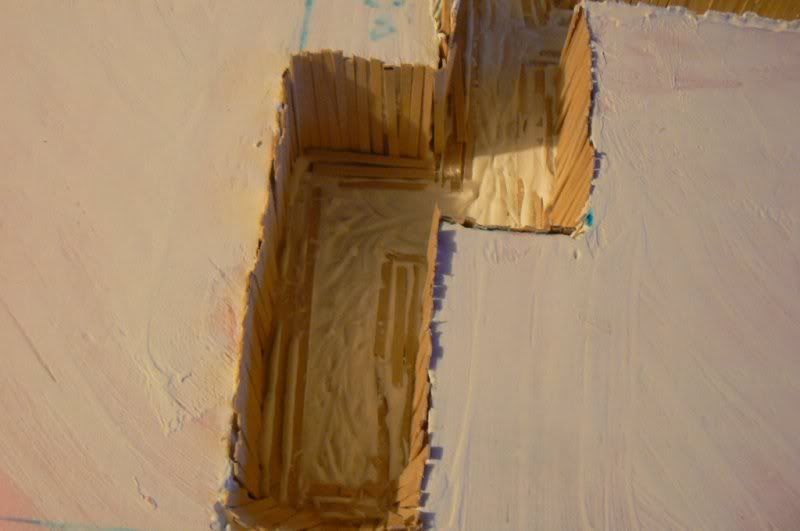
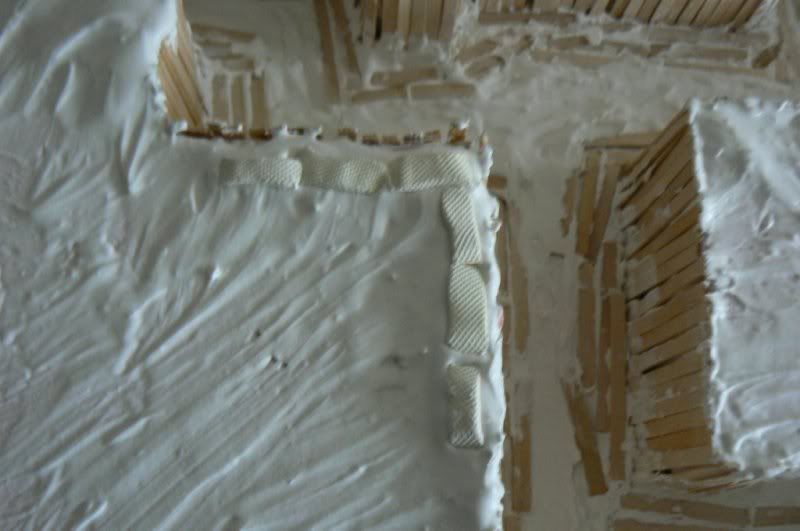
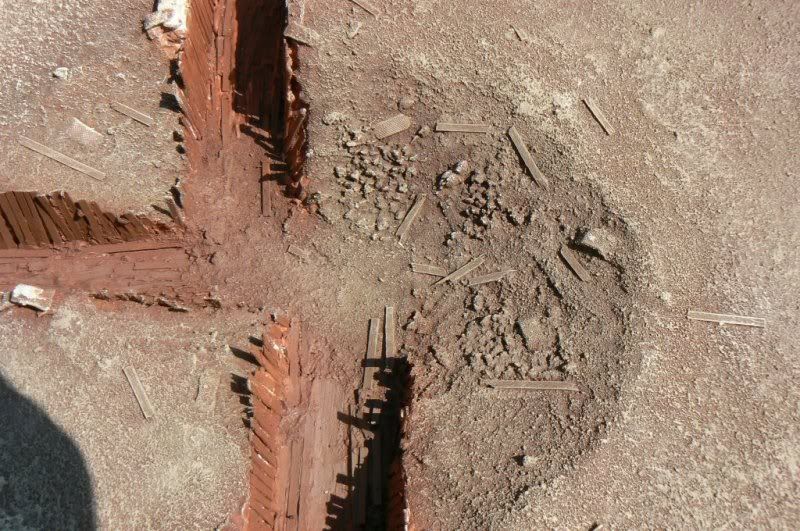
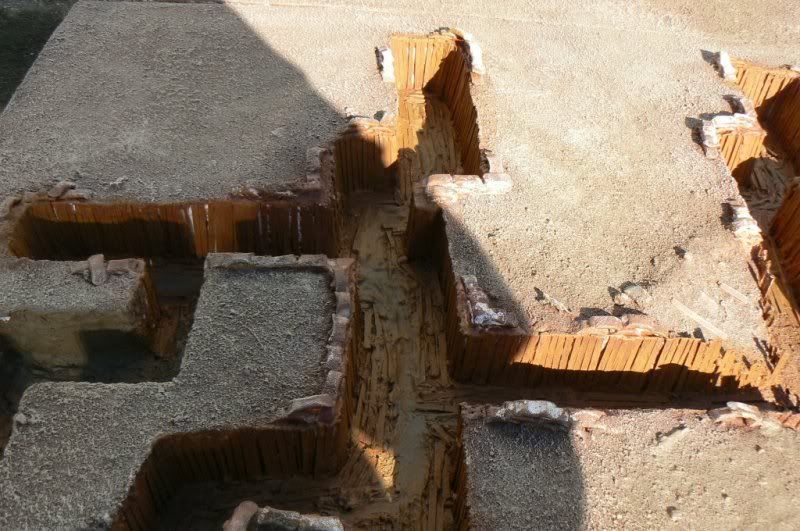
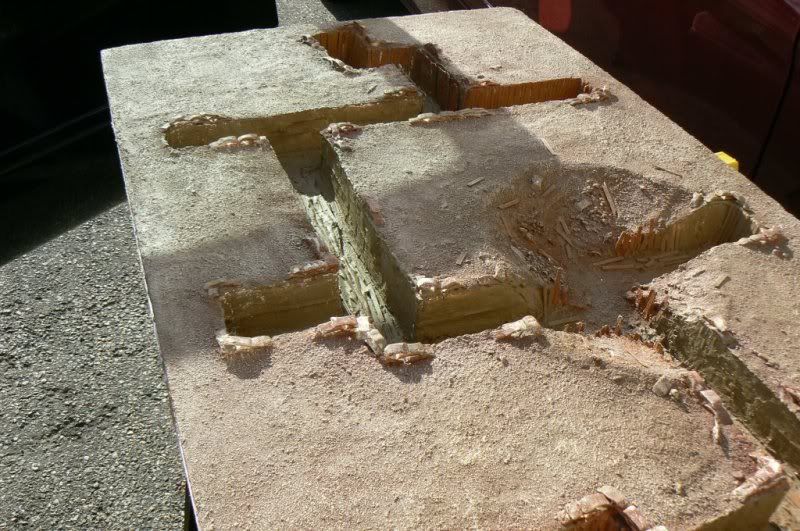
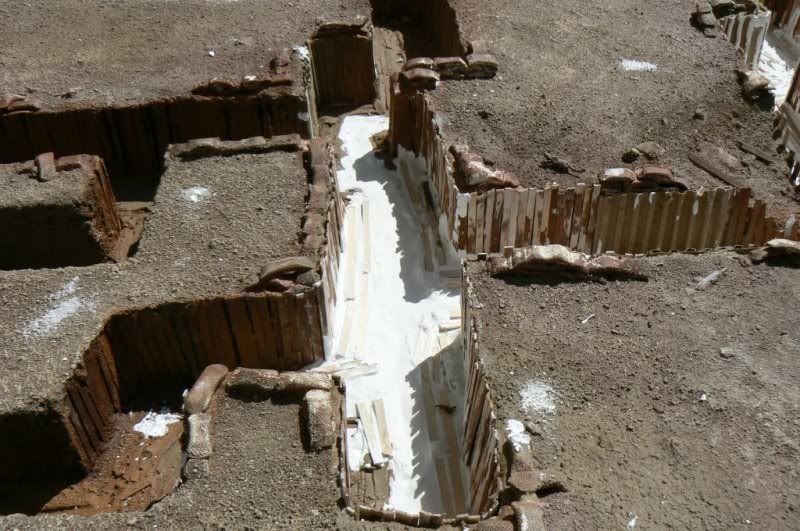
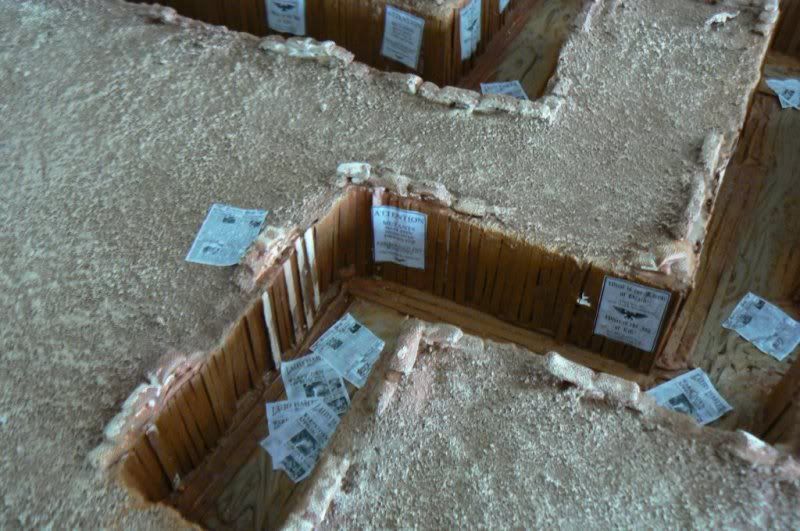
and sundry detail pictures
segment 1

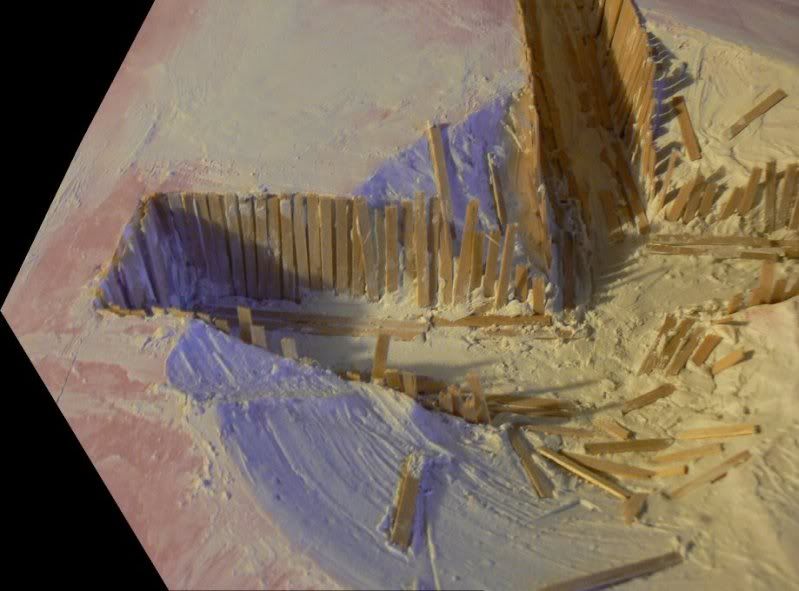
Segment 2

Originally Posted (Mar 18 2010)
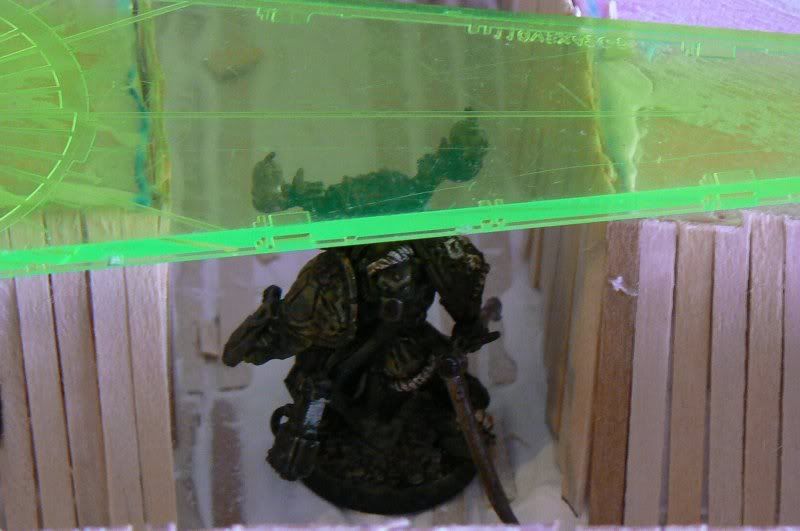
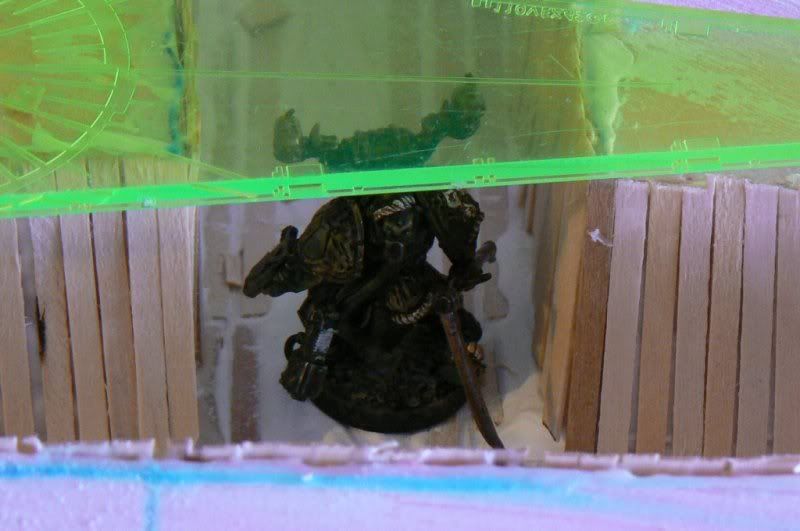
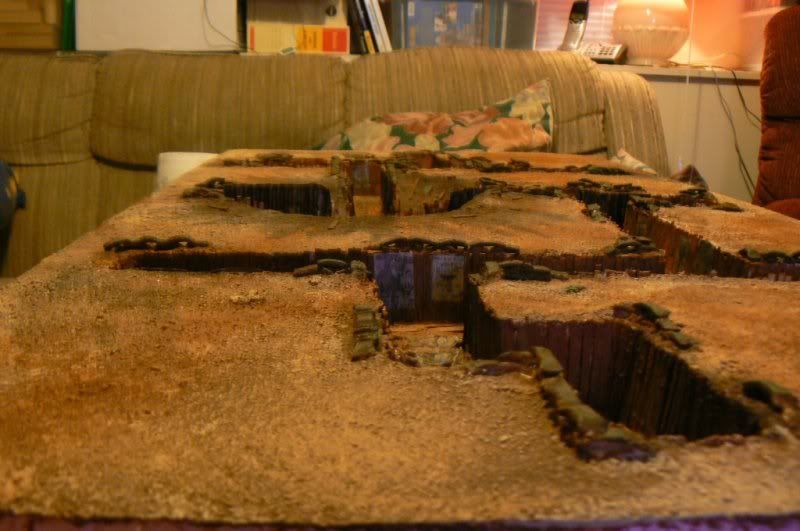
More Pictures (for scale)
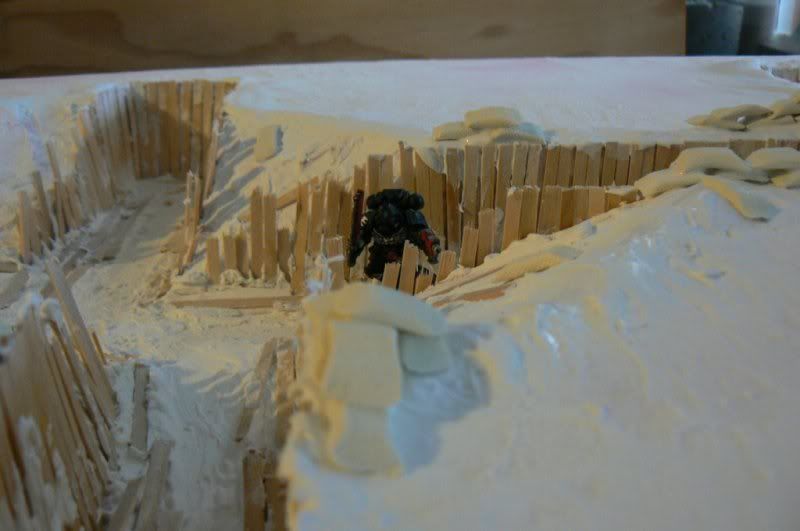
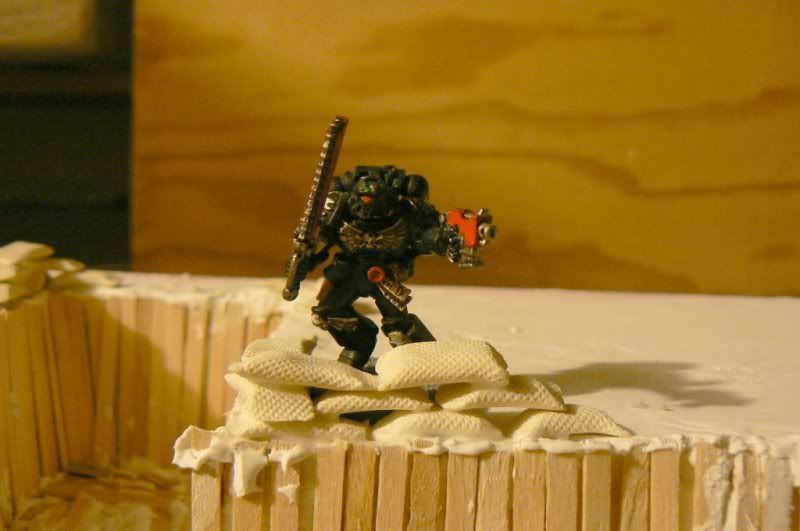
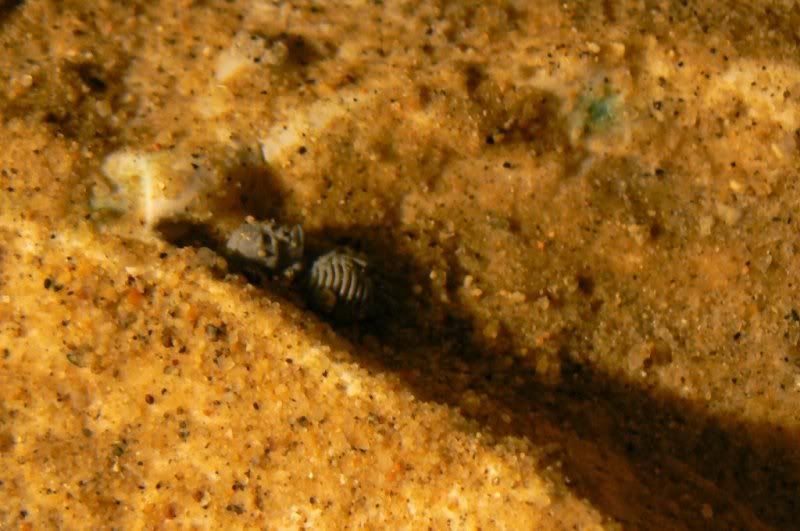
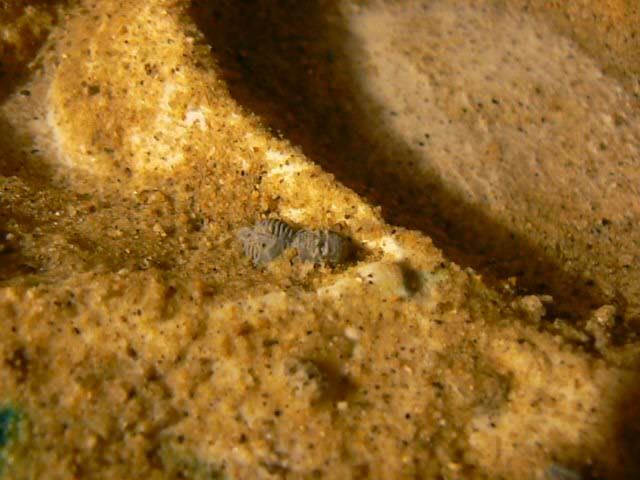
Minis from my Nurgle 40 army.
PM in trench
DP next to trench
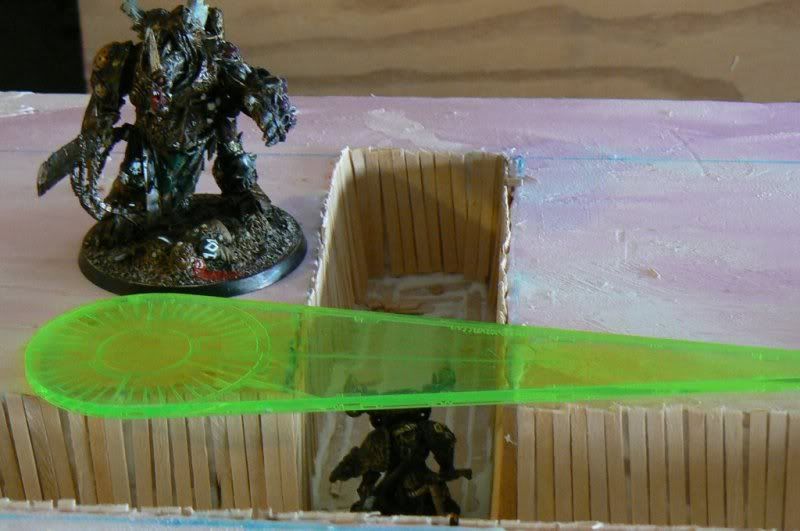
The Flame template is laying on the trench walls above the
PM Closeups
Termie Icon bearer with termie behind him in trench

Originally Posted (Mar 20 2010)
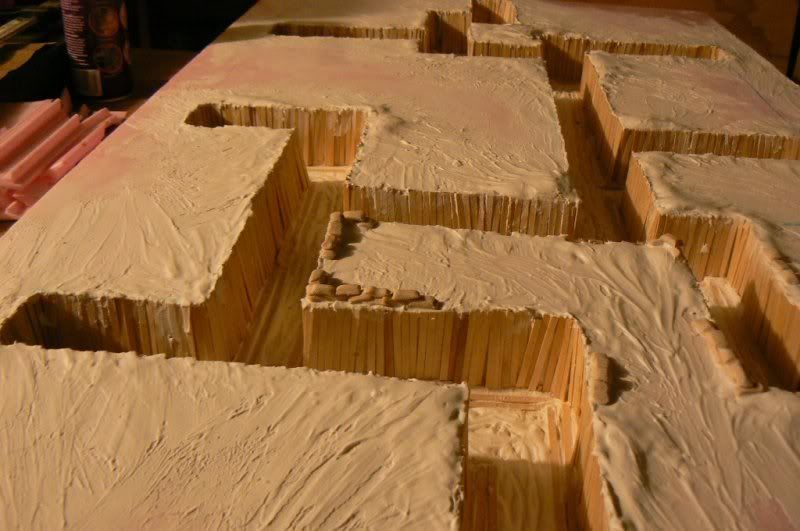
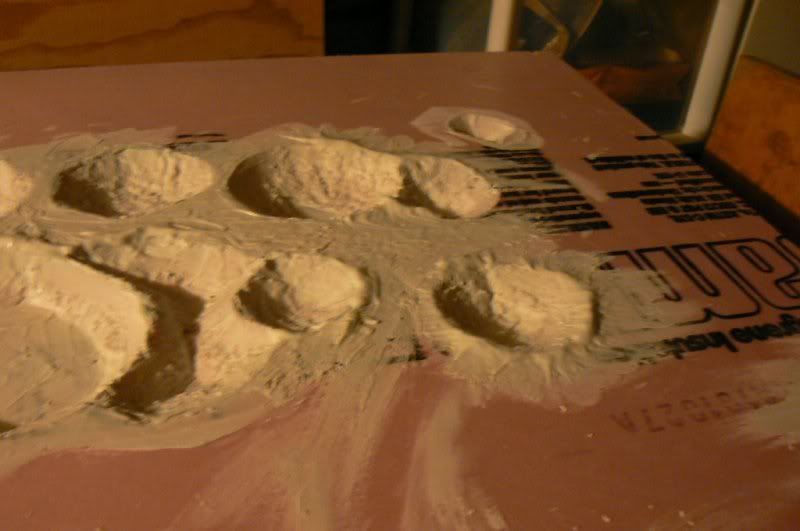
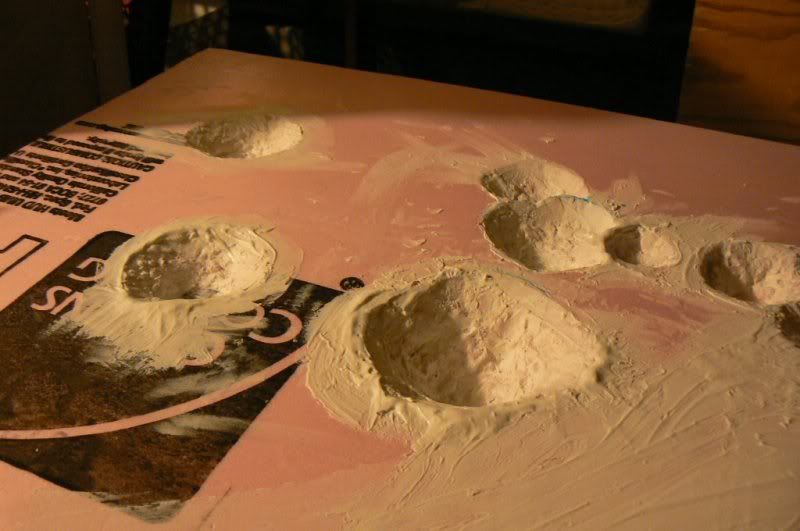
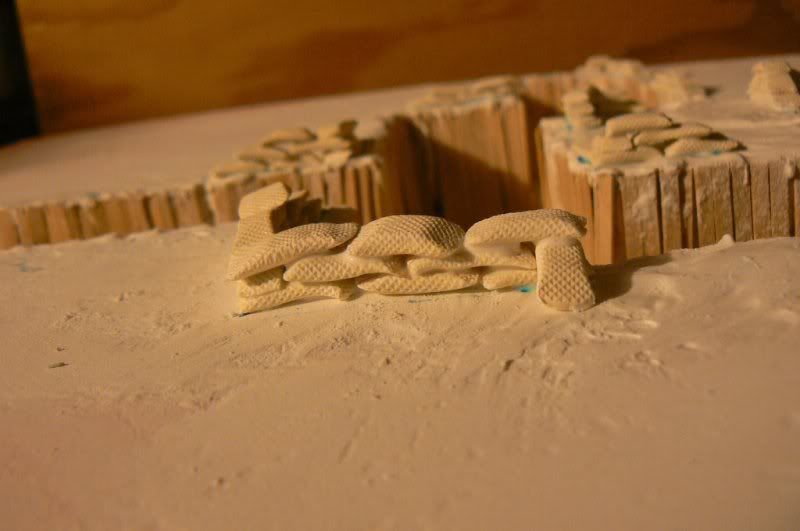
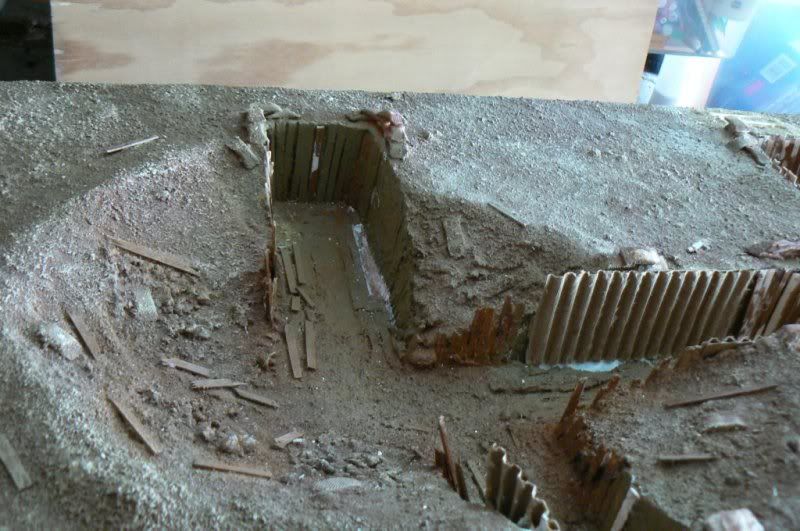
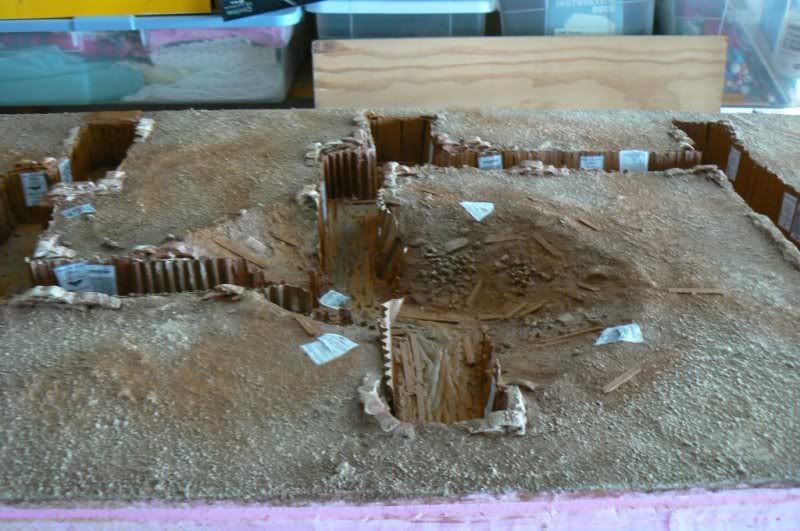
new picture goodness.
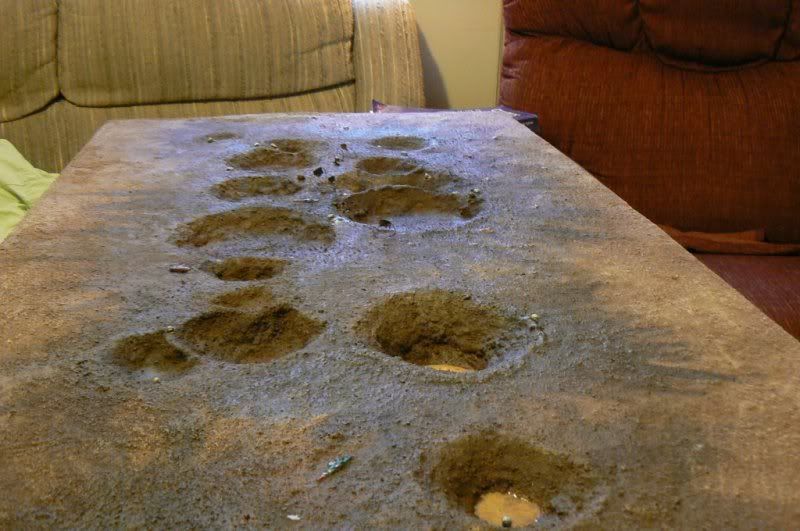
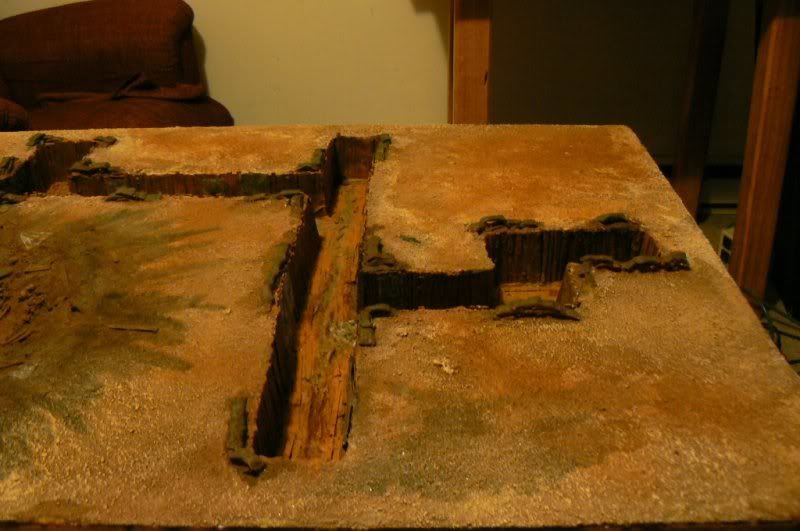
Round 1
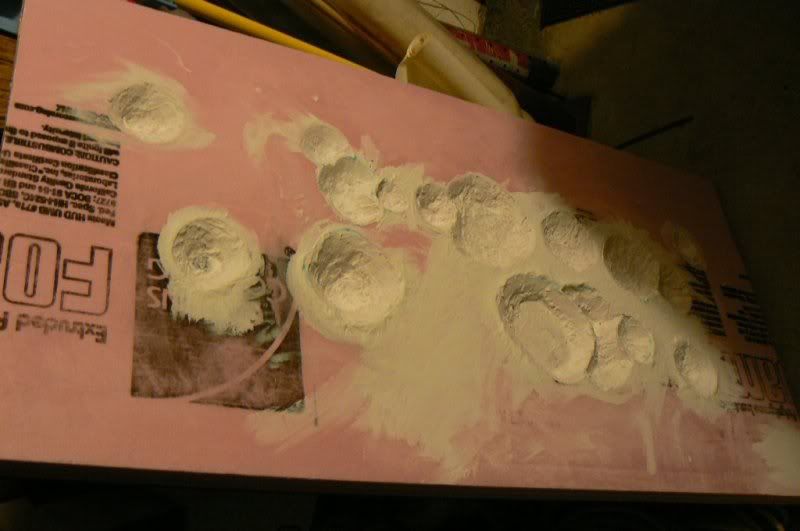
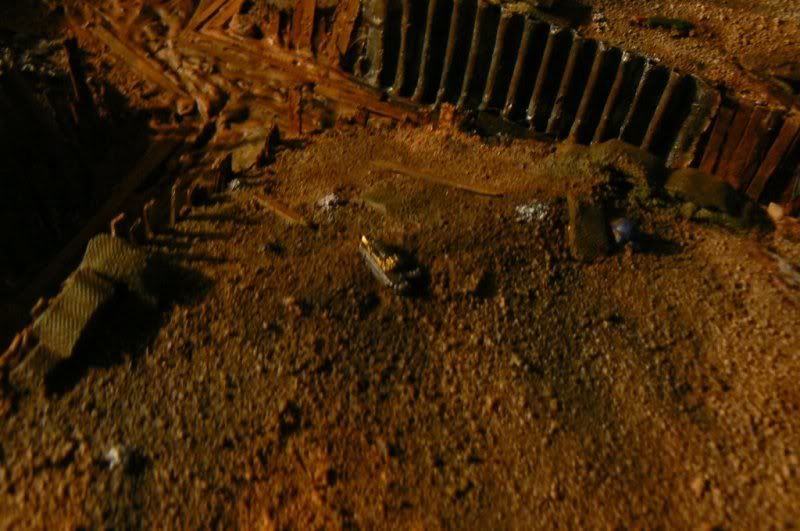
Spackle added to show some dirt mounding from trench construction.
Beginning adding some sandbag accents. (Sculpey is going to work great for making the bags)
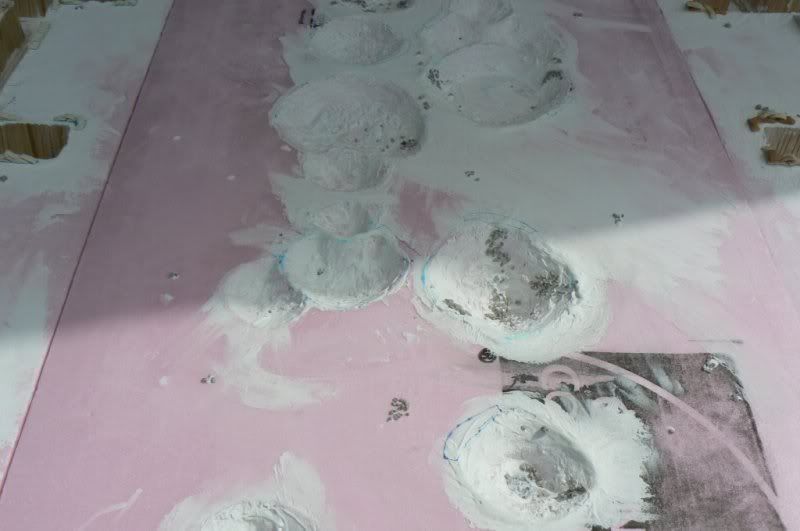
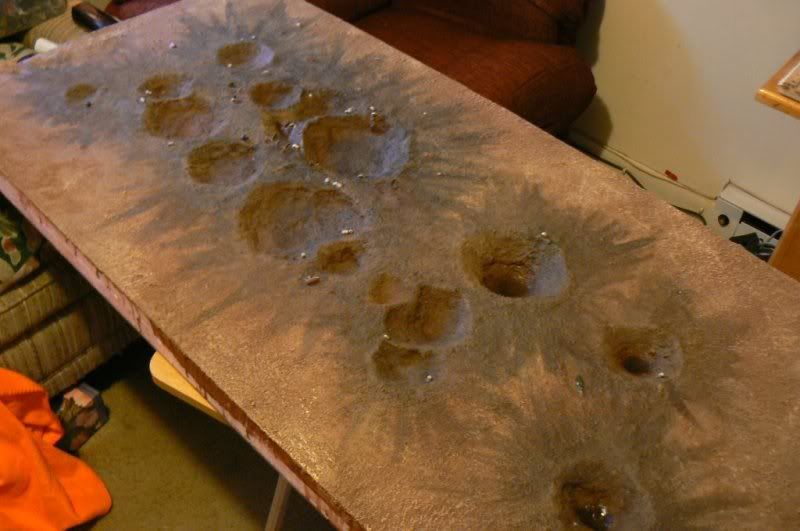
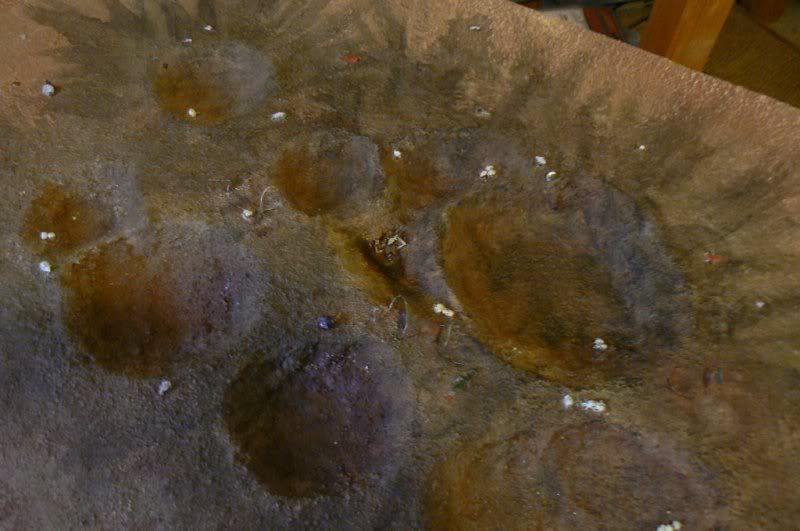
Originally Posted (Mar 21 2010)
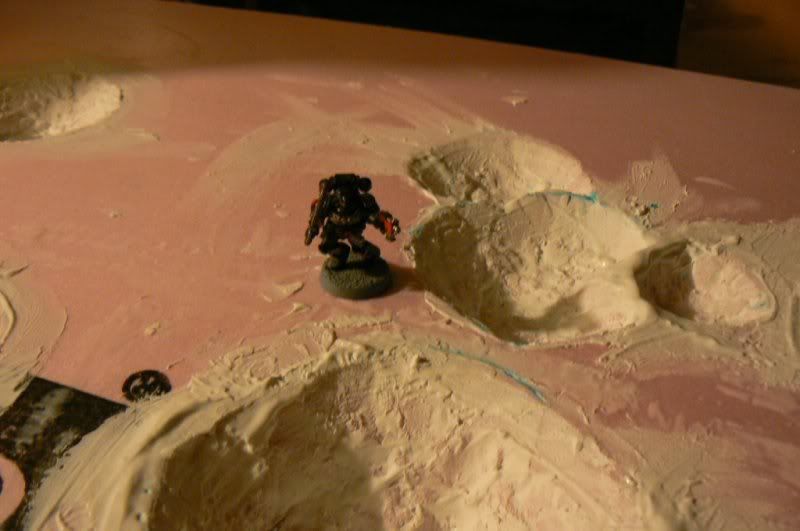
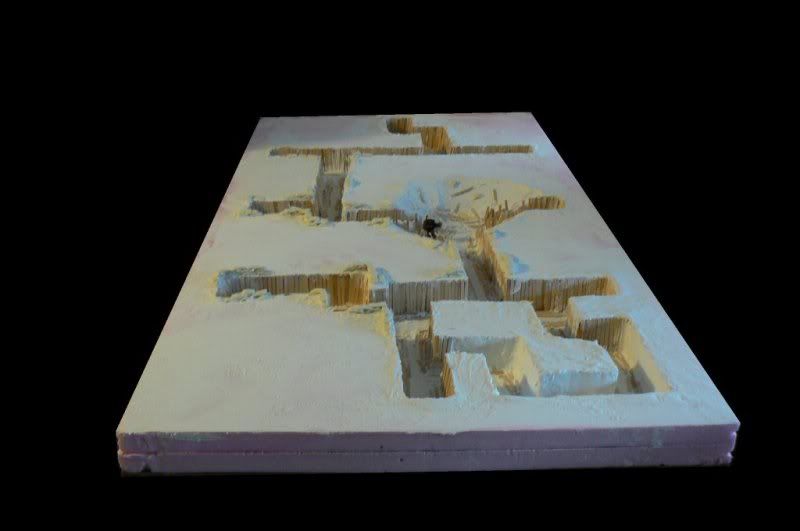
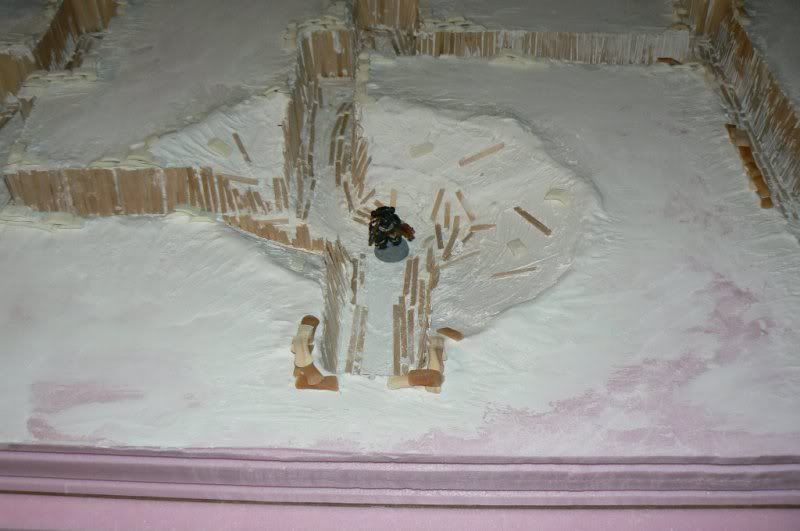
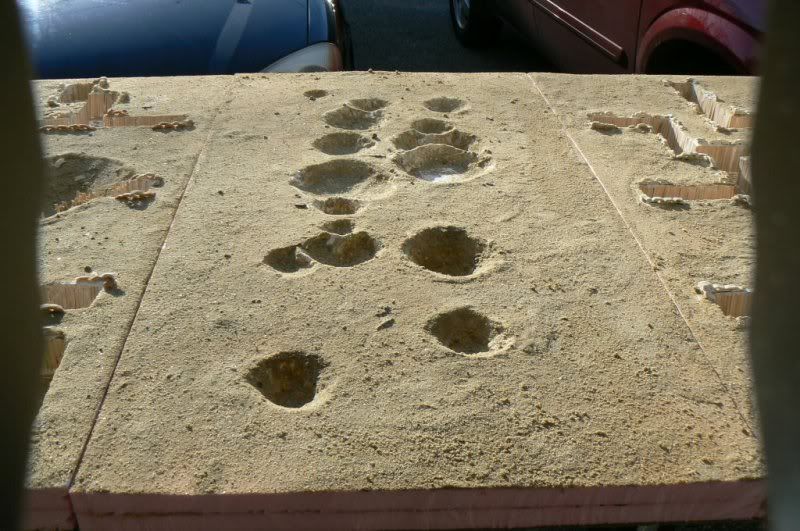
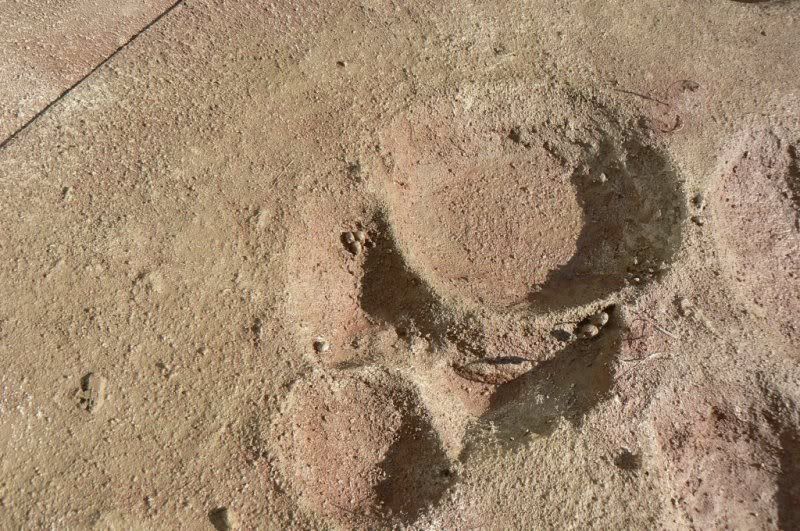
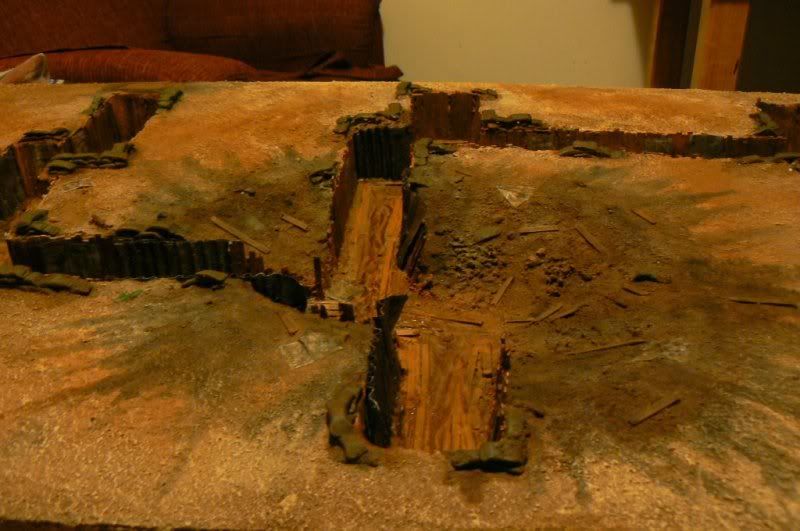
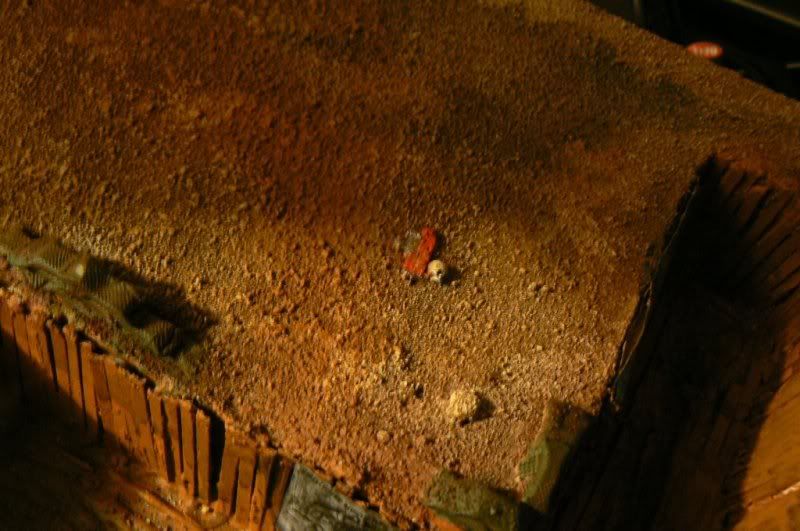
Pictures of the crater nomans land
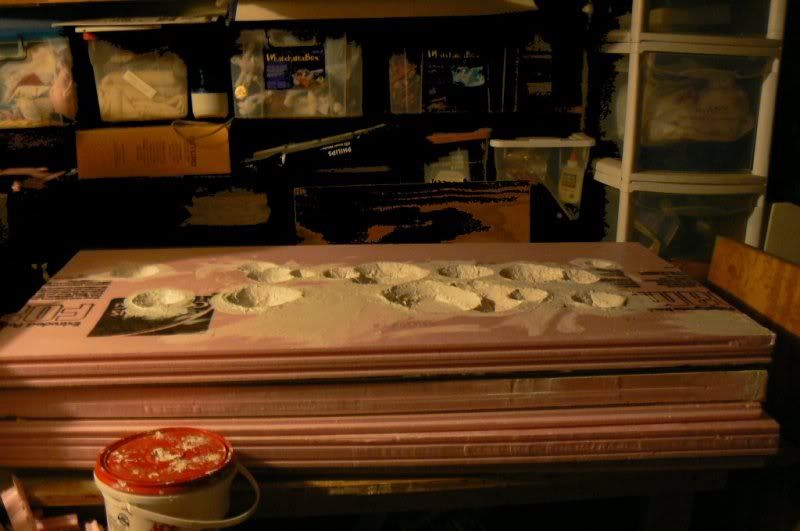
For scale
Originally Posted (Mar 21 2010)
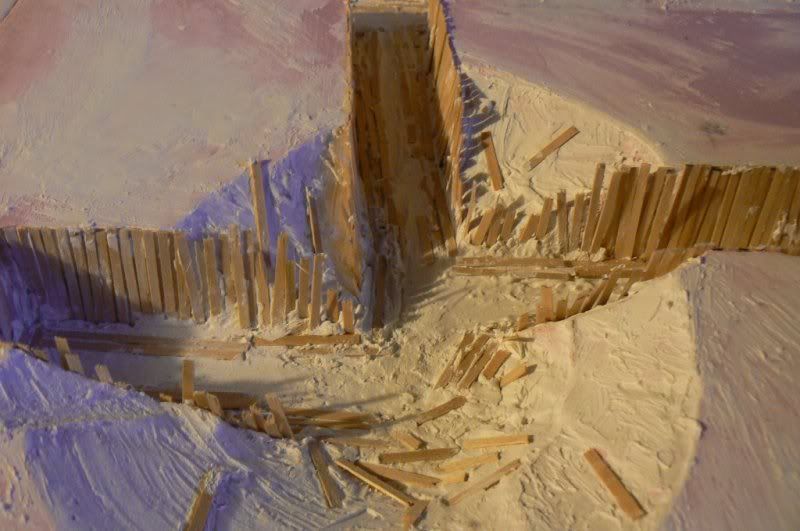
WIP pics Segment 2
Termie is my friends.

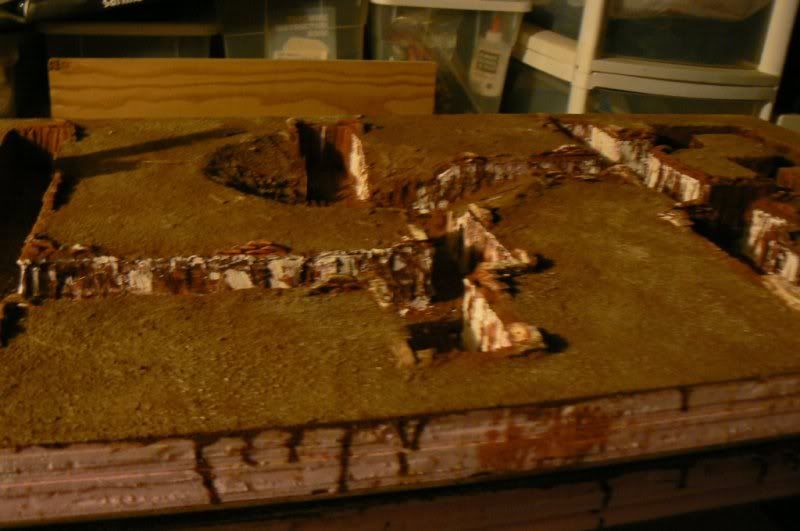
Originally Posted (Mar 22 2010)
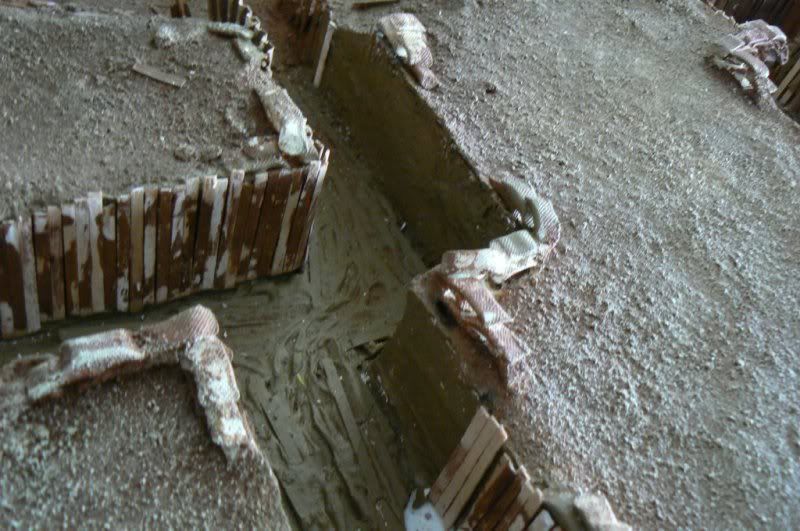
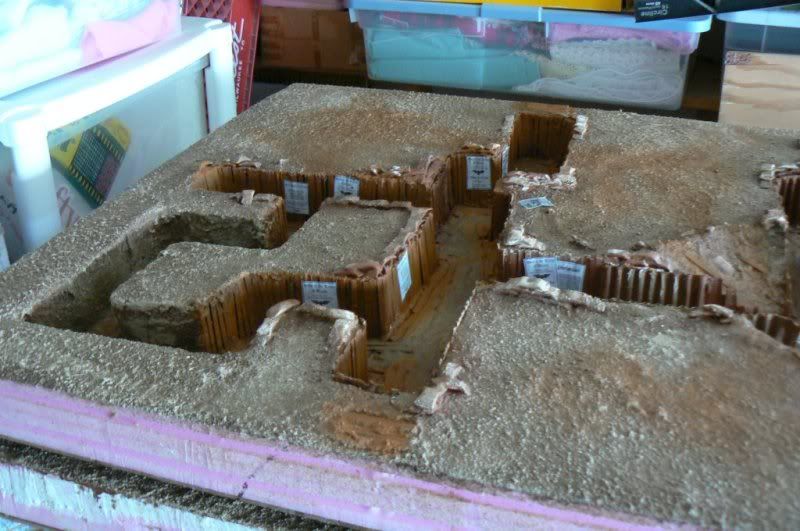
Segment 2 is done (pending sand and final details)
Overviews
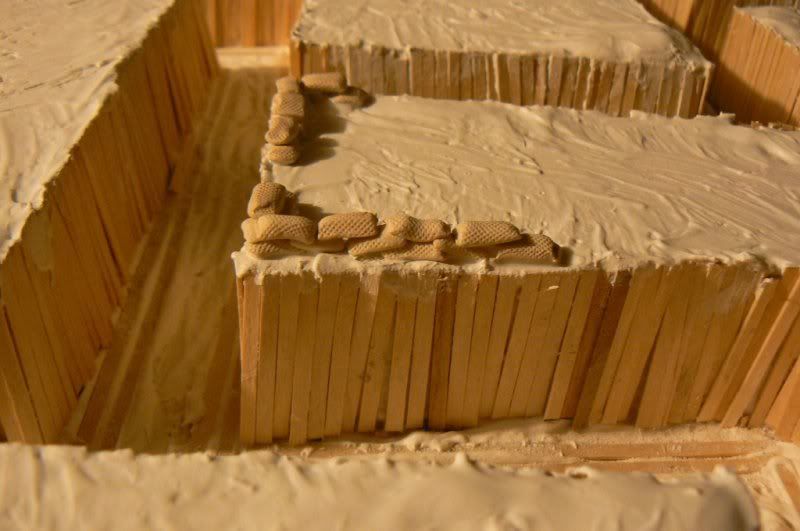
Closeup on sandbags
and an Overview of segment 3 (also done pending sand, and final details)
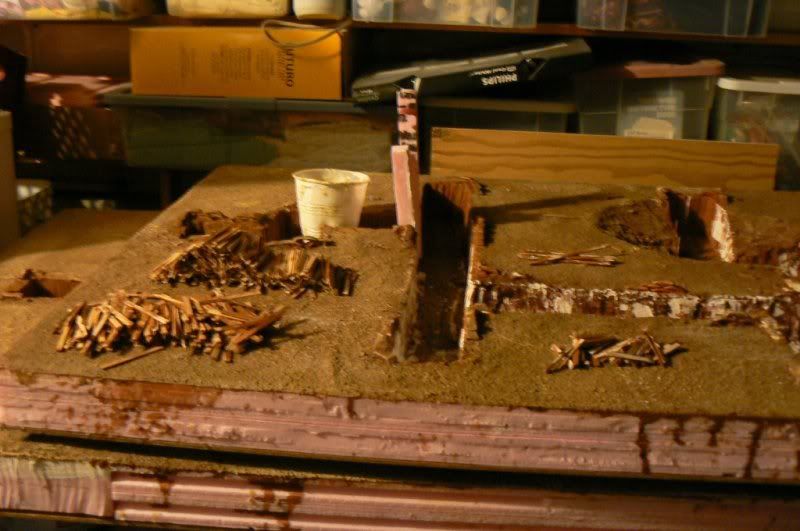
Originally Posted (Mar 22 2010)
Bringing Segment 1 up to spec so I can just finish em all in one go.
Pre sandbagging (Spackle for mounded dirt done)
First bit of sandbags.
Originally Posted (Mar 23 2010)
Anyhoo on to the New PIC Goodness....
New Pics
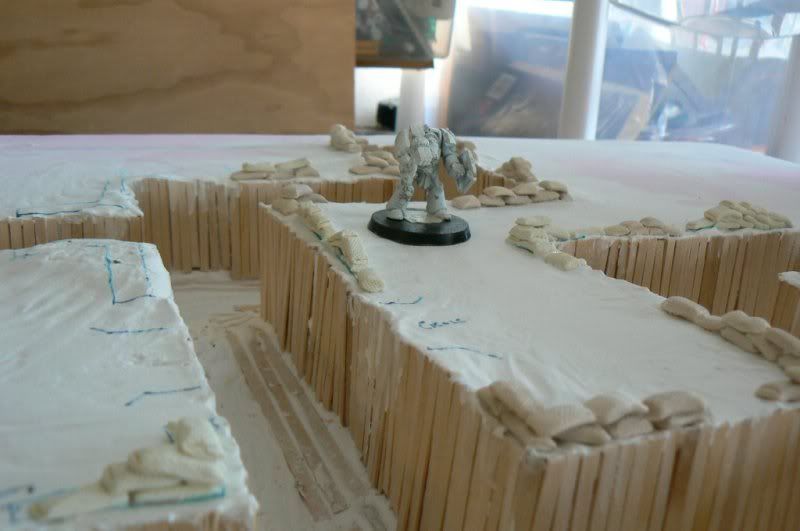
Overview of Segment 1 with sandbags
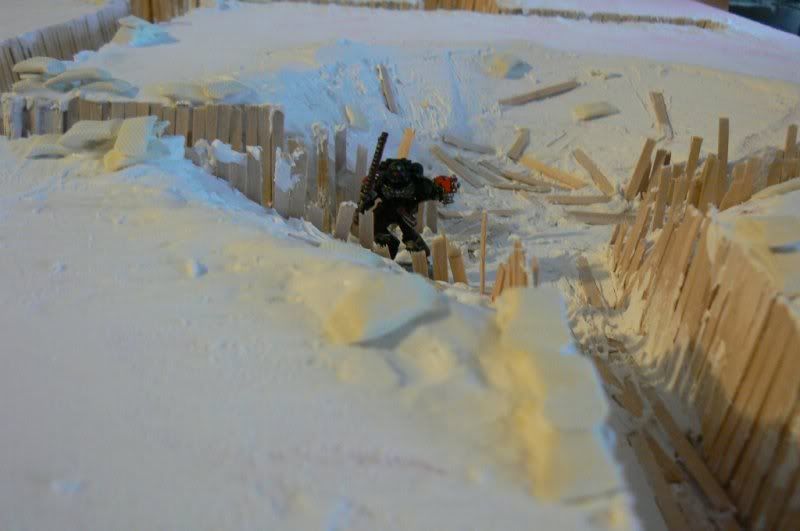
Pictures with a buddies death company marine for scale.
Areas left to sandbag
Originally Posted (Mar 24 2010)
More pics....
Segment 1 overview with sandbags
Scale pic of one of the sandbag walls (Death company model belongs to my friend)
Death company in the Grand crater(scale pic)
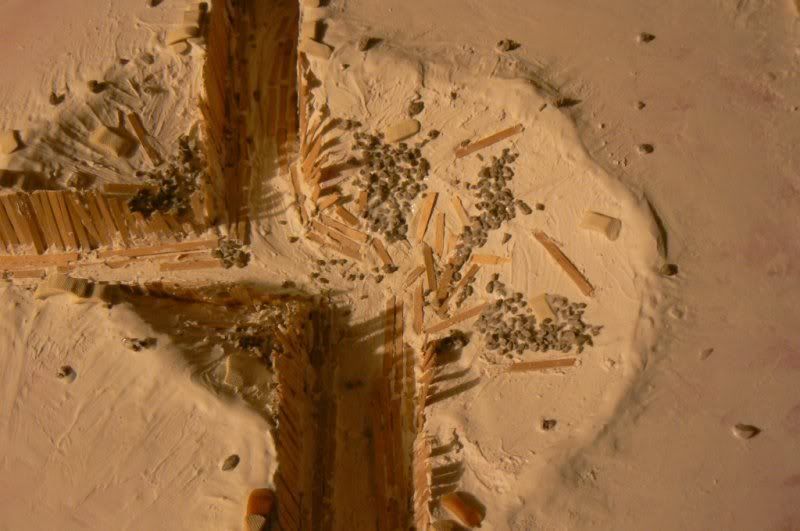
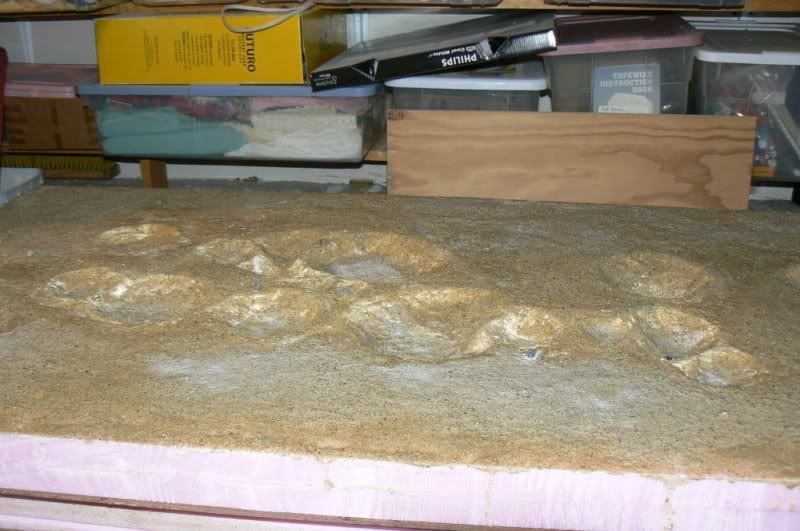
Segment 1 Stoned overview centre and left end
Grand crater Stone detail
Overview of segment 2 with sandbags
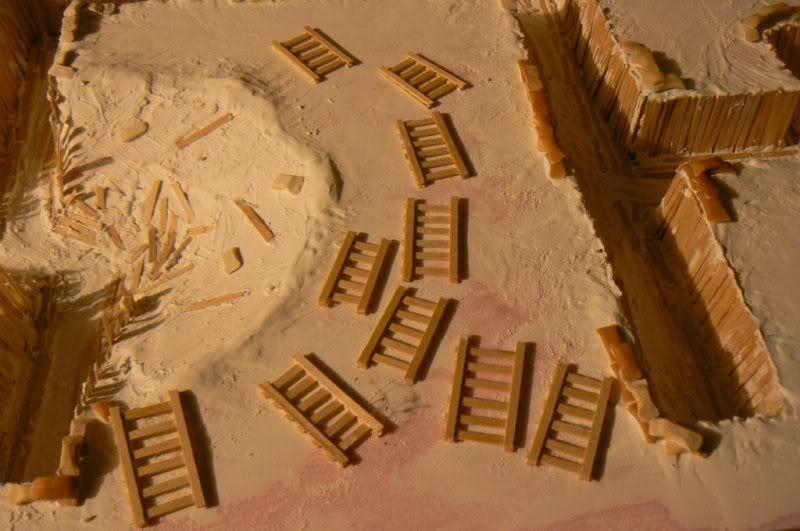
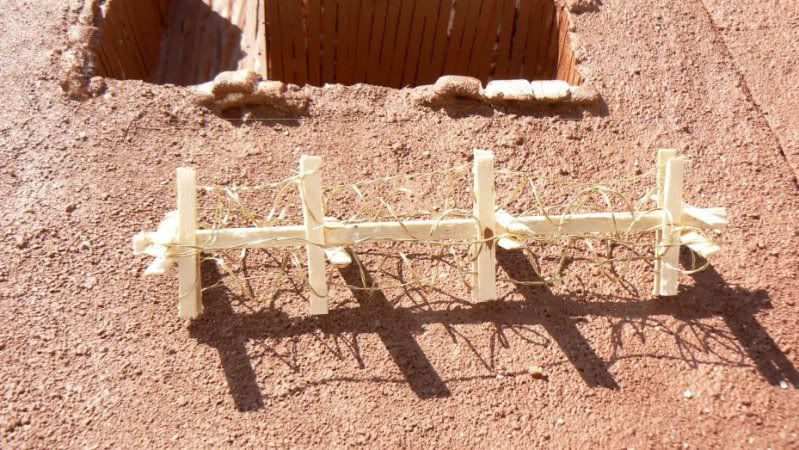
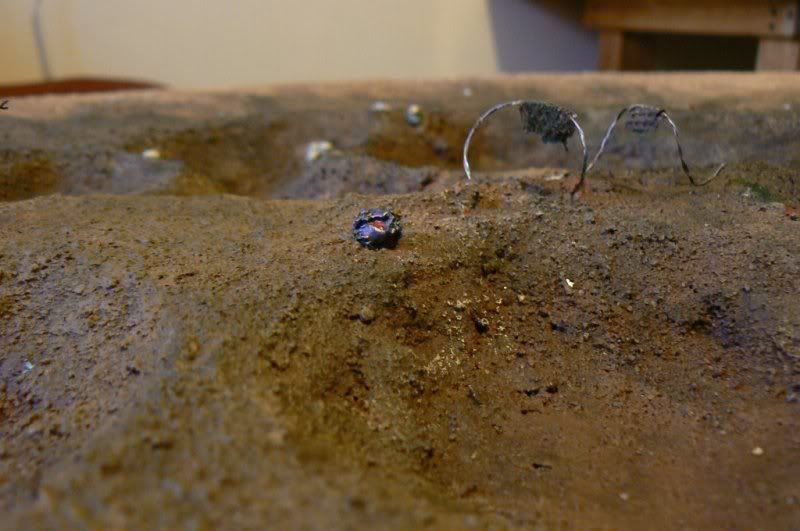
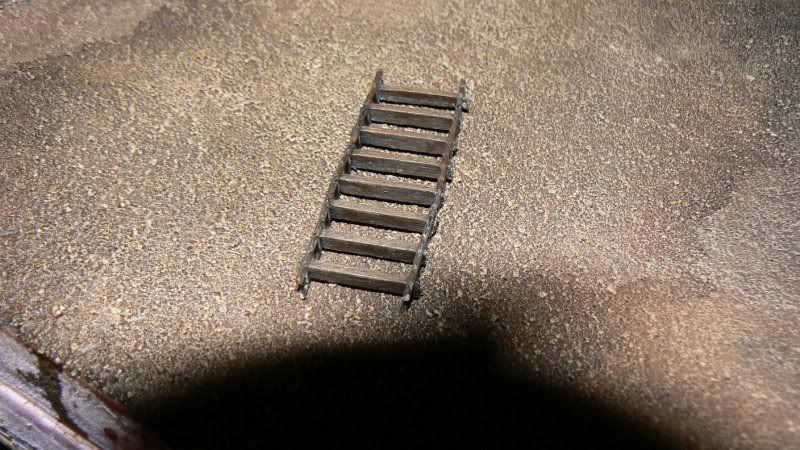
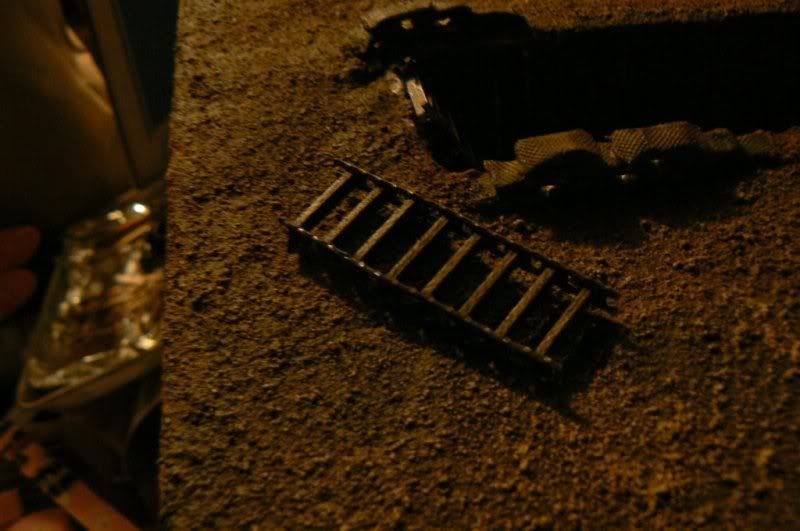
The Ladders I'll be using to mark egress points from the trench
Originally Posted (Mar 24 2010)
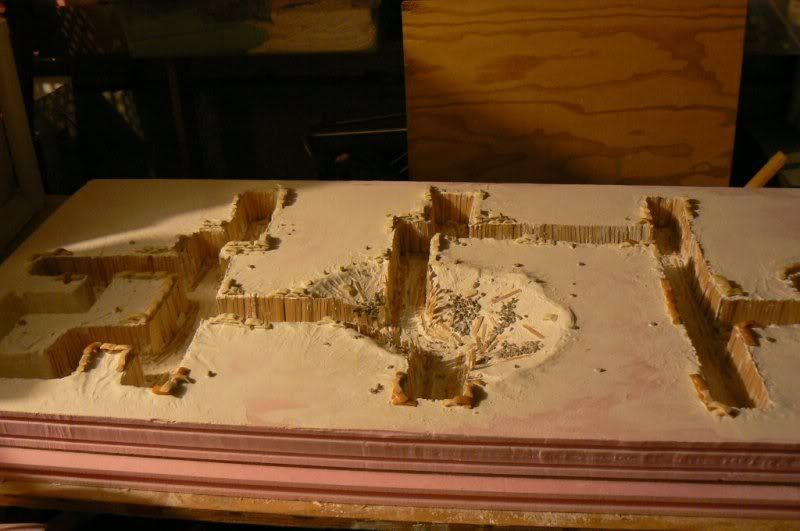
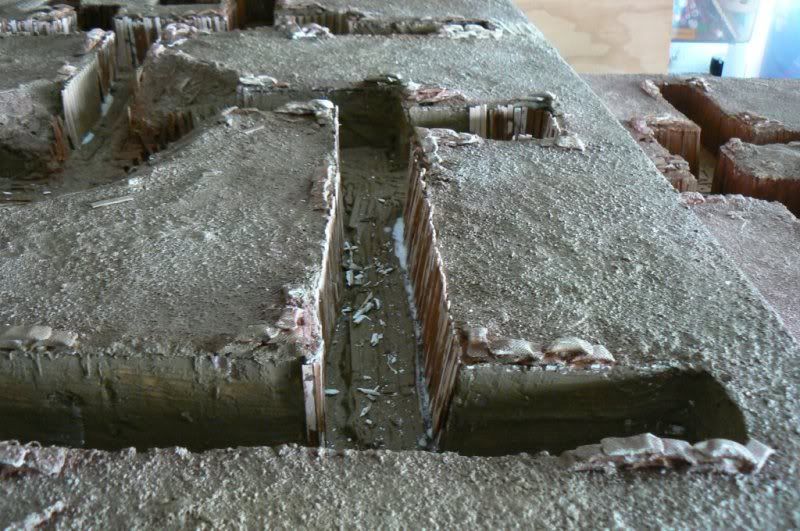
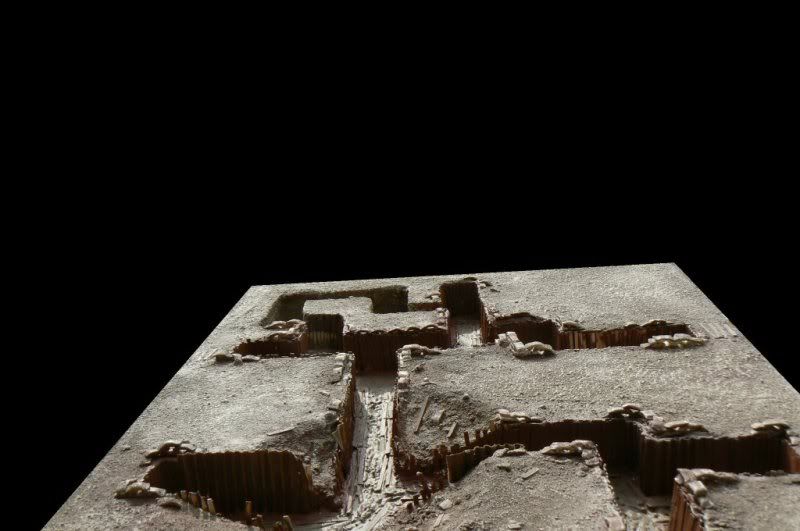
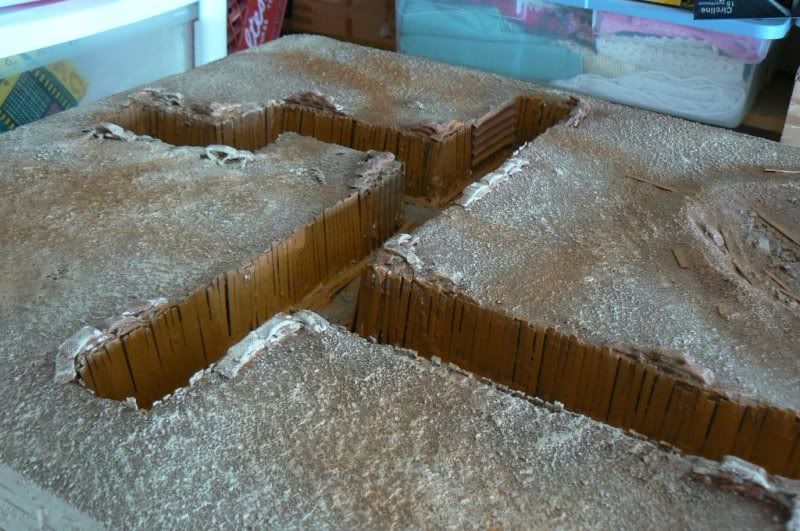
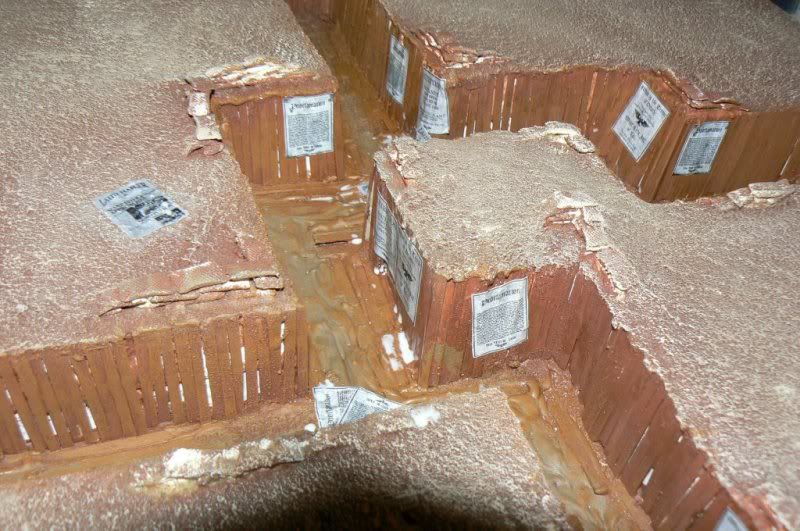
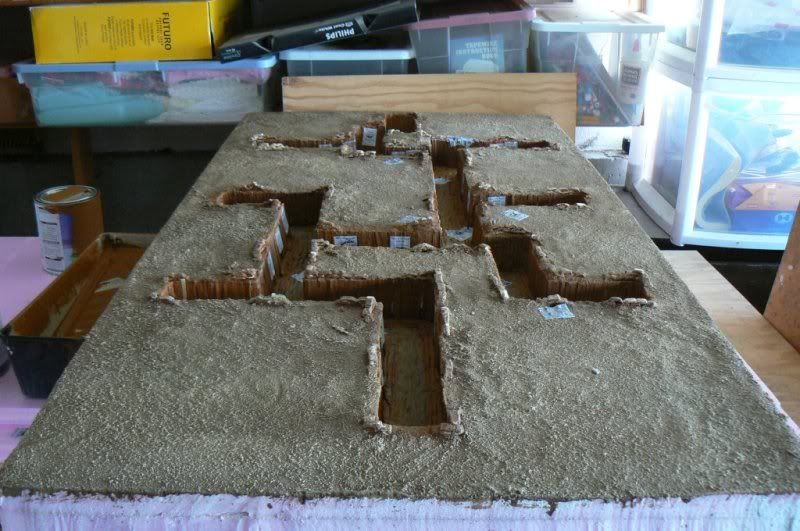
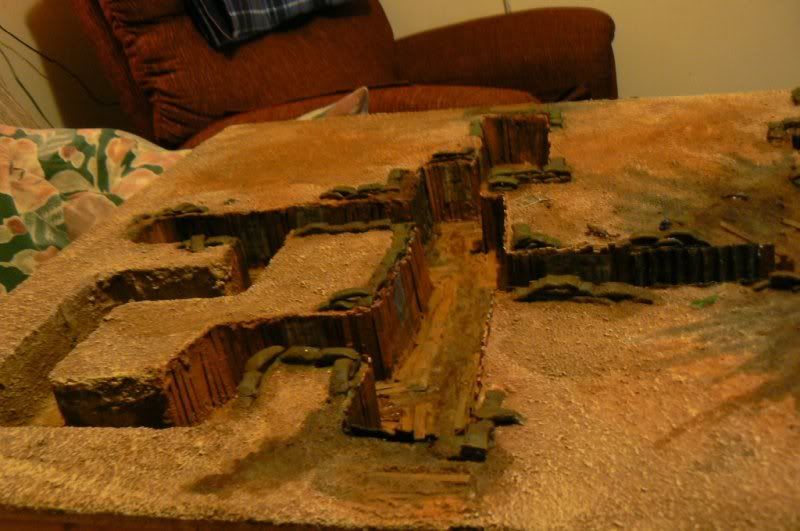
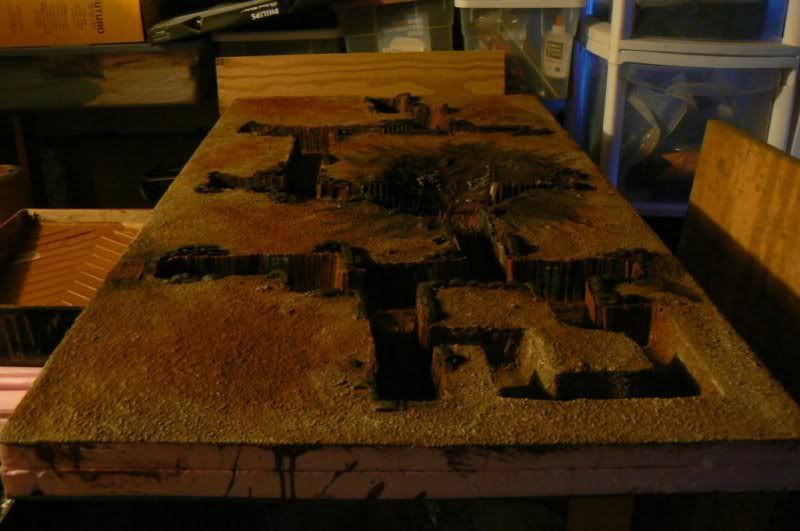
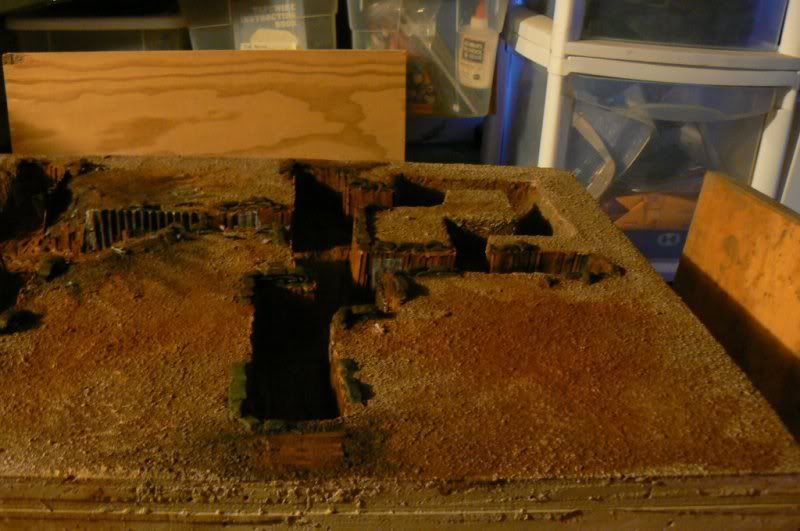
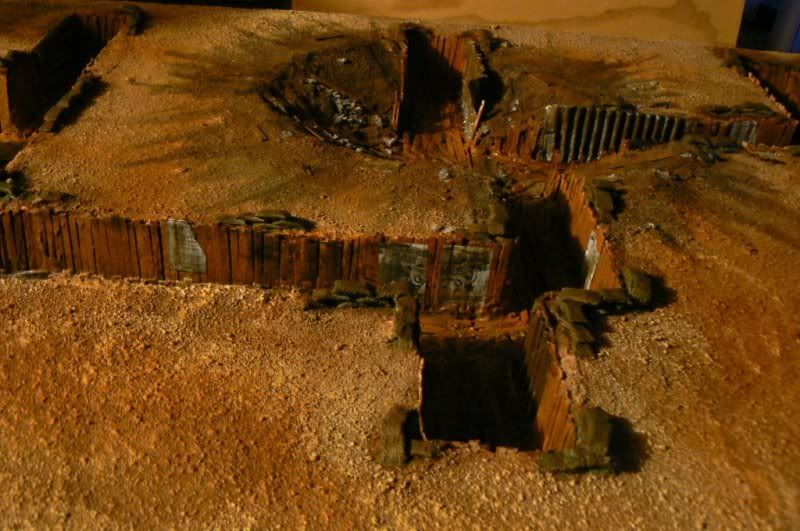
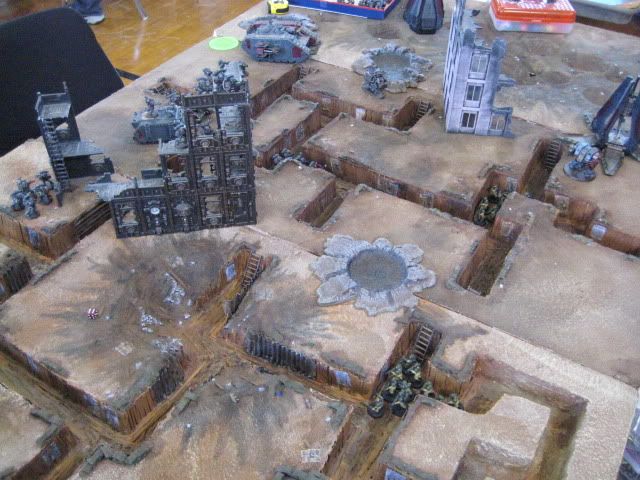
Well I've stoned the whole board, waiting on glue to dry so I can move on to sanding.
in the interm Moar PICS
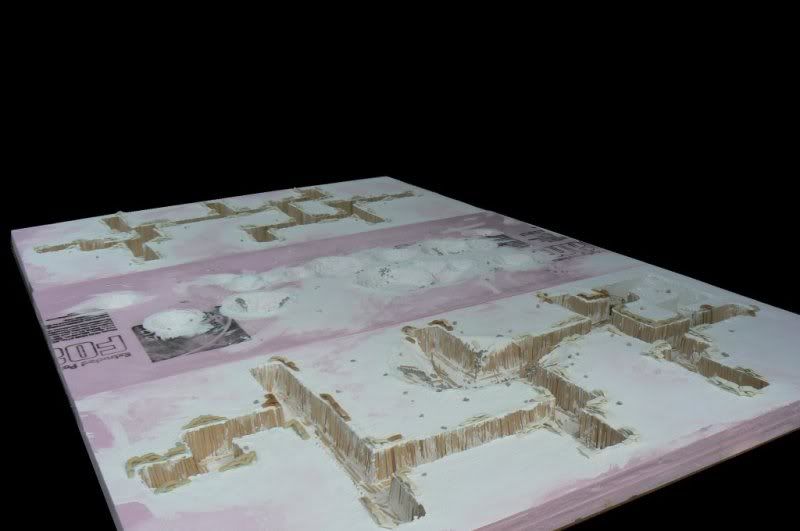
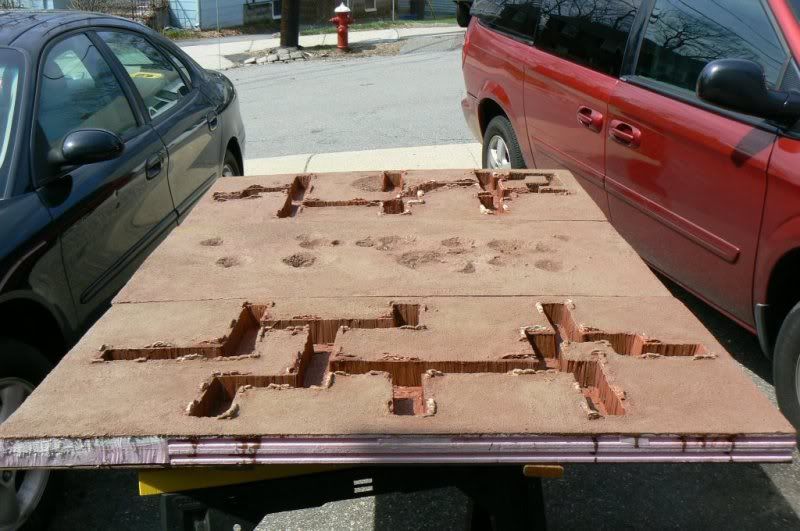
Whole board top overview (stoned)
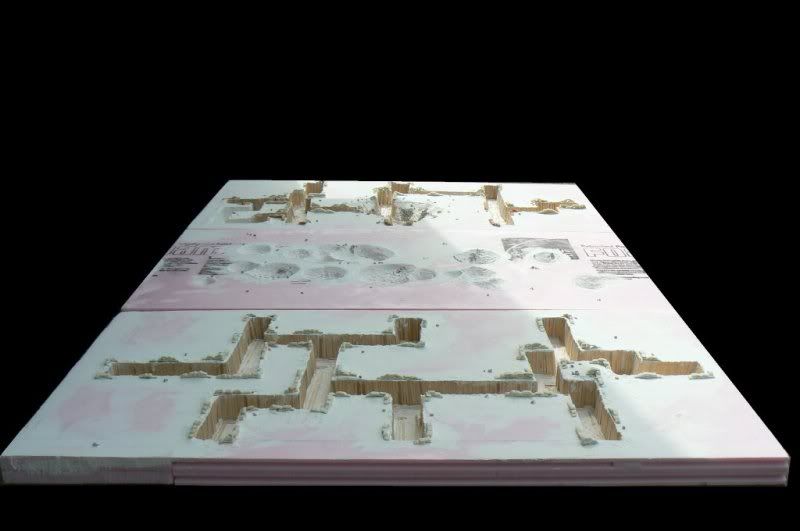
Whole board bottom overview (stoned)
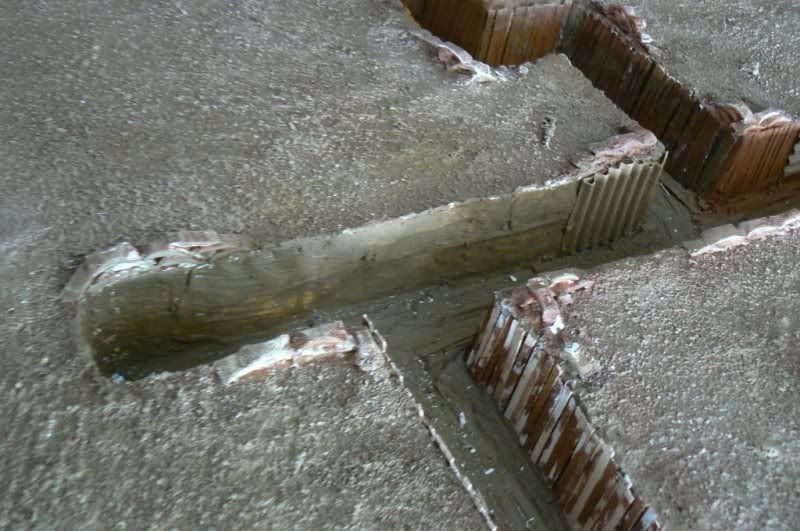
Segment 2 +3, and one Oveview (shows more detail of segment 2)
Segment 3 overview (stoned)
Originally Posted (Mar 24 2010)
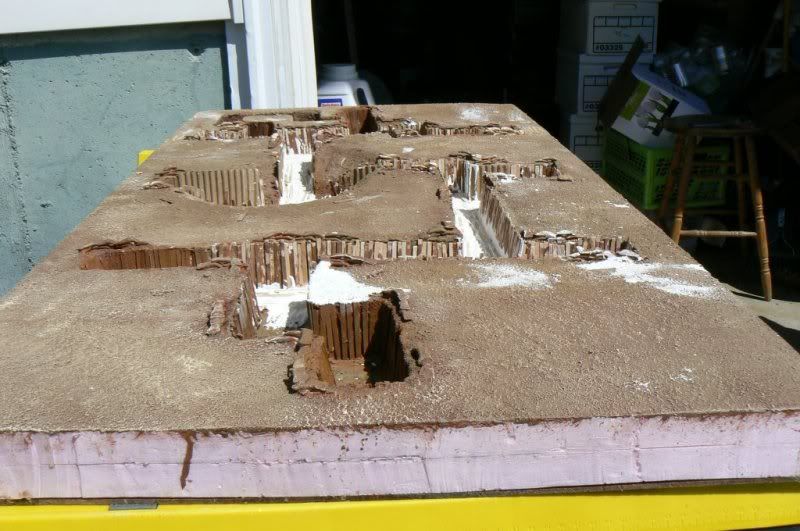
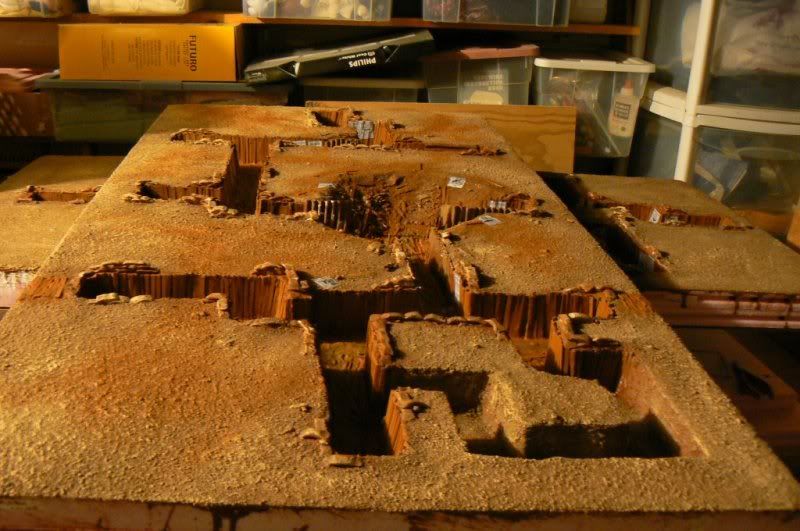
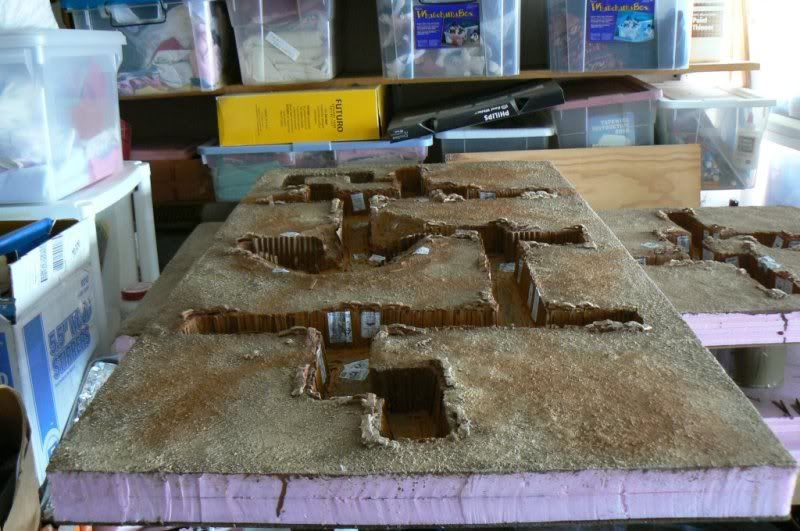
Moving on Sanding complete... beginning next phase Painting , and final decoration.
Pics
Whole table overview
Segment 1 overview
Segment 2 Overview
Segemnt 3 Overview
Originally Posted (Apr 01 2010)
I've done some decorating and applied a 2nd coat of watered down PVA to seal the sand in on the third segment. Also been listening to the Sabaton album "Art of War" to get in the trenchie mood.

And now......
Pics
Segment 3 Overview
Some detail shots
Segment three details

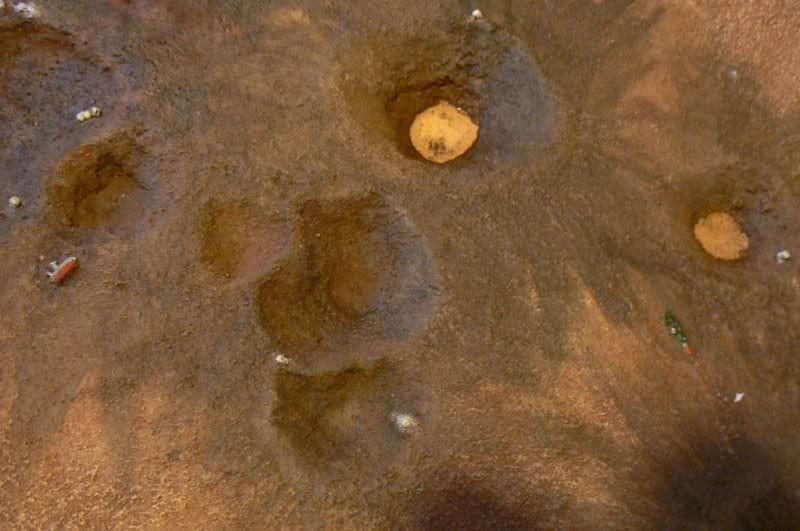
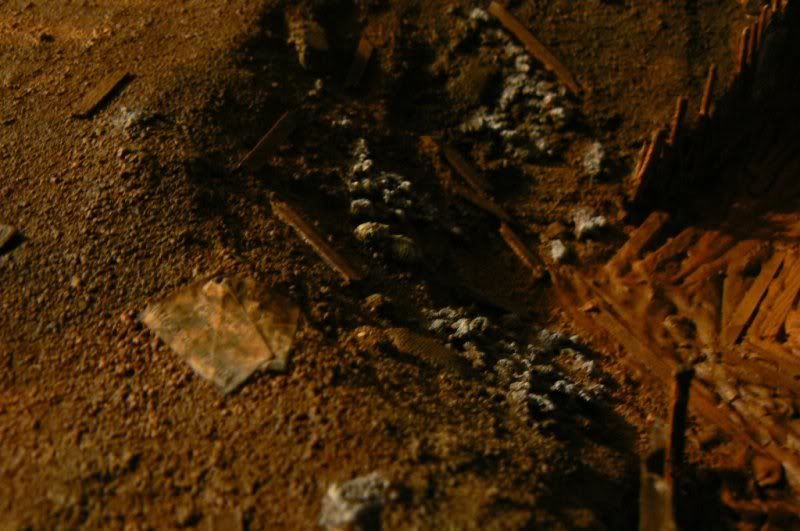
Some crater details

aaaaand a little closer...
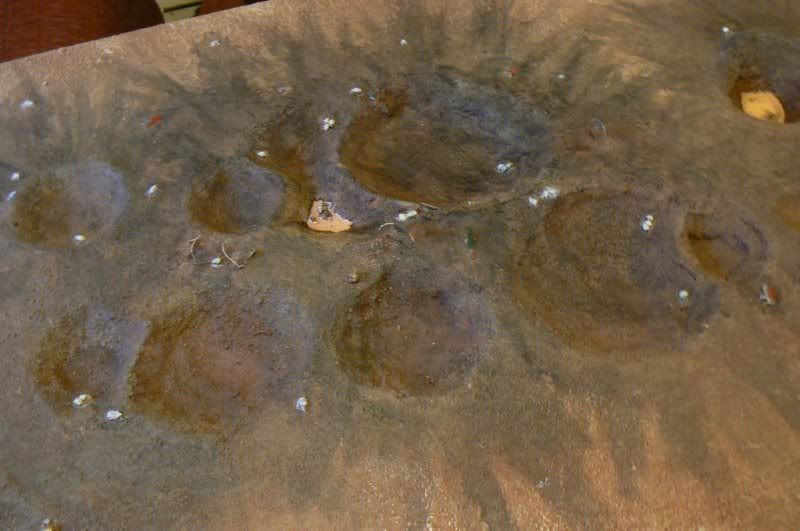
Another angle of the same crater
another crater (kinda hard to see in the pic as the sand is all the same color....
Originally Posted (Apr 03 2010)
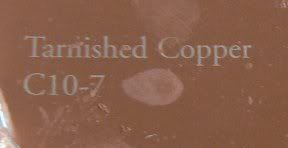
Painting has Begun
Phase 1 (everything) (complete)
(rough equivalent to scorched brown) Ace hardware latex interior paint Tarnished copper
pic of tag info
Phase 2 Drybrushing Layer 1 (complete)
Dirt (rough equivalent to Graveyard earth) Ace hardware latex interior paint Dark earth (done)
Pic of tag info

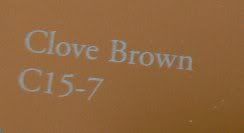
Lumber (rough equivalent of Beastial Brown) Ace hardware latex interior paint Clove brown
Pic of tag info
Phase 3 Drybrushing Layer 2 (Dirt)
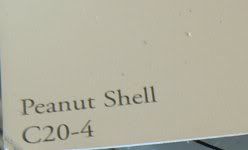
(rough equivalent of Bleached bone) Ace hardware latex interior paint Peanut shell
Pic of tag info
Phase 1 Pictures
Board Overview
Segment 1 Overview
Segment 2 Overview (has two of 6 inf bridges positioned not glued and a Barbwire prototype.)
Segment 3 Overview
Inf Bridge detail

Prototype Barbwire detail
Originally Posted (Apr 04 2010)
Pics of where I left off yesterday.
Overview
Segment 1
Segment 2
Segment 3
And for what I got done today so far.
Dirt done Overview1
Dirt done Overview2
Segment 1

Segment 1 Grand crater detail
Segment 2
Segment 3
4 of six infantry trench cross overs positioned on Segment 2
Originally Posted (Apr 04 2010)
Phase three is now complete.
Phase four (detailing) will begin tomorrow.
Phase three Pictures.
Board overview
Segment 1
Segment 1 detail
Segment 2
Segment 2 detail

Segment 3

Segment 3 detail (snowman crater)
Originally Posted (Apr 06 2010)
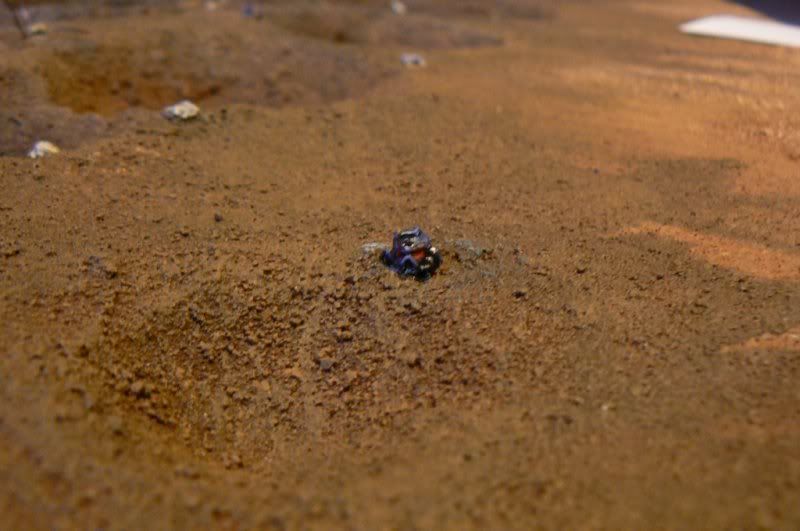
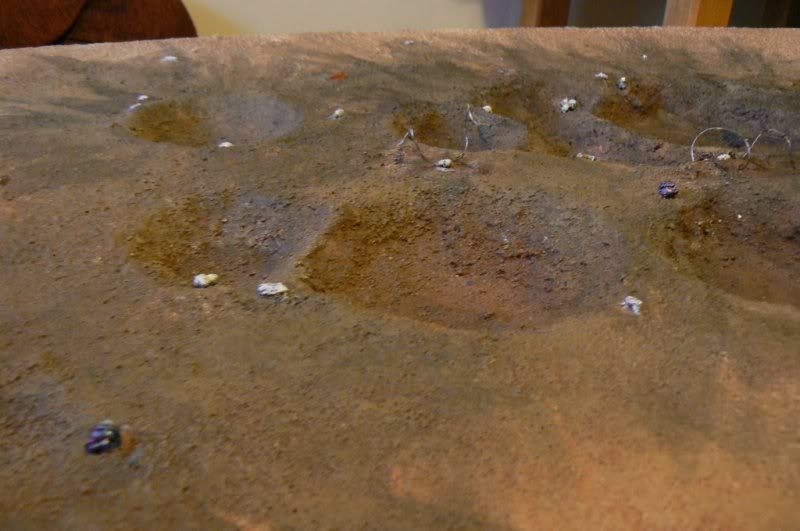
Started detailing the Crater segment of my board.
Overview
Detail 1
Detail 2
Detail 3

Detail 4
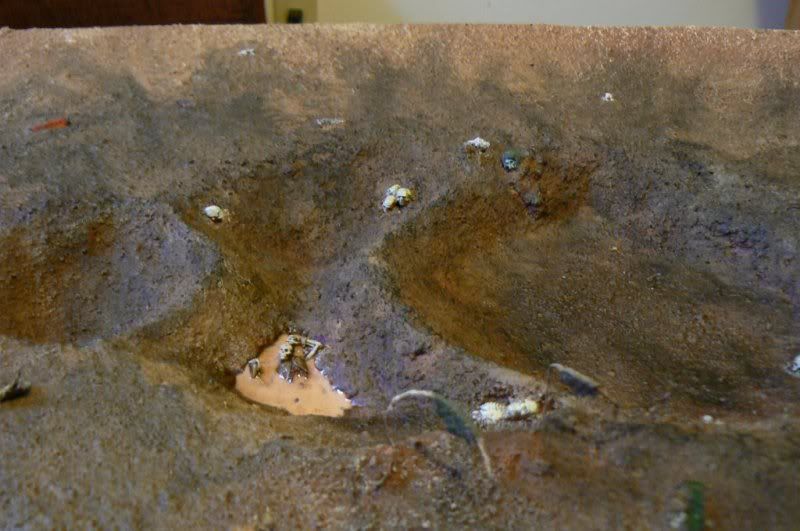
The Coffee looking stuff is Slightly watered down Elmer'sGlue tinted with brown ink.
There are two Space Marine Helments on the Board that I haven't painted. What chapter should I paint em up as?
Originally Posted (Apr 10 2010)
I'll be painting the Helmets up as Smurf helmets as that will look better than Iron warriors. I'll start painting them up tomorrow (sun)
Originally Posted (Apr 11 2010)
Helmets are done
Helmet 1
Helmet 2
Helmet overview
Segment 3 Overview (current)
Segment 3 Center Detail
Originally Posted (Apr 14 2010)
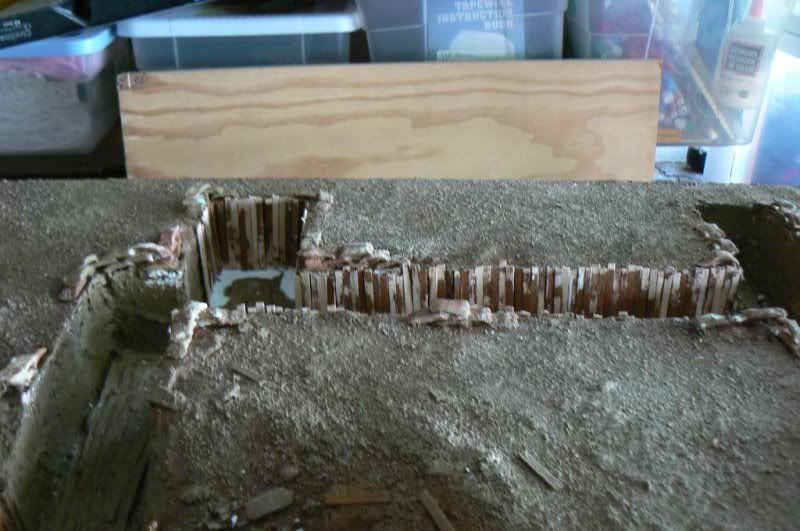
I've had to pull a number of the siding planks from Segment 1 to get at white spackle that was showing though between boards. I'll have pics of the damage tomorrow. I'll be repainting the spackle to be "dirt" colored and not "white" and then replace the boards, duckboards, etc.
De planked pictures
an example of the white spackle bits that I had to do this to fix is visible at the top of the picture above the grand crater its apx 1.5 planks wide
so no matter how I put in a plank a bit of spackle would show.

The piles of sticks are the planks that I removed.

Originally Posted (Apr 16 2010)
I've Repainted the white spackle areas and had to reinforce the outer foam where it had cracked.
Dirted spackle
Overview
center detailish
Reinforcements

Originally Posted (Apr 20 2010)
I've started to Replank. I'll have Pics up sometime tomorrow.
Lord almighty scotch tape makes doing it SO MUCH EASIER. BAAAAAAAH!!!!
Originally Posted (Apr 20 2010)
Round 1 Replank pictures
pic one
pic two
pic three

Originally Posted (Apr 21 2010)
Round two Replank pics Also going to add some "corrugated" reinforcements here and there.
Pic 1
Pic 2
Pic 3
Pic 4

Originally Posted (Apr 22 2010)
Round three Replanking... Done
Whats Left
What got done.
Originally Posted (Apr 29 2010)
It's back from the Dead..ish
Replank and respackle/duckboard is done repaint will start tomorrow.
Now on to Pics.
The overview (spackle has been textured a bit to look like trampled mud bit the glare from the sun kinda washes it out in the pictures.)

Originally Posted (May 02 2010)
where I'm at in the repaint.
Pics
Overview
Originally Posted (May 02 2010)
The repainting is done on segment 1. Onwards to final detailing and suchlike.
Pic goodness.
Overview

Originally Posted (May 03 2010)
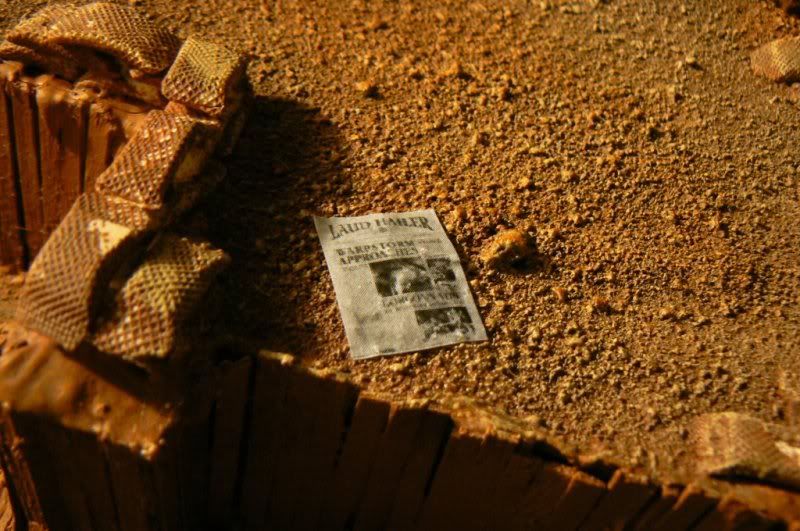
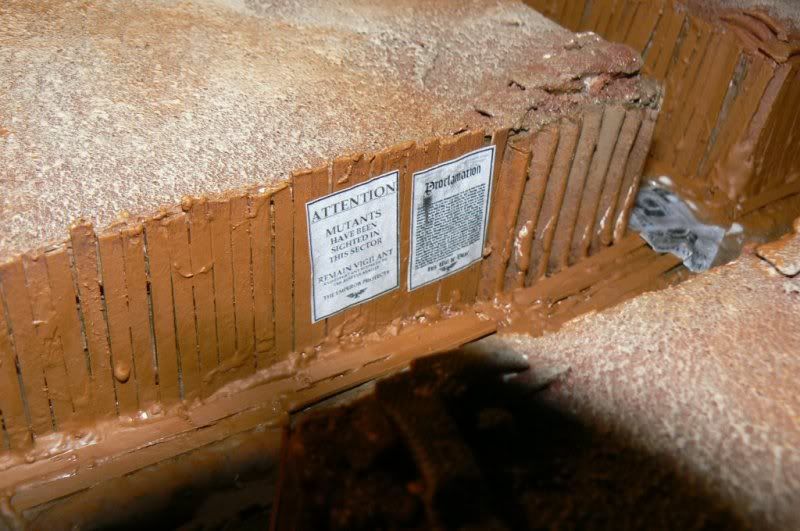
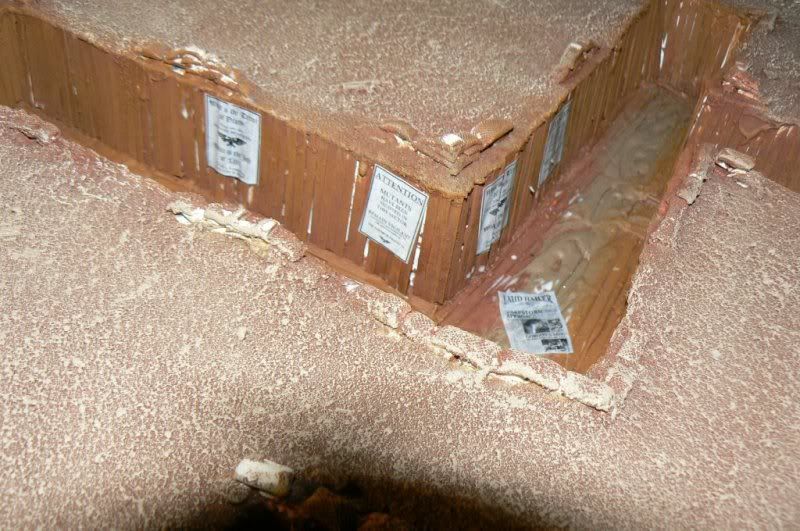
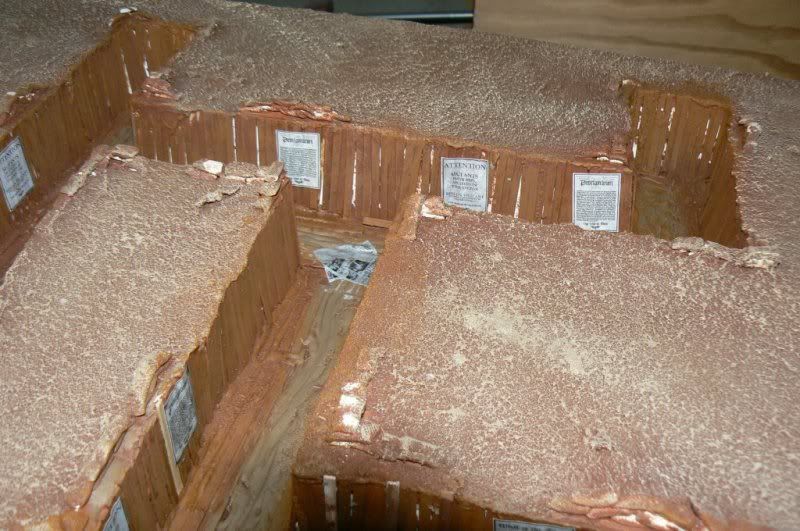
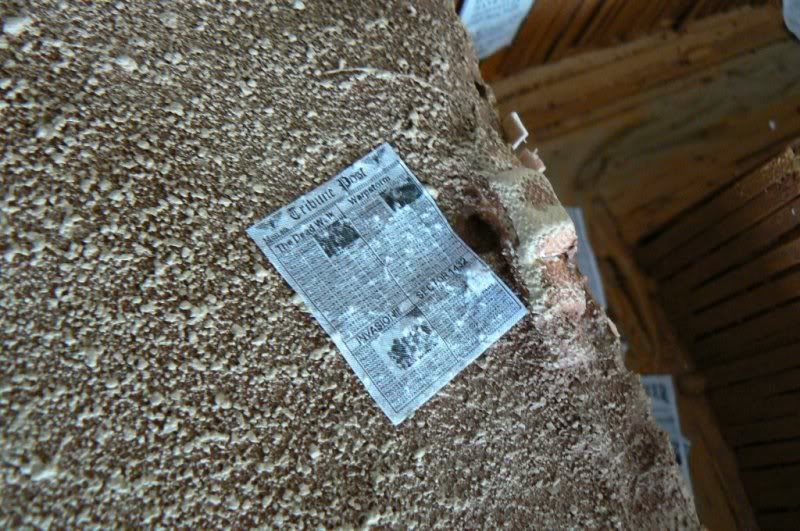
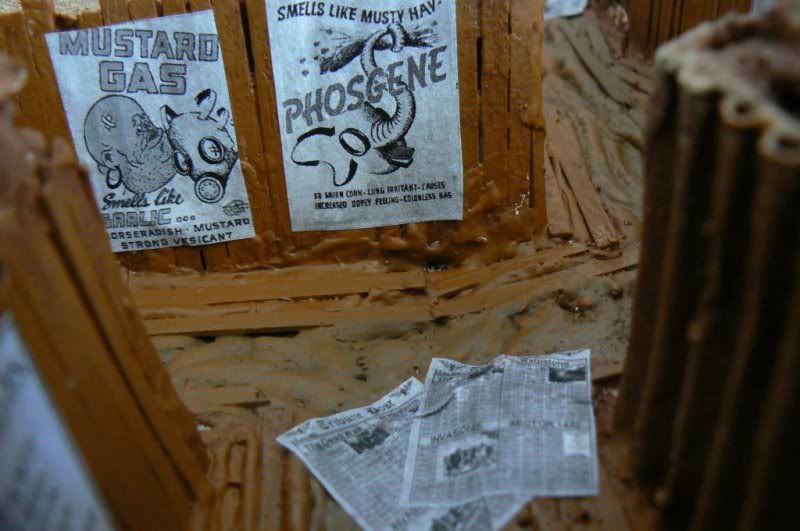
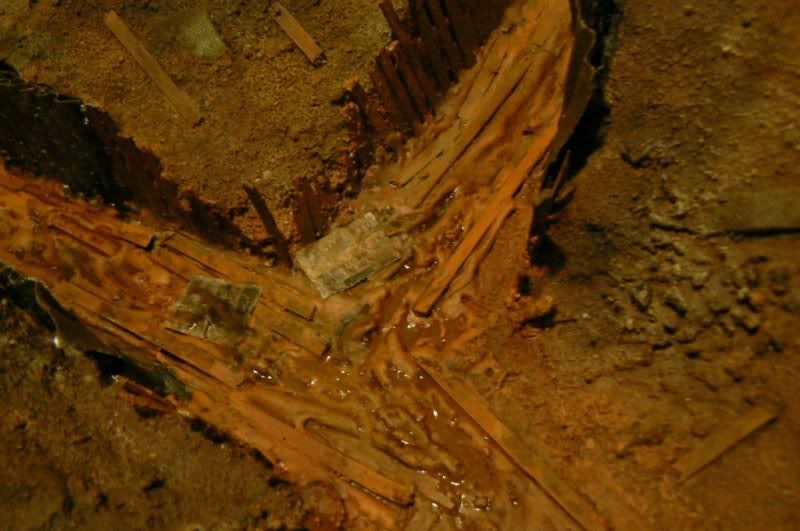
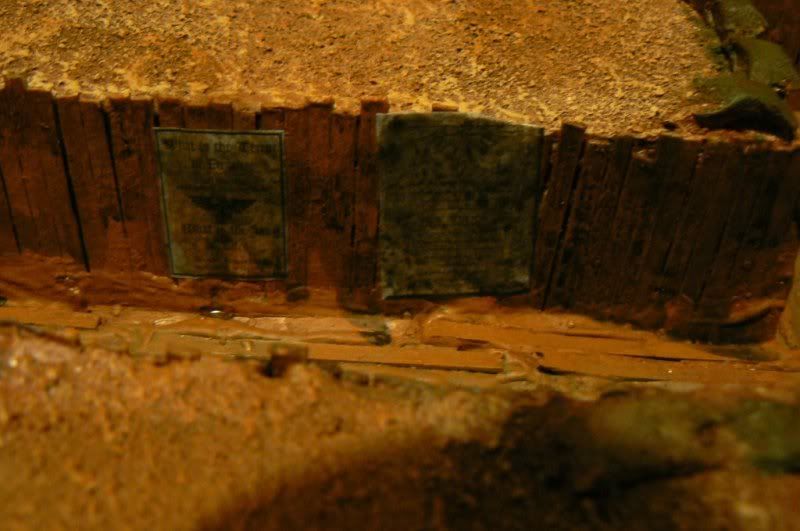
Begun adding detail (in the form of Posters)
Pics
Segment 1 Overview.
Segment 1 long view

Where is this from.... (heh)
Segment 2 Pics

Originally Posted (May 04 2010)
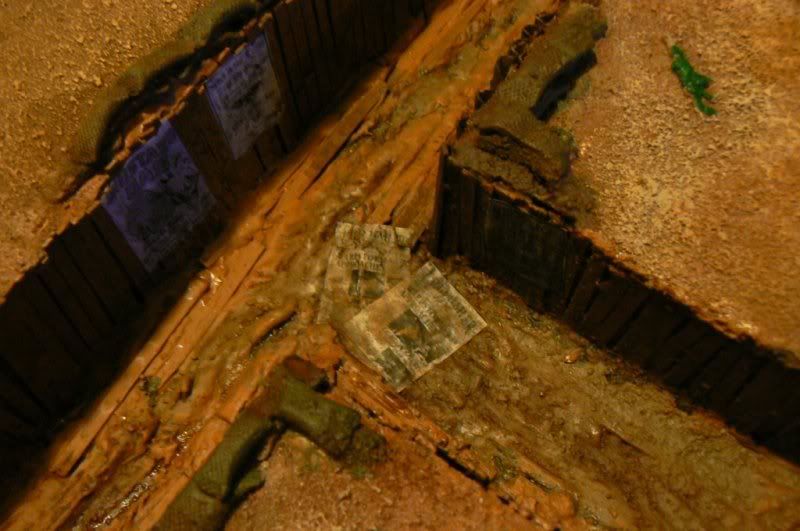
New Pics. Now on to details then weathering.
New Poster Details
Newspaper 2 (I made this one myself in Paintshop Pro 6)
Gas attack warning posters (real life converted to use here by me)
Segment 1
Overview
Right
Center
Left
Segment 2
Overview
Right
Center
Left
Left detail
Originally Posted (May 09 2010)
Finally decent Pictures. Woot.
anyhoo Detailing on segment 1 is at 90%
Overview
Grunts level overview
Right
Center
Crater view
Left
Detail bitz
Originally Posted (May 12 2010)
Piccy Goodness anything shiny is just wet not gloss.
Final Detailing pictures of Segment 1 (sans ladders)
Segment 1 Overview
Segment 1 Right
Segment 1 Center
Segment 1 Left
Segment 1 Details
Chaos Bolter
Crater Body
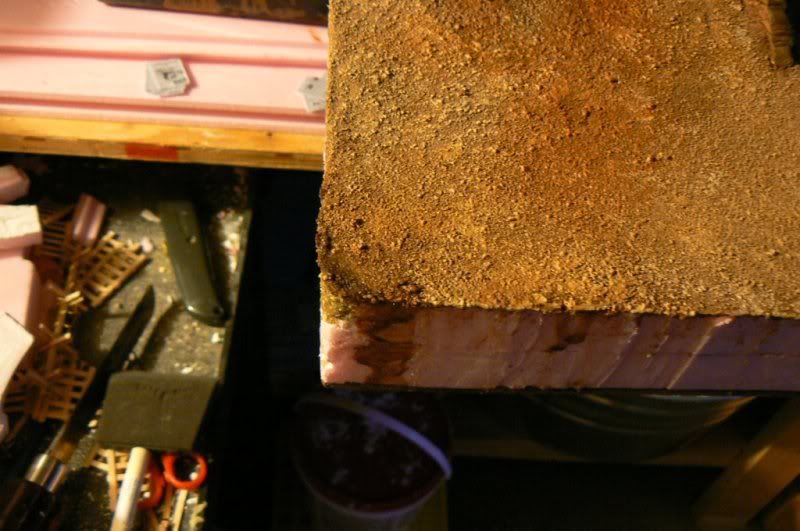
Rebuilt corner(foam got ripped off so replaced with glue and sand casting.)
Segment 2 finished Detailing pics
Segment 2 Overview
Segment 2 Right
Segment 2 Center
Segment 2 Left
Segment 2 Details
Bolter+Skull
Originally Posted (May 13 2010)
Anyhoo finished pics (will take better ones tonight at my Club)
Segment 2 Finished pics (with ladders even)
Segment 2 Overview
Segment 2 Left
Segment 2 Center
Segment 2 Right
Mk2 Ladder Detail pictures
Originally Posted (May 19 2010)
Ask and ye shall usually receive. Eventually anyway.
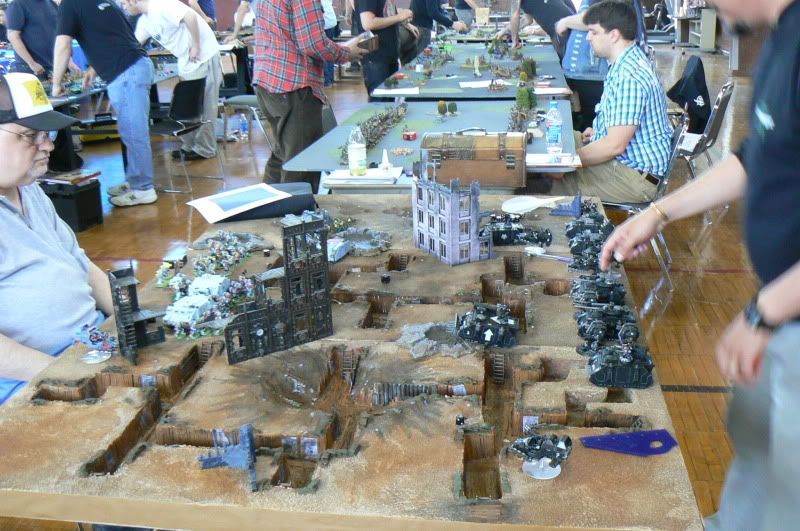
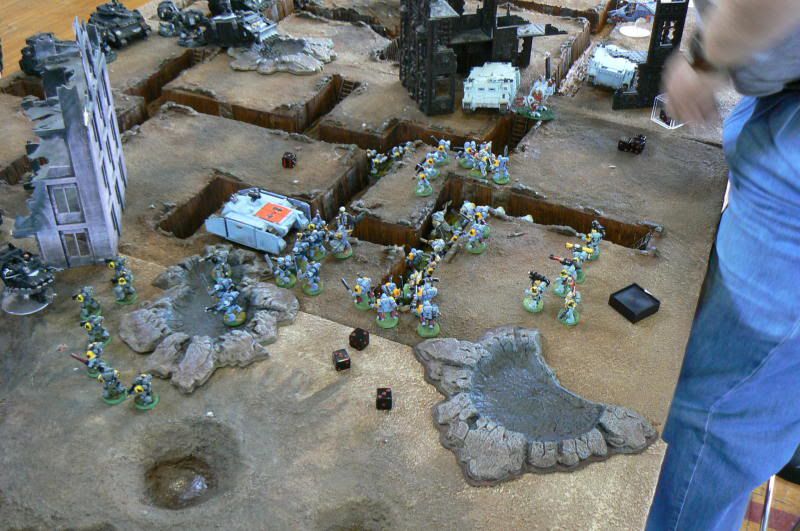
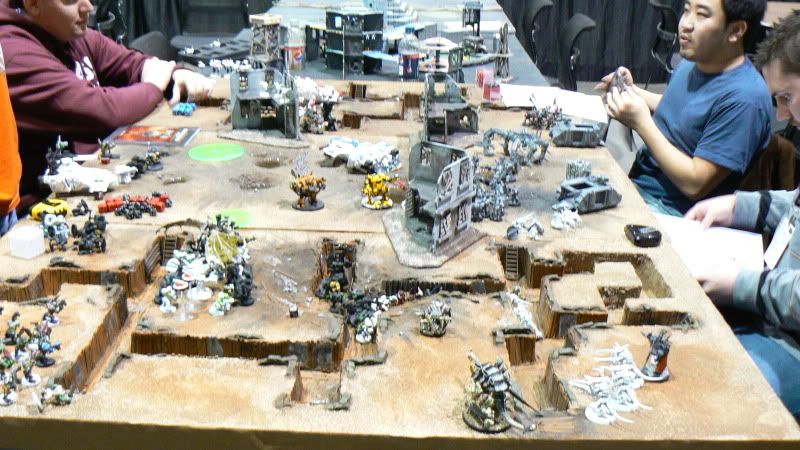
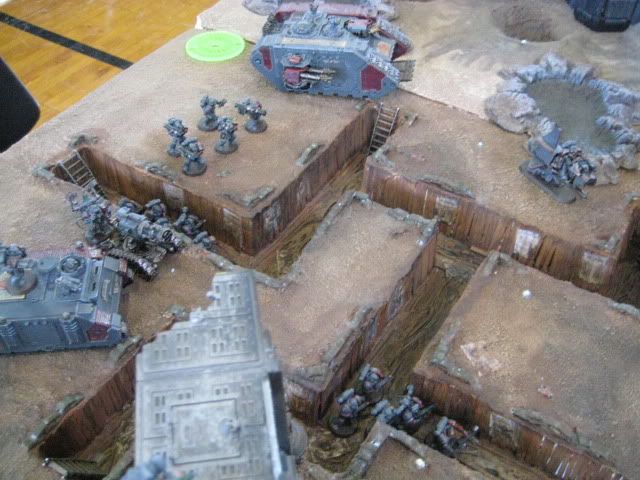
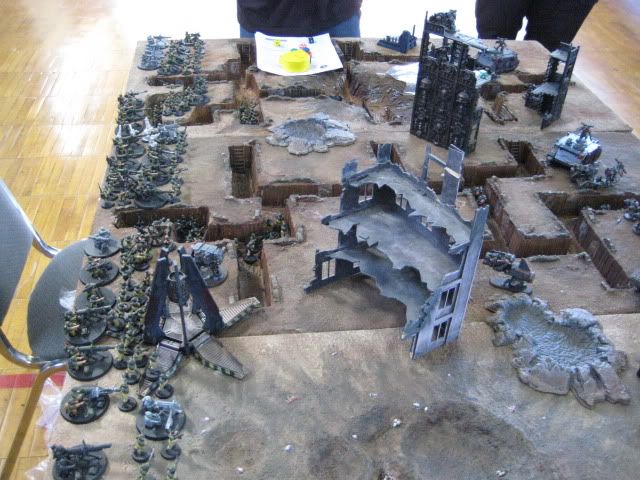
Pics from the 2010 Boston Brawl
GT Trench table
Round 1 pics
SW vs
SM 
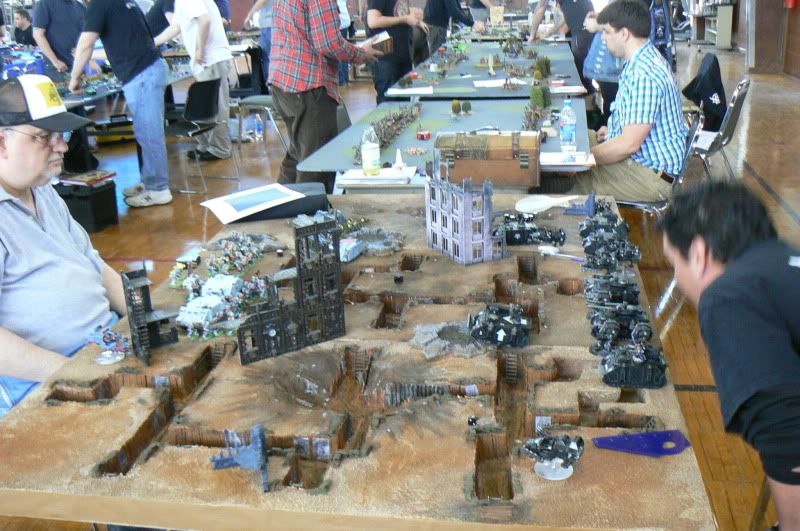
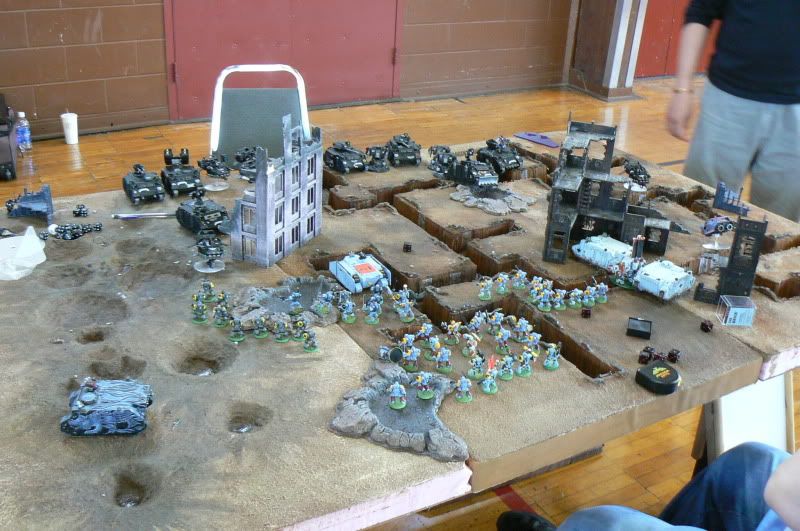

Round 2
IG vs
SM 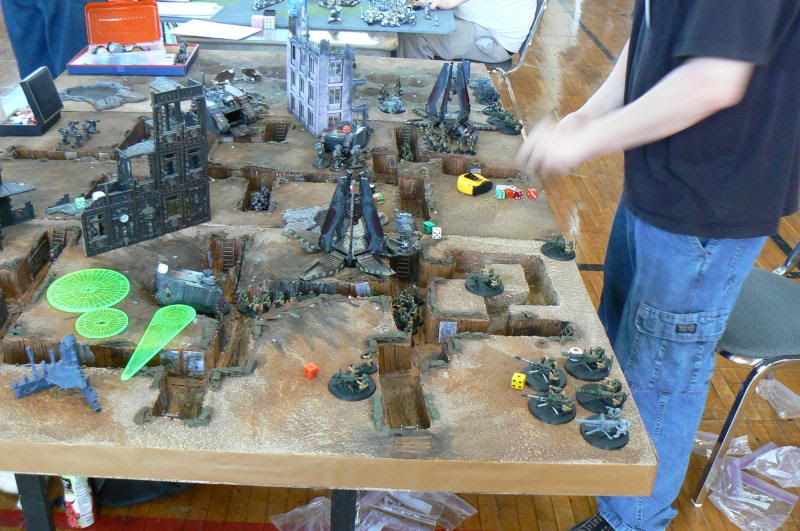
Originally Posted (Nov 6 2010)
Just added water Fx resin to most of the craters on the crater board. The brand I used is supposed to set in 12-24hrs depending on temp/humidity (Ideal temp 70deg far.) I'll check it Tuesday to see how far it has come. and take pics.
I used the product "magic water"
MFG linky
http://www.unrealdetails.com/ Originally Posted (Mar 19 2011)
Pic of the Board in use at PAX east 2011
 Automatically Appended Next Post:
 Knightley wrote:Awesome looking board.
Looks like it slightly warping towards the bottom of your post, is it strengthened in anyway?
Regarding the helmets, ultramarines and blood angel helmets would be my votes.
Automatically Appended Next Post: superdude29 wrote:really awesome stuff

but yeah it does look a little warped at the bottom
lol
Automatically Appended Next Post: They are actually pretty level the appearance of warping was mostly the angle of the photo.
Automatically Appended Next Post: More Dakka wrote:This is 100% win!
Keep up the good work!
I am subscribed.
Automatically Appended Next Post: InquisitorMack wrote:After seeing your boards for a couple of years, I was amazed to meet you & learn how much of your terrain you sculpted & molded yourself. This stuff is awesome.
Photos from 2010 Boston Brawl:


 Blood Angels - 2000
  Iron Warriors - 2000
  Orks -2000
  Imperial Guard - 2000
 Eldar - 2000
  Hive Fleet Krakken - 2000
  Dark Eldar - 2000
  Necrons - 2000
  Grey Knights - 2000
  Daemons - 2000
  Ravenwing - 2000


 2000 pts
  2000 pts
 that is amazing work the gritty feel to the trenches and use of house hold products is great


 My P&M Blog :


