Switch Theme:

How to make a hatch with plasticard  [RSS] Share on facebook Share on Twitter Submit to Reddit
»
Author Message
Advert


Forum adverts like this one are shown to any user who is not logged in. Join us by filling out a tiny 3 field form and you will get your own, free, dakka user account which gives a good range of benefits to you:
  • No adverts like this in the forums anymore.
  • Times and dates in your local timezone.
  • Full tracking of what you have read so you can skip to your first unread post, easily see what has changed since you last logged in, and easily see what is new at a glance.
  • Email notifications for threads you want to watch closely.
  • Being a part of the oldest wargaming community on the net.
If you are already a member then feel free to login now.


Made in us
Storm Trooper with Maglight


New Hampshire, US

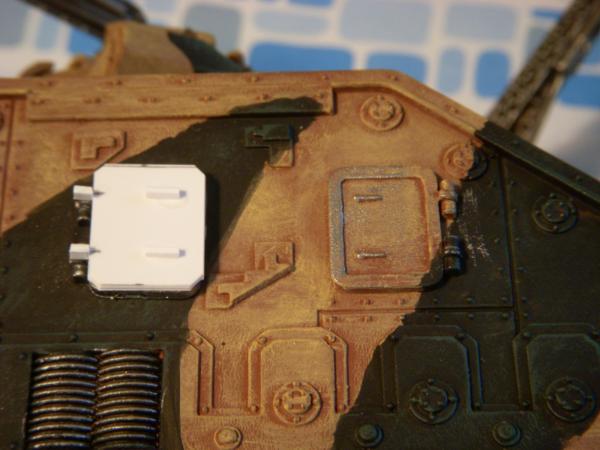
I am going to show Jarl how to make a hatch for his LRBT.


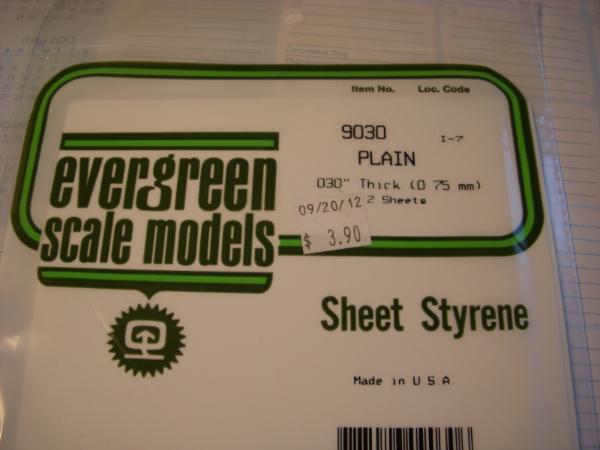
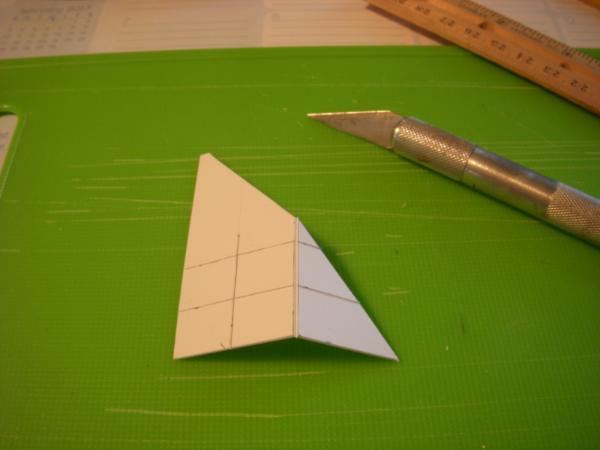
This is the plasticard that I use.


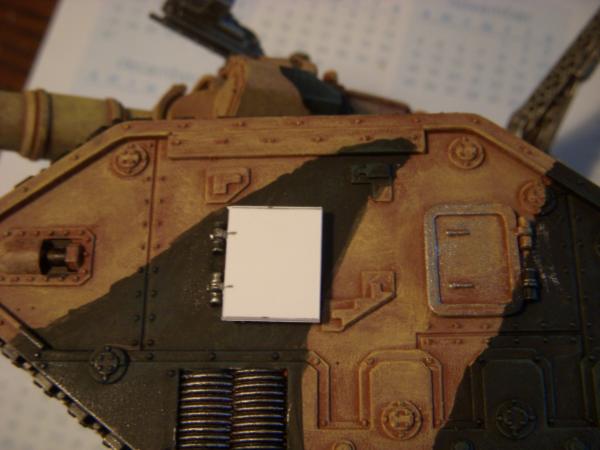
1. Measure the space you need to cover; 2. Draw the outline of your piece on the plasticard


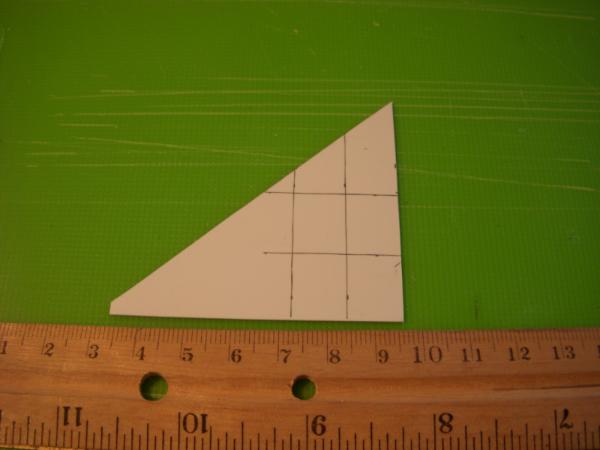
3. Cut it out by scoring with an x-acto knife and then folding the plasticard til it snaps


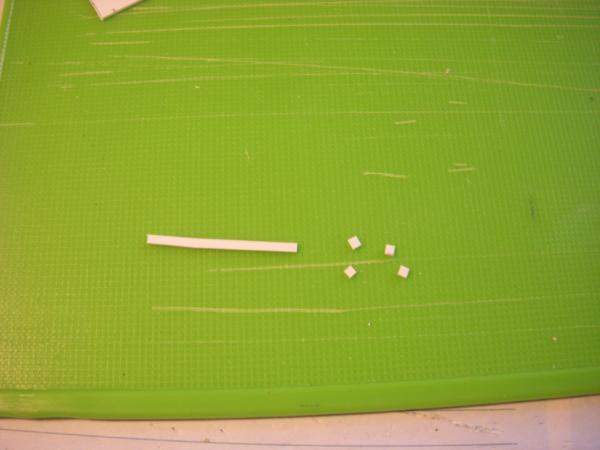
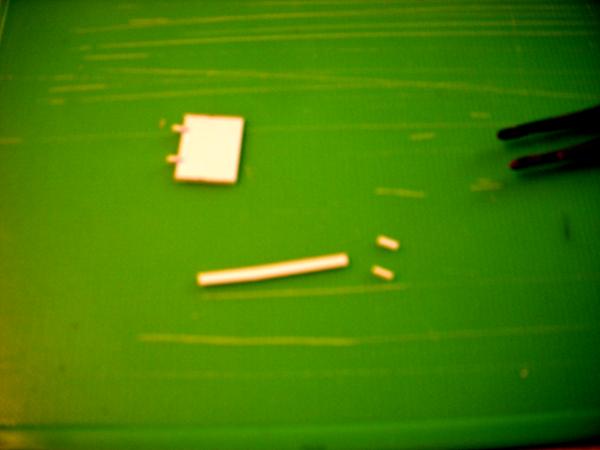
4. Measure out where your hinge needs to be, make a mark on the hatch


5. Cut a thin strip of plasticard for the hinge; 6. Cut out the little squares


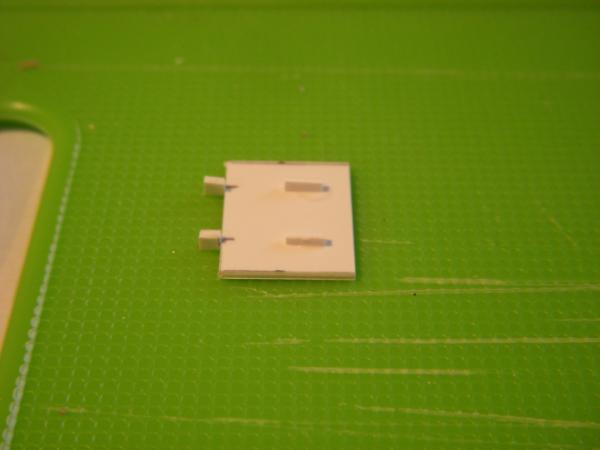
7. Glue the little squares to the side of the hatch, on edge


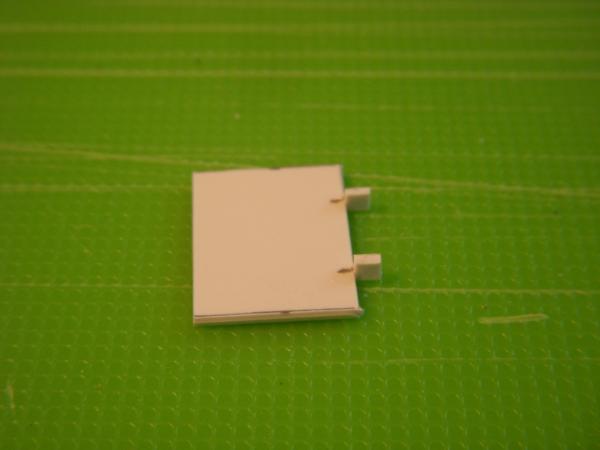
8. Cut another, longer strip from the thin piece, then cut that piece in half, lengthwise (sorry, couldn't get this to focus, but you get the idea)


9. Glue them on the hatch, edge-wise, for the handles


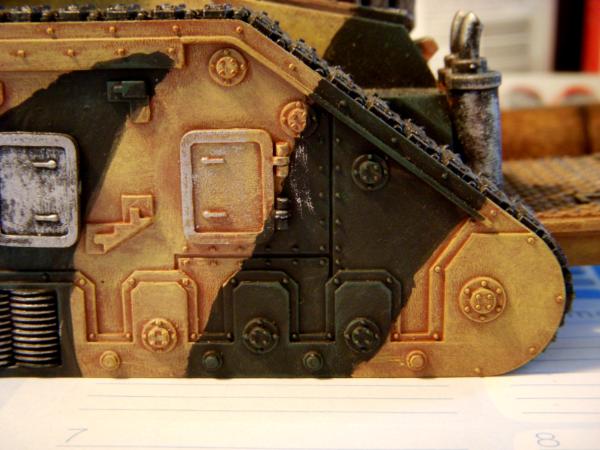
Voila! You can cut off the corners and even sand them round of you really want it to match up with the others


Forum Index » Painting & Modeling Tutorials
Go to: