Forum adverts like this one are shown to any user who is not logged in. Join us by filling out a tiny 3 field form and you will get your own, free, dakka user account which gives a good range of benefits to you:
No adverts like this in the forums anymore.
Times and dates in your local timezone.
Full tracking of what you have read so you can skip to your first unread post, easily see what has changed since you last logged in, and easily see what is new at a glance.
Email notifications for threads you want to watch closely.
Being a part of the oldest wargaming community on the net.
If you are already a member then feel free to login now.
2014/04/17 16:01:05
Subject: Going it solo - The Battle of Annon 9 - part 2 (fully painted with pics)
Welcome to the rolling fields of Annon 9 once a peaceful backwater planet of the Imperium. Recently there has been disturbing sightings from the local populace of foul creatures running rampant on the moonlit fields surrounding the Cathedral city of Bustyrama. With one of the Emperors great Cathedrals possibly at risk an initial strike force of the Sisters of the Nights Rose has been tasked with investigating the rumours spreading out from Bustyrama. Either the populace will be reigned in or the source of the sighting exterminated and then the populace silenced, either way it’s not going to be good for those in question.
After the slaughter of the traitorous scum Canoness Markee sent out a message of warning back to Terra of the disturbing findings that had occurred on Annon 9, the enemy may have been defeated but was this the entirety of the Renegade band or were there more foes yet to be encountered.
The transmission was intercepted by the Strike Cruiser Sword of Contrition returning from a routine Xenos Intel gathering mission led by Inquisitor Mitra. The Strike Cruisers orders were changed and a new destination given to the Navigators, Annon 9, Calixis Sector.
Within days of orbiting Annon 9 more traces of the Dark Wolves Chapter were located on the planet surface, Inquisitor Mitra sent down a Kill Team to gather information by any means necessary. The Calix Sector is not a safe place for a lone Imperial Strike Cruiser. The mission is to gather information from the planet surface/ Sister of the Nights Rose and then report back to Terra on their findings.
Kill Team assemble and prepare for drop Pod departure.
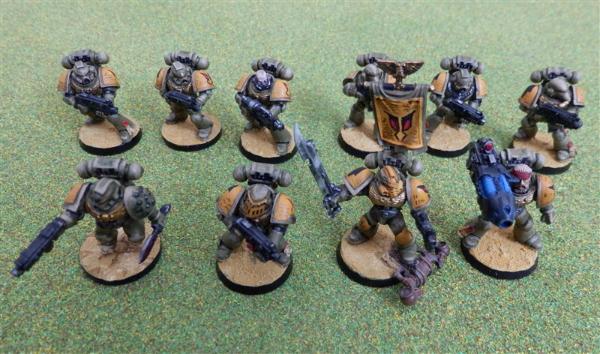
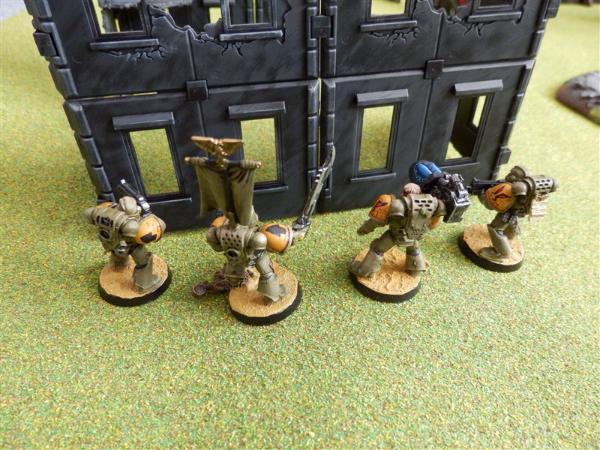
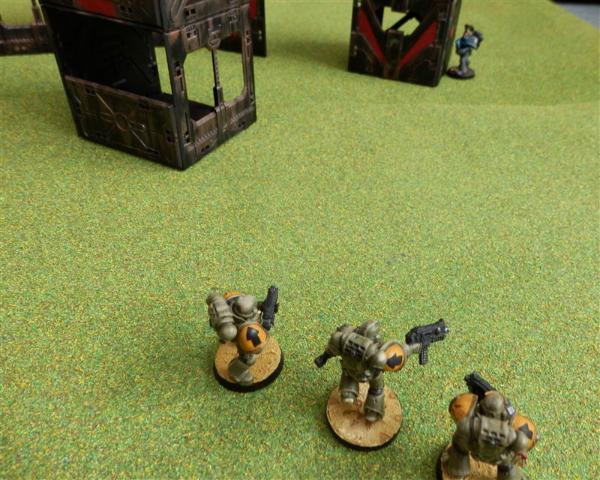
Mantis Warrior Tactical Squad Beta 1 reporting for duty.
Tactical Squad
5 extra
Plasma Cannon
Grav Gun
V Sergeant
Powersword
Points 200
From the front row from left to right we have
Brother Nardine - Combat Specialist – Rage
Brother Calbur - Weapon Specialist – Master Crafted Bolt Gun
Sergeant Nocterrus - Chasing Pomotion
Brother Hanksway - Indomitable Specialist – Feel No Pain
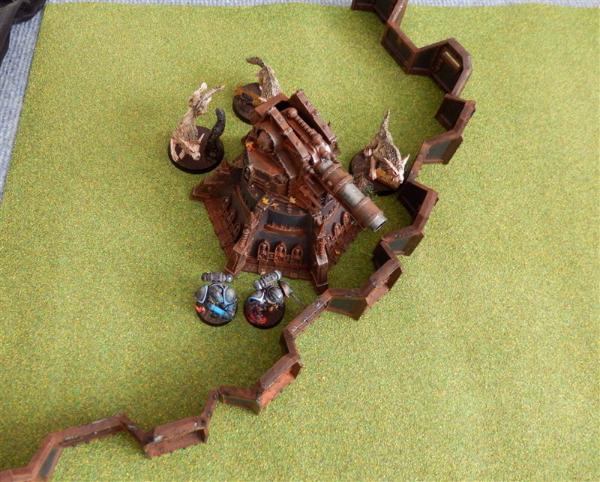
Skyrar’s Dark Wolves Kill Team
Wolf Guard 5 man squad
Combi Plasma x2
Combi Melta
JumpPack
Powersword
Wolf Claw
Wolves x5
200 points
From left to right
Tarok Teeth Collector
Slash Grimtooth - Combat Specialist – hatred
Brother Render - Zealot
Archase Firsts for Blood - Dirty Fighter - Shred
Nightsrage - Weapon Specialist – Master Crafted Combi Plasma
The Mission - Infiltrate Camp (Dark Wolves are the Infiltrators) - Primary Mission the Dark Wolves earn 1 VP for each model that leaves the battlefield via the defenders table edge. The defender earns 1 VP for every three models destroyed.
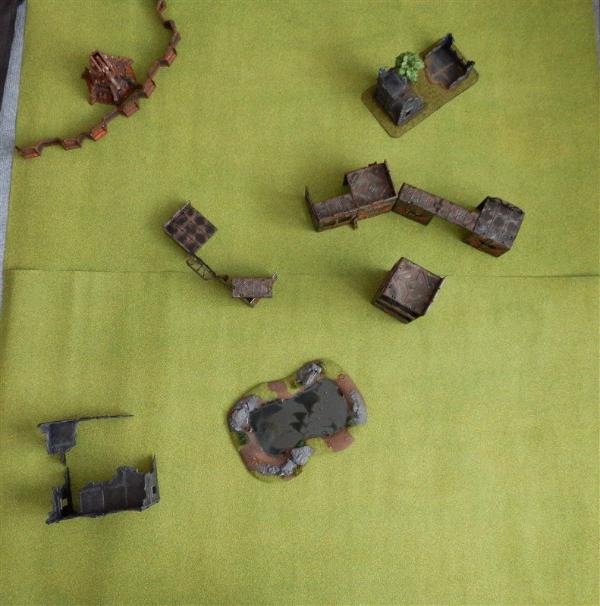
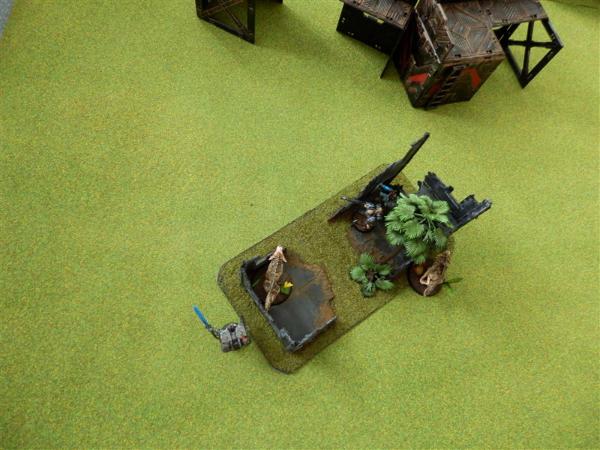
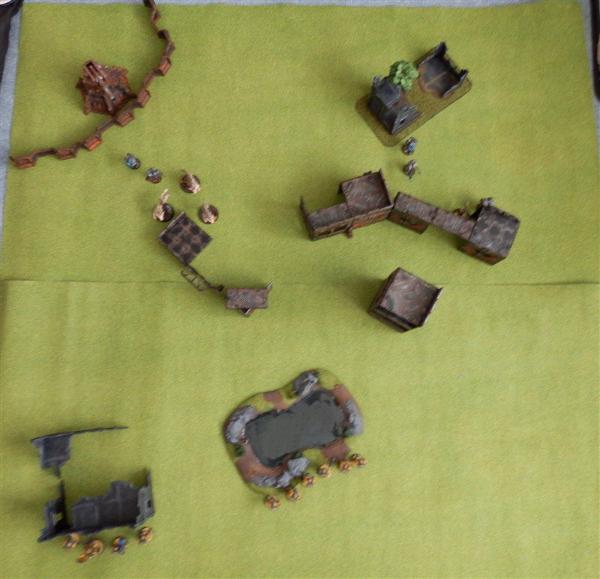
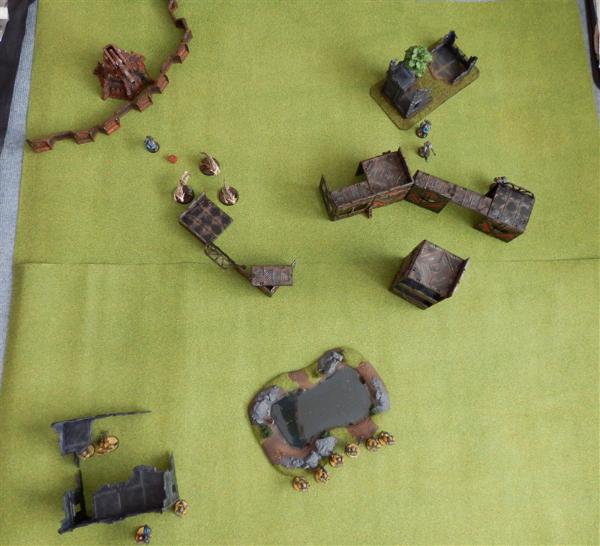
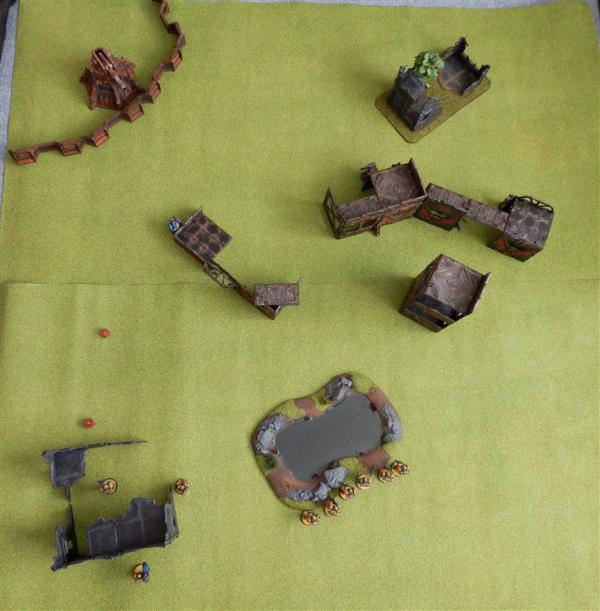
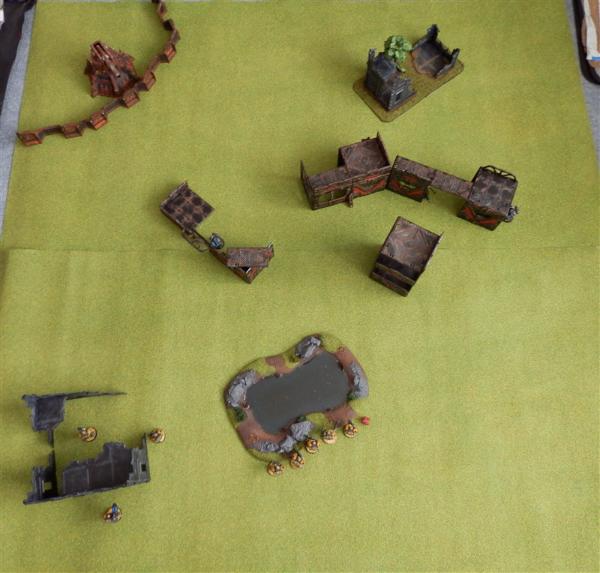
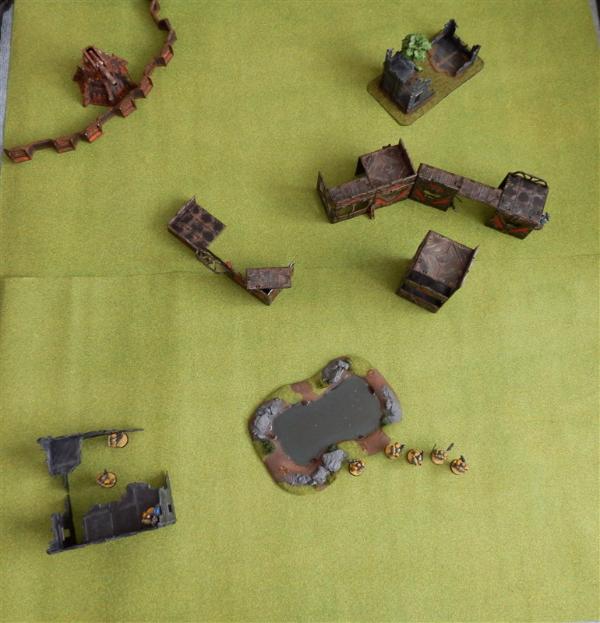
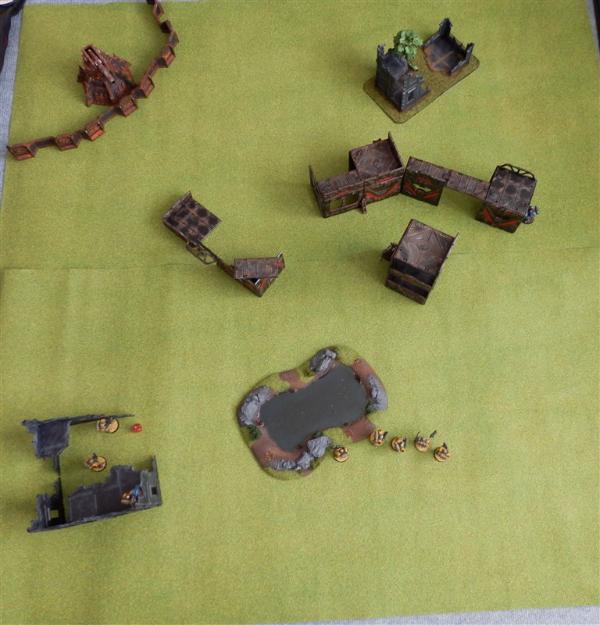
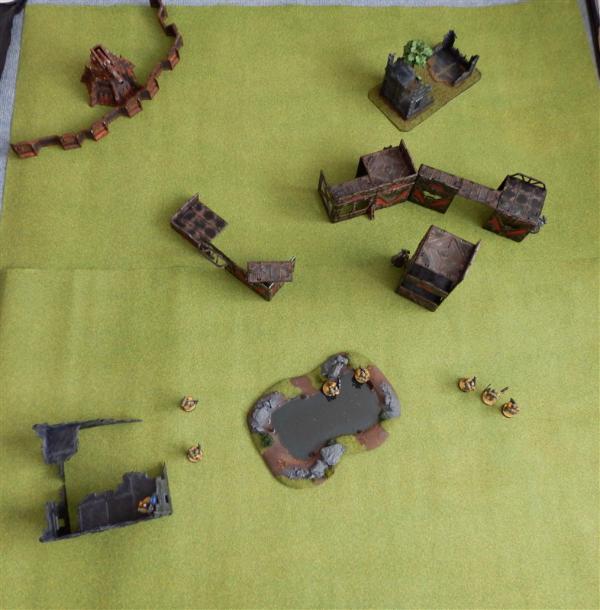
The field of battle
Deployment
Spoiler:
The Dark Wolves deployed first as the infiltrators
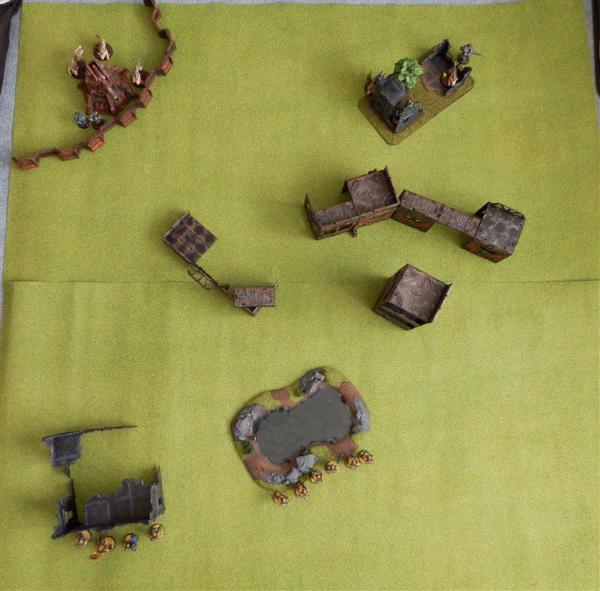
Turn 1
Spoiler:
The Dark Wolves move up using cover but will be out of range this turn.
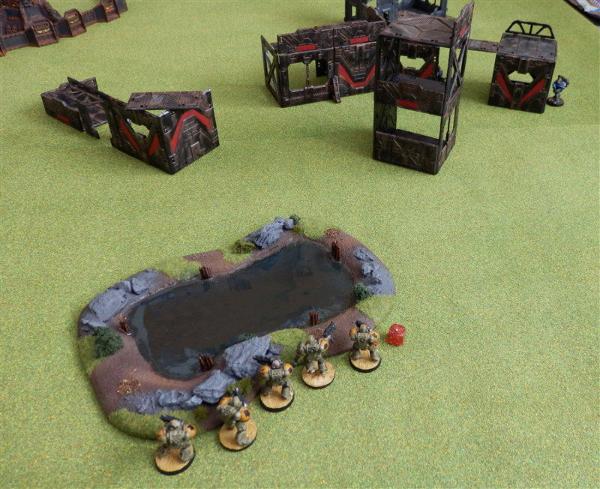
The MW's turn 1
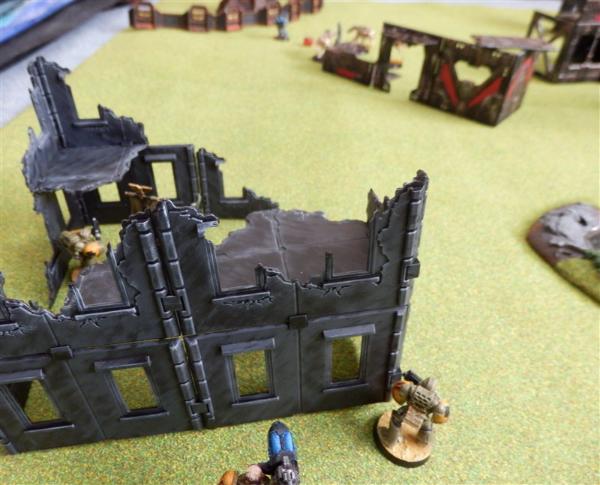
Brother Hanksway thinks he's got a good thing going on and can just see one of the traitor marines in the distance
He holds his breath and lets Plasma fly for a direct hit melting the marine where he stood.
(red dice mark kills)
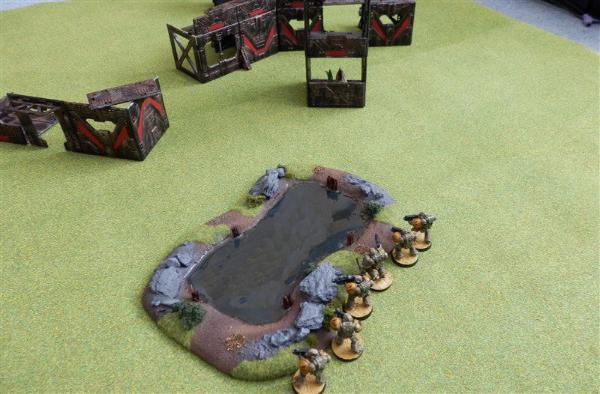
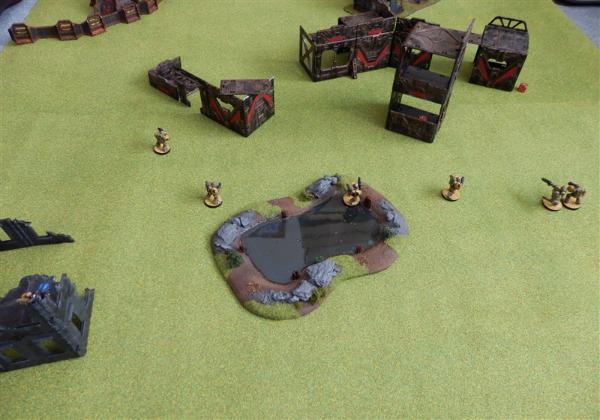
on the other side by the pond the farthest right marine fires a stray shot with his bolt gun taking down a wolf.
At the end of turn one the Dark Wolves are a few members down.
Turn 2
Spoiler:
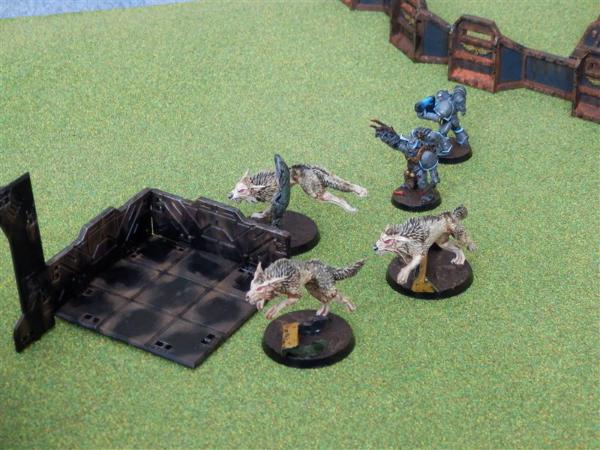
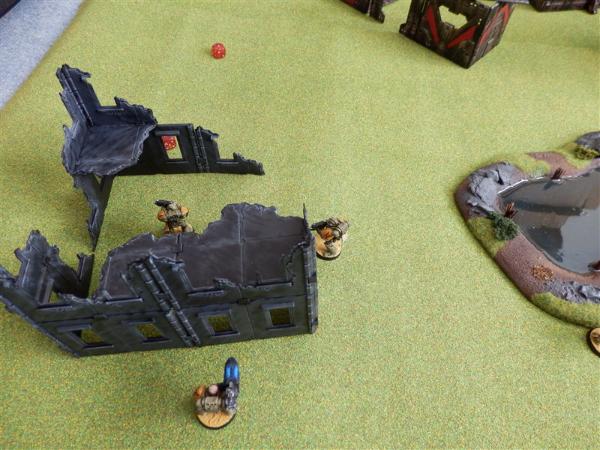
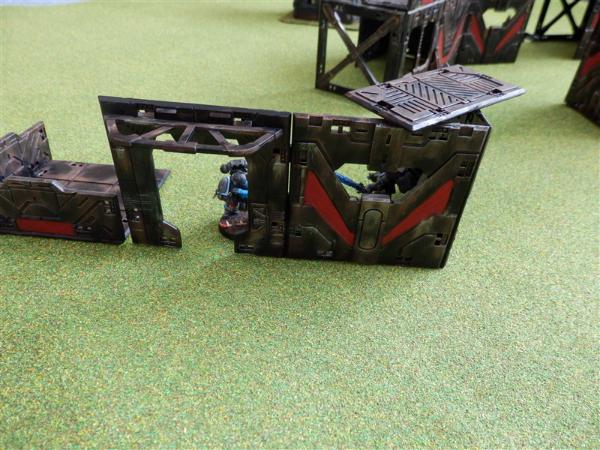
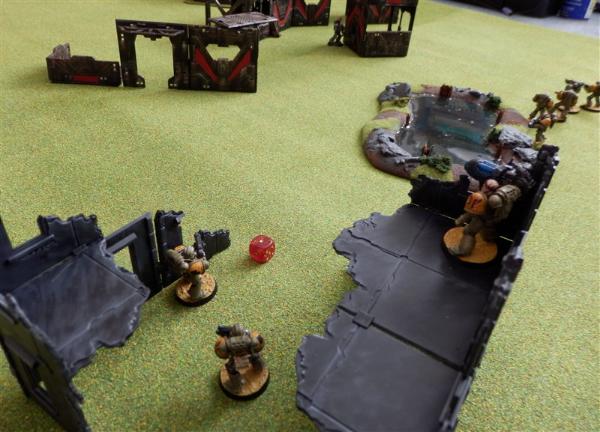
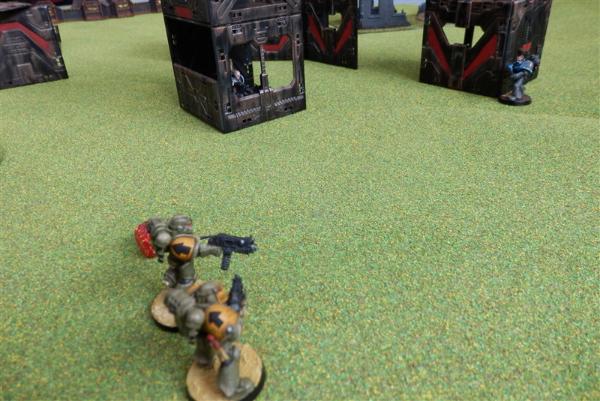
The three wolves on the left make a run for it from cover and try and charge the MW Seargent, two wolves manage to get into combat the first falling to the Sergeants Power Sword and then the Sergeant was bundled by the second wolf and was clawed to death. The victorious wolf then ran and hid behind the wall.
On the right there were a few long range pot shots that didn't amount to anything the remaining wolf ran into cover.
End of the wolves turn looked like this.
MW turn 2
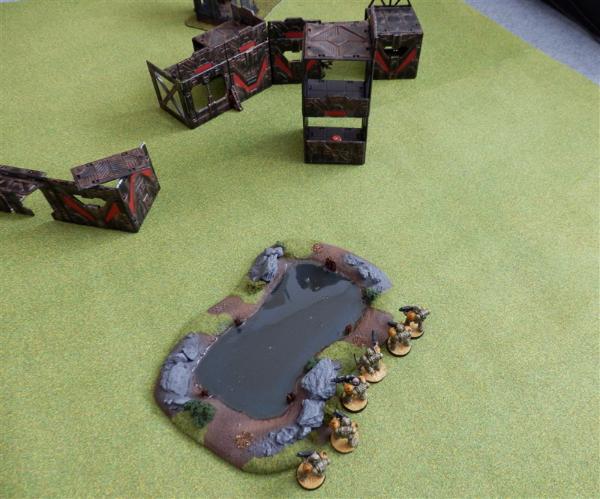
The two bolter Marines on the left took out the reaming wolves without issue, the Heavy Plasma tried for the Combi Plasma wolf still hiding behind cover but missed badly.
The marines behind the pond took out the wolf in cover but failed to scratch the armour on the marines in cover further behind.
End of turn and the Dark Wolves are at 50% casualties so will be taking break tests every turn which they will always pass.
Turn 3
Spoiler:
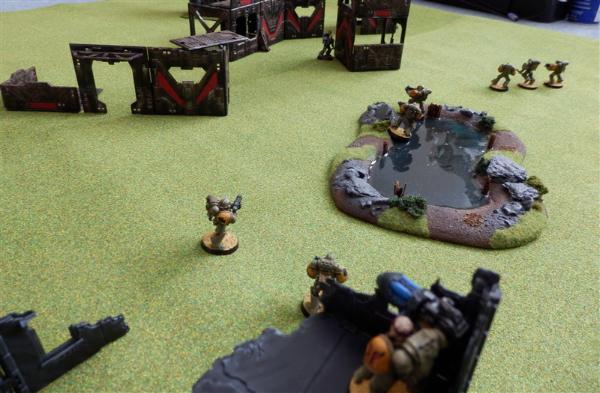
The two Dark Wolves in cover on the right take a few pot shots and take down a MW.
The other combi plasma Dark Wolf and The Dark Wolf with the jump pack go into cover
Ending the turn as follows
MW turn 3
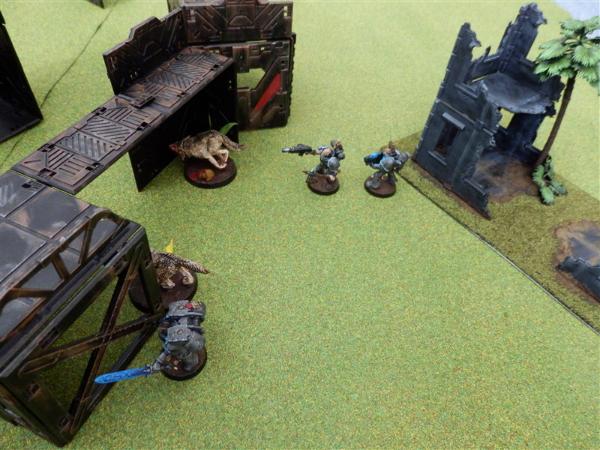
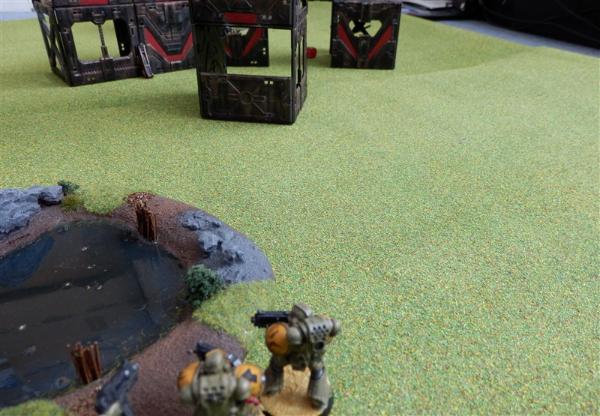
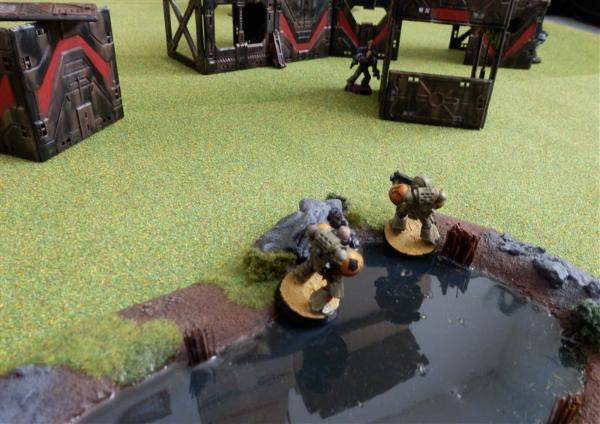
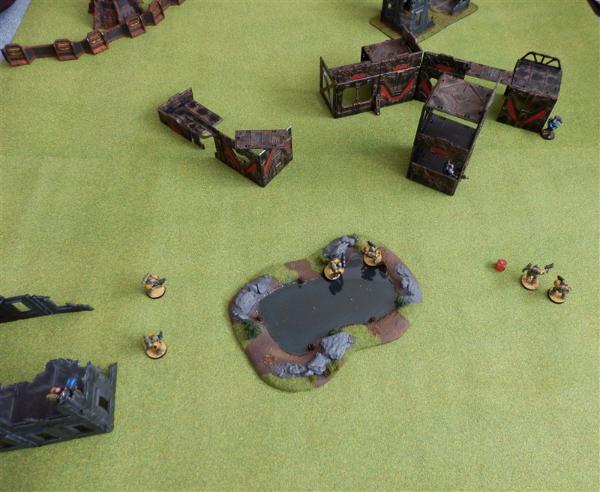
The marines on the left move round into cover while the Heavy Plasma takes up position on top of the building. One of the marines take a long range pot shot and drops the combi plasma guy.
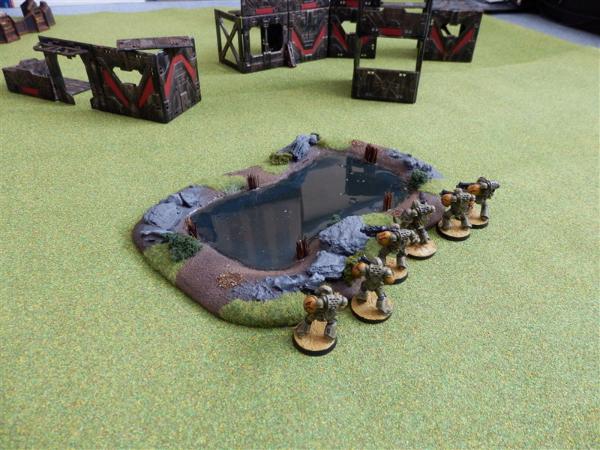
The MW marines hiding behind the pond decide its time to take a casual stroll towards the Dark Wolves who are still hiding in cover. They fail to hit anything though.
End of turn
Turn 4
Spoiler:
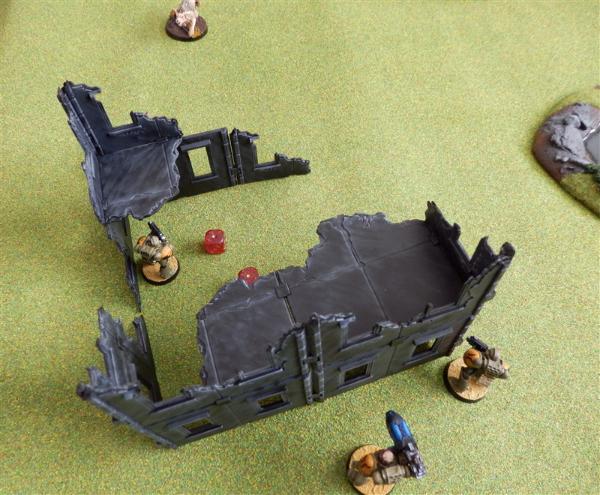
The Dark Wolf with the jump pack goes flying into combat with the MW that just killed his buddy but he was shot in the face on his way in, dropping to the ground in front of the MW as a dead corpse. That will teach him to not wear a helmet!
On the right the last remaining two Dark Wolves split up but fail to hit any of their targets.
MW turn 4
Its now eight against two the Dark Wolves are in for a beating this turn, but oddly not. With all of their weapons brought to bare the MW's fail to take down either Dark Wolf
End of turn 4
Turn 5
Spoiler:
The Dark Wolves are just hanging in by the skin of their teeth now.
The combi melta guy goes into cover and fires off his melta round taking down a MW while the other Dark Wolf misses.
End of turn
MW turn 5
The two guys left on the far right return fire with two shots each both taking out a Dark Wolf each.
Grand Victory for the Imperium
After thoughts
Spoiler:
The Dark Wolves had a lot of potential but close combat isn't the best route to go in Kill Team as you are nearly always going to be left in the open after you kill, this could be down to the amount of scenery though. The Dark Wolves really did get it handed to them again though this game, until next time!
Wow! What an improvement on terrain from the last report! You've been a busy man these last few months. I enjoyed the previous bat rep, but the painted terrain made this one much more enjoyable.
Did you manage to get any work done of those Man O War fleets you were talking about?
2014/04/17 22:13:22
Subject: Going it solo - The Battle of Annon 9 - part 2 (fully painted with pics)
LeadLegion wrote: Wow! What an improvement on terrain from the last report! You've been a busy man these last few months. I enjoyed the previous bat rep, but the painted terrain made this one much more enjoyable.
Did you manage to get any work done of those Man O War fleets you were talking about?
Thanks it's so much better with painted terrain
Glad you enjoyed the batrep, I've started to pick up the minis for the next one which should be played out in a few months time lol.
In regards to the Man O War fleets they are next on my painting table ready for my brush tomorrow. I'll be posting wip shots on my blog.


 blog!
blog! 1,500 Points II
  125
125