Well, I made one. It took a while, and it may have taken a shorter amount of time if I hadn't decided to mash it with a predator like my other one, but it is done.
I'm quite proud of it.
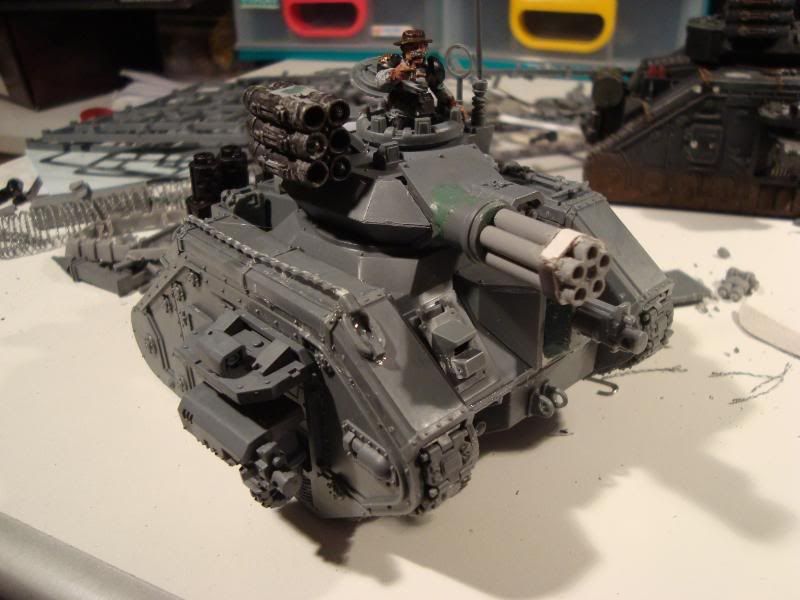
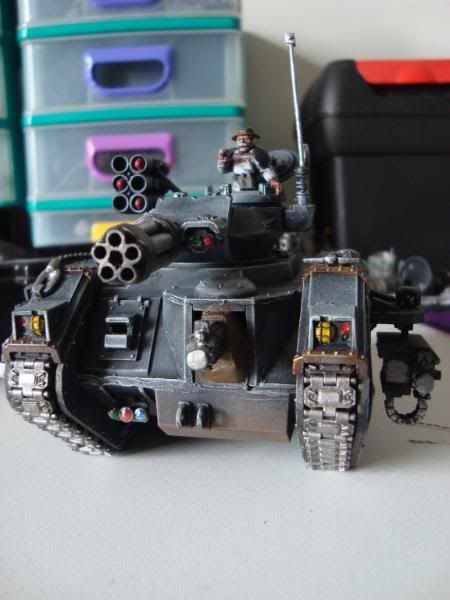
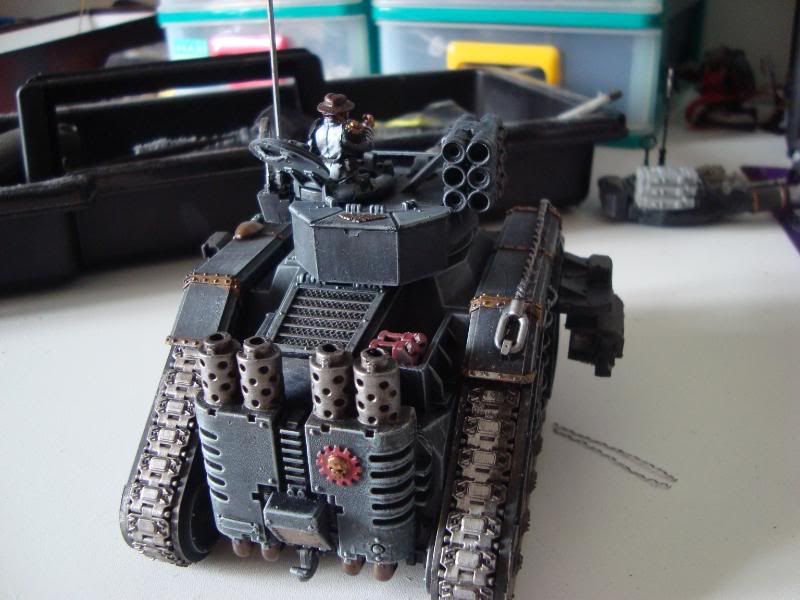
The back uses the rear of a land raider which I won in a conversion competition, the sponsors and heavy bolter is removable, as is the gatling gun itself (to be later interchangeable with a vanquisher cannon), the commander can be removed and the hatch closed (the commander counts as Pask)
Also, I anticipated being asked how I did it, so I took pictures of each step. Here is a tutorial for both the making of the gatling gun and the mixing with the predator (which could have won me a lot of moonies if I had gotten paid a couple of days earlier).
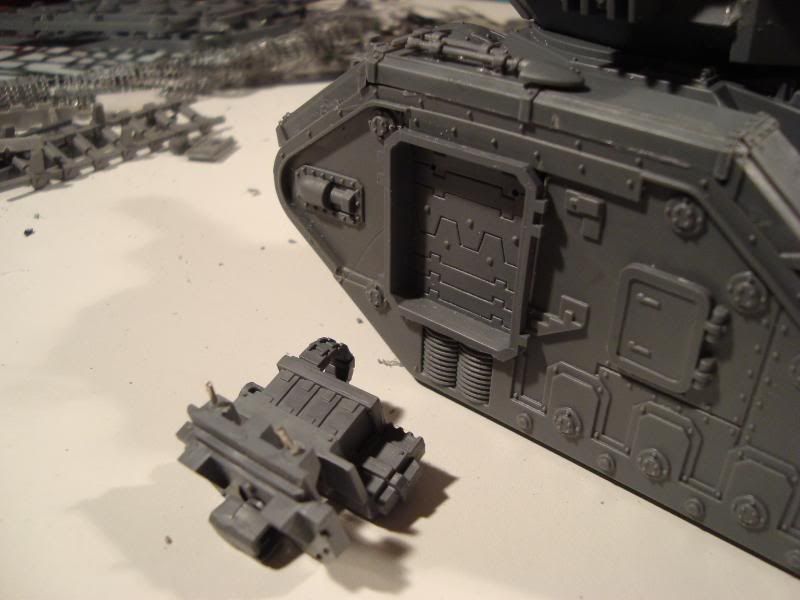
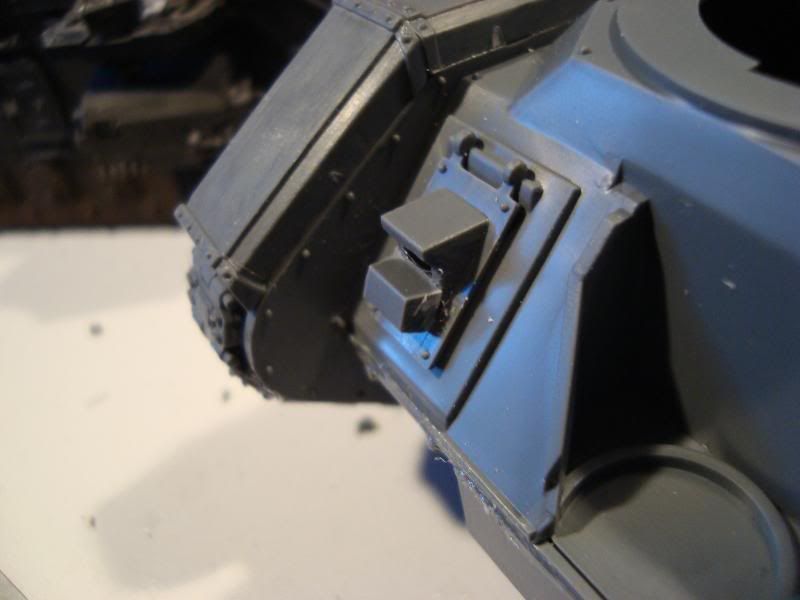
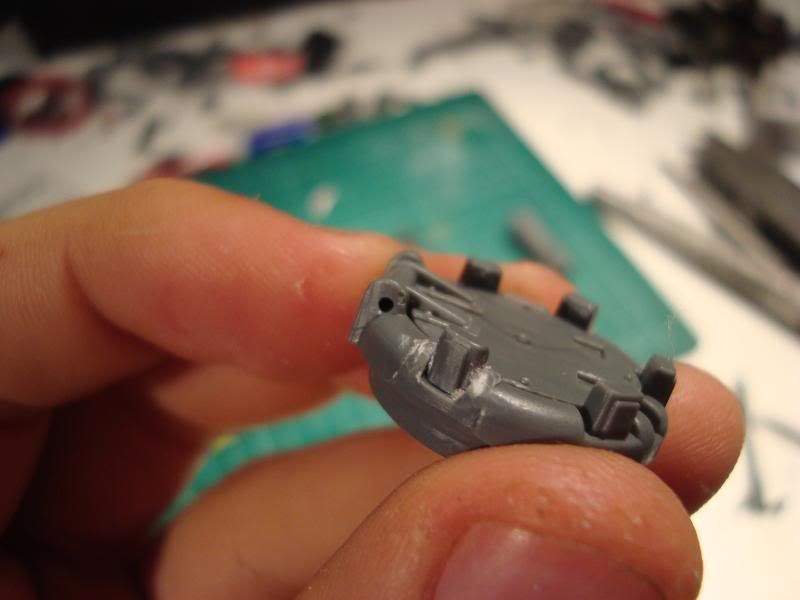
First step first is attaching these indents for the sponsors.
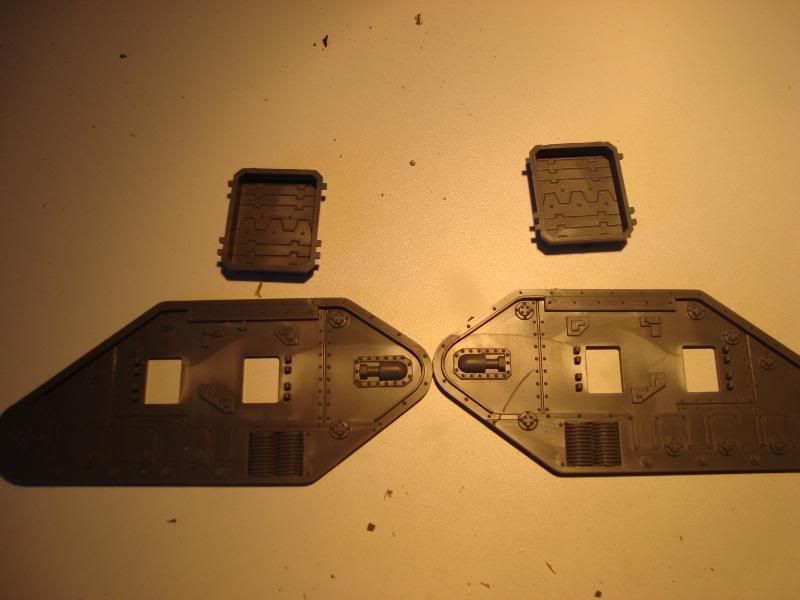
Using a knife, repeatedly score down the seam between the rivets, until you cut through. Do the same along at the other bit pictured.
The do the top and bottom. It takes quite a while to finally get through, so just keep at it. If you cut at those bits, the hole should be large enough to fit the predator sponsor bit on, which will stick out a little.
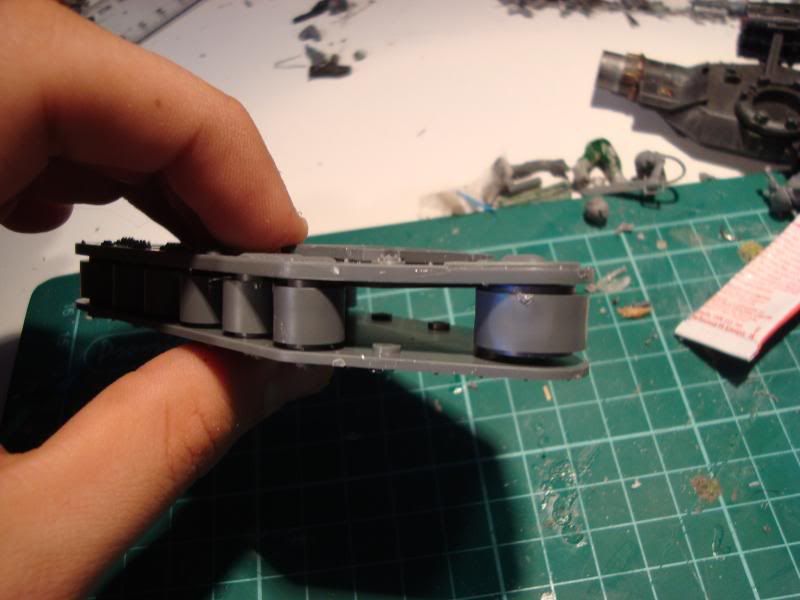
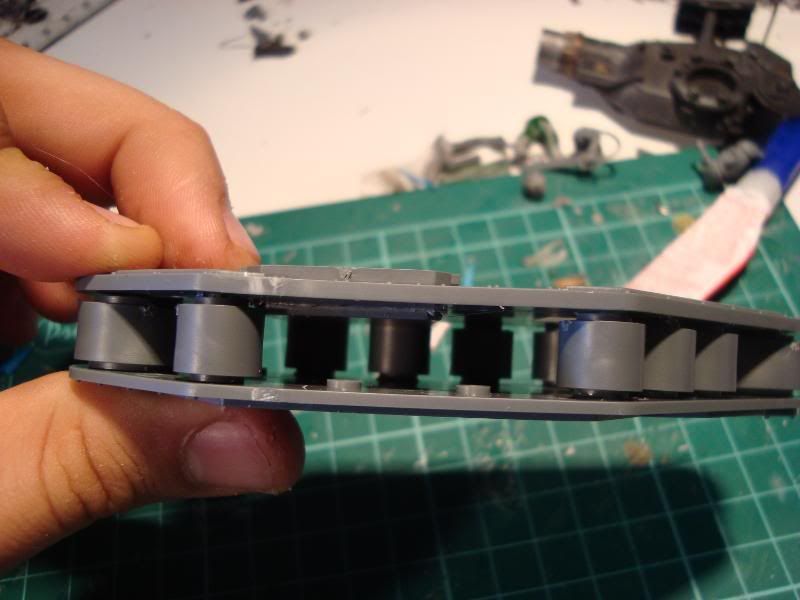
Assemble the rest of the tracks as normal, although you may have to leave off a few of the wheels. (sorry, I forgot to take a picture before I glued the other side on)
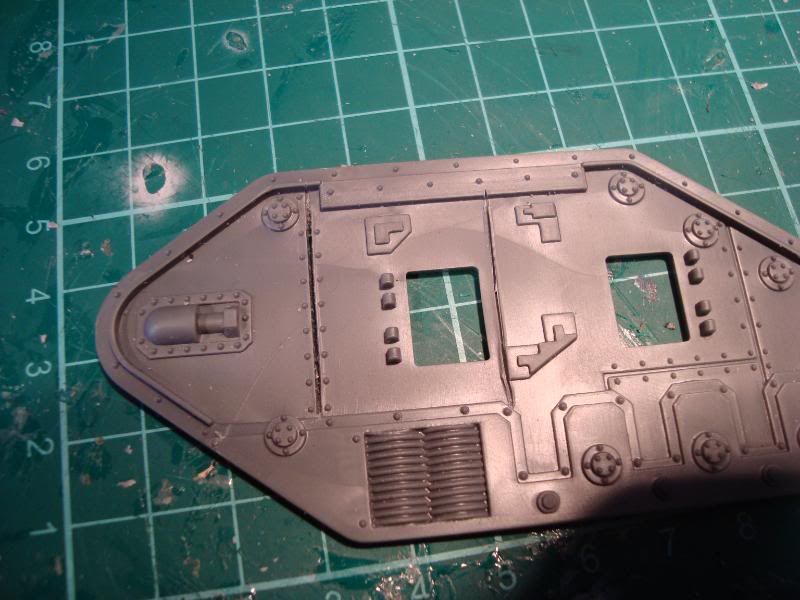
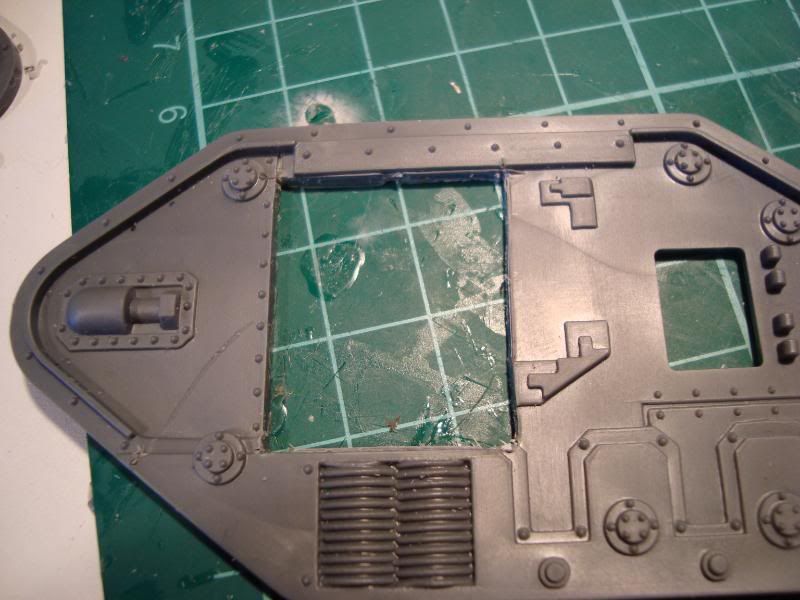
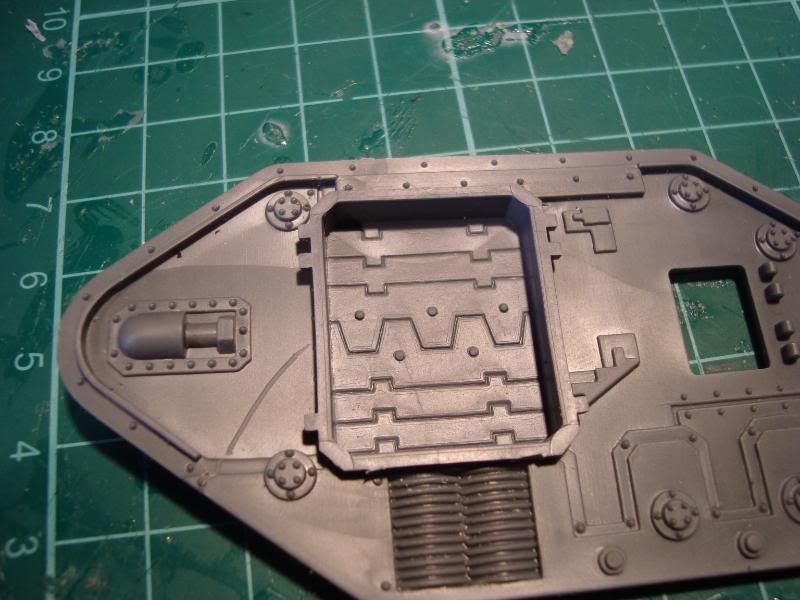
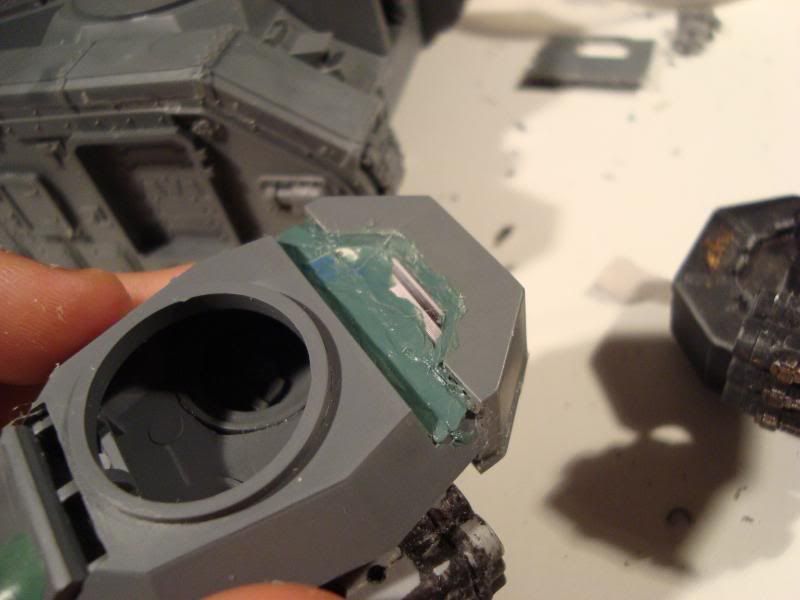
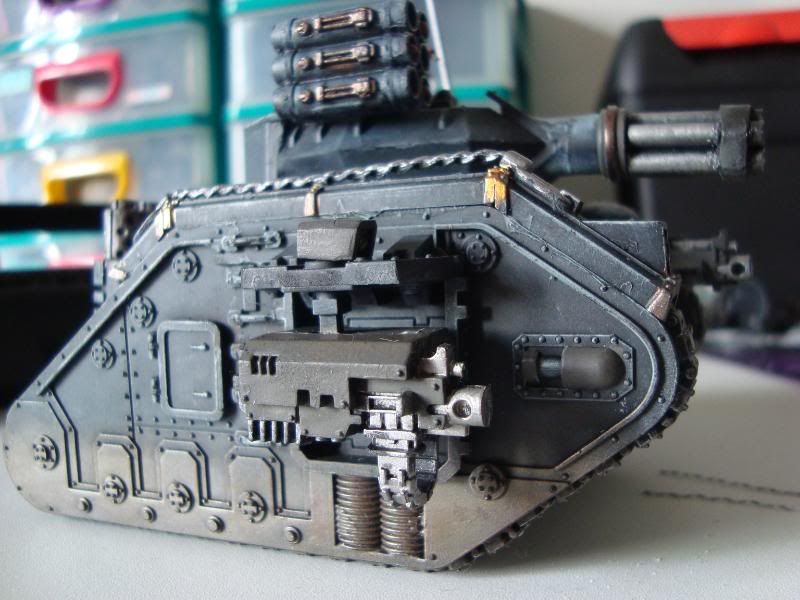
The hull is assembled as normal, but seeing as I had the land raider bit lying around, I decided to glue it on. It required a little sanding to get the back flat and to get a snug fit.

The viewport is also reinforced with a bit of sprue.
To assemble the turret, first glue the autocannon predator turret together and then cut the auto cannon off.
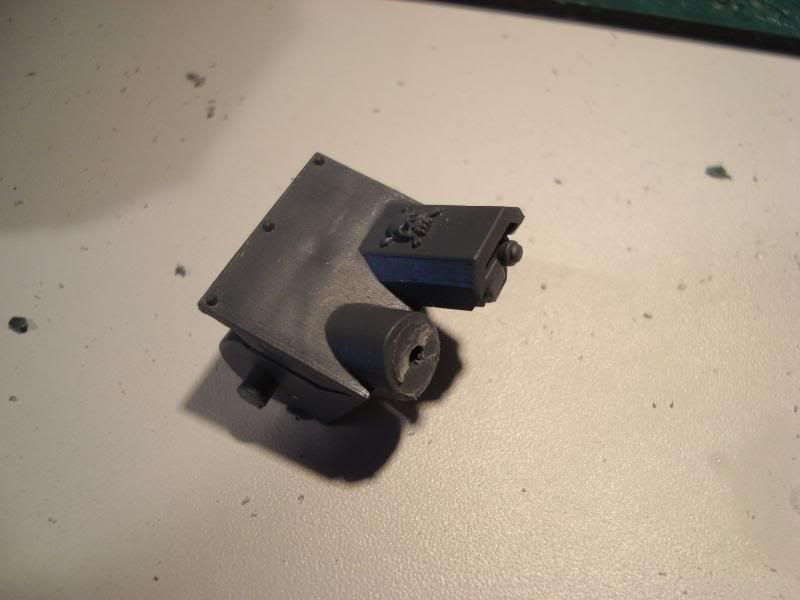
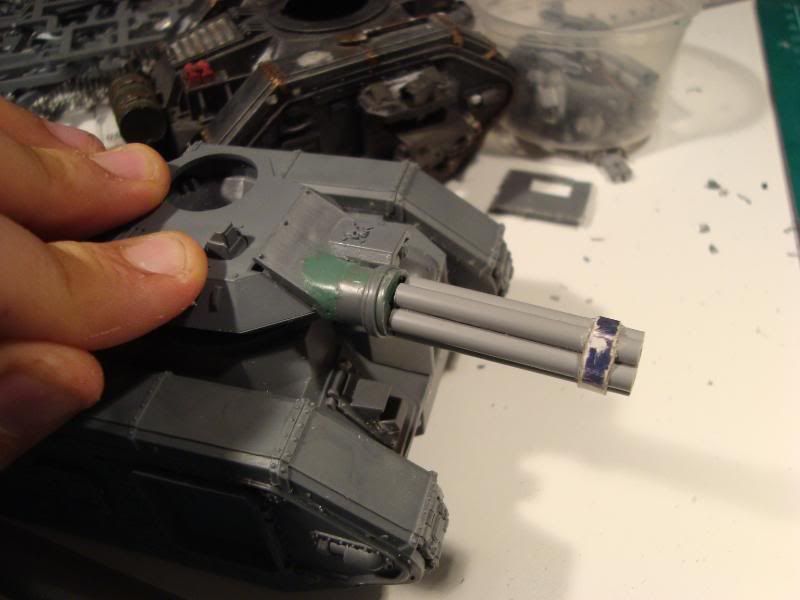
The Battle cannon is cut here (do this even if you just want the gatling gun)

With a bit of filing of the predator turret, the battle cannon can be glued on.

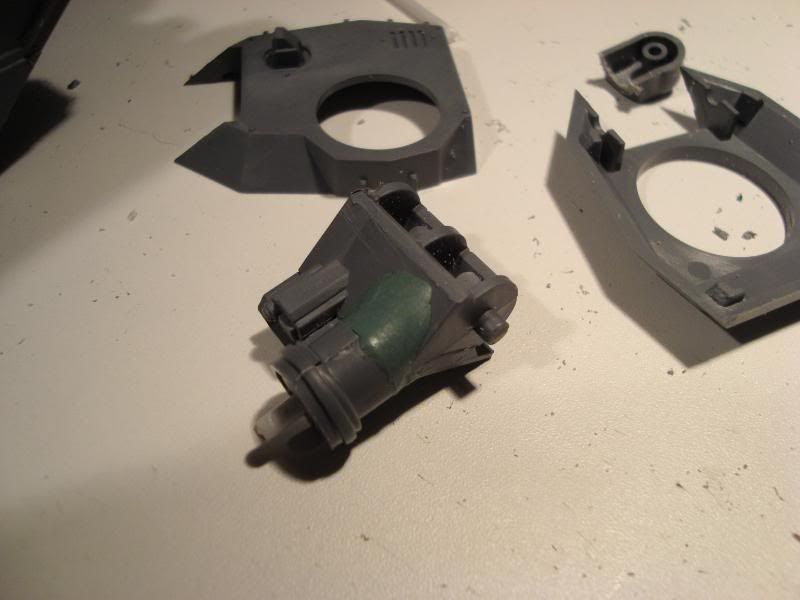
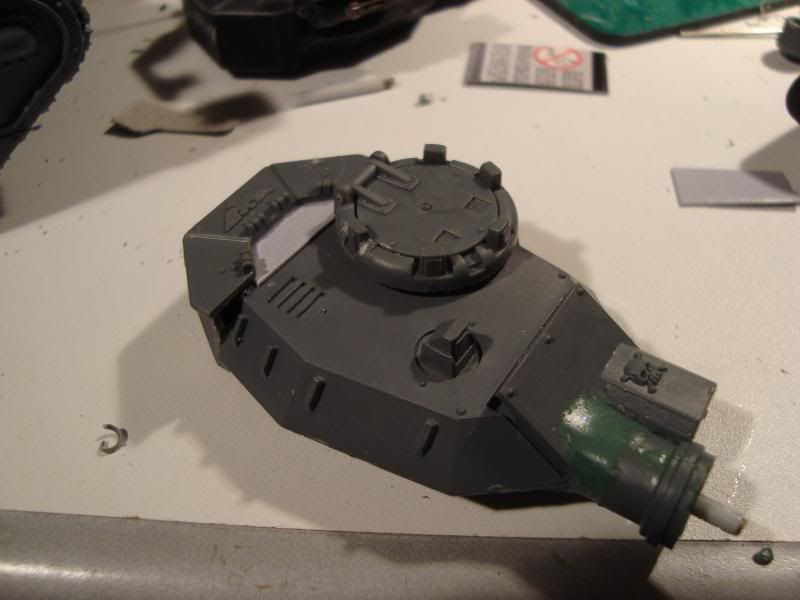
Ignore the fact that the gatling gun is missing in this picture if you just want the battle cannon. Fill in the gaps with green stuff. Also, file down the bottom bit of the turret just a tad (the flat, riveted, rectangular bits) so that it fits onto the leman russ body)
Now, onto the Gatling gun itself. You need around 20cm of 3mm wide plastic tube (I got mine from some spare boat modelling kits in my school's
DT department. I looked for ages, but I couldn't find any in any hardware or modelling shops, but apparently there are some which sell it). You also need a cotton ear bud (or Q-tip if you happen to live in the us)
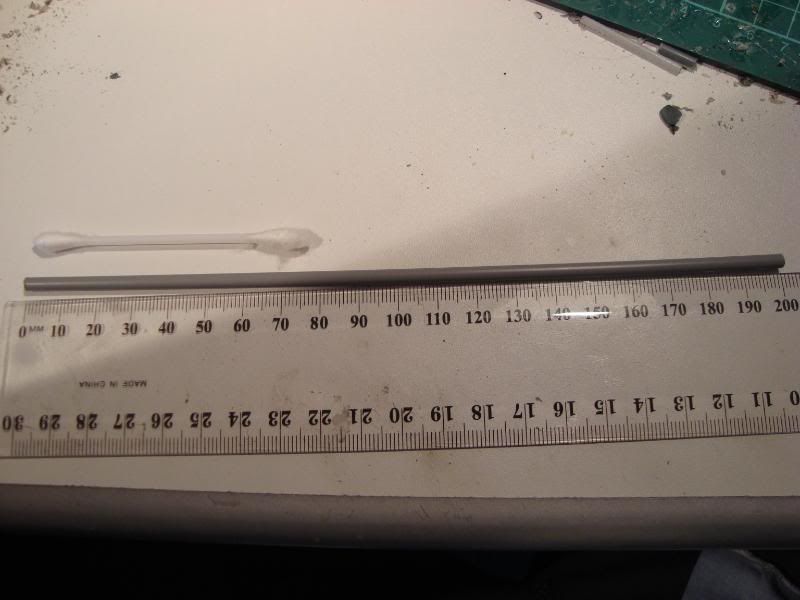
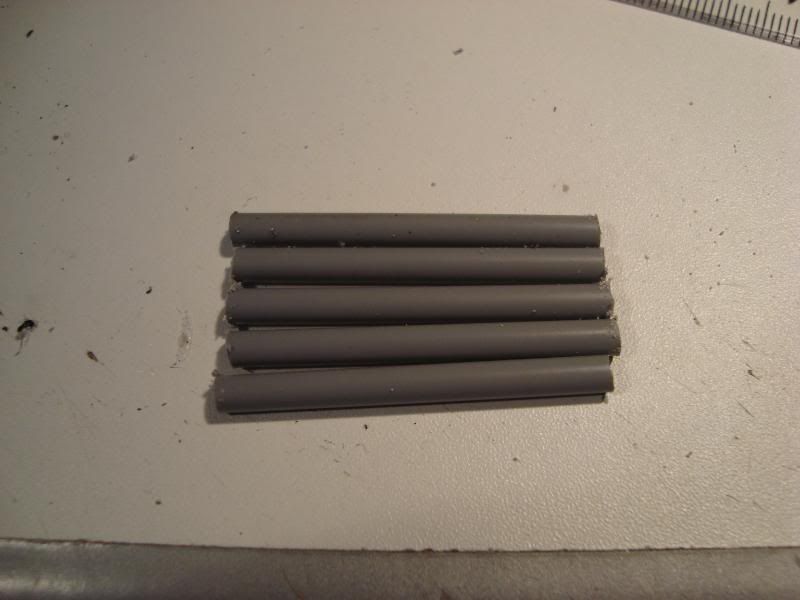
When I first did this, I cut it into 5 individual 4cm lengths, but I eventually made the whole thing shorter. I also cut up the plastic tubing of the ear bud so that it was shorter than 4cm.
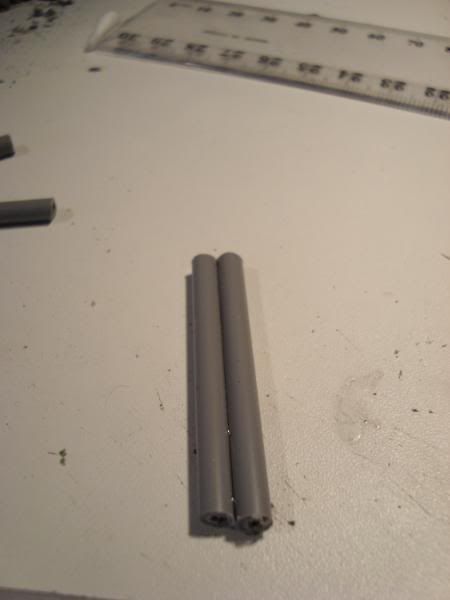
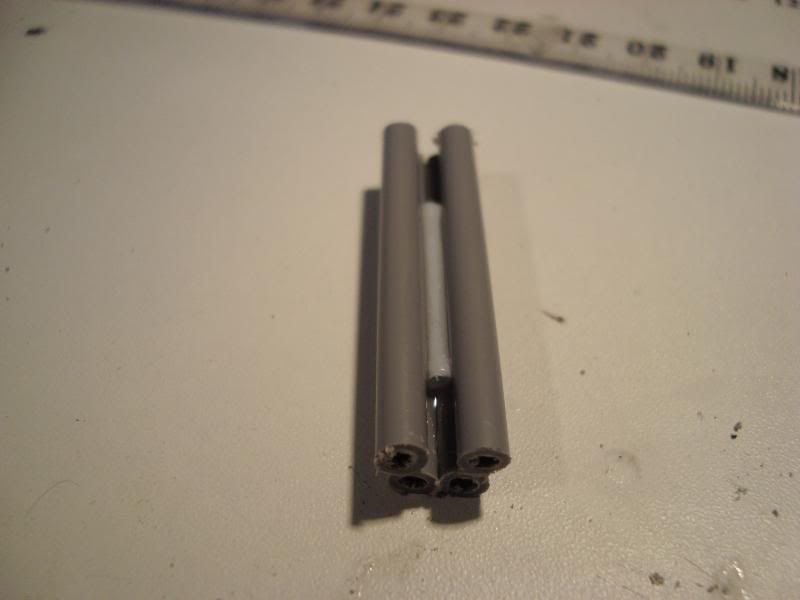
Then two lengths of plastic tube were glued together (superglue)
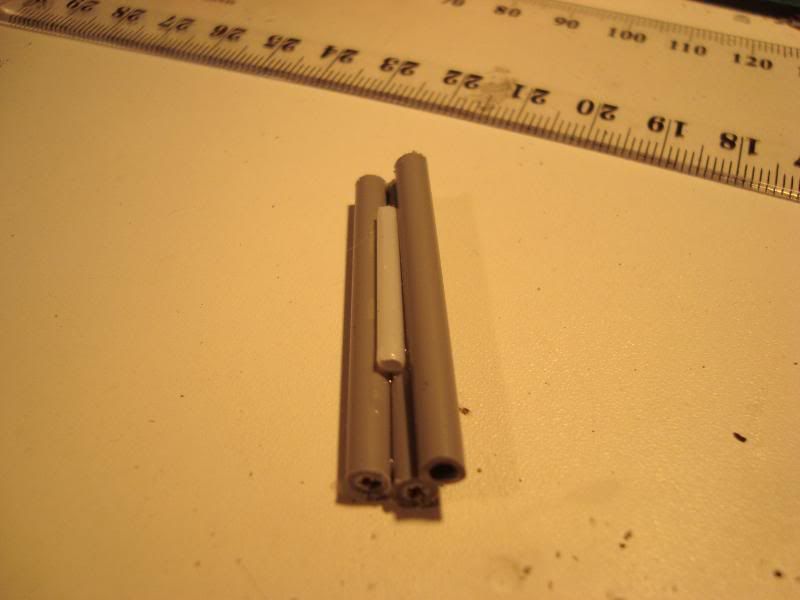
Then the ear bud tubing was glued down the middle.

Then, one by one, I added the rest of the plastic tube.
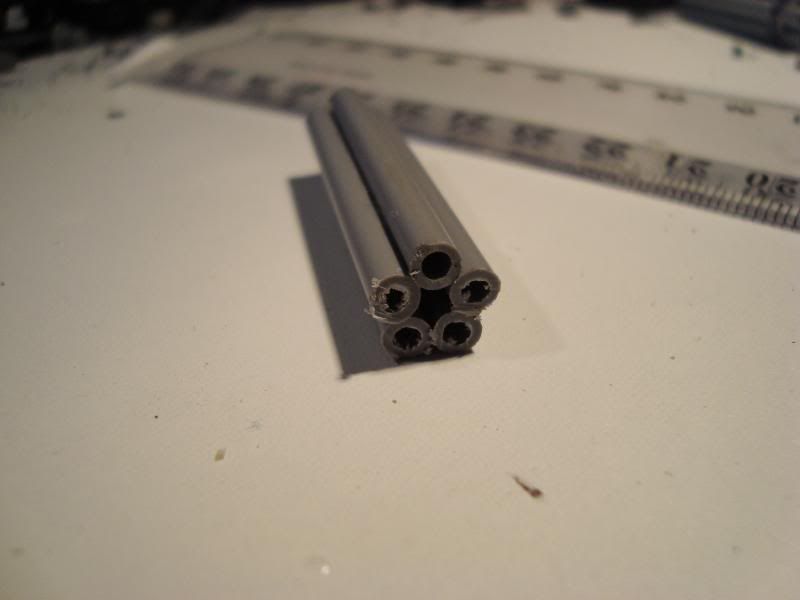
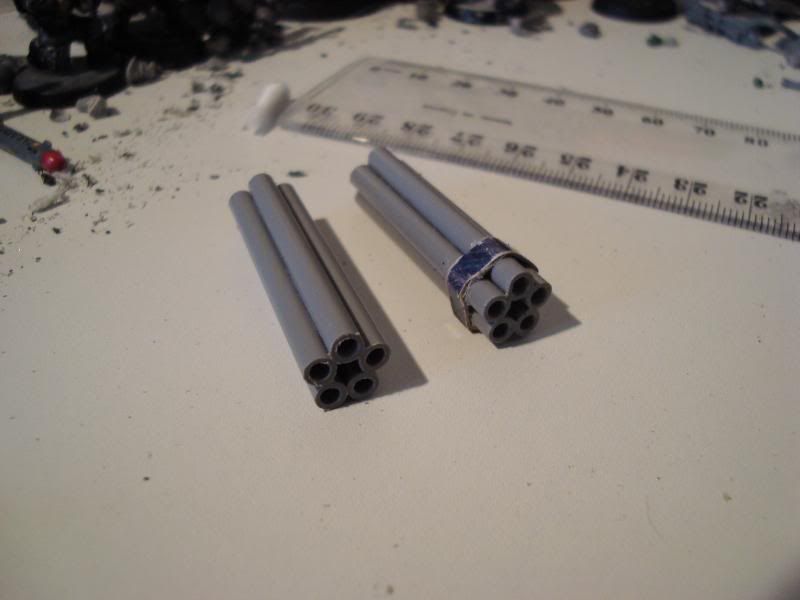
This was then sanded down so that the ends were flat, the dust was cleaned up with a scalpel, and a strip of cardboard was glued around the end to give it a bit of detail.
And now, back to the rest of the guide.
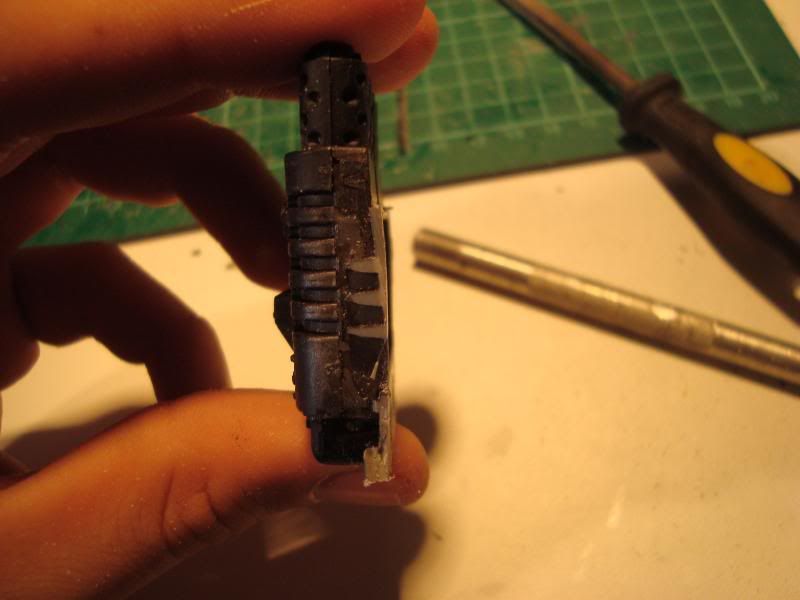
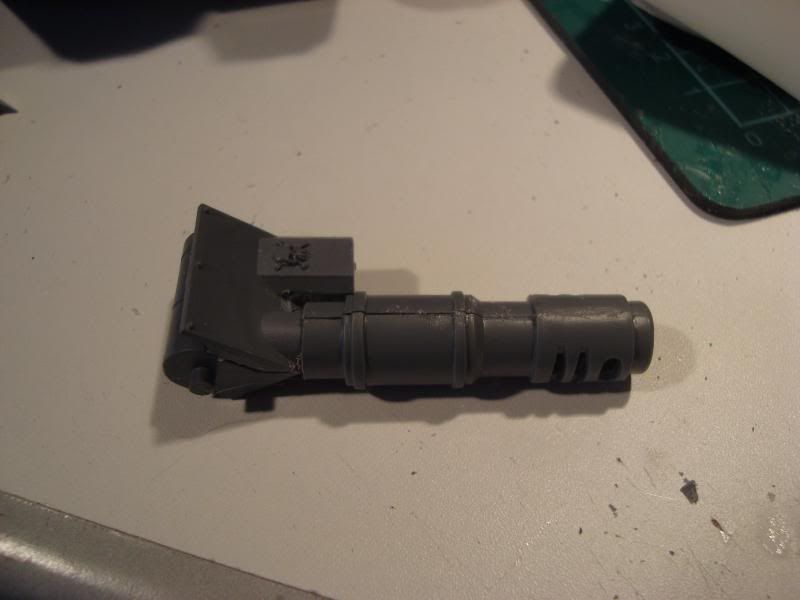
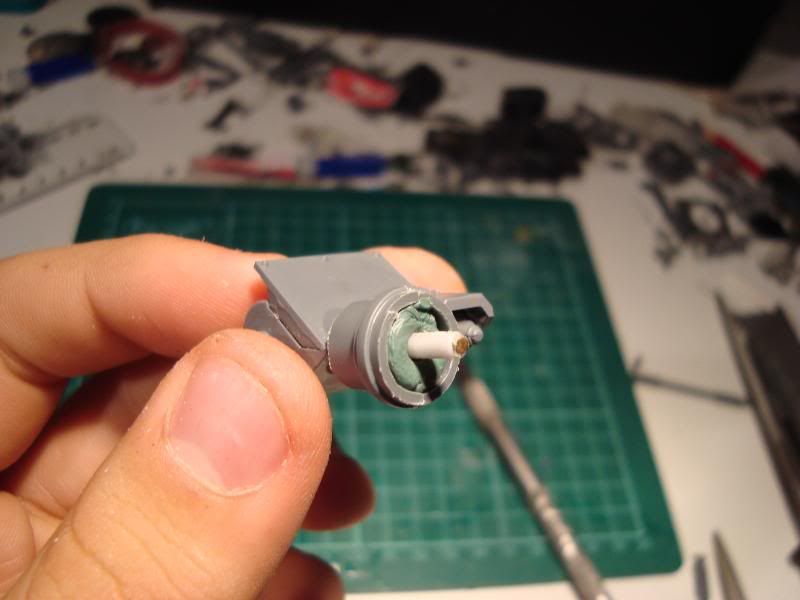
If you make want the gatling gun, then you cut here.
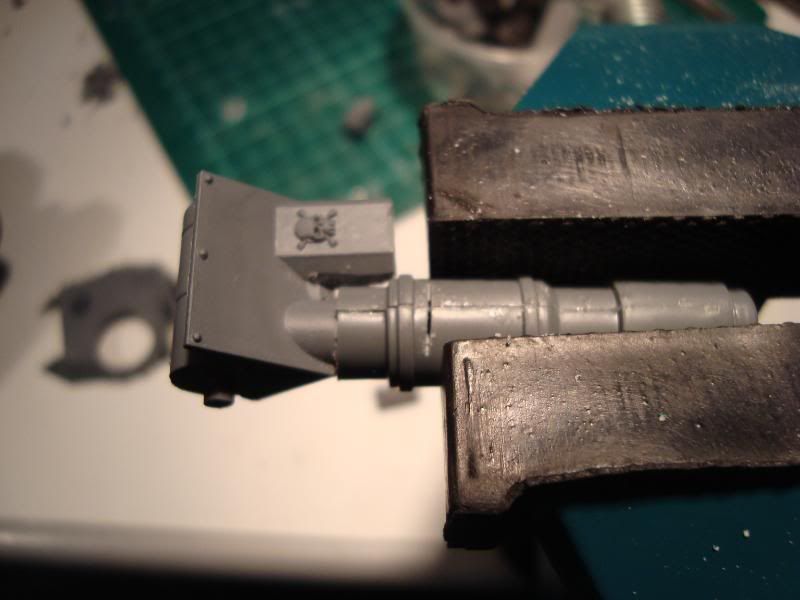
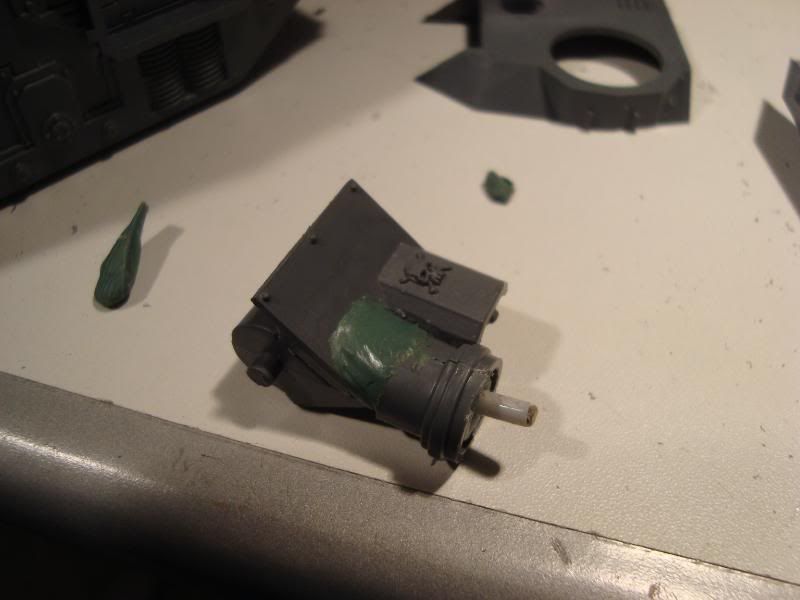
The barrel was then filled with green stuff, and a bit of the tubing from the ear bud, with a bit of brass wire inserted down the middle, was stuck in. The gatling gun can be placed on this, and it holds pretty tight.
As you can see, 4cm is a tad long.
So it got cut in half.
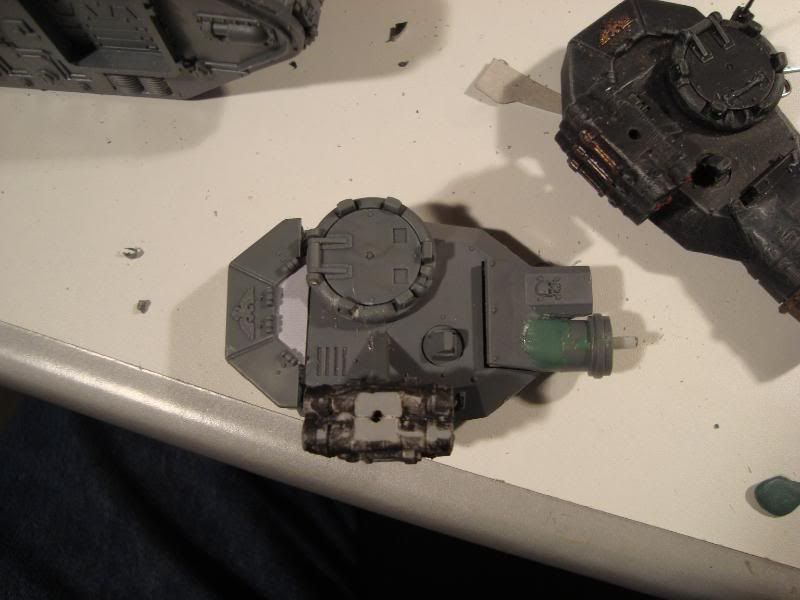
But anyhoos, here are some other ways to convert thine Leman Russ. Moving cupolas:
Place the cover on the cupola (without glueing), and drill through to the other side at around about here:
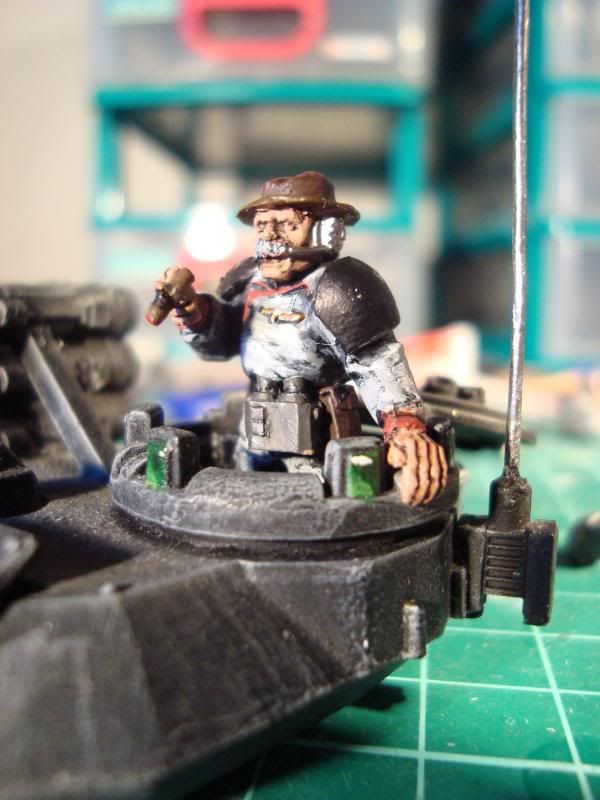
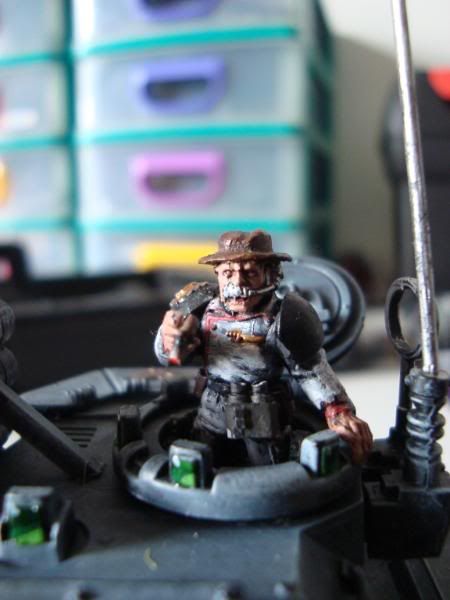
Then, put a paper clip through, and only glue the outside bits (i.e. where the paper clip goes in and comes out). You can now open and close it. If you cover the bottom of the cupola with a bit of plastic or card, you can make removable commanders.
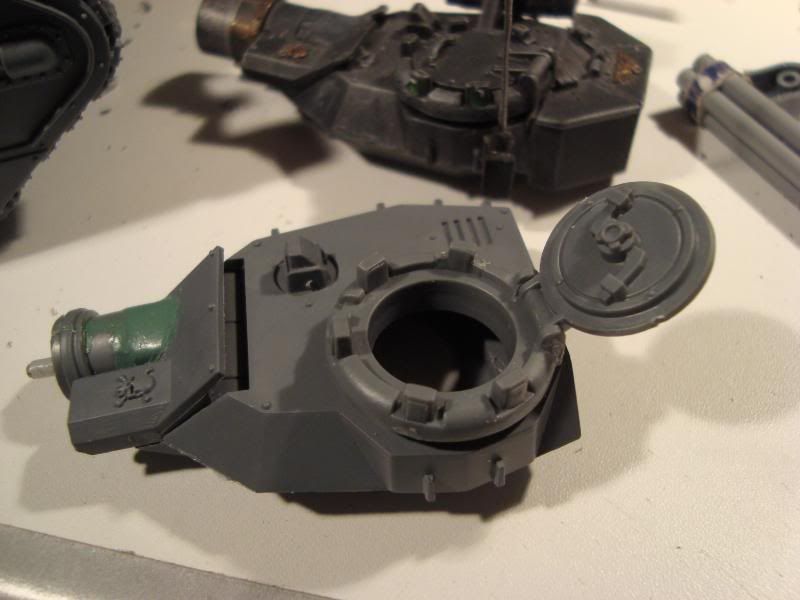
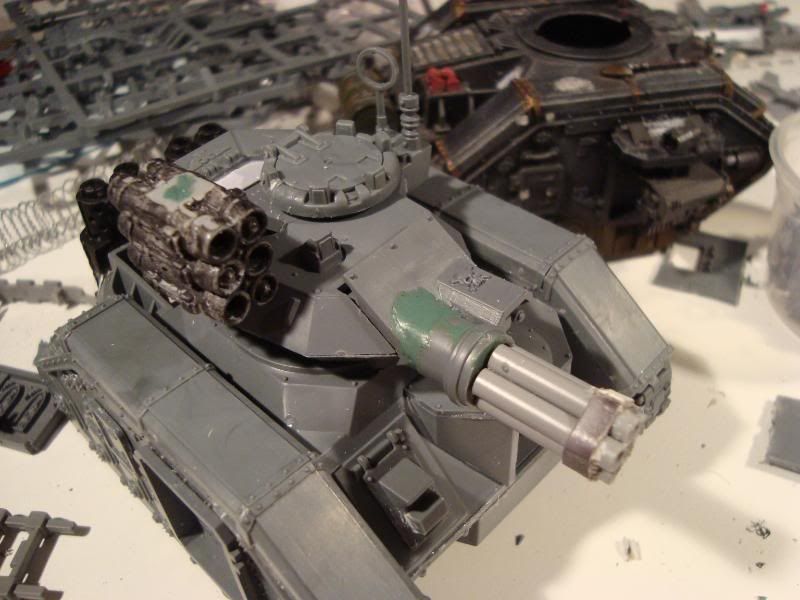
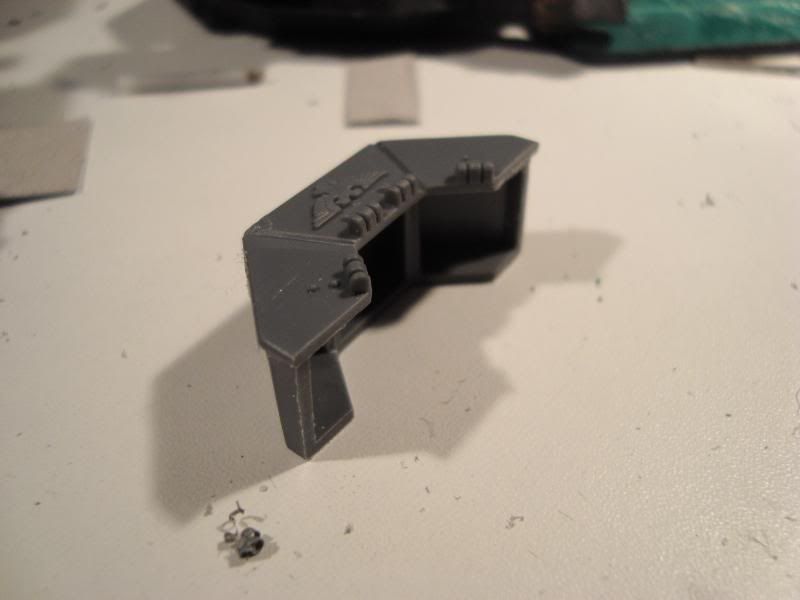
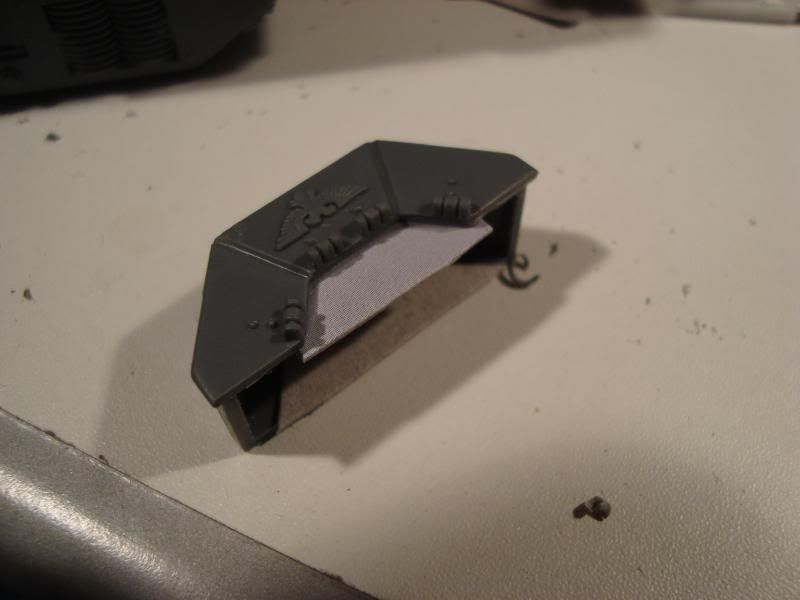
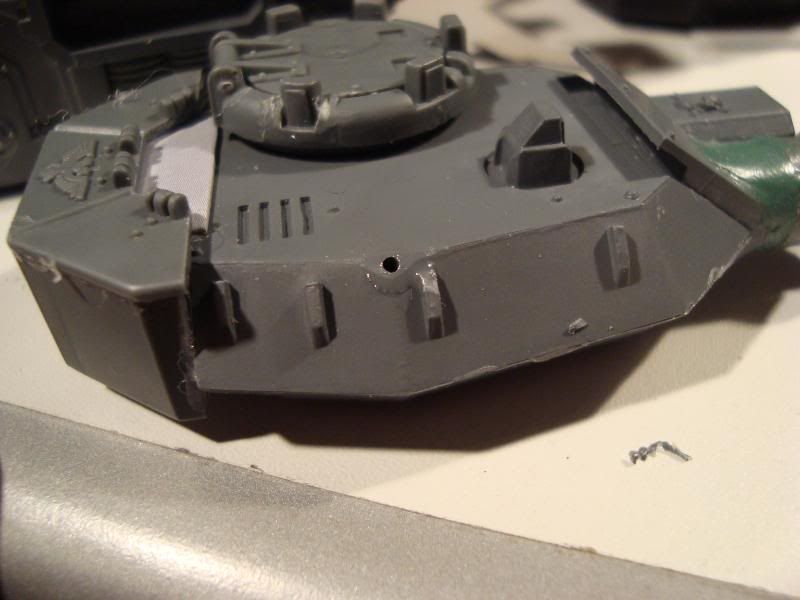
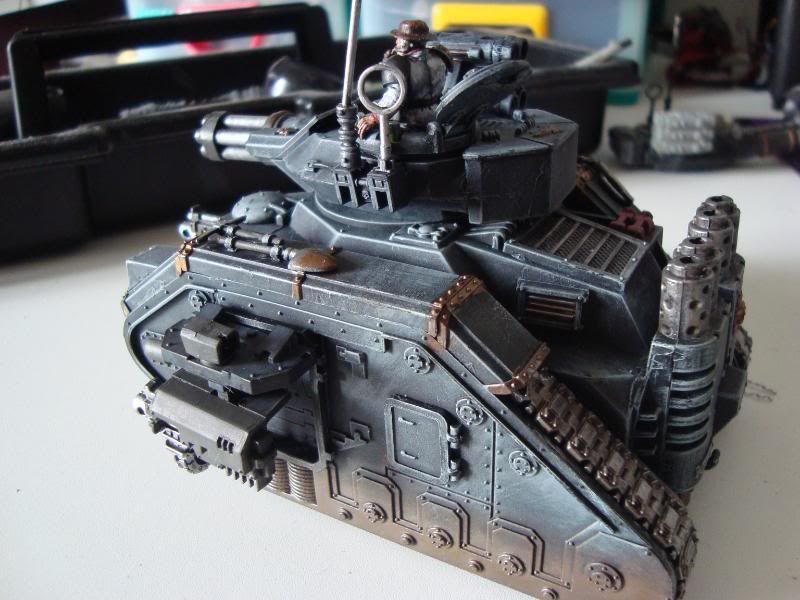
Because I wanted to make the turret a bit more guard looking, I added the back bit from a normal leman russ turret, cut down to fit, and with the gaps filled in with a bit of card and green stuff.
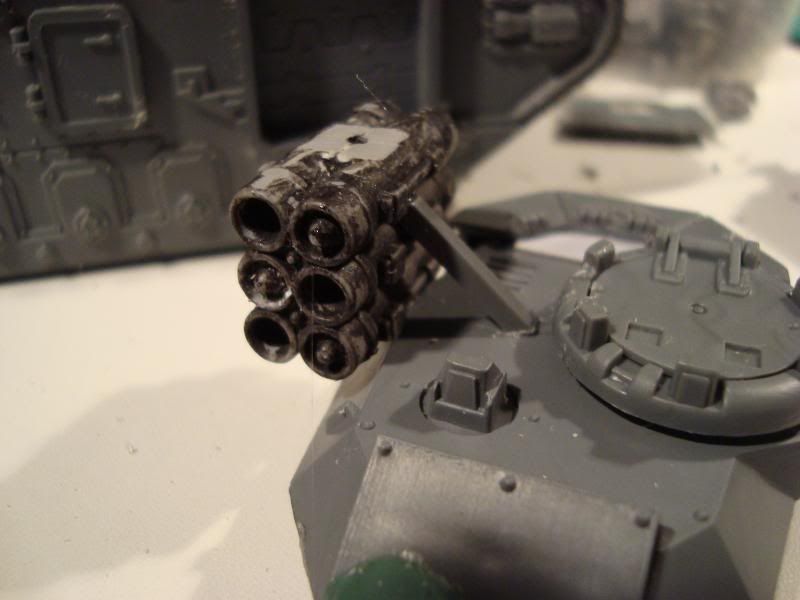
Also, a chaos havoc missile laucher makes a good hunter killer missile upgrade, and in apocalypse, you can fire a missile each turn (because you can make a rule up for it). Drill a hole into both the havoc launcher and the turret and pin it.

Brace it with a bit of sprue. Some of the leman russ sprues have very thin plastic, so these are ideal.
Also, don't forget to assemble the side sponsors as well.
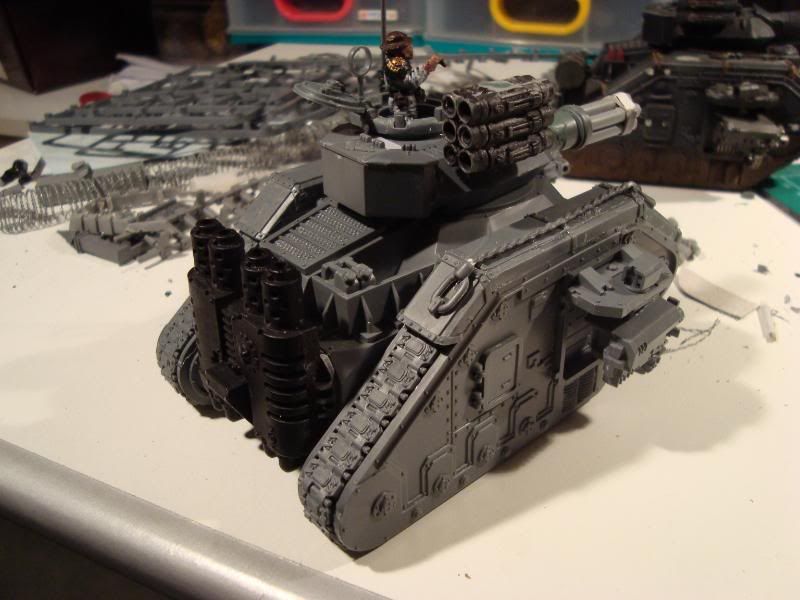
So, that is the completed leman russ. I did also make a different fron heavy bolter, but I'm not so sure if I want to highlight it as it's kinda messy. Also, the side sponsors are removable. No magnets, just a few pins.
The commander is one of my old (and favourite) tank commander conversion.
Anyhoos, comments, queries, criticisms and praise are all welcome. Thanks for reading.


 3000
3000  2000
2000 


 way too much