i dont play
wh40k , havnt for a long while , but alot of my terrain is based or built based on
GW methods , just different materials . here are some items i did for other games , but figured you might be interested since they can be applied to
40K battle fields :
I have been working on a lot of projects for a lot of games and personal stuff , to the point of over load .
I have had to cut WAYYYYYYYYY back on a lot and put several others on the shelf till later , because I had so many things going on , I couldn’t get ANY of them done .
So I have seen a lot of the terrain projects people have done for ruined buildings for
WH40K and the like , and the one issue I have with them is that when you build a ruin on a big solid base , its always going to be that size . And a lot of the modelers like to put a lot of rubble on the bases , its just not practical to play on . the scenery falls apart , and it can damage minis depending on what its made out of . by building the ruins my way , i can use them for ANY minis game in this scale , wheather its on a grid , or open table top .
originaly i started this project a long while back for
AT-43 , but i am finally finishing them so i can use them for DUST-TACTICS , and 28mm ZOMBIE PLAGUE .
Looking at pictures of bombed out cities from WW2, there is a lot of rubble filling the space the buildings used to occupy , and small rubble wall sections and building corners .
Doing the
WH40k method may look nice , but is impractical for playing on . Instead I wanted something more modular and practical . as a result I decided to make corners and wall sections , without the big rectangular bases , so I can make the buildings as big or small as I wanted to just by moving the corners closer or farther apart .
One of the big drawbacks to a lot of terrain is its made out of cheap crap , so it falls apart if you just look at it wrong , and most gamers are not gentle enough , so it just doesn’t last .
So instead of the cheap materials like foam board , Styrofoam , card board , etc ...... . I use higher grade materials . YES it does cost more , but in most cases its not much more , and it lasts A LOT longer , so its worth the added cost .
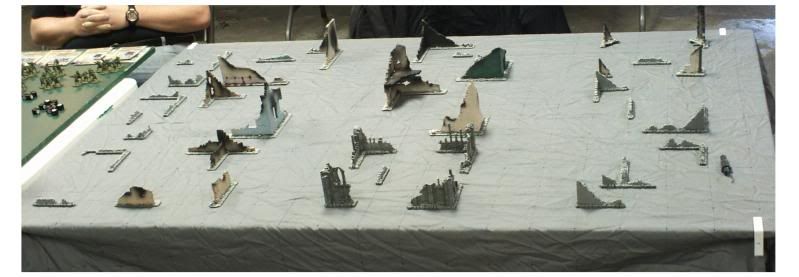
So here is the first project , still ongoing , but far enough along to post .
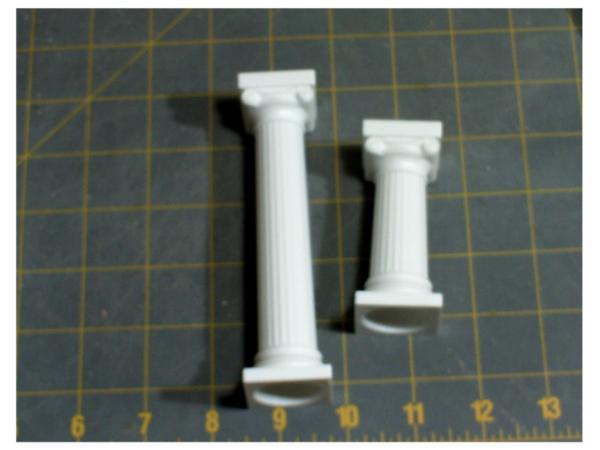
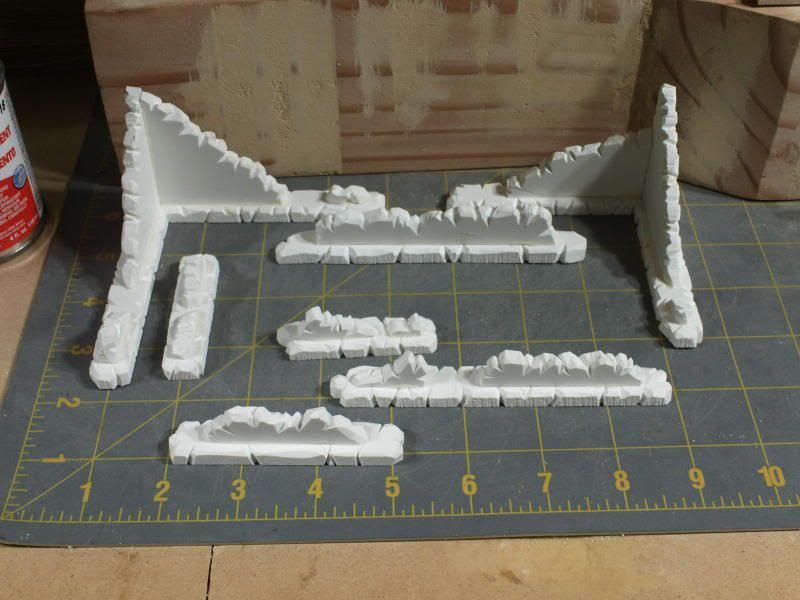
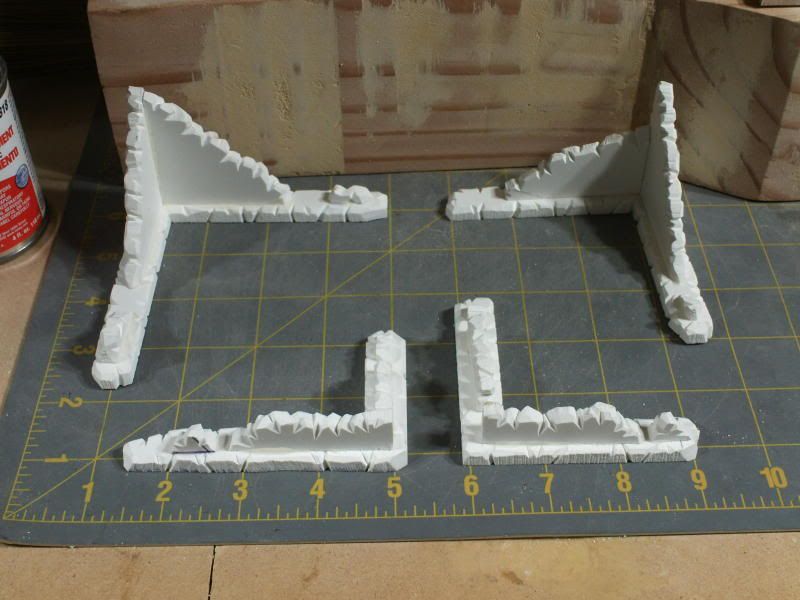
Here are my building corners . i got the idea to do the smaller ones based on the scenario in the original rules book from first ed . they used cork board to rep the farm rubble foundations , but i like this better .
I have several that aren’t shown , including several of the church like building ruins they sold in one of the starters way back , I will add some more pics later when it is all done , and I finally use them in a game on a bigger board .
The material is PVC FOAM BOARD , yes that’s PVC , just like the stuff they make PVC pipes out of , but whipped into a foam , and formed into sheets of varying size , thickness , and color . Prices vary , but a sheet about the same size and thickness as a regular piece of foam board goes for about $20 plus shipping .
It can be cut and carved using wood tools , or exacto knives . To speed things up I used a band saw to cut the sizes I needed , and then used exacto knives to carve the edges to get the broken effect . No 2 are alike , and most of the larger ones took about an hour and a half each to make from start to finished painting .
Because its PVC , I used PVC cement to glue them together .
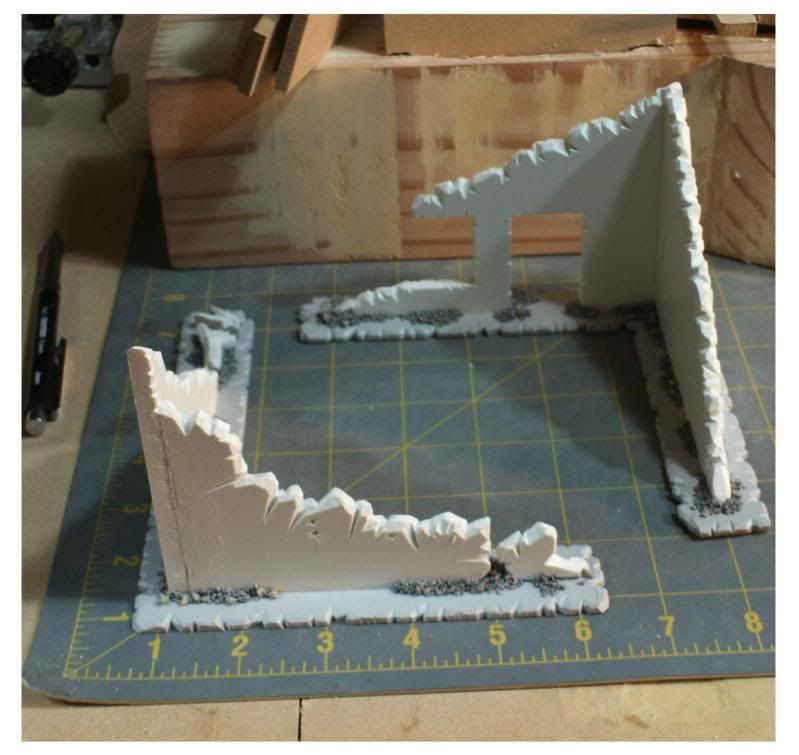
This stuff is STRONG , I have a corner section not shown in the pics that I used to show people , I would throw it on the ground a few times , pound it on a table , and then put a 5 pound sledge hammer head on the upper floor , to show how sturdy and stable it is . It wont buckle under the weight of heavier figs like dreadnoughts and such .
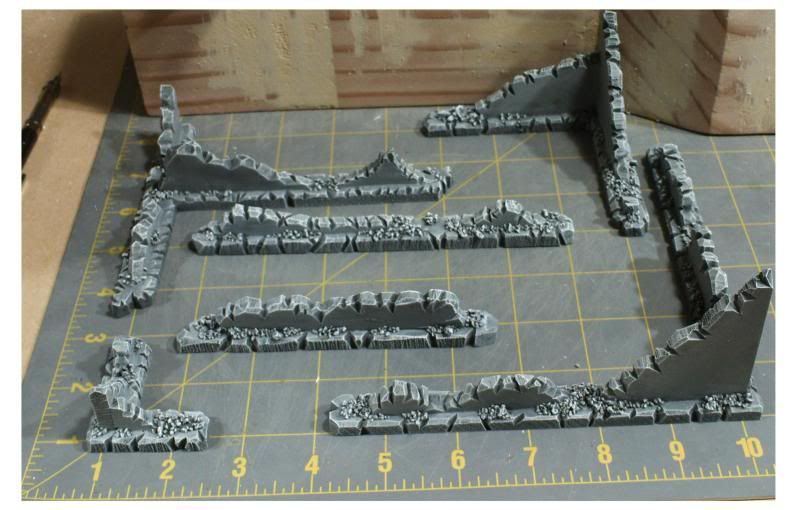
Since its PVC , this also means you can spray paint it directly , and it wont eat it up .
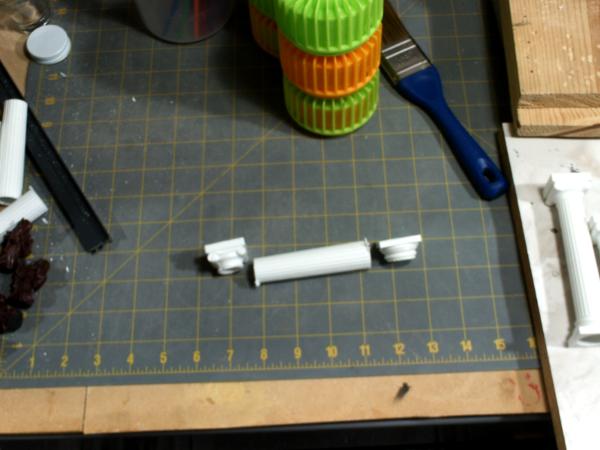
Here they are laid out on a section of my cutting mat .
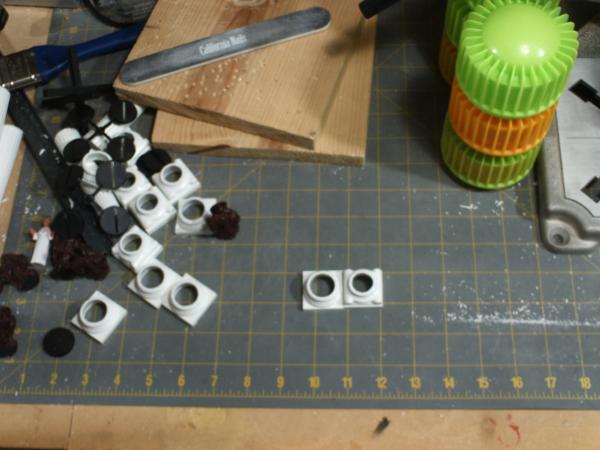
 Now with some ballast rubble super glued on that I got from the hobby store , ready for priming .
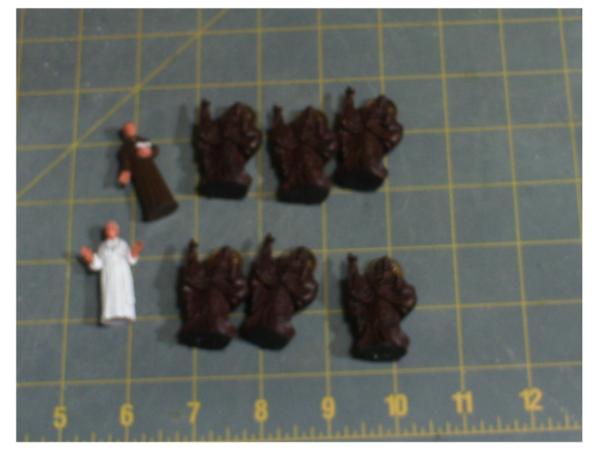
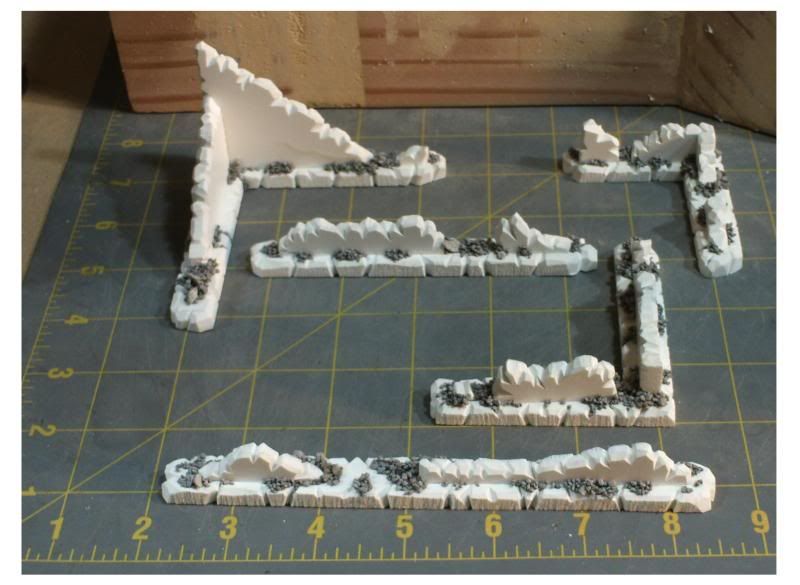 Here are a few I did with wider base sections , and bigger corners
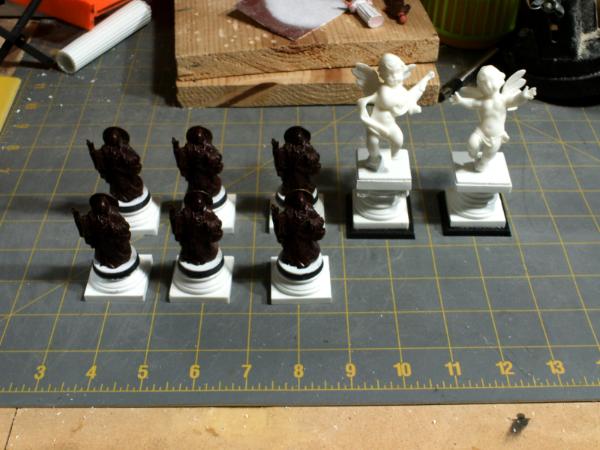
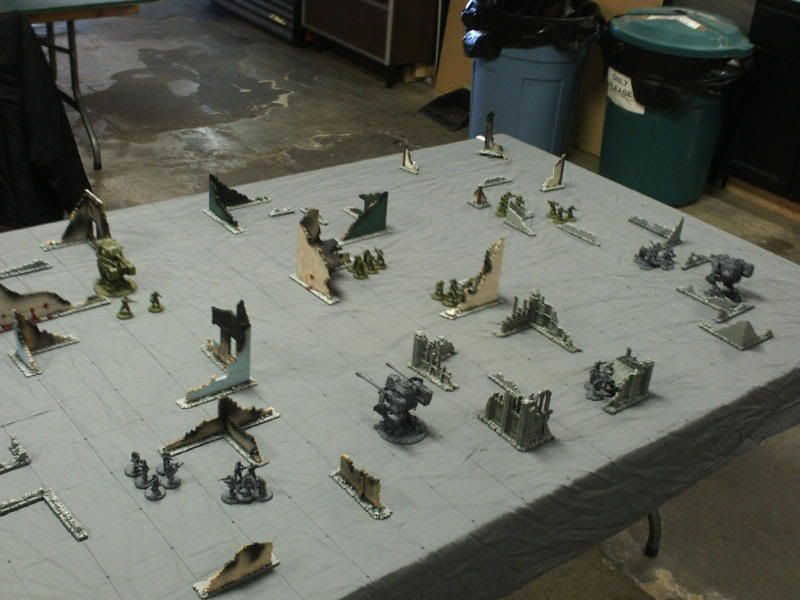
 And a few that I have painted and dry brushed , ready for sealing
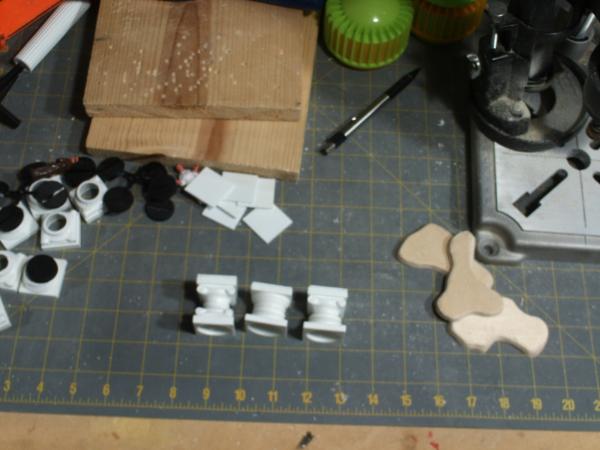
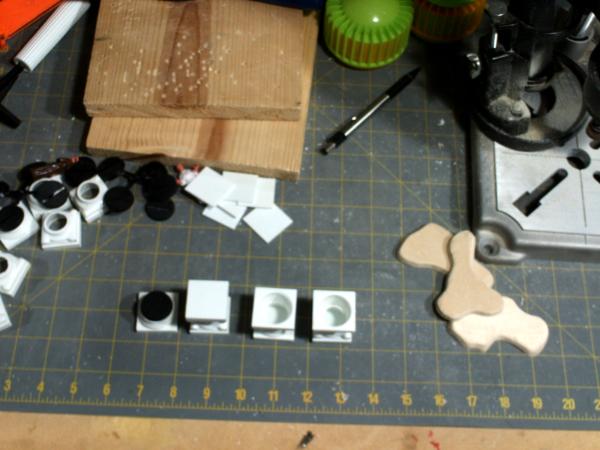
 tank traps
rather than JUST the standard tank traps , i wanted something more . i actually made these for
AT-43 , but never got the chance to use them . they are made with the same method i used to make the above wall sections , but rather than wall sections , i cut platistruct I beams at 45 degree angles and glued the cut edge to the same carved style bases .
this allowed me to make linear tank traps that would be placed along boarders and corners .
for special rules , tanks and walkers cannot cross them .
you will notice the corner sections , if placed on a corner they effect that corner , keeping vehicles from doing diagonal movement through the effected corner .
infantry can pass over them normaly , and gain soft cover if in a square that is boardered by one , regardless of what side the shot comes from .
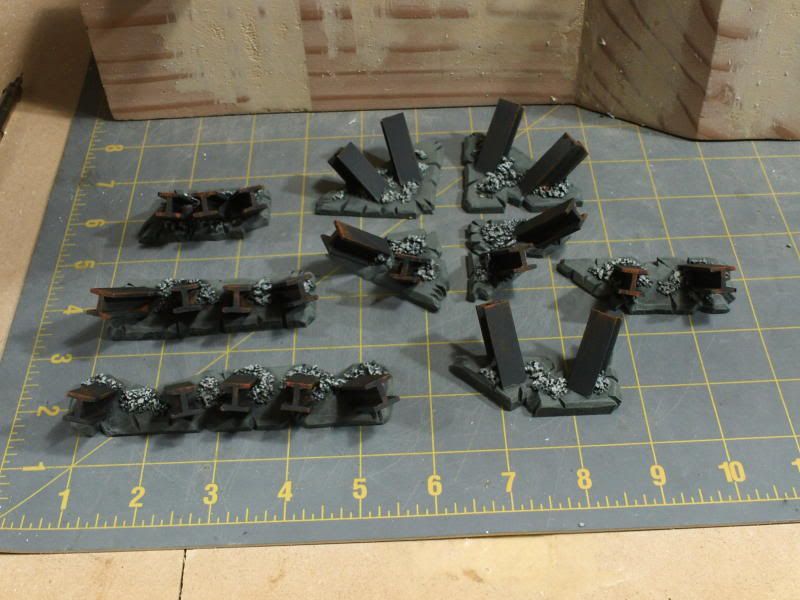
here you will see the more common type of obsticle , made from plastistruct I beams glued together . they are smaller beams than those used above . you can buy them in a variety of sizes at any train shop .


 2000+ pts
 2000+ pts
 4250 points of Blood Angels goodness, sweet and silky
  1000 points of Teil-Shan (my own scheme) Eldar Craftworld in progress
  800 points of unassembled Urban themed Imperial Guard
  650 points of my do-it-yourself Tempest Guard
  675 points of Commoraghs finest!