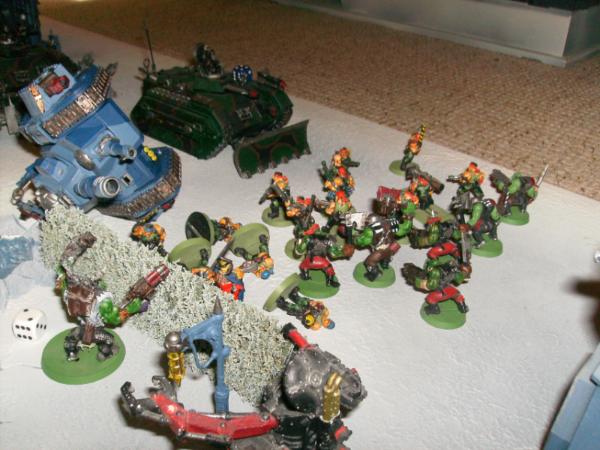
We started a round robin tournament a few months back and kept our notes and pics from each game. However, with a tedious inevitability real life got in the way and so we never concluded it.
But heres the first 6 games anyway with hopefully the last 6 to be concluded soon (other wise I'll have to amend the tital to 2011/12!).
The 4 armies that took part were:
Eldar
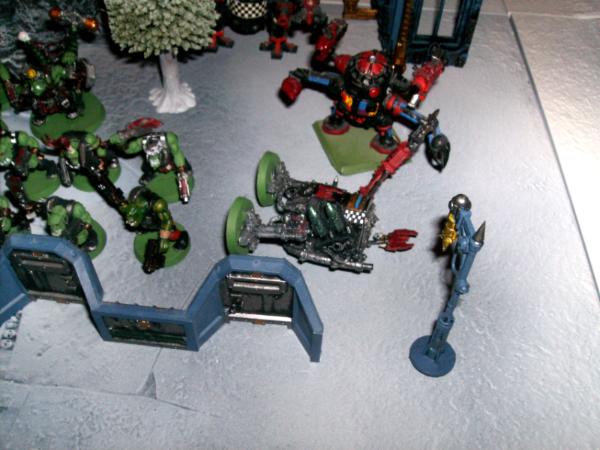
Space Wolves
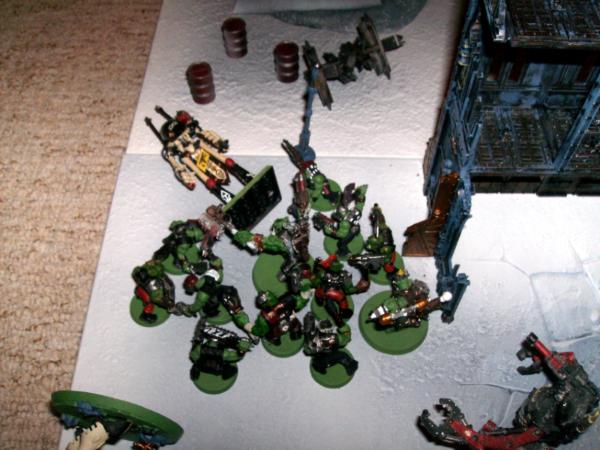
Orks
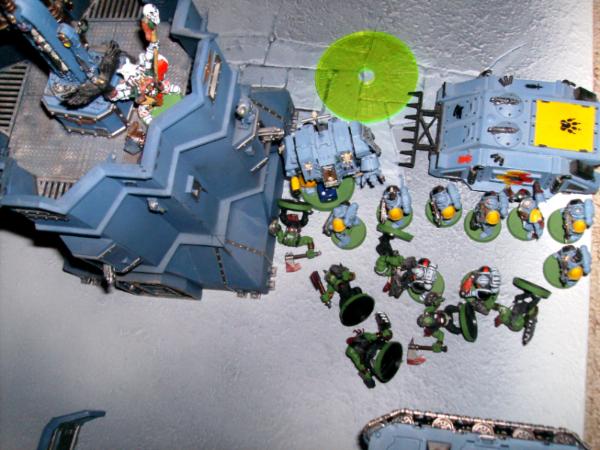
Imp Guard
Round Robin rules for the Rumble were as follows:
Points level 1500
Standard missions
No special characters
No army amendments could be made once the tournament was started
Random battlefields/maps
6 turns only
3 points for a win, 1 for a draw, 0 for a loss
We generated the tournament schedule using this very handy programme and agreed that each force would play a home game and an away game on two different terrin types – either urban or rural.
http://www.teamopolis.com/tools/round-robin-generator.aspx
Heres how the schedule worked out
1
Sw vs
IG
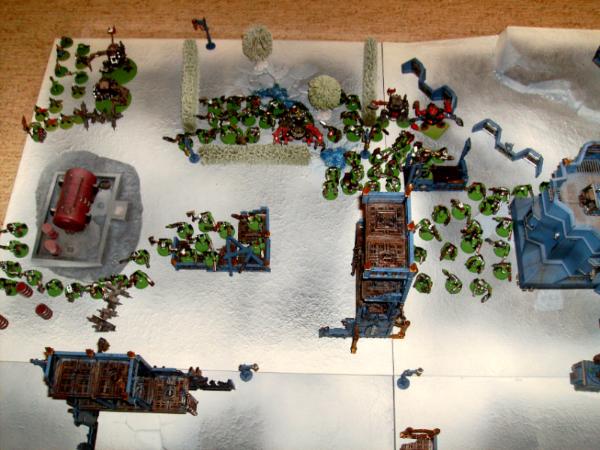
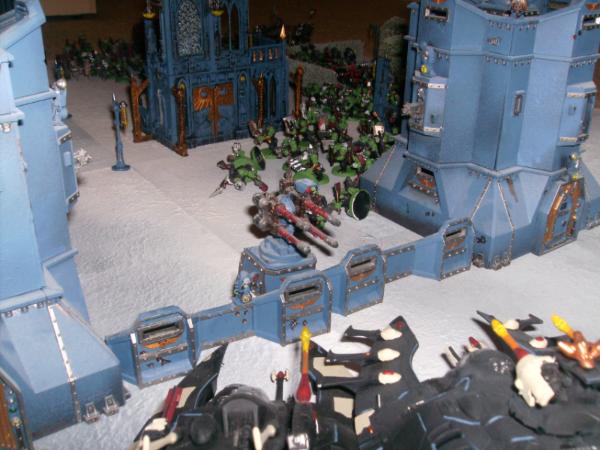
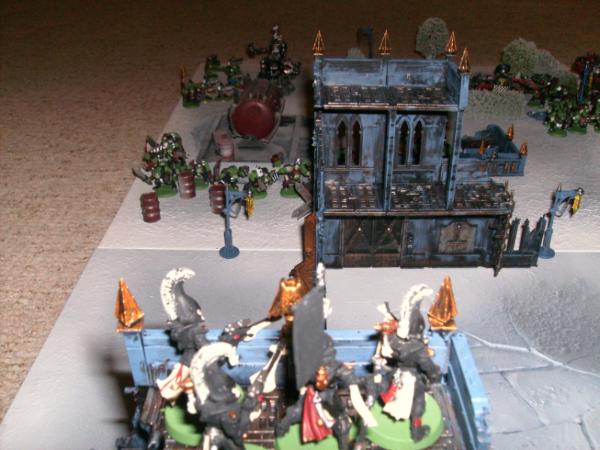
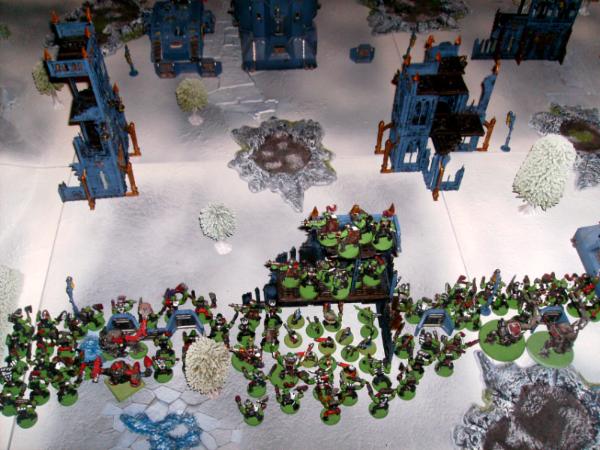
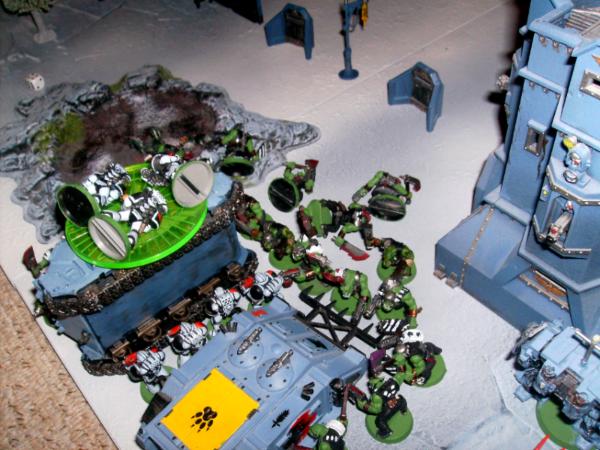
2 Eldar vs Orks
3 Orks vs
SW
4
IG vs Eldar
5
SW vs Eldar
6 Orks vs
IG
7
IG vs
SW
8 Orks vs Eldar
9
SW vs Orks
10 Eldar vs
IG
11 Eldar vs
SW
12
IG vs Orks
Being at home conferred the following advantages:
Choose which table edge to deploy on
Choose to set up either first or second
However to balance things it was decided that if you were home you could never go last – the idea being to give the away team a last minute objective grab opportunity.
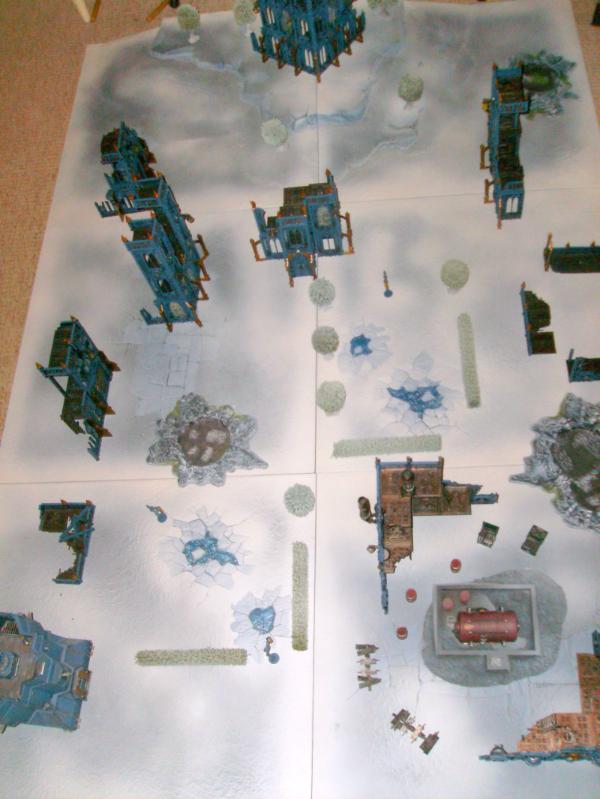
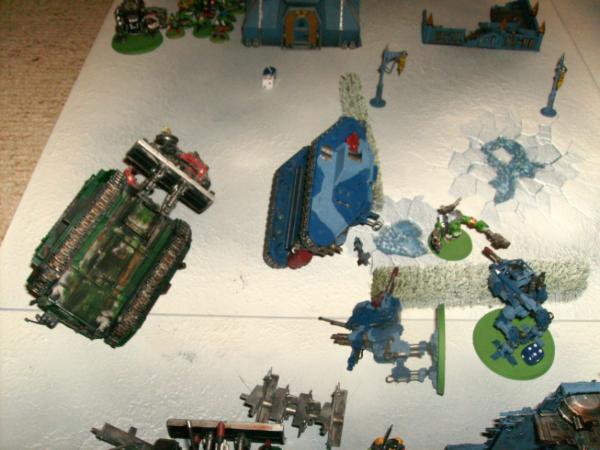
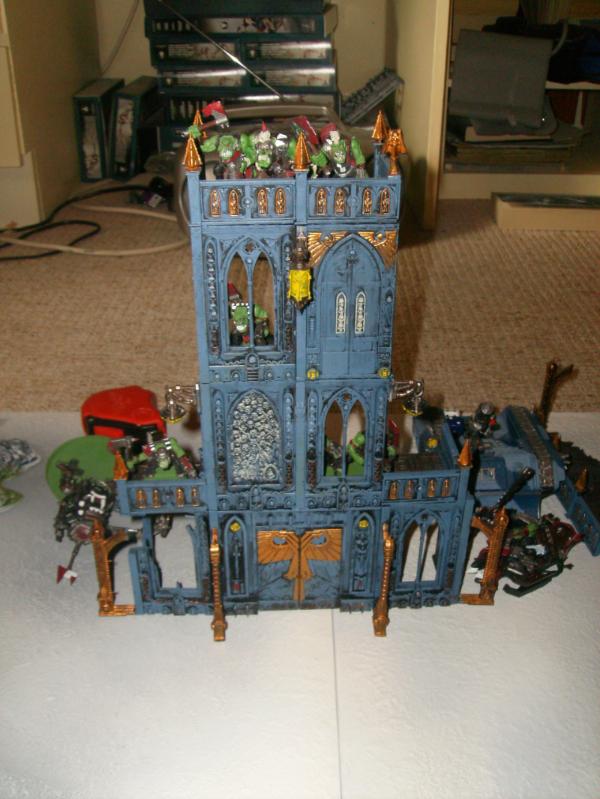
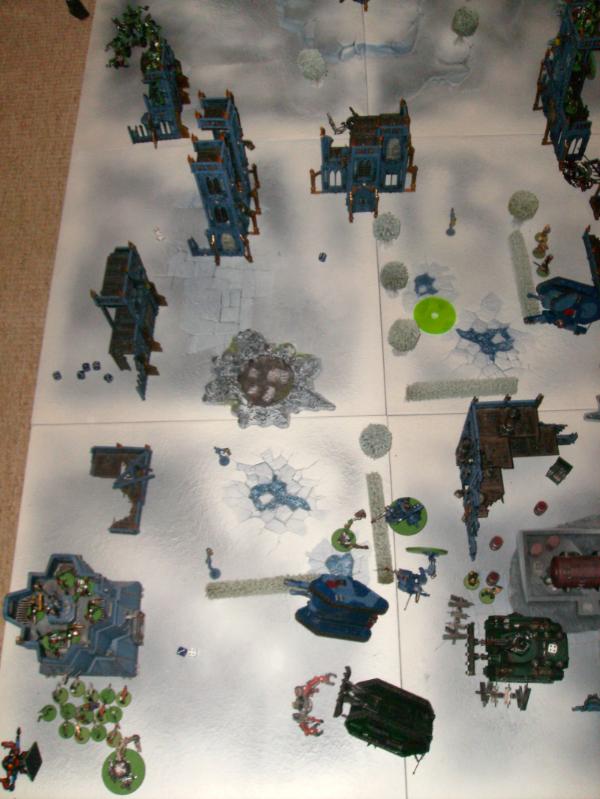
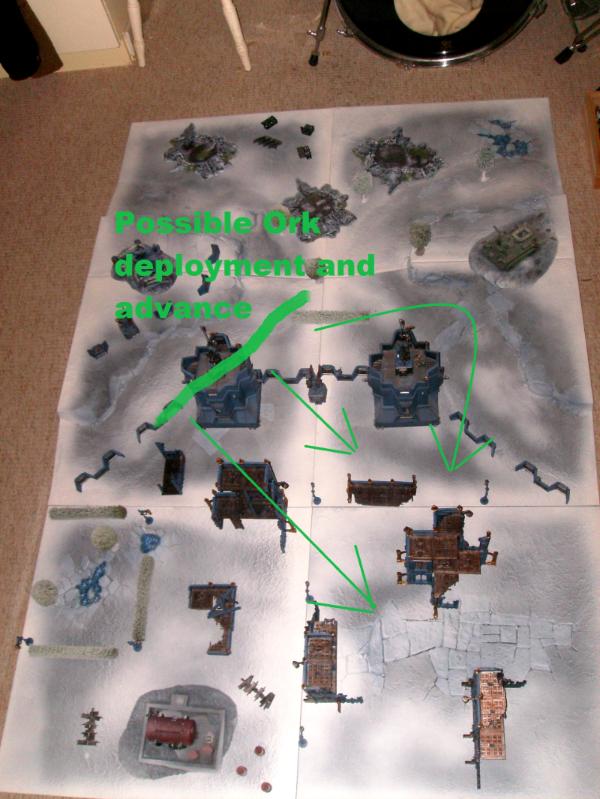
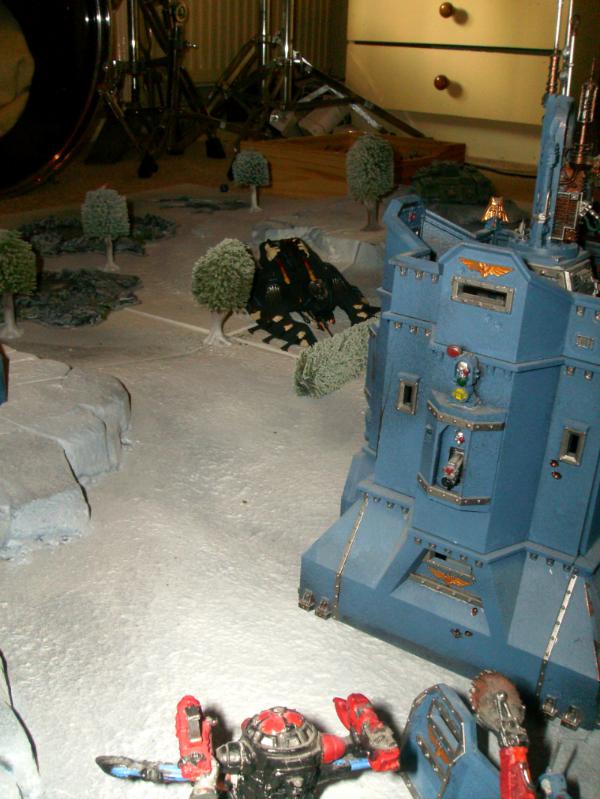
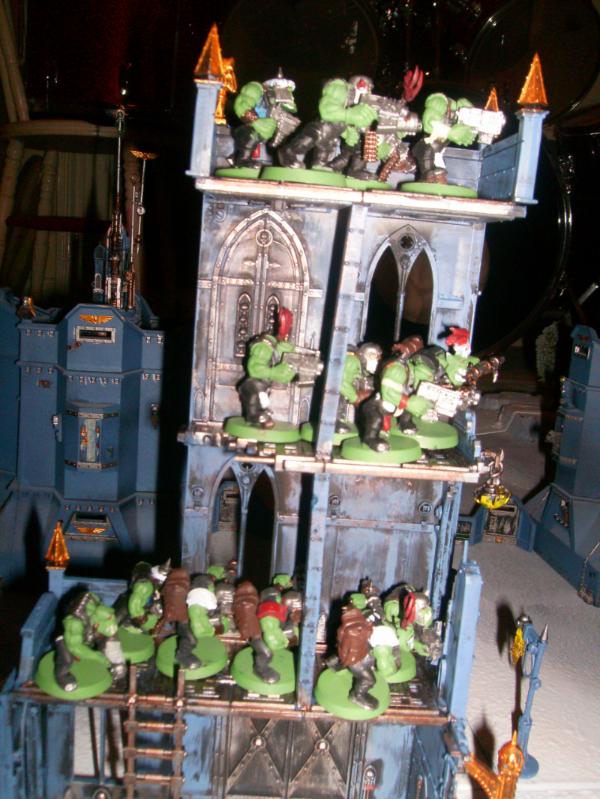
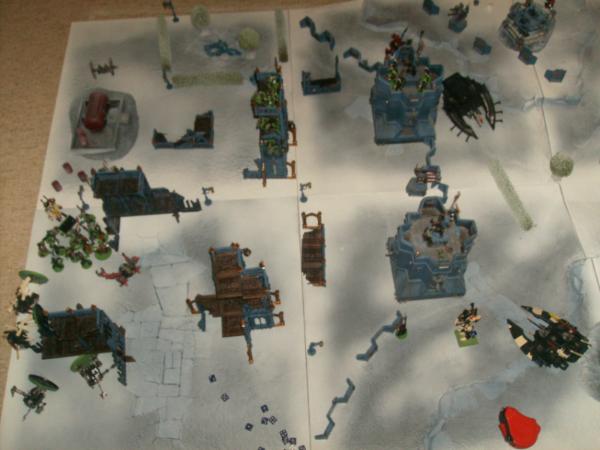
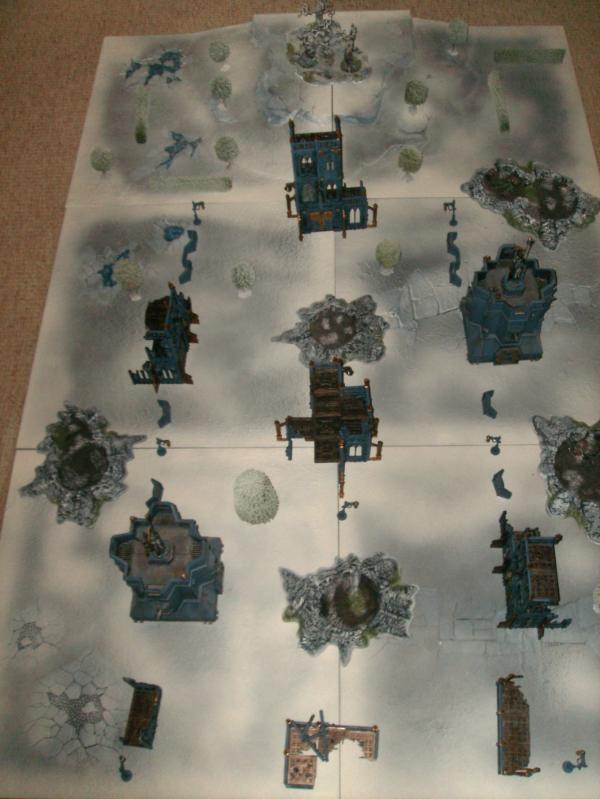
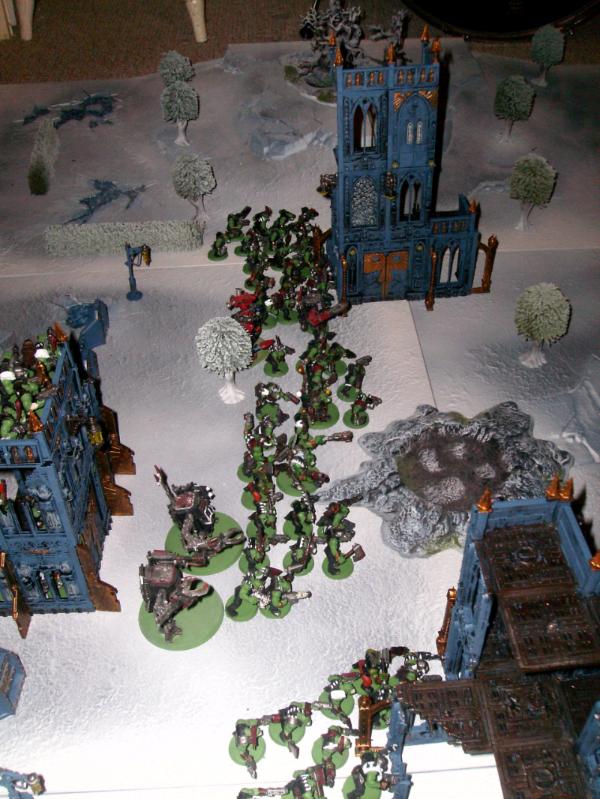
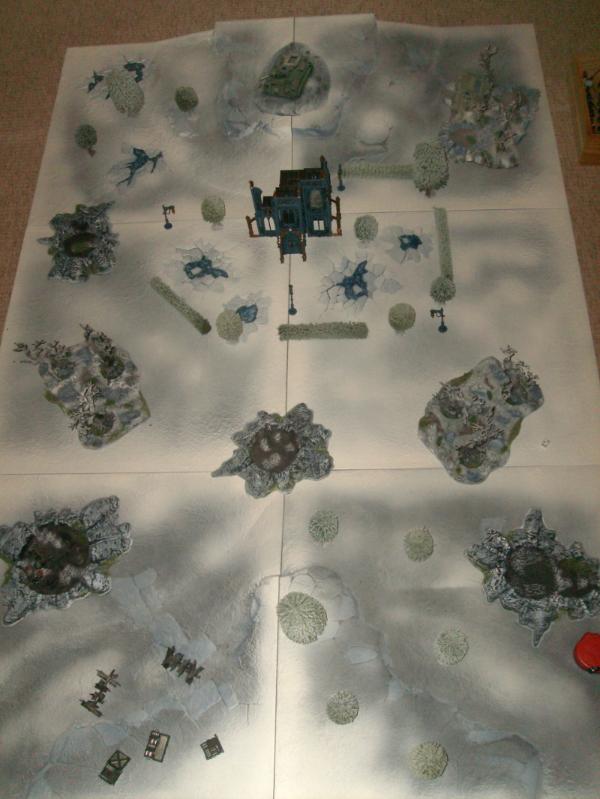
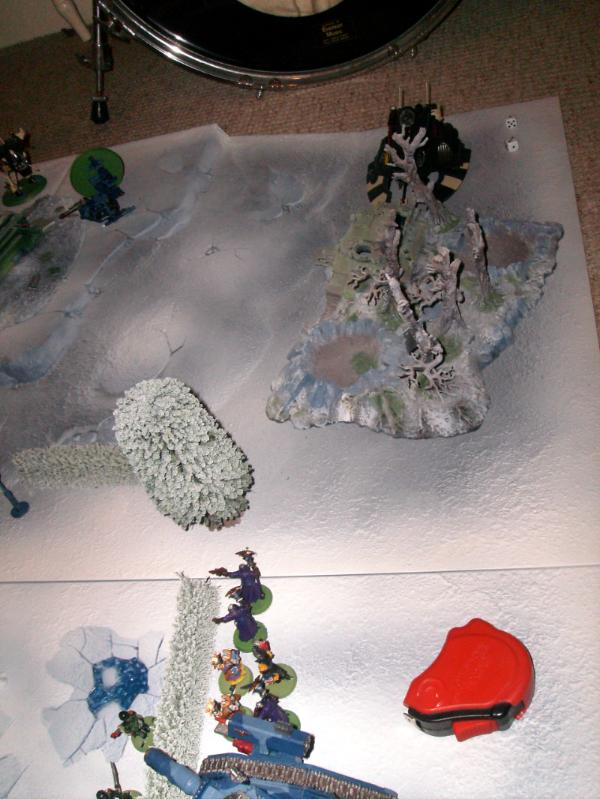
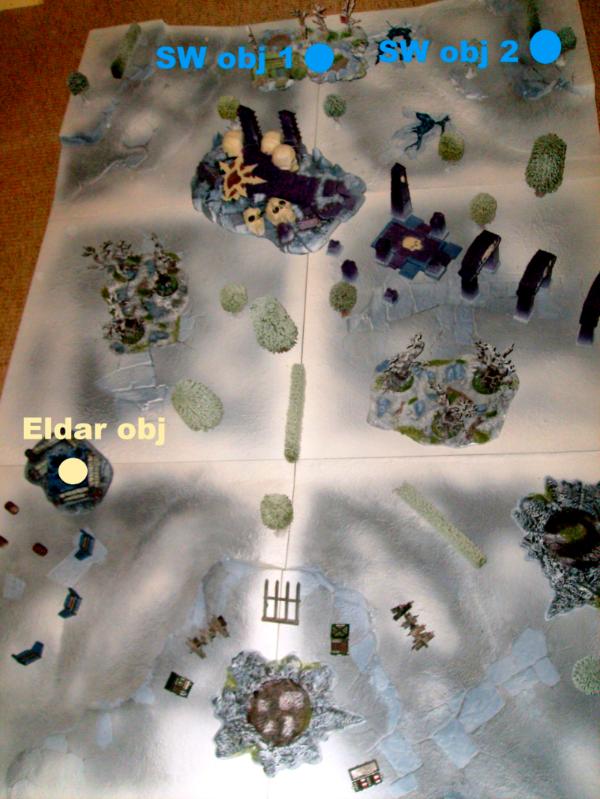
I have 2 extrea sections to the realm of battle gameboard so we set out 12 different battlefields before we began and prior to each game it was randomly decided which battlefield setup was to be used.
Heres a rough sketch of the boards with the squares being the hill sections (pic to follow).
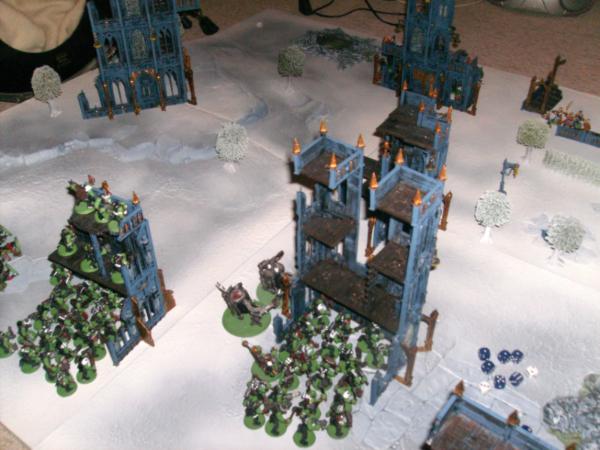
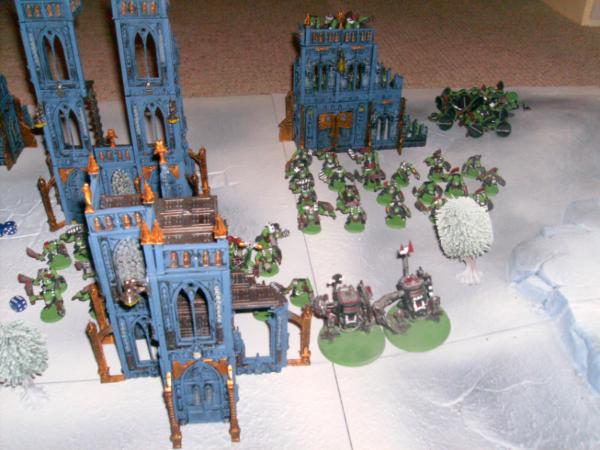
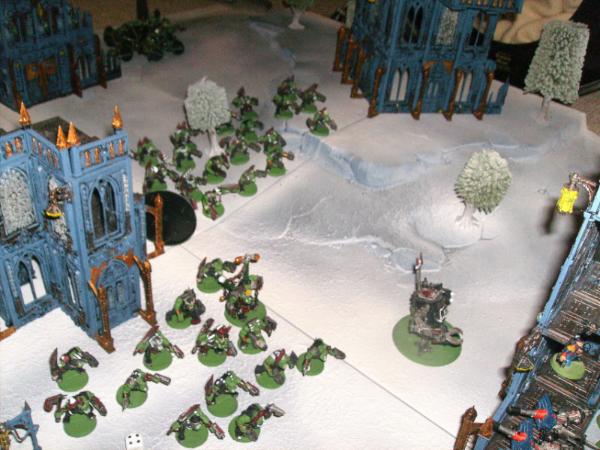
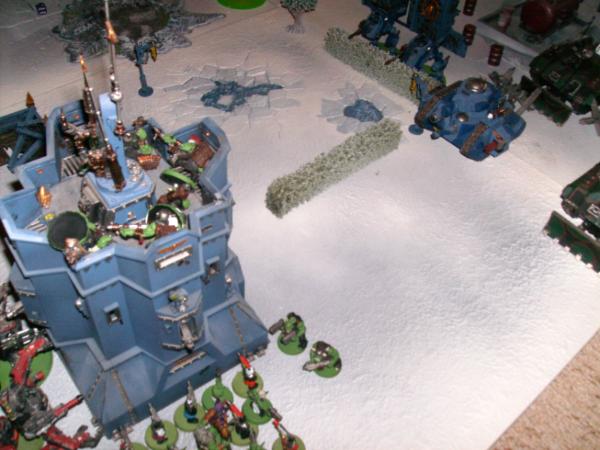
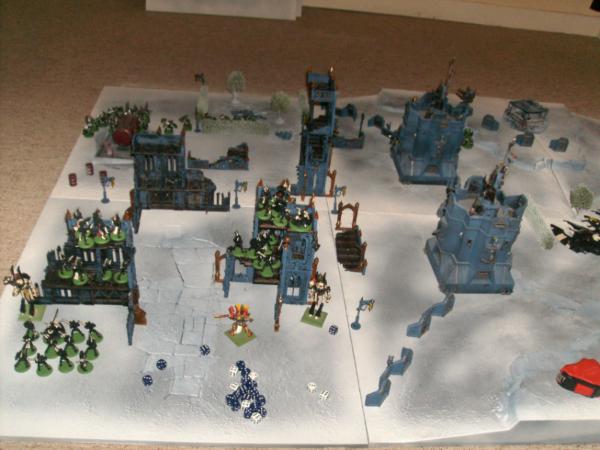
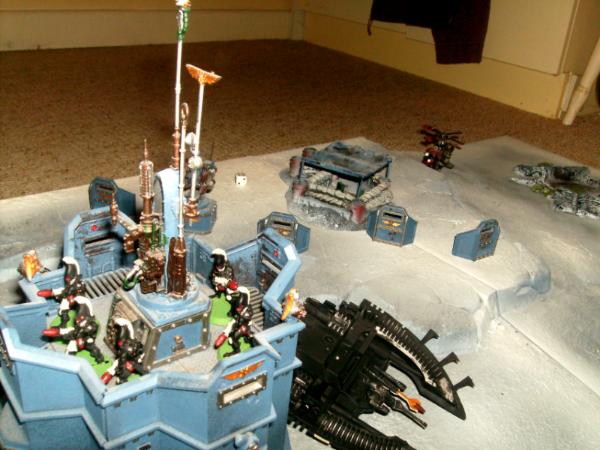
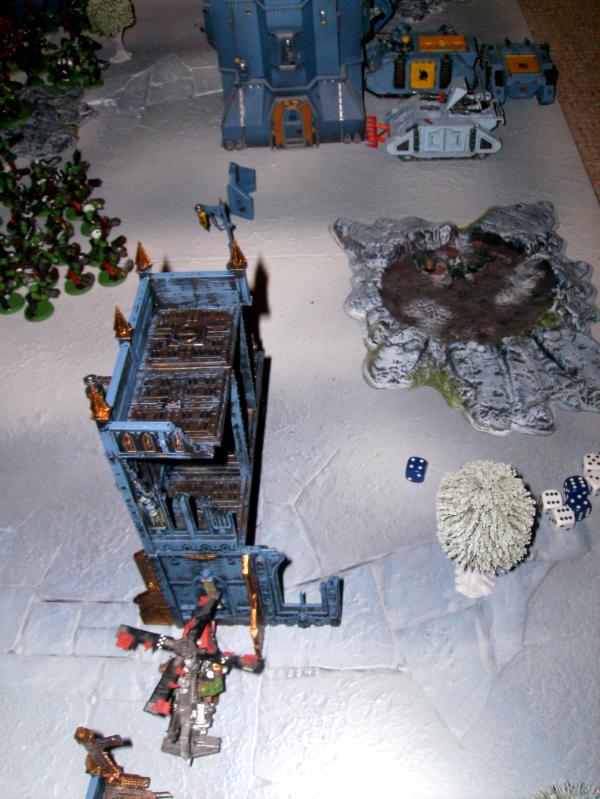
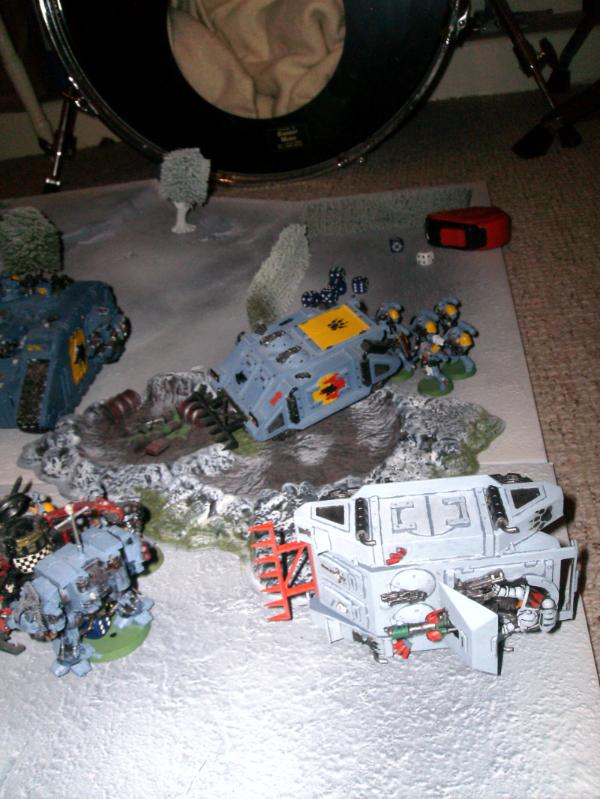
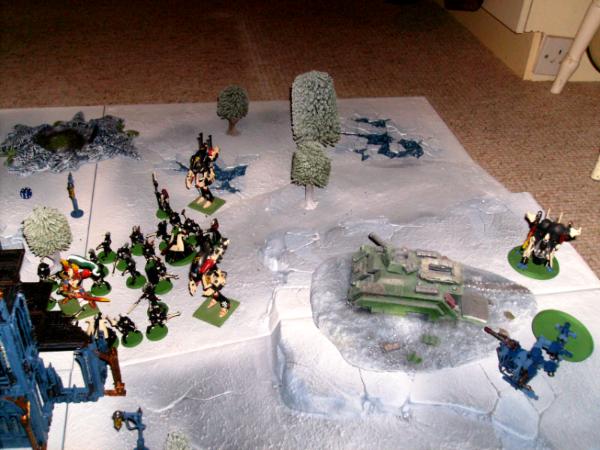
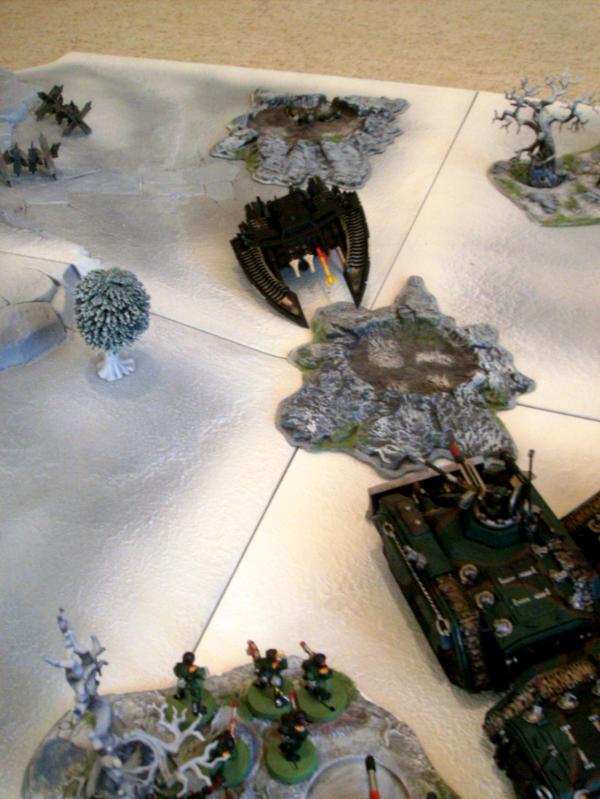
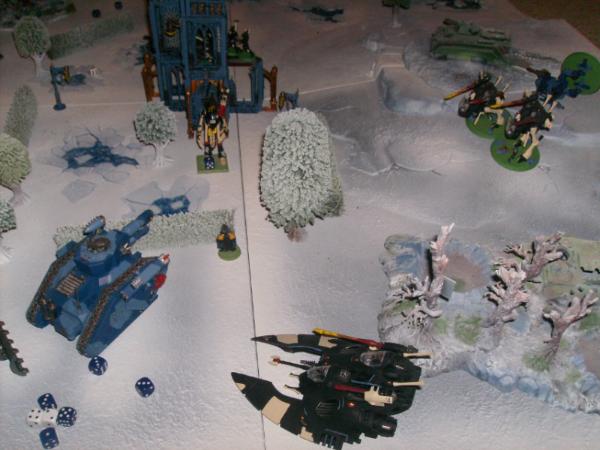
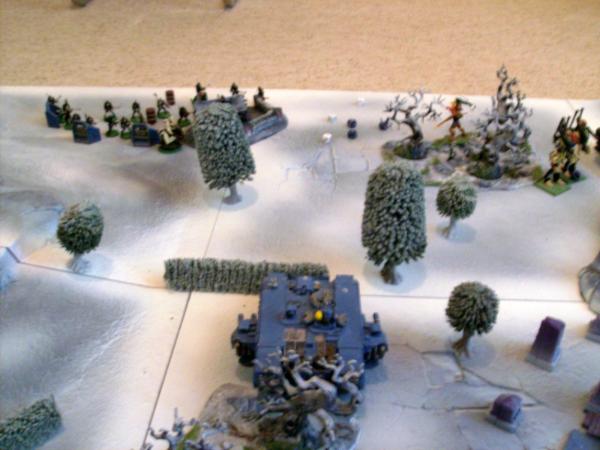
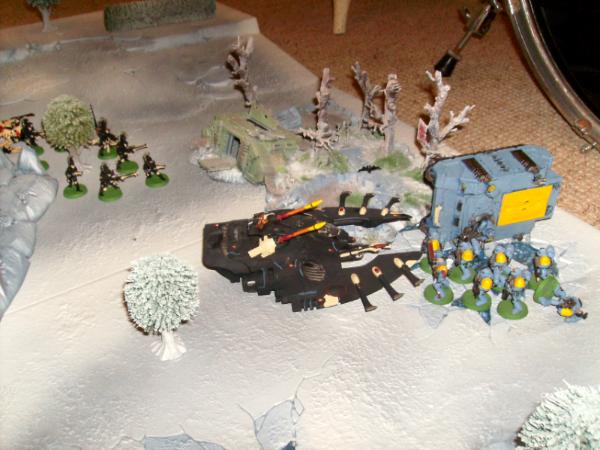
So it was onto game 1: Space Wolves (home) vs Imp Guard (away) on a rural table, map 8.
Space Wolves 1500
Rune Priest in Power Armour Melta Bombs Master of Runes
Wolf Guard Battle Leader in Power Armour + Melta Bombs + Frost Weapon
1 Dreadnought Extra Armor + Heavy Flamer + Twin-Linked Lascannon
7xGrey Hunters Pack + Meltagun
Grey Hunter + Power Fist
Rhino + Extra Armor + Pintle-mounted Storm Bolter
7xGrey Hunters Pack + Wolf Standard
1 Grey Hunter Power Fist
Rhino Extra Armor Pintle-mounted Storm Bolter
7xGrey Hunters Pack, + Mark of the Wulfen + Wolf Standard
Grey Hunter w/ Mark of the Wulfen,
Grey Hunter + Power Fist
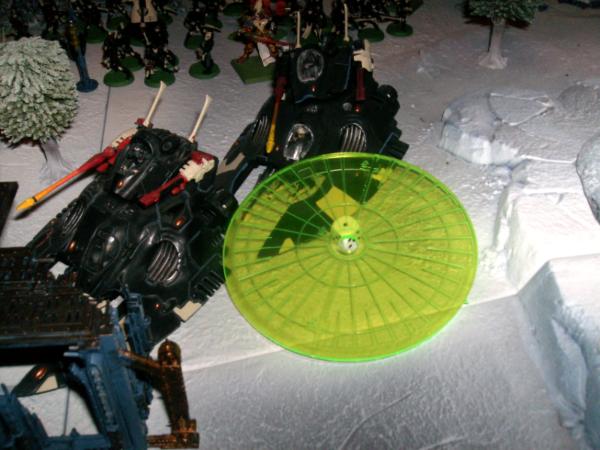
5xLong Fangs Pack + Missile Launcher x5
1 Squad Leader
Razorback Pintle-mounted Storm Bolter + Twin-Linked Lascannon
Land Raider Redeemer Multi-melta
Imperial Guard 1487
Company Command Squad, Krak Grenades + Vox Caster + Grenade Launcher x2 + Plasma gun x1
1 Company Commander Power Weapon
Ministorum Priest Eviscerator
5 Psyker Battle Squad
Overseer
9 Veteran Squad + Vox Caster+ Meltagun x2
1 Veteran Sergeant Power Weapon
1 Chimera + Extra Armor
Platoon Command Squad,+ Krak Grenades + Vox Caster + Flamer x2
1 Commissar base cost + Power Weapon
1 Platoon Commander Melta Bombs + Bolt Pistol + Power Fist
1 Chimera Extra Armor + Pintle Storm Bolter
9 Infantry Squad + Vox Caster + Meltagun x1
Sergeant Power Weapon
9 Infantry Squad + Vox Caster + Flamer x1
Heavy Weapons Squad + Lascannon x3
Heavy Weapons Squad + Autocannon x3
Scout Sentinel + Missile Launcher
Scout Sentinel + Missile Launcher
Leman Russ Battle Tank + Lascannon + Multi-melta Sponsons x2 + Extra Armor
Leman Russ Battle Tank + Lascannon + Heavy Flamer Sponsons x2 + Extra Armor
Griffon
Game rolled was C&C, Pitched Battle (we made a big error here, it was supposed to be pitched battle but we deployed as
DoW – doh!)
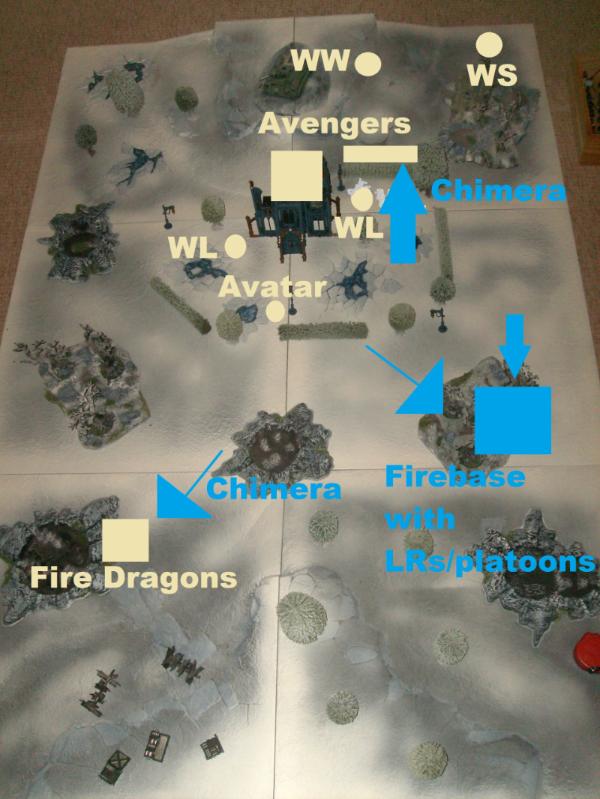
Battlefield:

Objectives:
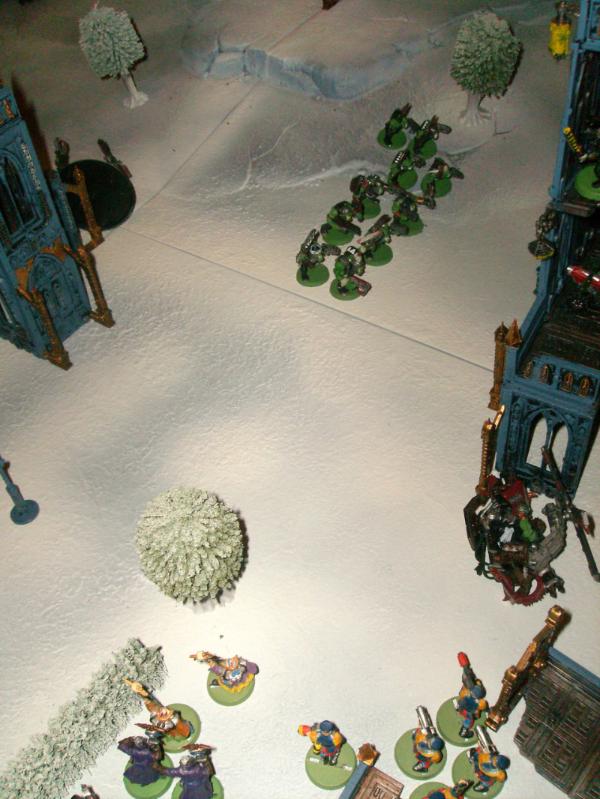
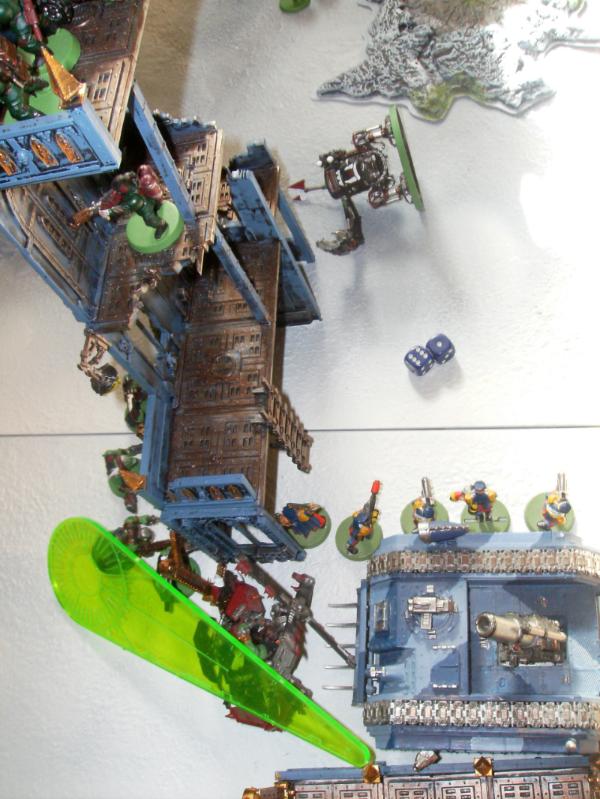
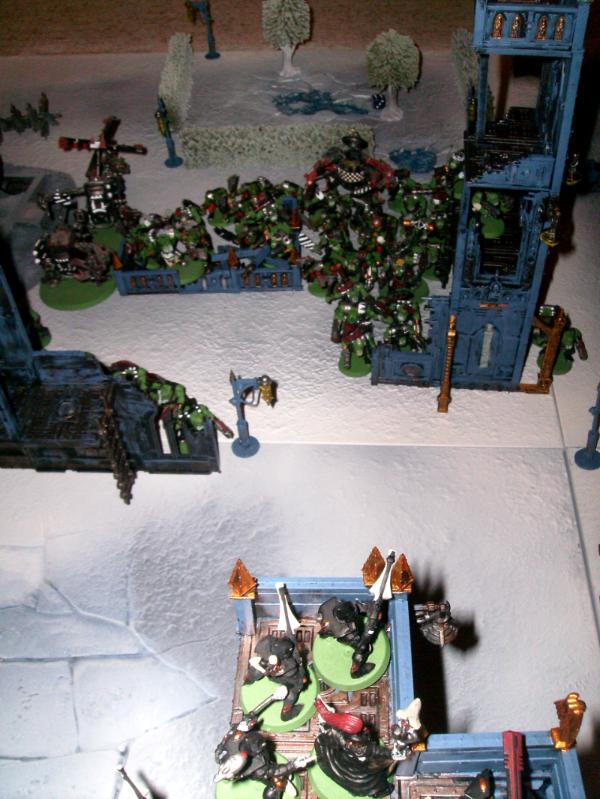
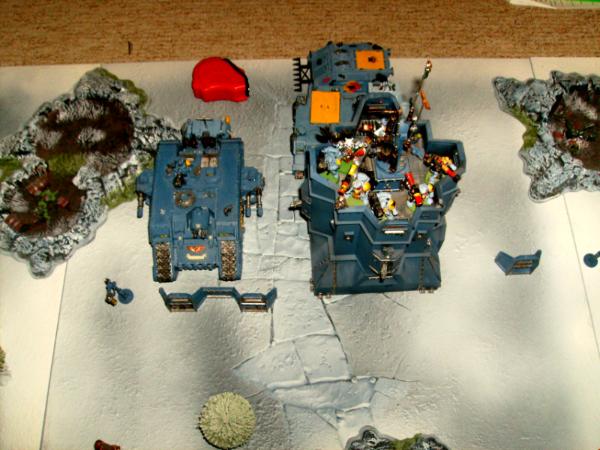
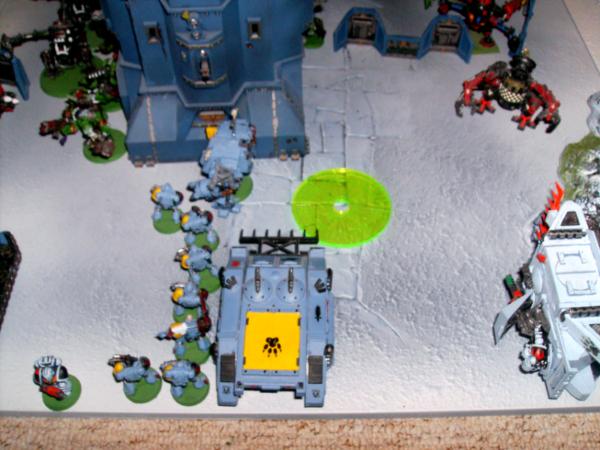
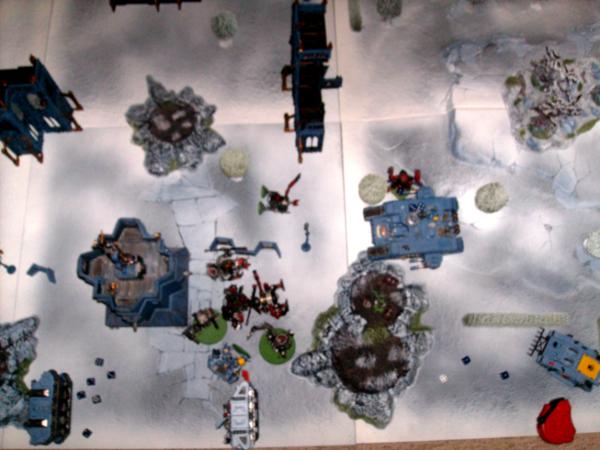
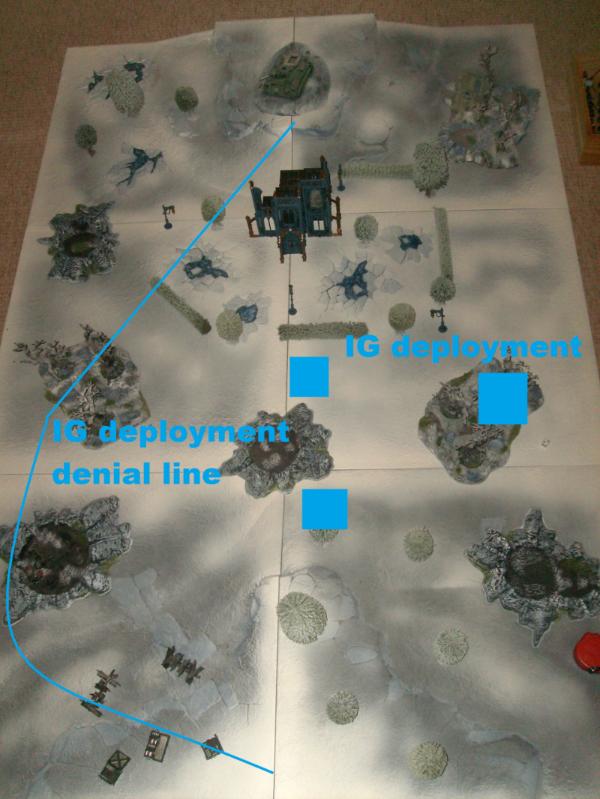
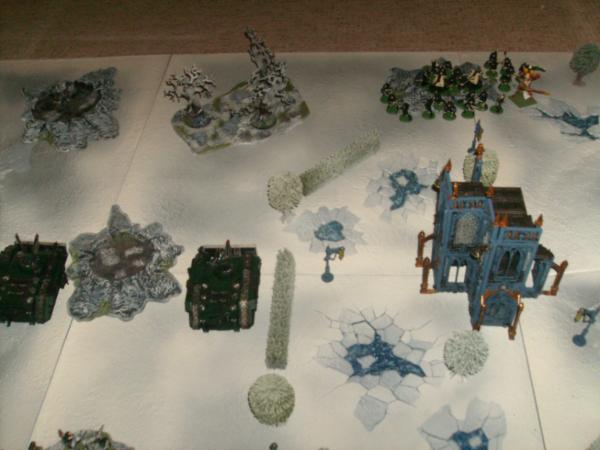
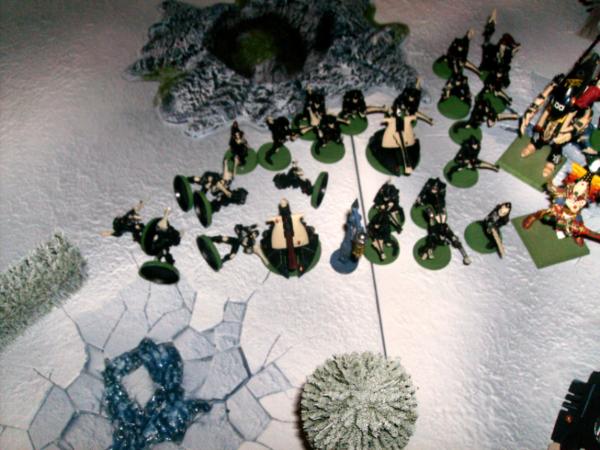
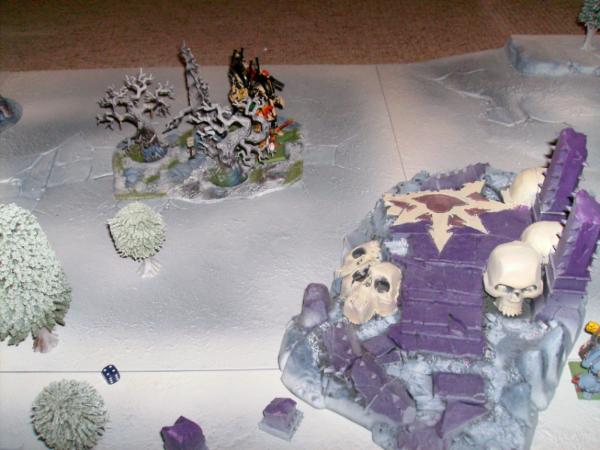
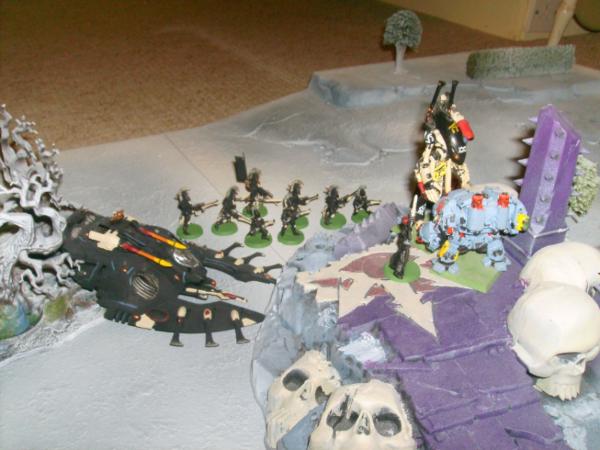
Being at home the Space Wolves chose the East side of the table due to it having two good hills for
LoS and also chose to setup first.
The
SWs set up their objective on their left flank on a hill with good
LoS and an aegis line for cover. The
IGs terrain choices were more limited and they chose a forest on their left flnak – about as far away from the
SW one as possible! The idea was to try and split the
SW forces – facing them all on one flank didnt seem optimal.
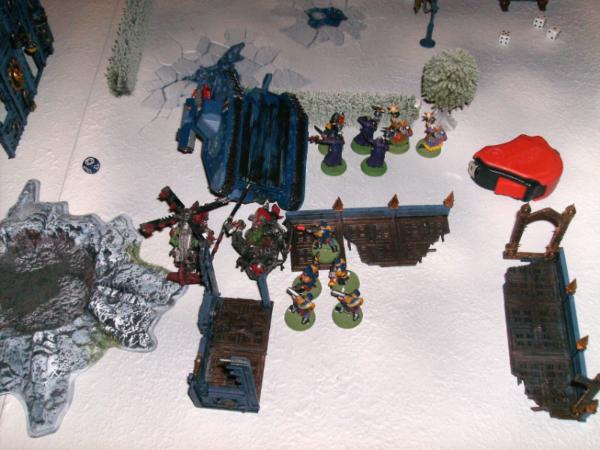
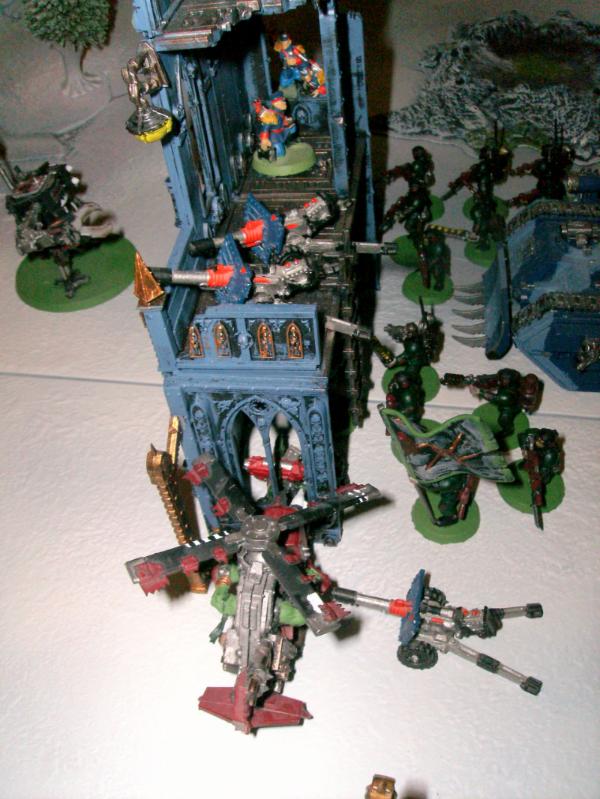
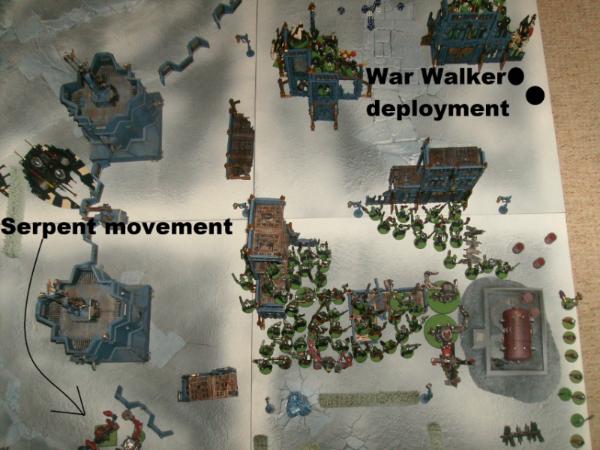
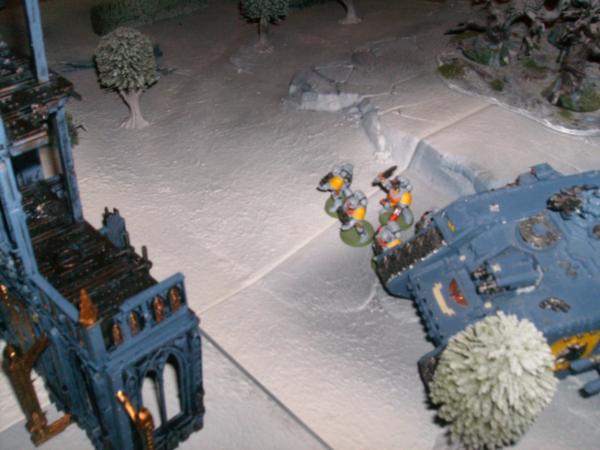
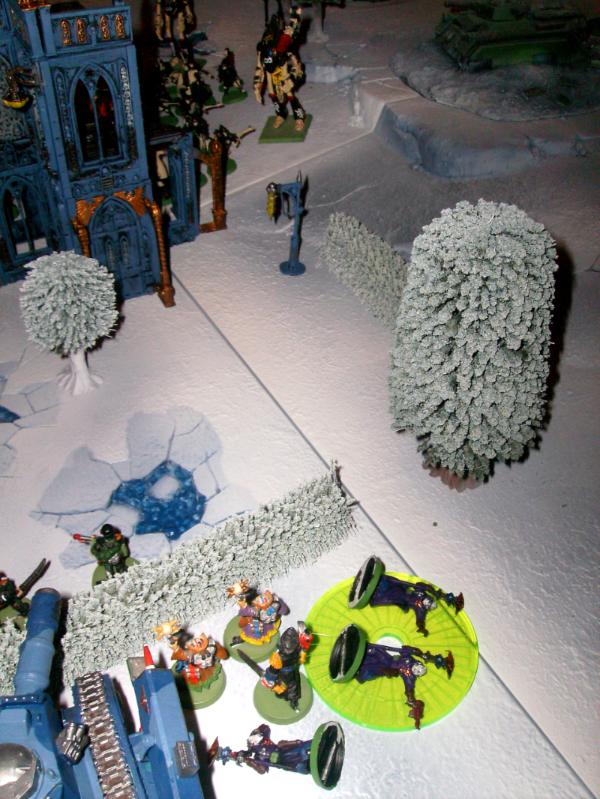
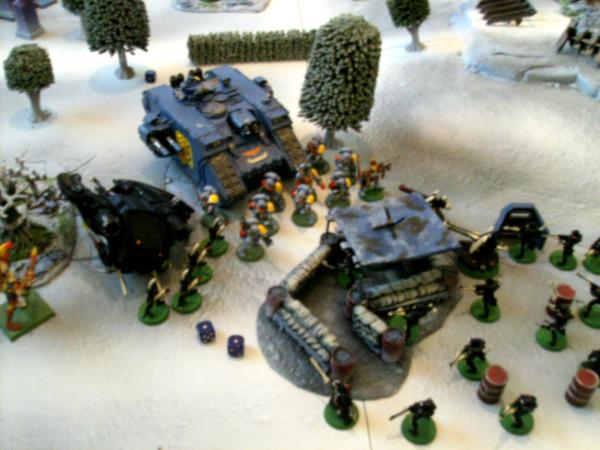
Space Wolf Deployment.
The Rune Priest deployed beside this marker with one Rhino deploying close to him and the other on their right flank to put pressure on the
IG obj. The basic
SW plan can be seen below. 2 mechanised
GH squads would attempt to capture or contest the
IG obj whilst the rest of the force defended their obj.
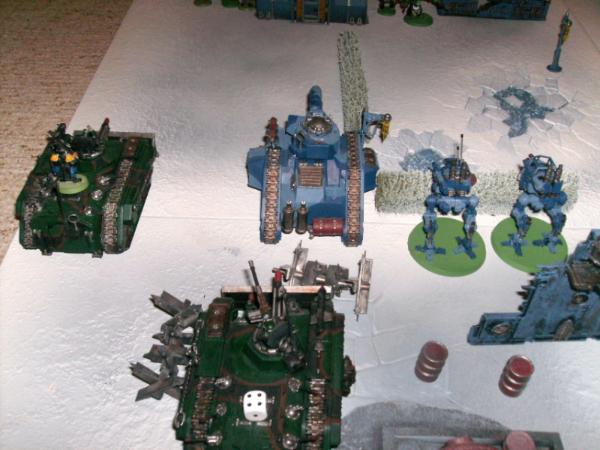
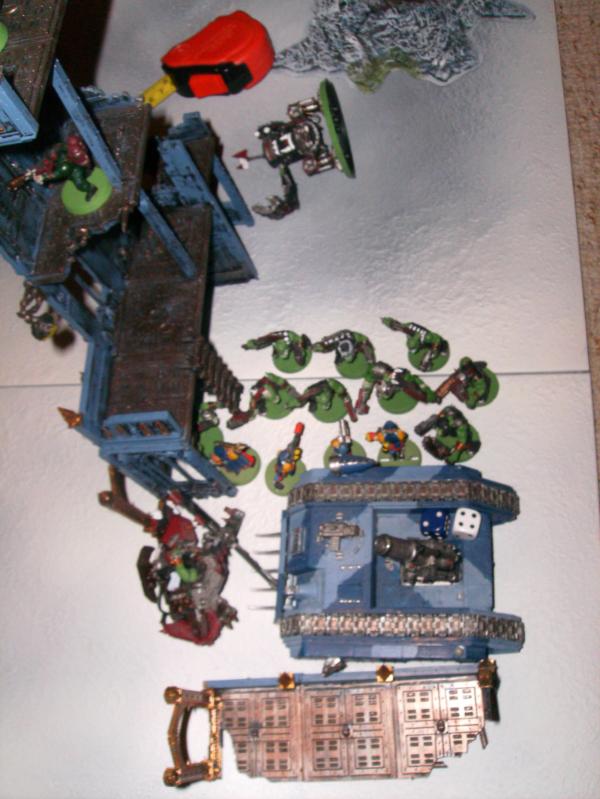
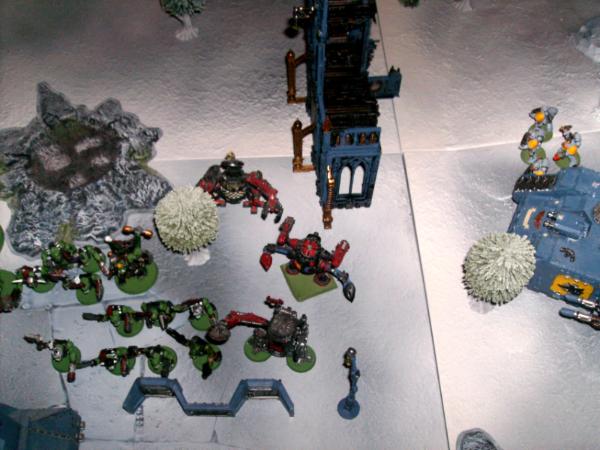
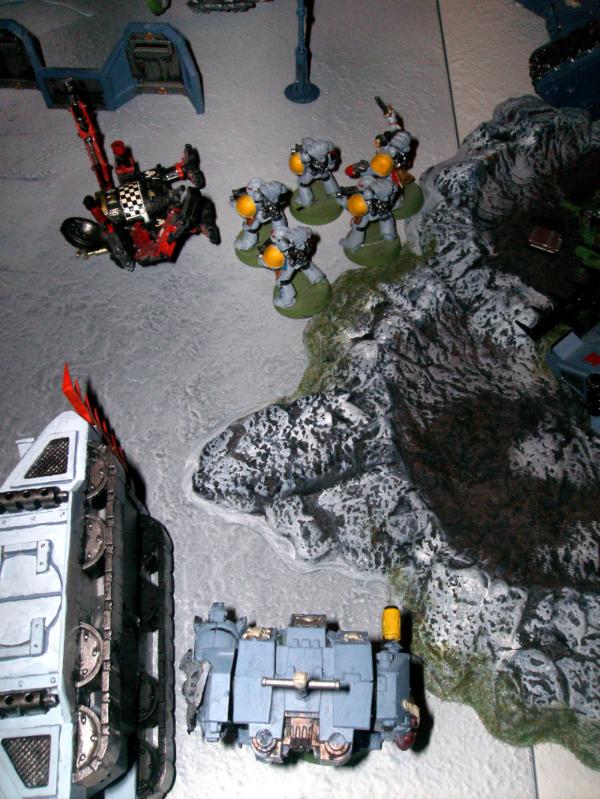
 IG
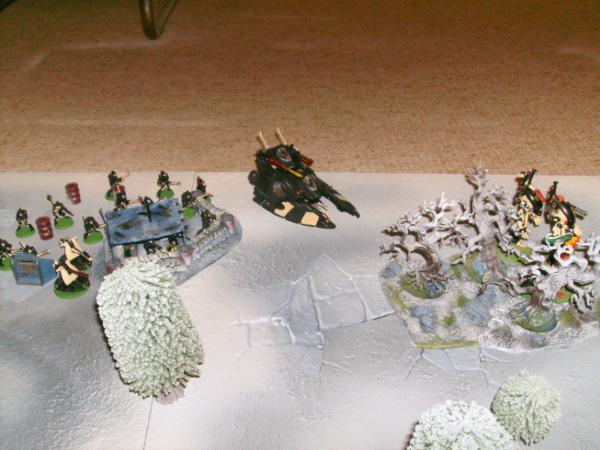
IG Deployment.
The
IG setup their Command Squad at their obj and both Chimeras deployed on the opposite flank to attack the
SW obj. (We were wrong here in deploying both Chims with squads inside for
DoW, correct? - doh x2!).
The
IG as it turned out had a very similar plan to the
Sws, hold their home obj with a decent defense force and attack the other flank with their mechanised units supported by a good firebase of
HWTs, a Griffon and a Leman Russ. Both sentinels chose to outflank.

It was shaping up to be a game of two halves – literally.
 SW
SW Turn 1.
All of the remaining
SW forces rolled on, the
LR,
GHs and 2nd Rhino on the right flank and the Dread, Razorback and
LFs on the left. The 2nd Rhino moved up behind the temple of skulls, whilst the
LR waited until next turn to pickup the
GH squad. With nightfight in effect and the
Lfs having moved on no shooting took place this turn.
 IG
IG turn 1.
The
IG forces moved on with the
HWTs running after deployment to get cover in the forest and establish a firebase. The Griffon moved up behind it too whilst the Leman Russ setup near the table edge.

On their left flank the 2nd Leman Russ rumbled on along with the
Igs platoon squad and psykers.
Both Chimeras moved forward to the table mid point and popped smoke early. They figured if they could survive a round of shooting they would be close or close enough next turn to start attacking whilst their firebase whittled down the
Sws defense force.
 SW
SW Turn 2.
On the right flank the
LR picked up the
Ghs squad and moved to the table mid line. The Rhino moved forward twelve ready to position its
Ghs for the next turn and popped smoke.
On the left the 2nd Rhino moved forward 6 to pop a meltagun shot at the Chimera.
The
Lfs opened up on the
HWT in the forest killing to with frag missiles. Not a great use of them in hindsight, the Chimeras were probably a better target. The
RP unleashed
LL on a Chimera but it passed its saves with smoke. The Dreadnought shot at the 2nd Chimera but missed whilst the Rhinos meltagunner hit but failed to damage the other Chimeras, not a great round of shooting.
 IG
IG Turn 2.
Both Chimeras moved forward 6” to continue pressuring the
SW obj and allow their meltagunners to get some shots off.
On the right flank the platoon squad ran into the forest for cover whilst the Leman Russ moved in behind it also. The psyker squad repositioned slightly aswell.
During the shooting phase the Griffon and
HWTs opened up on the
LF squad killing 3 in a hail of fire. The Leman Russ moved forward 6 and fored its cannon at the Dreadnought but it scattered off target. On the right flank the command squad and psykers shot at the Rhino and immobilised it which didnt change much since the
Ghs were where the need to be anyway. Both Chimeras fired melta at the forward Rhino but failed to damage it. The
Igs obj was now under quite a bit of pressure having failed to destroy the Rhino and with the
LR in a position to allow its squad a charge things were looking grim. However the two Chimeras were untouched and the firebase was still in tact.

 SW
SW turn 3.
The
SW obj squads remained where they were on the left flank setting up to do as much damage as possible. The Rhino on that flank pulled back 6 inches to a more central position.
On the other flank, the
Ghs disembarked from the Rhino to fire on the forward platoon squad whilst the
LR moved forward 12.
In the shooting phase the a combination of the Dreadnought and the
Lfs immobilised the first Rhino. The
RP and Razorback shot at the second destorying two weapons, whilst the
Ghs in the Rhino fired off another melta shot which failed to damage.
On the other flank a combination of flamers and bolters killed 5 of the platoon squad but they passed their break test. The
LR with
PotMS fired its flame cannon at the lead command squad killing all but the commander.

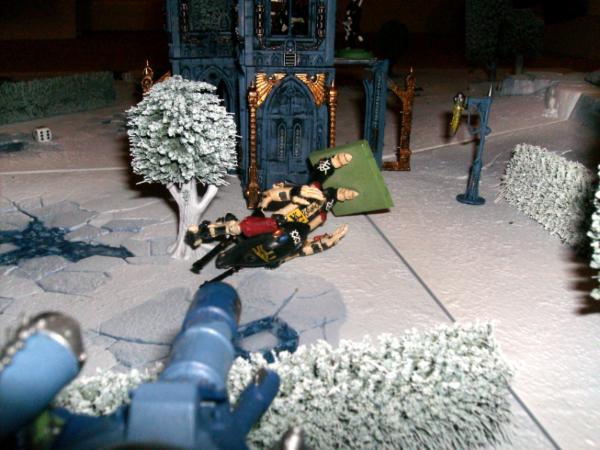
The
Ghs then disembarked and multicharged the commander and the platoon in the forest wiping them out completely. They now contolled the
IG obj.
Overall not a bad turn, the
IG obj was now in serious trouble with 2
Ghs squads and a
LR to contend with a very few troops left.
IG Turn 3.
The Sentinels rolled for outflank but failed to arrive.
The remaining mobile Chimera moved up another 6” as did the Leman Russ on the
IG right flank. On the left the remaining command squad moved 6” backwards trying to avoid the
Ghs as they were now the only squad left that could hold the
IG obj and sitting in a firefight with
Ghs wasnt a good idea.
The
GH squad in the forest was still a major threat but at this stage there were not a lot of options left. The psyker squad and 2nd Leman Russ manouvered for a better firing position on the first
GH squad.
The shooting phase saw both Chimera meltagunners fire on the Rhino destroying it. The
Ghs bailed out and passed their pinning test. The Chimeras then fired on the
Ghs killiing one.

The Griffon and
HWTs again fired on the
Lfs but failed to kill any due to poor to hit rolls and the cover of the aegis lines. On the left flank the
LR and psyker squad fired on the
Ghs killing 4, a reasonable return. However they passed their break test.
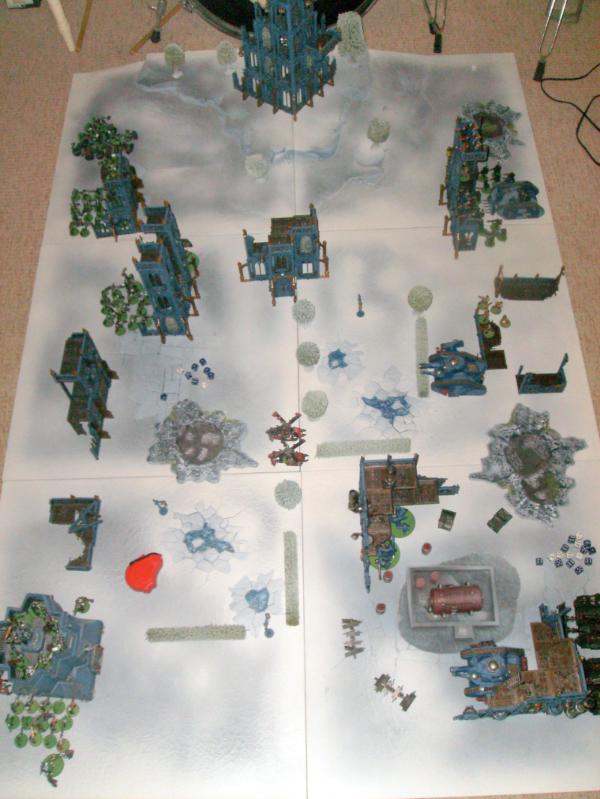
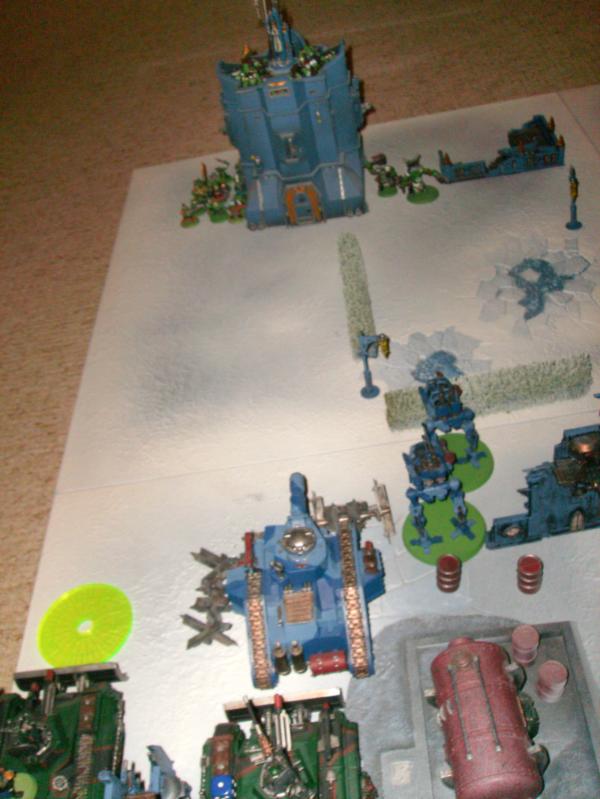
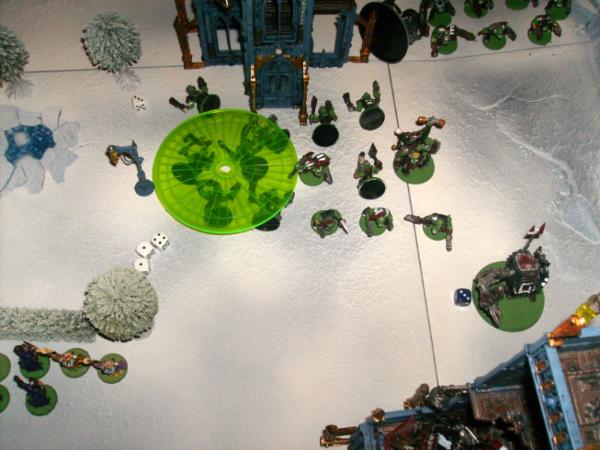
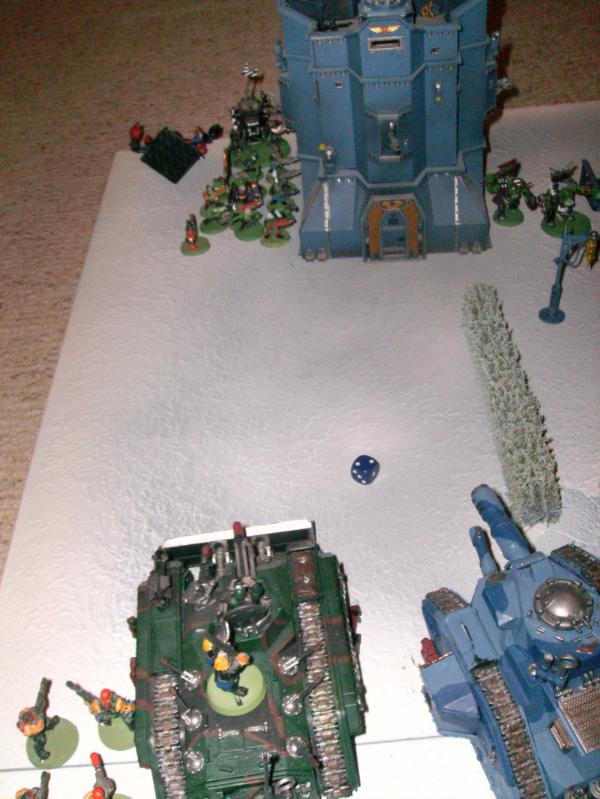
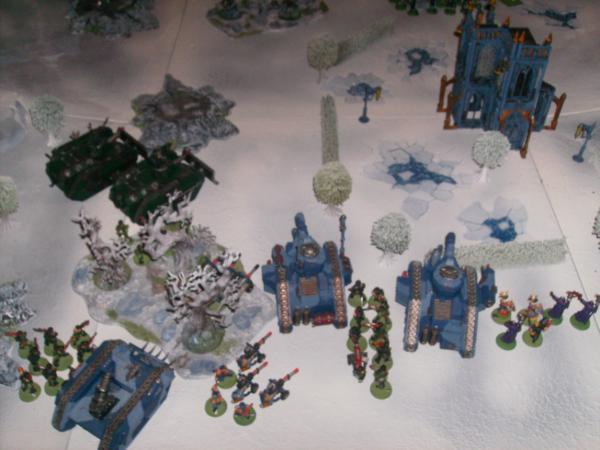
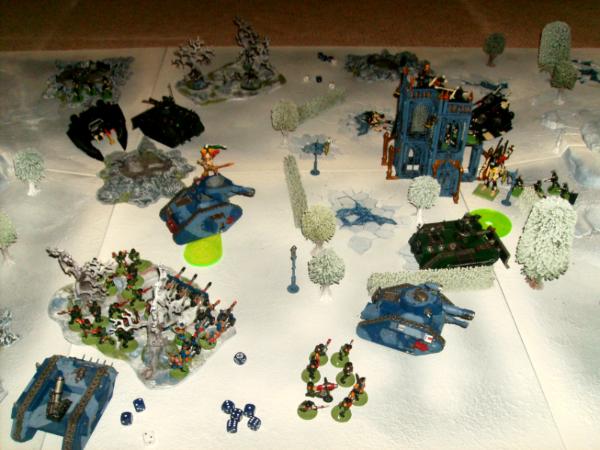
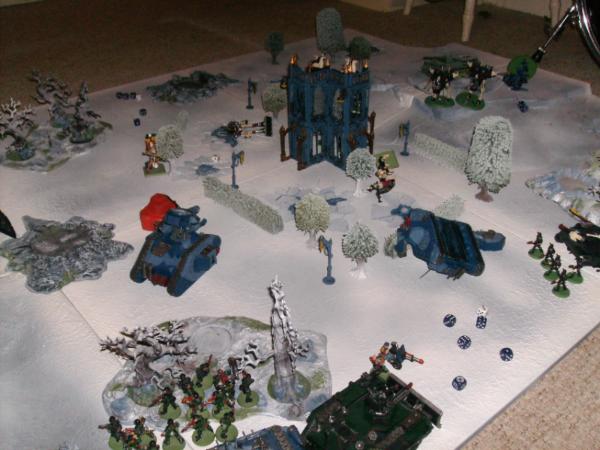
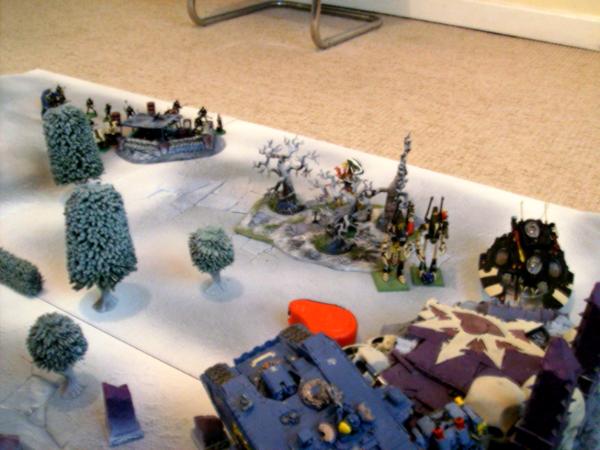
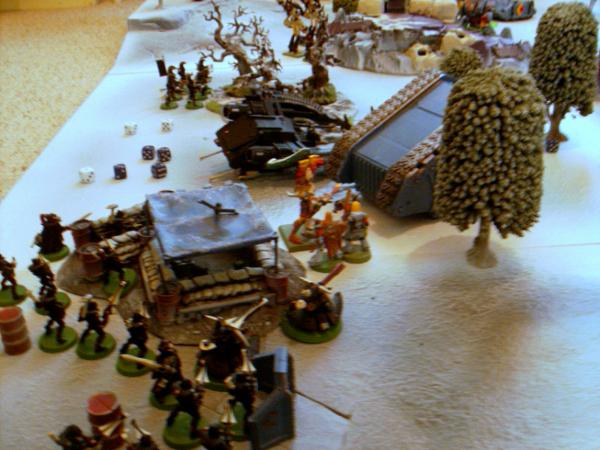
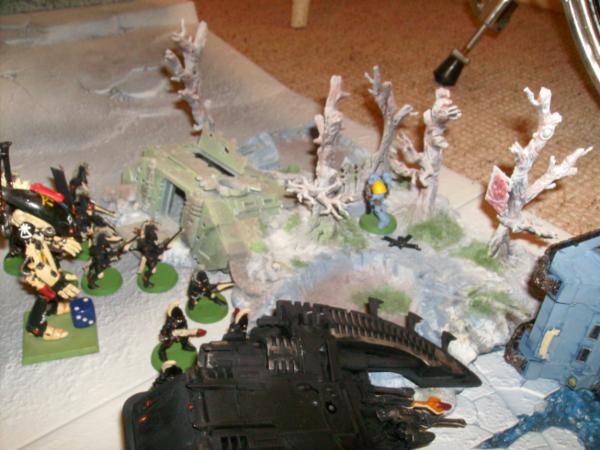
This was how the
BF looked after 3 turns a piece.
 SW
SW turn 4.
The only movement this turn was the
GH squad falling back into the Razorback and the Dreadnought moving forward 6” to get a better position for firing/possibly charging the Chimera. On the other flank the
LR manouevered to get side shots in the
LR.
On that flank the
Lfs and
RP shot at the still mobile Chimera shaking it and getting one weapon destroyed result. The Dreadnought fired on the Leman Russ destroying a weapon and choosing the battlecannon.
On the right flank a combination of the remaining
Ghs and Rhino firing killed all 5 of the psyker squad, leaving only the overseer alive, who passed his break test.

The
LR then fired on the Leman Russ but failed to damage it. Overall rolling had been quite poor on the
IG vehicle charts for the
Sws.
The
Ghs rolled to move further through the forest but only achieved a measily 2”. (In hindsight we cant recall why the
Ghs didnt finish off the command squad on that flank).
IG turn 4.
The two sentinels came on with outflank right into the
SW obj. The platoon squad in the immbolised Chimera disembarked ready to make a run for the
SW obj. The second Chimera moved a full 12” left to try and avoid the Dreadnoughts inevitable charge and flank the
Sws obj.
On the other flank the remaining command squad ran to offer itself as a sacrifical target tot he remaining
Ghs.
The shooting phase on the
IG right flank proved utterly devastating with a combination of the platoon squad,
HWTs and Chimera weapons killing the remaining
Lfs and the
RP.

The sentinels fired on the Razorback shaking it.

The Griffon then took a literal long shot at the
Ghs on the other flank in the forest killing two and forcing a break test which they failed! They ran back 4” or so.
The Leman Russ and command squad then fired on the 2nd
GH squad and killed them off, leaving that flank in the balance.
 SW
SW Turn 5.
The
GH squad rallied and made a run back into the forest to contest the
IG obj. On that flank the
LR moved further around the forest to continue side shots into the Leman Russ.
The other flank saw the Dreadnought move just within side armor arc of the Chimera, a very lucky move.

The
GH squad disembarked from the Razorback to try and secure the
SW obj whilst the Razorback rumbled forward to tank shock the disembarked platoon squad. They elected to death or glory and got a weapon destroyed result whilst also passing their tank shock test.

The Dreadnought fired on the Chimera destorying it, the command platoon disembarked losing two men but passing their break test.

The
Ghs then fired on the sentinels getting a crew shaken and weapon destroyed result.
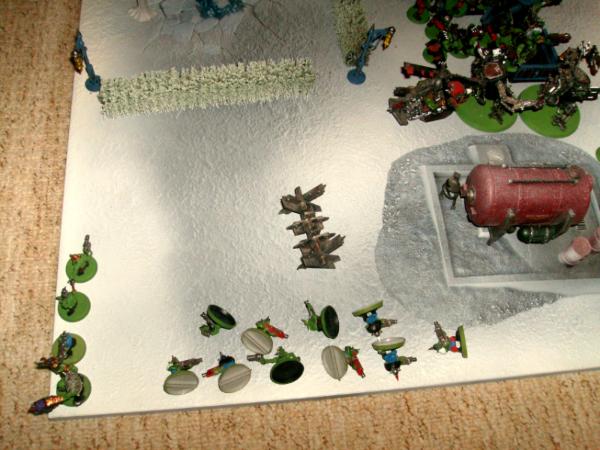
IG Turn 5.
At the
SW obj the Chimera platoon moved forward six into the
SW obj zone. The command sqaud from the 2nd destroyed Chimera ran 11” ready to make a final run for the
SW obj in the last turn.
The Leman Russ turned to fire on the
LR but failed to damage it despite having 2 multimeltas within range!

With so much armor in the
SW obj zone the
HWTs only had the Dreadnought as a target in
LoS and fired upon it getting a weapon destoyed result and immbolised, veyr lucky but much needed, effectively putting it out of the game. The platoon squad and sentinels fired on the remaining
Ghs but poor rolling only saw one killed. The
LR and Chimeras fired on the Razorback wrecking it.
Going into the final turn the
Sws controlled both objectives uncontested albeit with a tough turn to endure at their own obj.
SW final turn.
The
Ghs at the
SW obj fired on the
IG platoon squad, being the only potential capturing squad left but only managed to kill 3 which meant their obj would at least be contested and possibly lost if the
Ghs were wiped out!
The
Ghs at the
IG obj took no action effectively going to ground to try and hold out from the inevitable last turn barrage. The
LR fired again the Leman Russ destroying its main weapon and shaking it. (We made a mistake here, letting the Dreadnought turn to fire on the command squad even though it was immbolised – doh again!). It killed all but two of the squad.
With that the
SW turn concluded.
IG final turn.
The Leman Russ at the
SW obj moved forward six to get in flame range of the
GH squad but with a very poor tactical error the
IG platoon squad moved infront of it, meaning in the shooting phase it couldnt target them. The sentinels and platoon squad moved to within that vital 3” of the
SW obj.
On the other flank the remaining memebrs of the command squad charged the
LR for some fun.
They however failed to do any damage.
Everything the
IG had then opened up on the last of the
Ghs in an attempt to wipe them out/break them. However dice rolling was exceptionally poor and only one was killed, leaving the
SW obj firmly contested by both forces.

It came down to the
IG attempting to kill/break the other
GH squad at the
IG obj.
The ever reliable Griffon hit and killed two whilst the Leman Russ missed its shots.

However with the final roll of the game they failed their break test and ran an unreal 11” from the forest leaving the
IG obj uncontested completely!

And so the final result was a hard fought draw!

Post match comments.
Sws:
Losing on the final roll of the game is hard to swallow and the attack on that flank really had gone well until then with a solid plan well executed. The
IG really needed another squad or two there to shore it up and the
Ghs really hit the command and platoon squad hard on the charge meaning the obj was always there for the taking.
The other flank worked less well, target priority wasnt as good, the Chimeras needed to go down earlier which would have put the platoons on foot and easy fodder for the
Lfs. That would have left the Razorback free as a flank blocker for the sentinels.
RP and
Lfs didnt perform really, their shooting was poor. In hindsight the
IG put a lot of weight into that flank so it was going to be hard to stop and contesting in the end was a fair result.
Dam dice!
IG:
Lucky, very lucky!
Got almost steam rolled on the left flank, the
SW were on the obj by turn 3 which didnt help at all and was definelty lacking some anti tank over there. In hindsight a good
hth squad was what was needed to hold out, the psykers really didnt add much to the party and that
GH charge was devastaing.
The other flank faired much better, the
HWTs and Griffon really did well that game, destroying several key units. Cant beat a good
IG firebase. A bit unlucky in the end not to have killed the remaining
Ghs, however going to ground for a 2+ save meant it was always going to be hard. Perhaps shoild have tried a tank shock with the
LR or even charged them witht he sentinels/platoon squad.
Good game overall though.
I'll try and get games 2-3 up once the post automerge disables. 2 hours for that is it?
Thanks for reading!


 1850 Guard,


 )
)
 Member of
  DKoK Blog:
 Have a look, I guarantee you will not see greyer armies, EVER! Now with at least 4 shades of grey