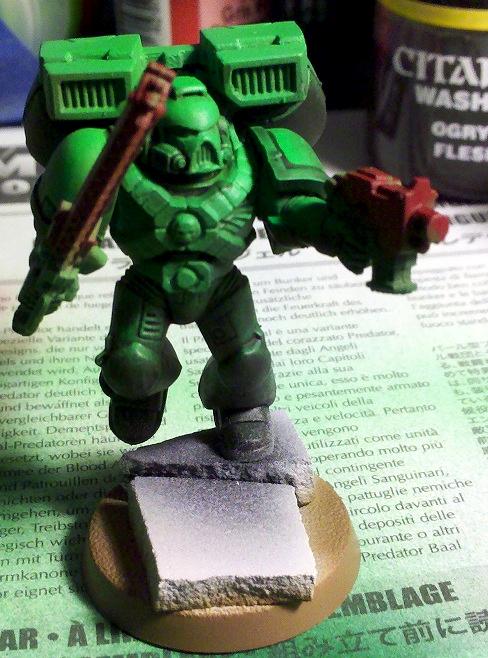
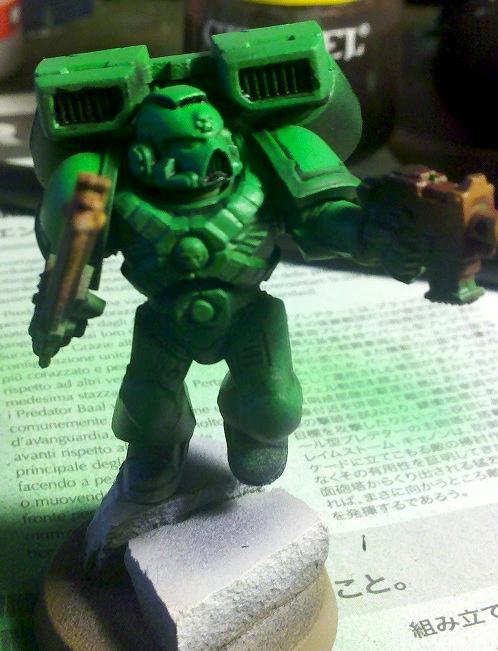
I posted most of this in my blog, but its more of a tutorial, so I'll post it here.
This guide assumes you have an airbrush, as many of the steps require one. I used an Iwata
HP-B Plus for this model. This is for an assault marine, but the techniques could easily be adapted to a tactical marine without any real trouble, or even a terminator.
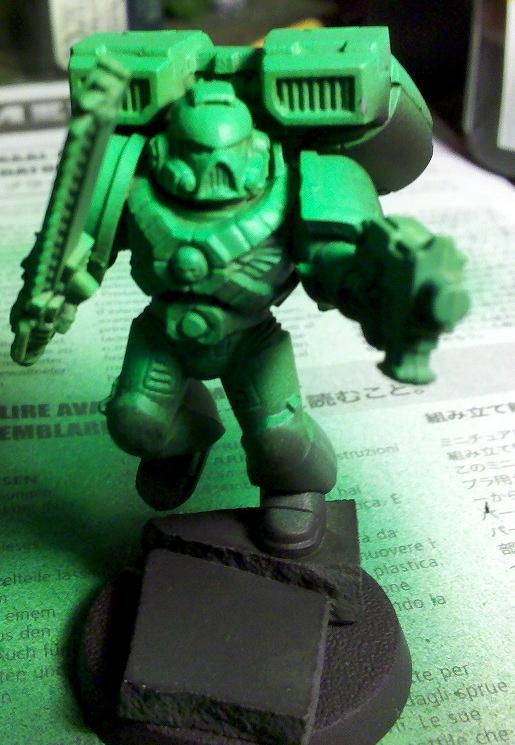
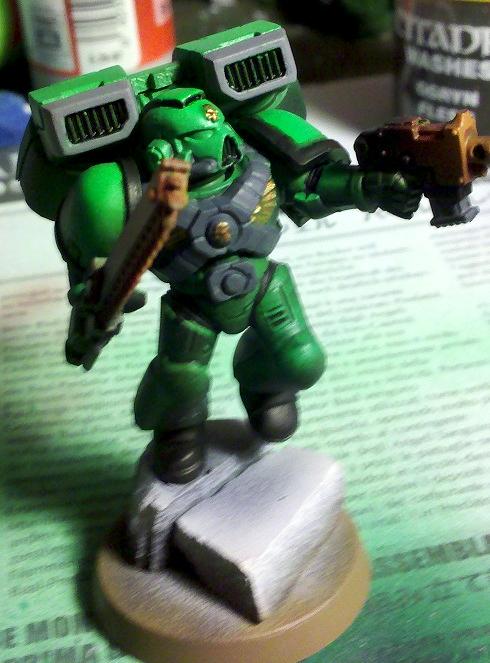
Step 1: Base coat the model with VGC Dark Green mixed with VMG Imperial Blue, 6 drops to 1 drop, mixed with 4 drops thinning and 4 drops satin varnish. Just do light coats, and go back to hit any spots you miss. You need 100% coverage here.
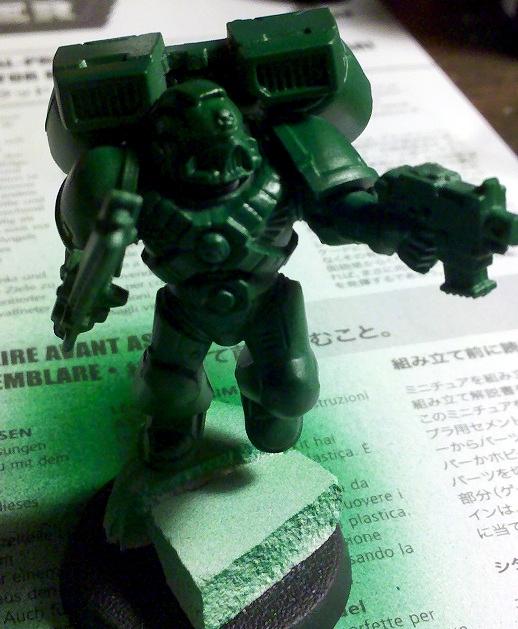
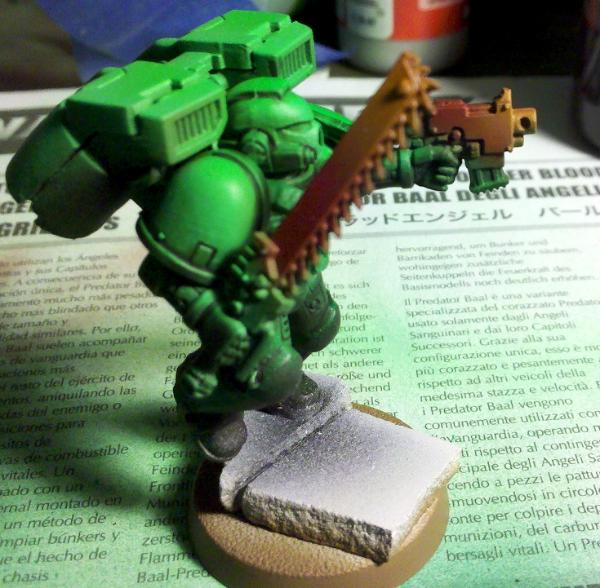
Step 2: VGC Goblin Green + Thinner, 1-1 ratio.
Be sure to only spray this downward towards the top of the model, so it falls naturally on exposed parts of the armor.
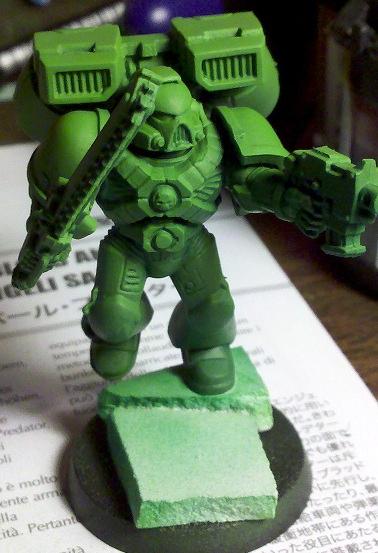
Step 3: VMC Light Green + Thinner, 1-1 ratio
Spray this at a steeper angle downwards, so it hits less armor than the previous coat.
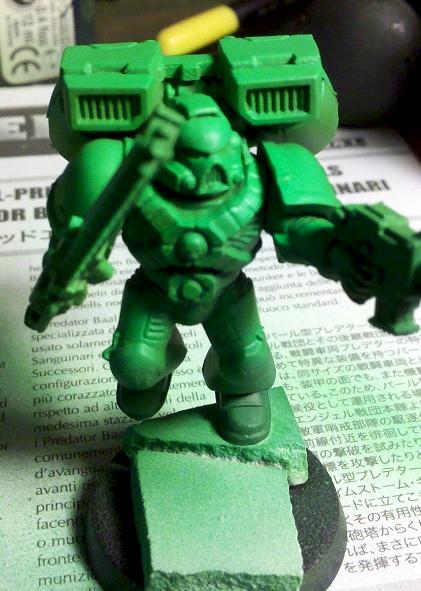
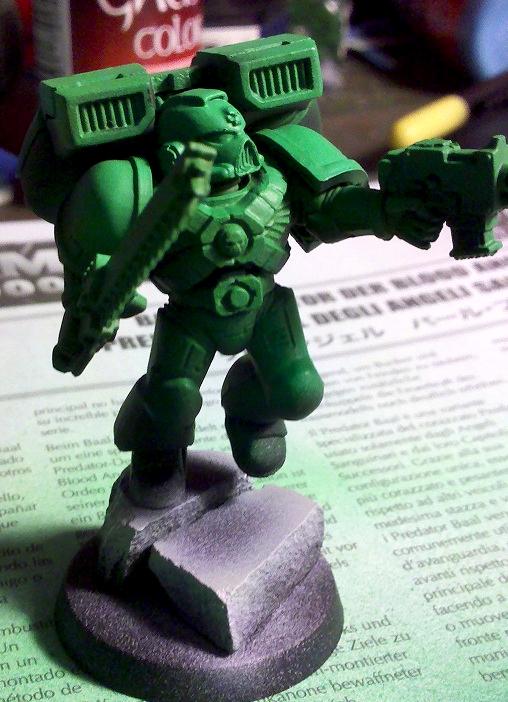
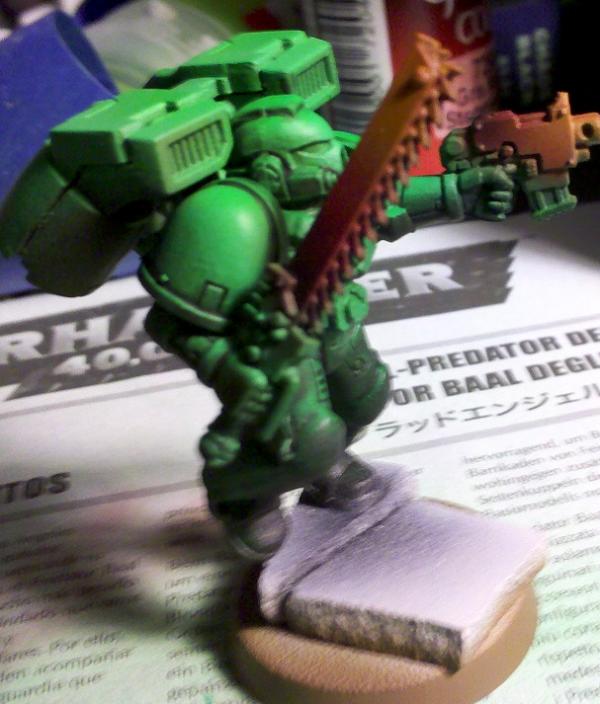
Step 4: VGC Transparent Green + Thinner, 1-2 ratio (filter layer)
You basically want to hit the entire model with a light coat of this, to give it a nicer shade of green.
Step 5: VGC Black Ink + Thinner, 1-3 ratio.
This is the shadow layer, and is mostly sprayed from the underside of the model upwards, under the jets, under the arms, behind the legs, etc. Anywhere that there shouldn't be much light falling on gets hit with this. It also acts as a basecoat for the rocks.
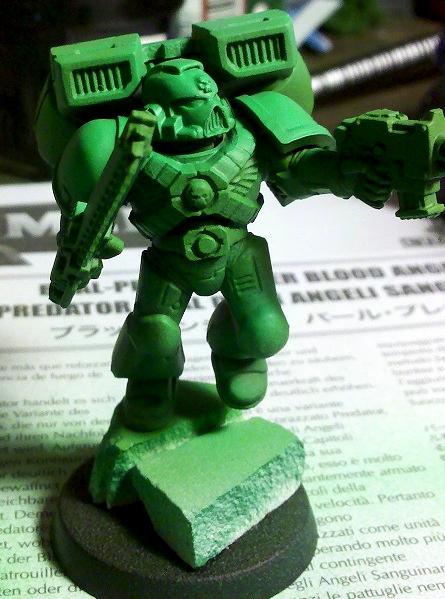
Step 5: VMC Stonewall Grey + Thinner, 1-1 ratio
Spray the rocks, leaving the middle a darker black.
Step 6: VMC Ivory + Thinner, 1-1 ratio
You want to do only the edges of the rocks with this to give them a final highlight.
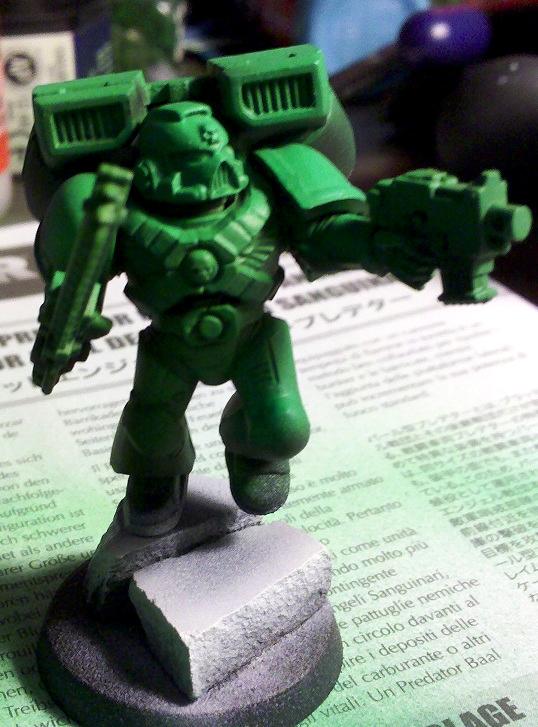
Step 7: VMC Terra Earth + Thinner, 1-1 ratio
Step 8: VMC Florescent Green, undiluted.
I skipped a picture here, but the goal is to paint the base with the earth (duh), then to paint the top of the head, top of the shoulder pads, and the top of the jet pack with the florescent green to really make them pop.
 Automatically Appended Next Post:
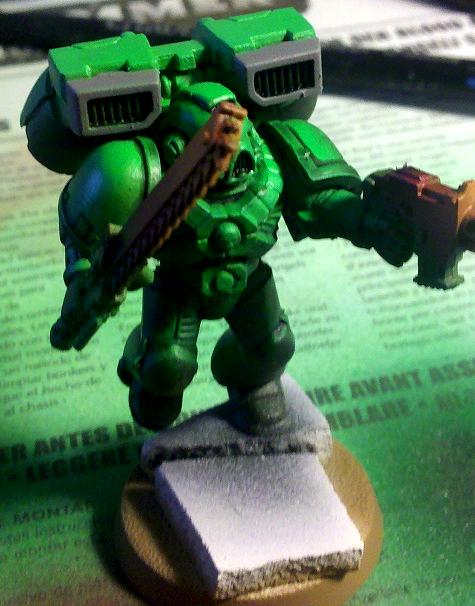
more airbrushing!
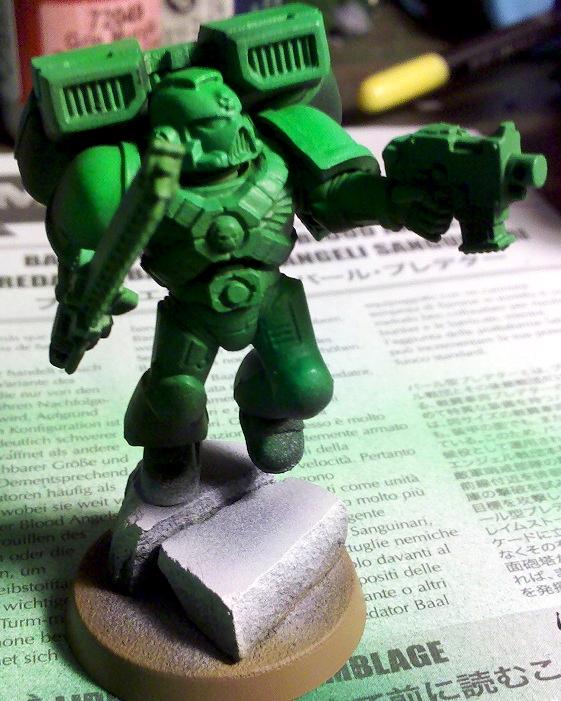
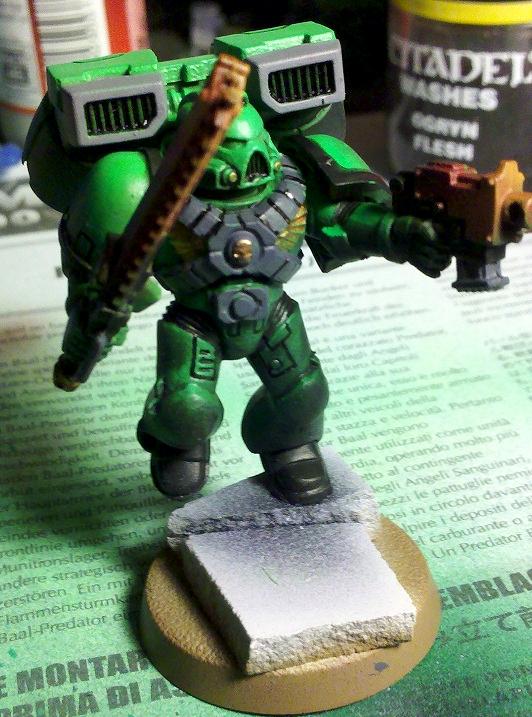
Step 9: A coat of badab black along the shoulder guards (just around the edges), around the helmet edges, and all over the arms and legs.

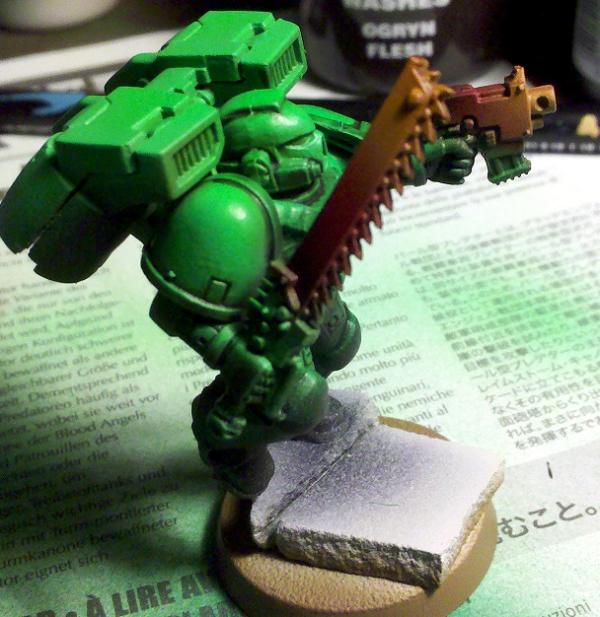
Step 10: Paint the chainsword and bolt pistol VGC Scarlet Red
Step 11: Paint the tips of the weapons VGC Orange Fire
Step 12: A bit of Black Ink near the base of the chainsword and back end of the bolt pistol
Step 13: Your done airbrushing at this point, so throw down a coat of satin varnish to protect the work so far.
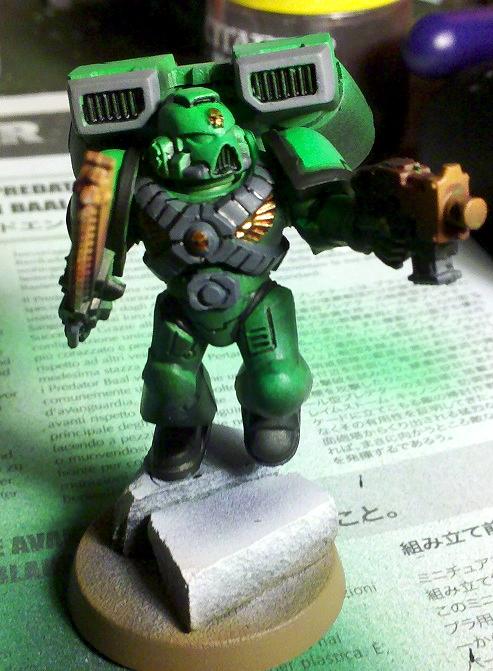
Step 14:
GW Black ink in the jet intakes and mouth piece
Step 15:
GW Codex Grey around the jet intakes
Step 16:
GW Chaos Black around the weapons, exposed suit between plates, and shoulderguard rims.
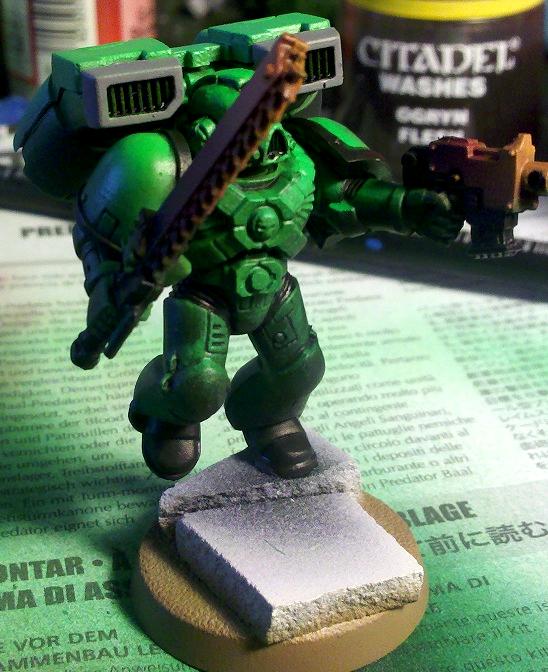
Step 17: VMC Dark Grey on the harness, belt buckle, chainsword guard, and pistol clip.
Step 18:
GW Dwarf Bronze on the Aquillia and skulls, as well as fuel pipes on backpack.
Step 19: .2MM Black Micron Pen applied to seams in armor and the harness.
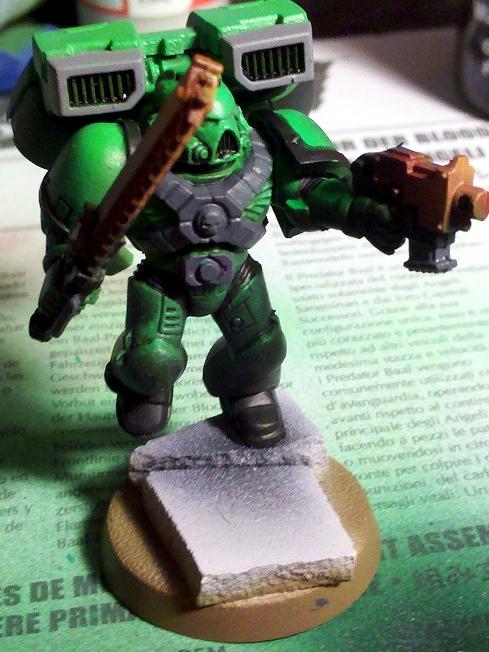
Step 20:
GW Flesh Wash (
OOP Ink) applied to the areas where step 18 was used.
Step 21: Didn't take step by step pictures for this, but at this point its pretty easy to just do a lot at once... not much left but details.
Basically just add codex grey to the harness as a highlight, then skull white to the harness as an extreme highlight. Then paint the chainsword and bolt pistol with some mithril silver, and then outline the chainsword blade with black ink. Paint the eyes with a spritz of blue for the
OSL, then paint it imperial blue, then light blue, then a final highlight on the eyes of skull white.
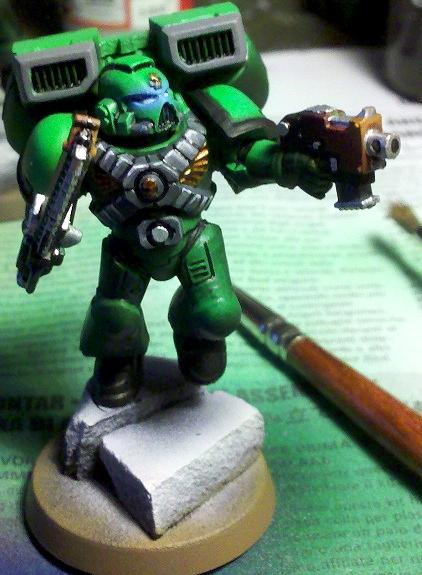
At this point, your ready to finish the base with whatever basing material you want, put any decals you want on him, and your good to go!


