Circles aren't that counterintuitive. It's the best way to get the most field presence out of a squad. Spreading out this way is practically necessary for horde armies at low points levels, and it's also one of the best ways to deploy and move against deepstrikers.
That it also reduces casualties from small blasts and templates to practically nothing and large blasts to reasonable levels (say, 3 hits), is only more reason to take them. Often, I would make sure that the back half of a squad was behind cover, allowing the guys in front to take field position while still getting cover saves.
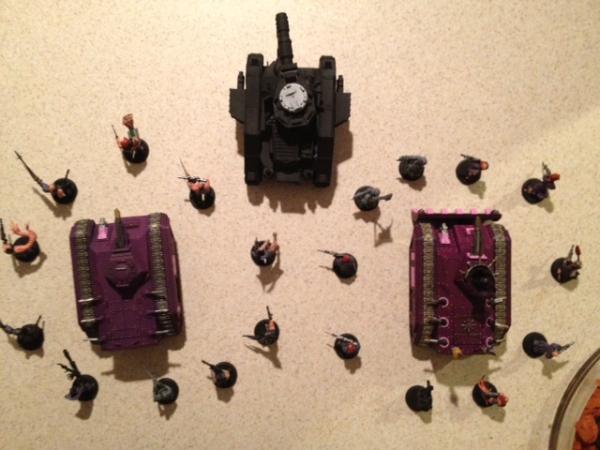
Here are a couple examples of how I do it with my foot lists.


... among others. Whenever people talk up how much damage weapons that use flamer templates or small blast markers do, I always have to question who they're playing against, and if they've read the part in the rulebook about 2" coherency.
Certainly you can do things to crowd your opponent's models in somewhat, but it still doesn't change the fact that your opponent has more control over how many models you hit than you do.