Forum adverts like this one are shown to any user who is not logged in. Join us by filling out a tiny 3 field form and you will get your own, free, dakka user account which gives a good range of benefits to you:
No adverts like this in the forums anymore.
Times and dates in your local timezone.
Full tracking of what you have read so you can skip to your first unread post, easily see what has changed since you last logged in, and easily see what is new at a glance.
Email notifications for threads you want to watch closely.
Being a part of the oldest wargaming community on the net.
If you are already a member then feel free to login now.
Welcome to my WIP blog. Here you will find both finished and WIPs post of miniatures from Warhammer 40k and Warmachine&Hordes. Please leave a comment to praise or criticize my work. I am still learning so all feedback is appreciated.
An easier way to follow what I have been doing is to add me to your G+ (If you use one) ,as I am no longer updating the albums above. Here: https://plus.google.com/u/0/+LazyPug1
*If some of the pictures show as "removed or moved" try refreshing the page or come back later. I don't know why it happens but apparently it is a random occurrence from photobucket*
The Color scheme
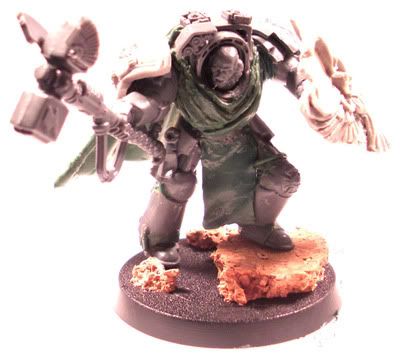
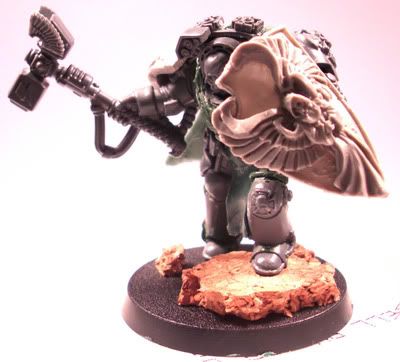
Making of Bilial
The ravenwing
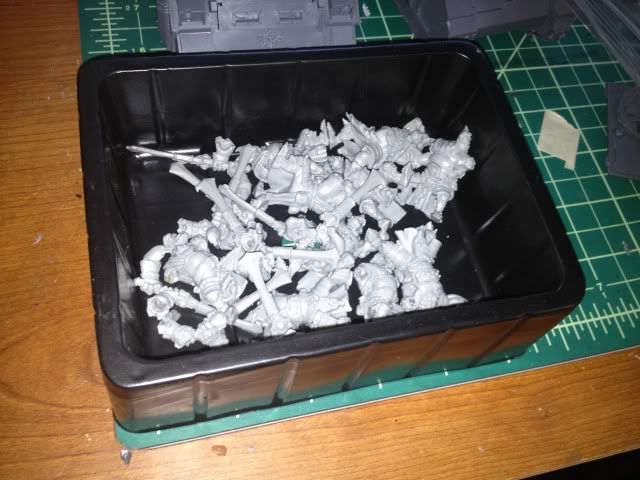
The deathwing (still waiting on parts for these guys. So they are still in pieces)
This message was edited 9 times. Last update was at 2013/12/15 23:31:32
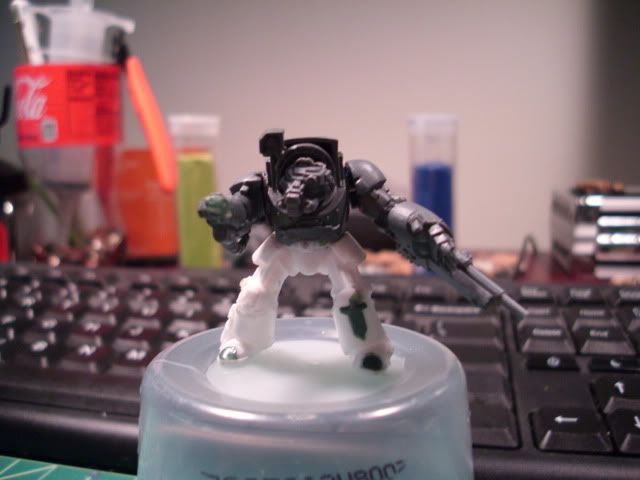
Gundam-Mecha wrote:Great Green stuff work on the cloak!
I'm looking forward to seeing these bad boys painted!
Thanks, I will do my best on them. I am planing to paint the capes,robes,cloth piece either white or red. I haven't decided on which yet.
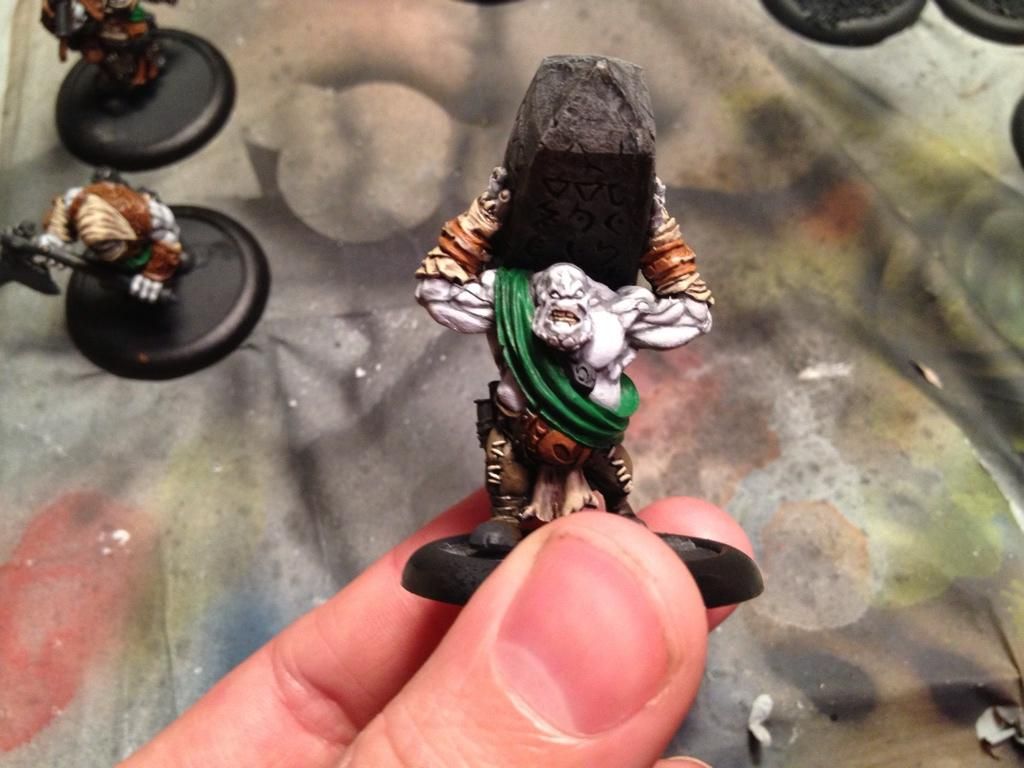
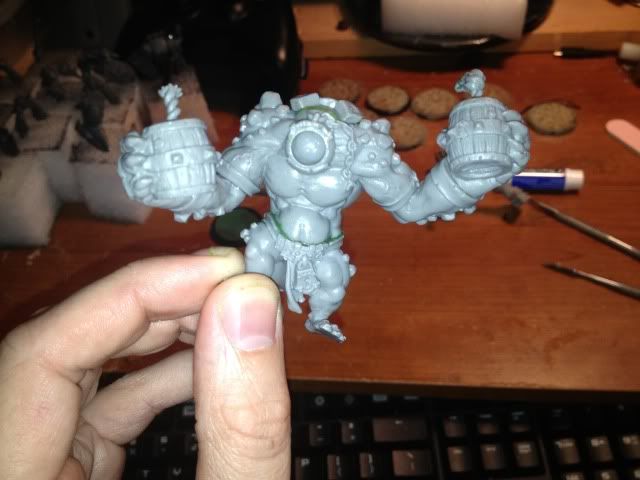
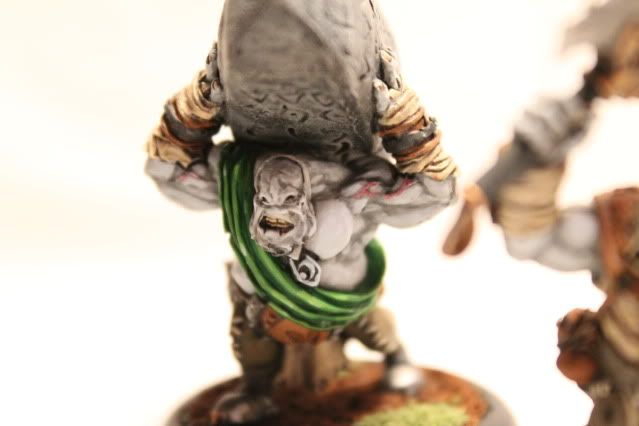
I finally added some loin cloth or whatever you want to call it (for me, its the piece of cloth that is connected to the robe) to my model. Even though the process was quick (switching from spit and water to lip stuff helped a lot), it came out alright in my books.
I also finished sculpting his cape
Got to admit finishing it was just getting to me and the level of craftmanship here isn't up to my standards. Yet, I am happy with the results, besides, years at war would make any robes look like rags.
After a long hiatus, I finished quite a bit. I will updating this blog more frequently from here on. Enjoy and comment on how I can improve as a painter! Thanks
Hordes Models
---
I am still working on several models at this point in time but I got distracted by 6th edition.
This message was edited 2 times. Last update was at 2013/02/22 05:49:04
Firstly,
I understand digging up old thread is illegal on this forum. However, this is my WIP thread and I did not want to create a new thread just because this one has not been updated for a long while. I hope the admins and members of this forum understand. :(
Secondly,
The main reason for my hiatus was burn out. I had too many projects lined up on top of each other at the same time. I had little direction or even a starting&finish line so naturally my dedication faded away like so many before me.
Thirdly,
I am back painting in full swing with some changes to how I go about doing it. I used to just sit and paint for hours upon hours until I got bored. It was a bad habit that lead to the obvious conclusion. Now, I am scheduling or forcing myself to do other activities in between, like jogging, watching youtube, learning how to animate, and so on. In the long run, I play to keep my painting up so this thread should be updated at least once per week if not day.
Finally,
I am talking too much for a WIP thread so here are the updates. Please feel free to leave both praise and criticism. I want to improve my painting and with the community I aim to get better each month.
Thank you and enjoy.
-----
Pyre Troll
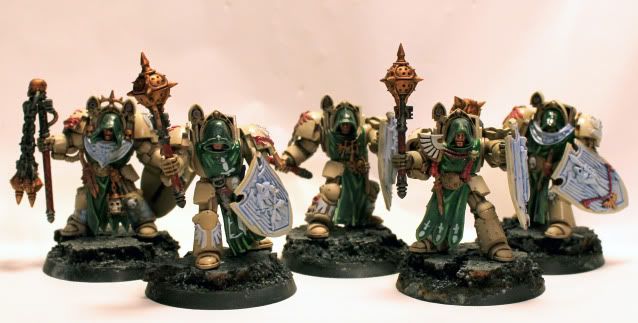
Deathwing Knights
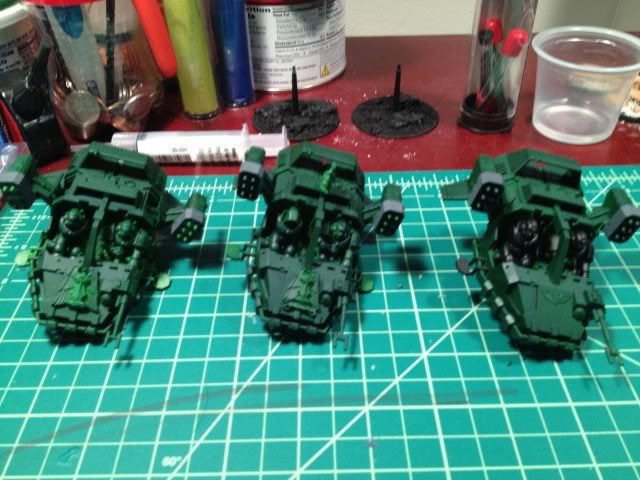
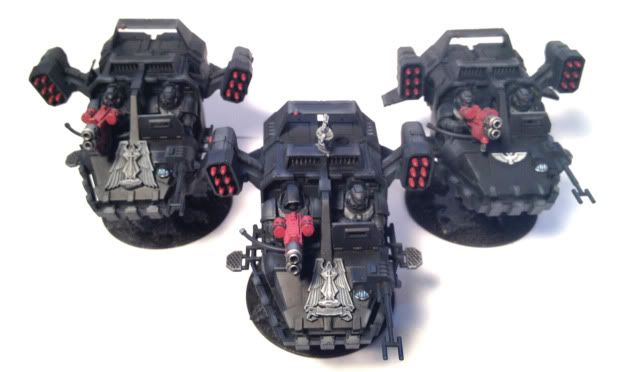
Landspeeder Typhoon Squadron
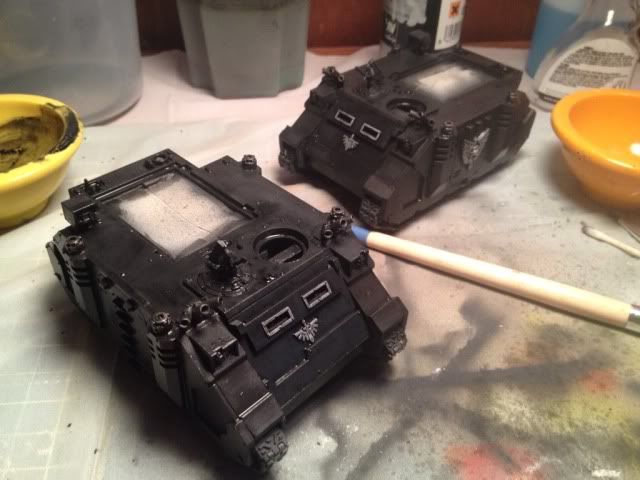
Current WIPs Razorbacks/Rhinos
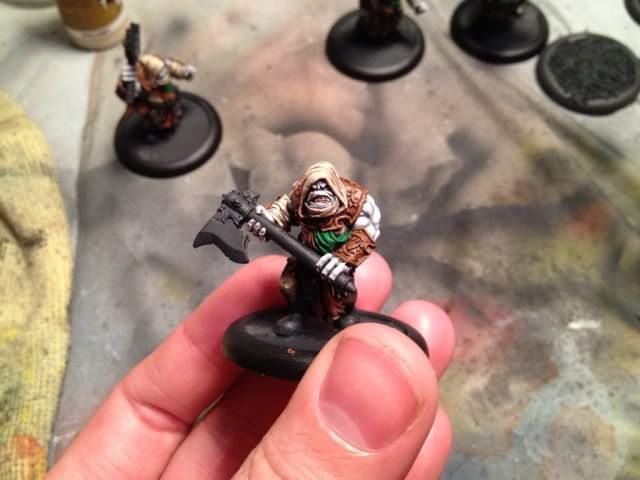
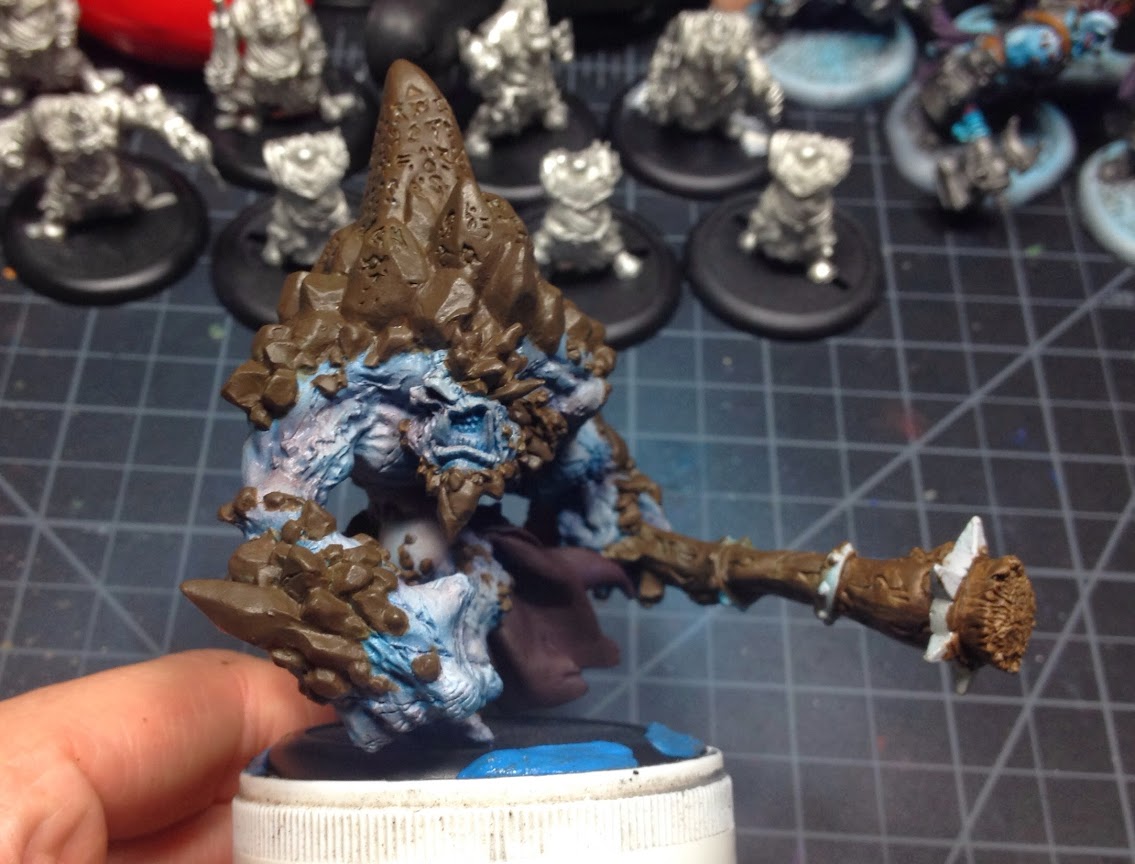
Krielstone Bearer&Stone Scribes
Fenblades
Diretroll Bomber
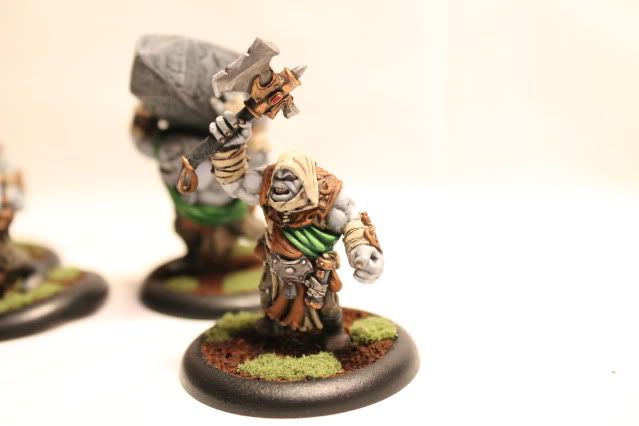
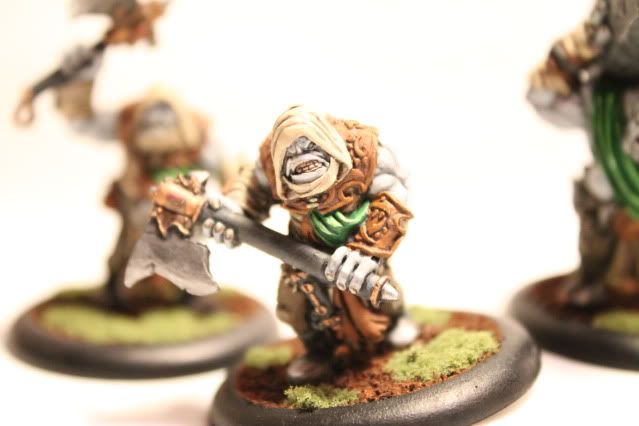
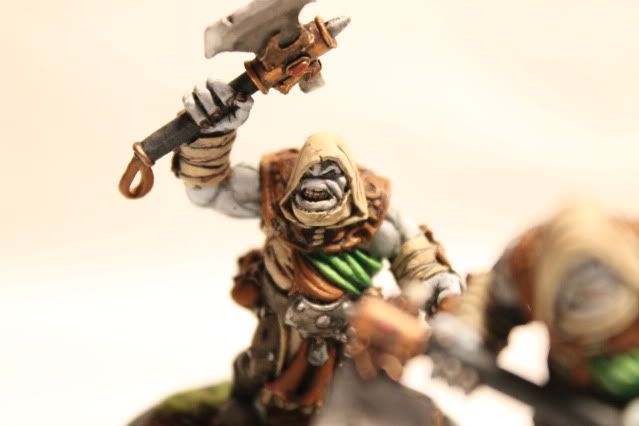
Automatically Appended Next Post: Here are the completed version of my Krielstone bearer and Stonescribes
This message was edited 4 times. Last update was at 2013/02/22 05:49:21
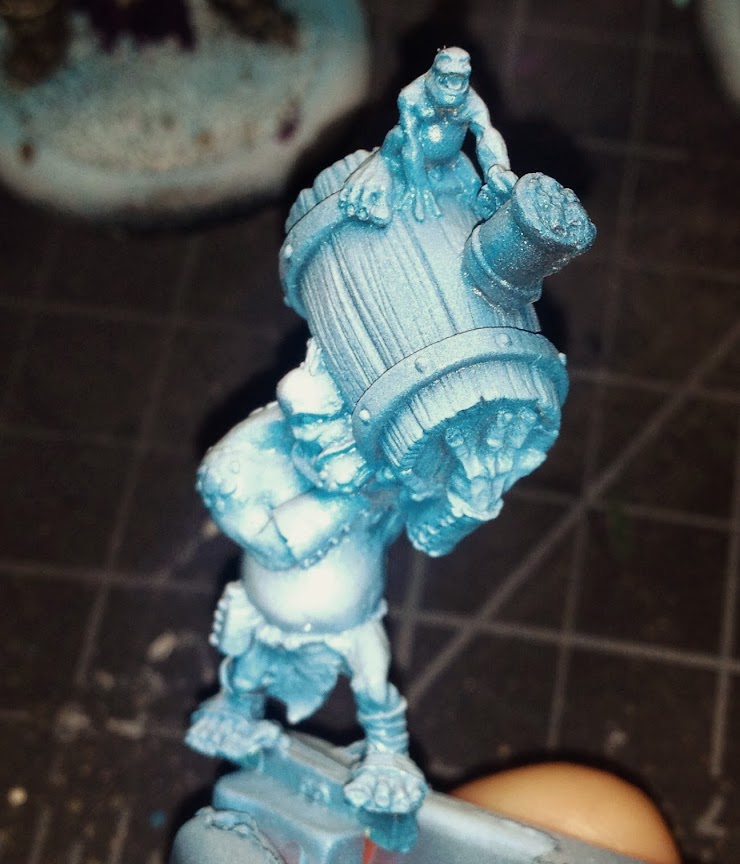
I really like your painting! One comment I have(and it may be a personal thing) is that the veins in your models are usually left the same colour as your skin. Most of the time when veins pop up quite a lot like that, they're usually painted a lighter variation of the skin tone.
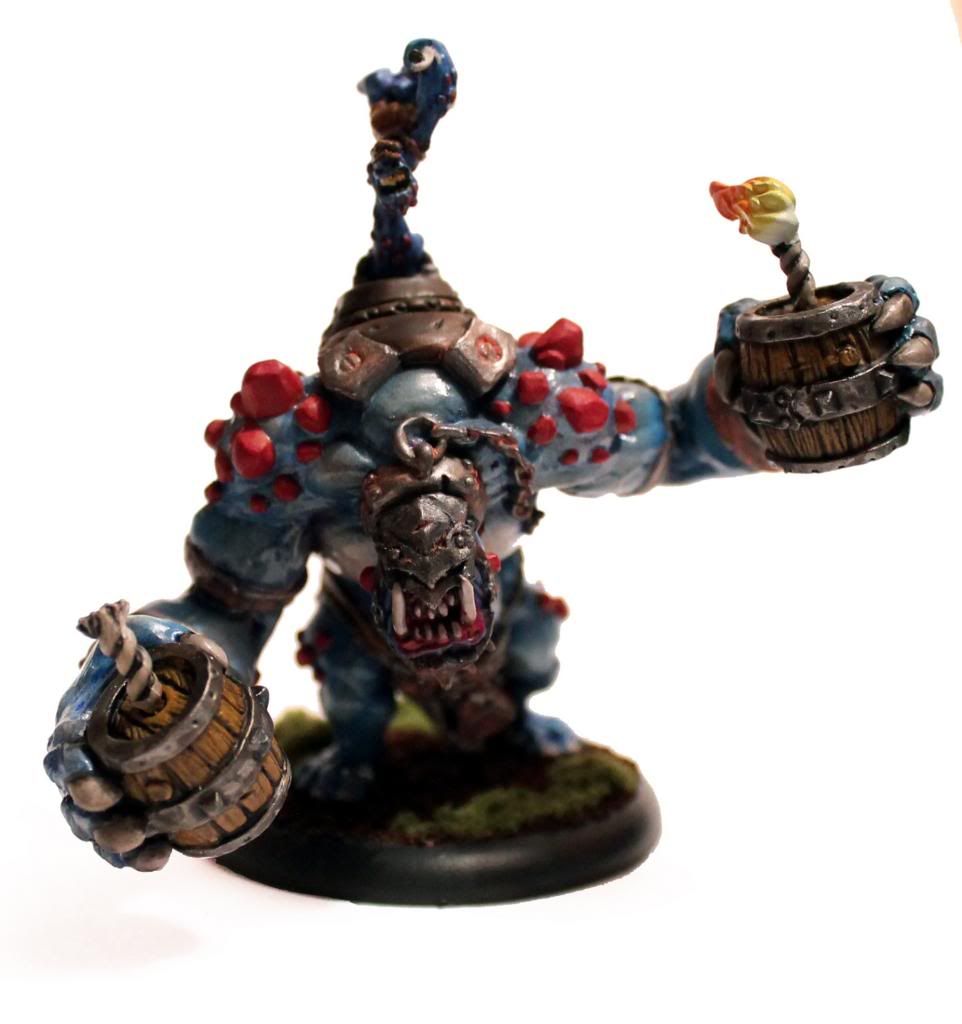
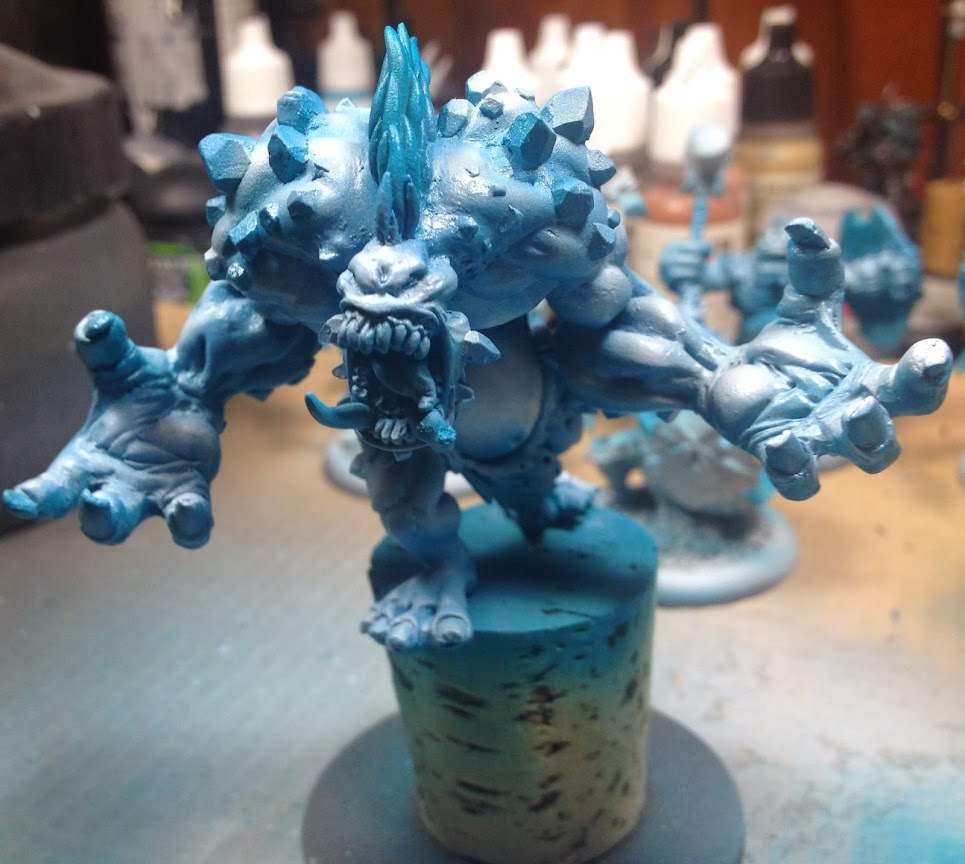
Also, for that blue creature with red protrusions on his body - perhaps you'd want to try highlighting the rock to make it more crystalline? I've always found that it's the details that really, really bring a model out.
Know No Pear wrote: I really like your painting! One comment I have(and it may be a personal thing) is that the veins in your models are usually left the same colour as your skin. Most of the time when veins pop up quite a lot like that, they're usually painted a lighter variation of the skin tone.
Also, for that blue creature with red protrusions on his body - perhaps you'd want to try highlighting the rock to make it more crystalline? I've always found that it's the details that really, really bring a model out.
Other than that, good work!
Appreciate the feed back. I wanted to make the stones more like you say but can't figure out how to do them justice. Any good tips?
I have been sick for the pass 2 days and to kill time I picked up a few models to paint with the intention to finish them. Here is what I got and some links to show casing videos I made as well.
I have been extremely caught up at work and have not had a chance to paint in long sessions. I still have plenty to paint and decided more dedication is needed to finish them. That is why I decided to make a weekly vlog about it.
Since time is really an issue and I wanted something that would maintain activity on both in forums and my channel, a weekly Vlog makes sense.
Here is the first of hopefully many to come and I will try to get some pictures to accommodate my posts for future vlogs. For now though, I do apologize for forcing you to watch a video about.
This message was edited 1 time. Last update was at 2013/11/25 17:16:36
Here is the video of me progressing through them (my weekly paining vlog) and I will have picture posted on this thread tonight!
Thank you for stopping by and leave a comment encouraging me
my next Projects are to finish my Fennblades as well as my Warders, as of right now they are in the condition below:
Warders
I don't really understand. The PP plastic kits come with mold lines. I am pretty cool with it as I do not mind cleaning up a model before paining. However, most of the plastic kits from PP i have dealt with, the mold lines are located in horrible places like across the face (into eye sockets) and so on. This is no different in the case of the Warders. I think I accidentally chop off a detail or two because of where the mold lines are located and still after cleaning, there are still more to get rid off. T-T
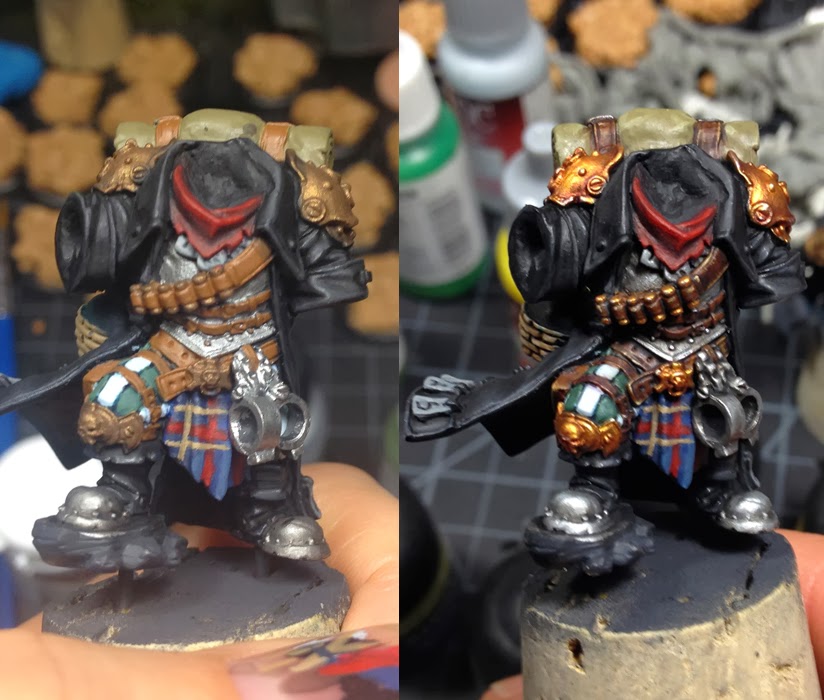
Fennblades
I actually started painting these guys back in April and has proceeded to strip them, TWICE! This time around where I complete them will be the finalized version and hopefully I will be happy enough to let them stay that way!
I did not get much done so far this week since I have been taking Over Time at work. Black Friday+Christmas = Wallet sad face. So any source of extra income is great at these dire times when considering the bundles and sales that are coming for Christmas.
Here is the progress I manage to get on these Fennblades. I know highlight the skin will be a pain since it is the main source of my previous woes with them. BUT this time whatever or however it comes out looking as, it will stay! No more flipping flopping!!
5 have been repainted, only the skin, since the armor highlight got plenty of silver everywhere
Still got 4 more to repaint
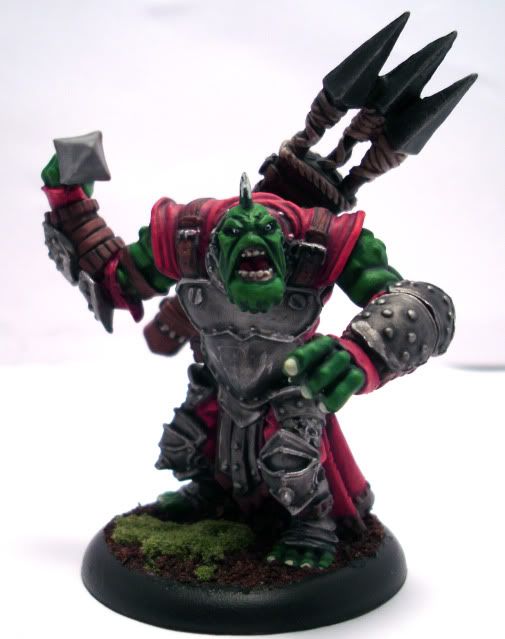
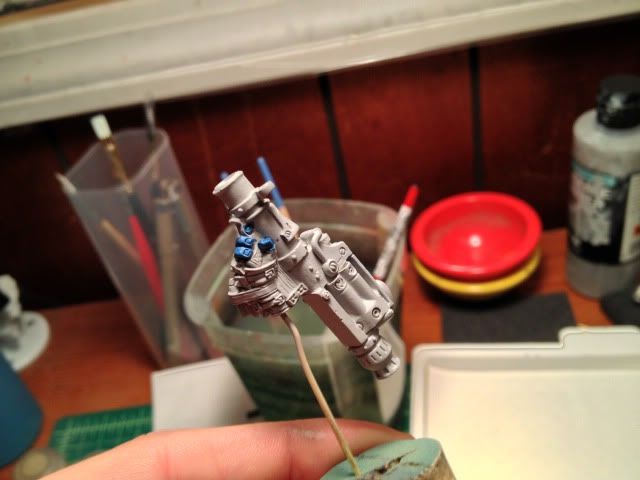
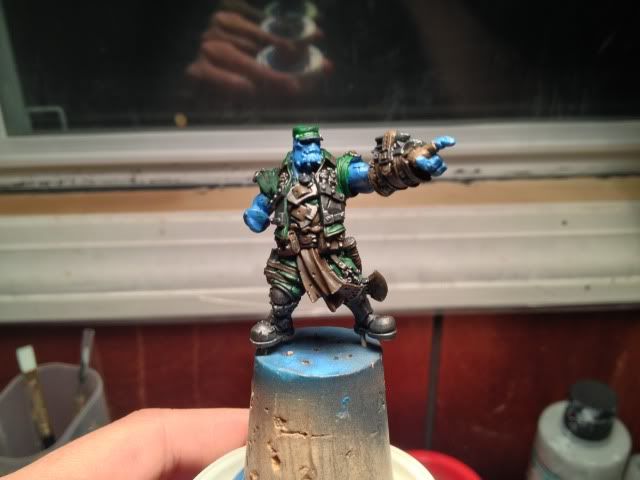
While tha Boss here AKA the officer's skin has been done as a test model a long while ago [playing around with G+'s photo editing stuff here]
Not that much to do actually on these guys. I have already completed all of their Armor which takes up most of the models. The fight continues!
Another update, I have been painting very slowly for the past few weeks. It is mostly because I just do not like batch painting. It is a habit I am trying to get rid of or a routine I am getting used, either way, it has been tough to paint 10 dudes with the same old thing over and over.
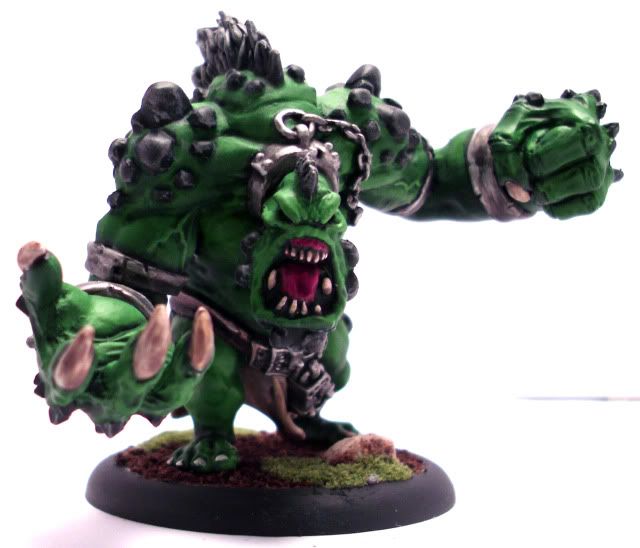
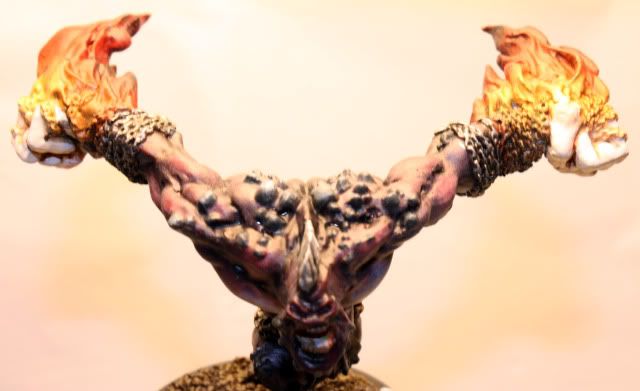
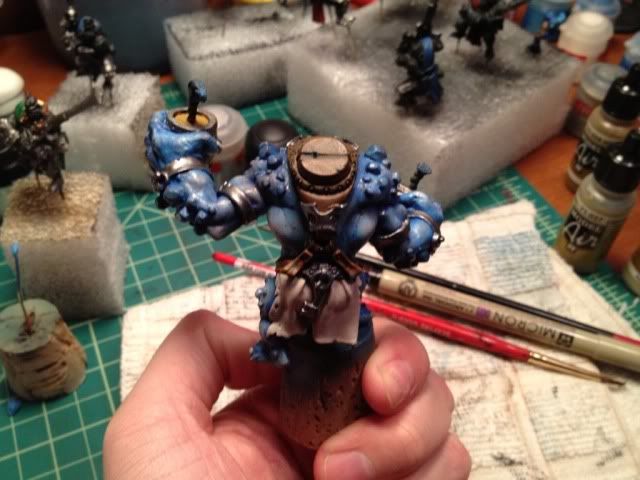
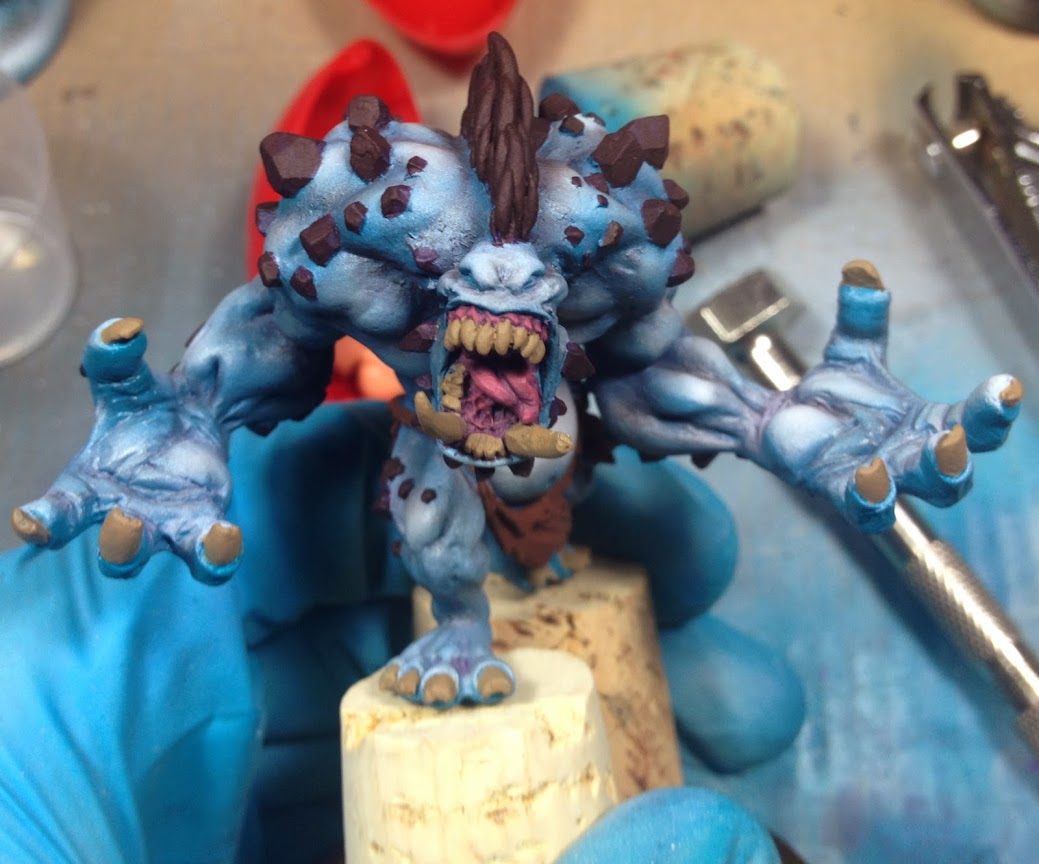
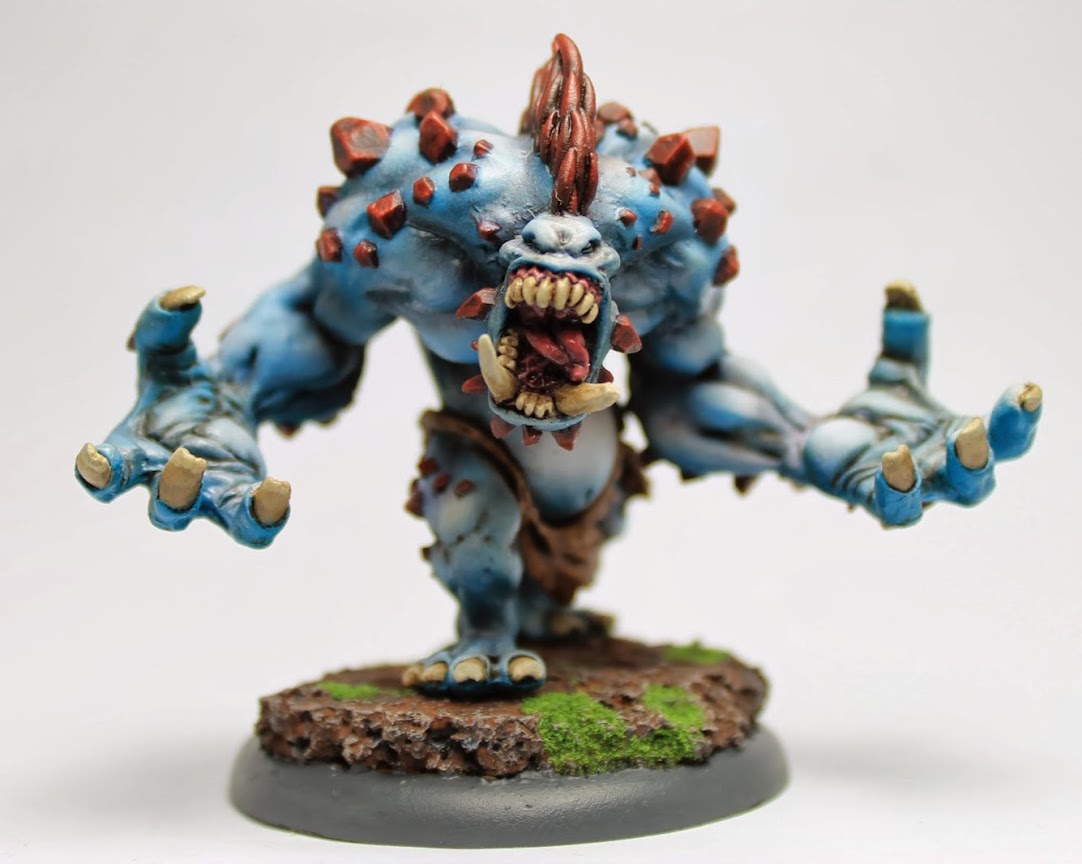
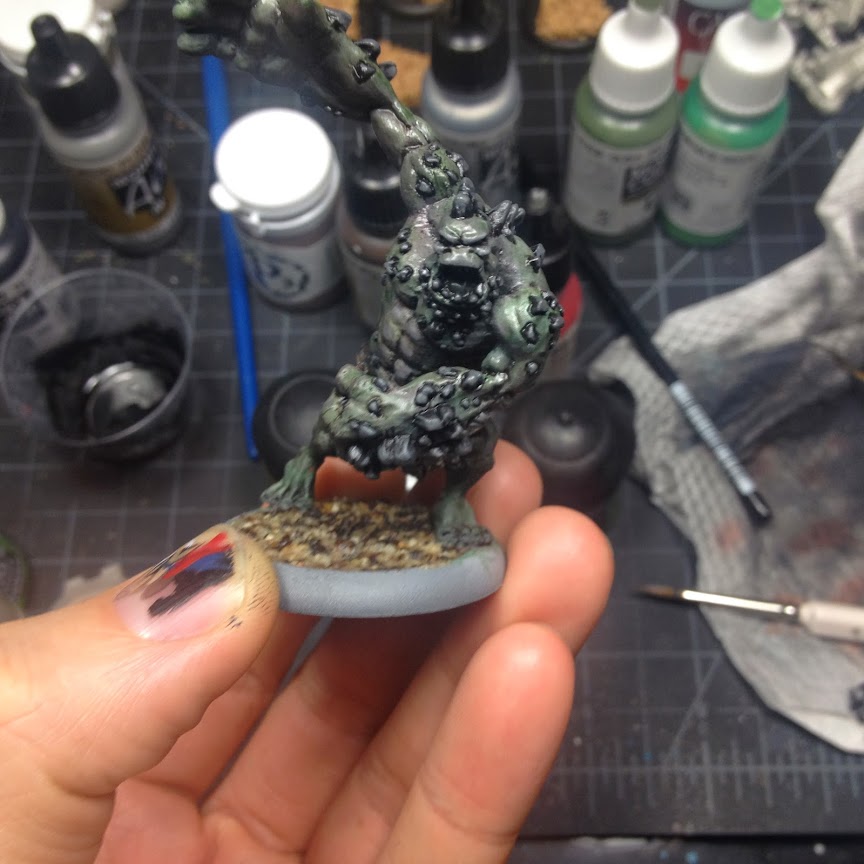
Enough ranting, Here is a few WIPs and finished Picture of my Mauler.
The color scheme I am going for is the box art, or almost the box art and the reason why everything is so bright is I am going to use a lot of pigments, washes, and vanishes.
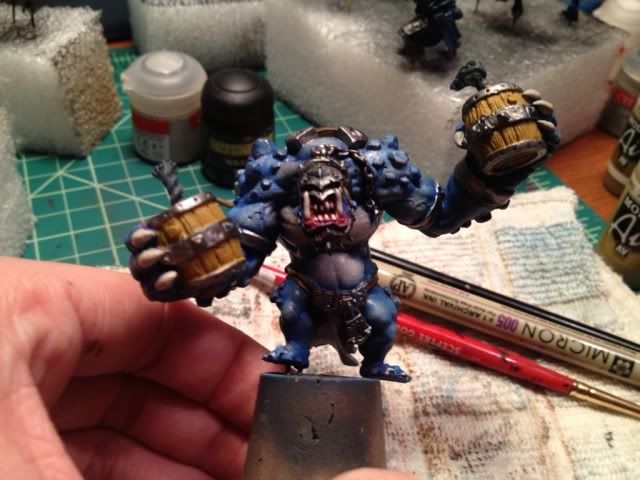
The pigment is now on. I made it by mixing purple, red, brown, black, and a bit of yellow soft pastels.
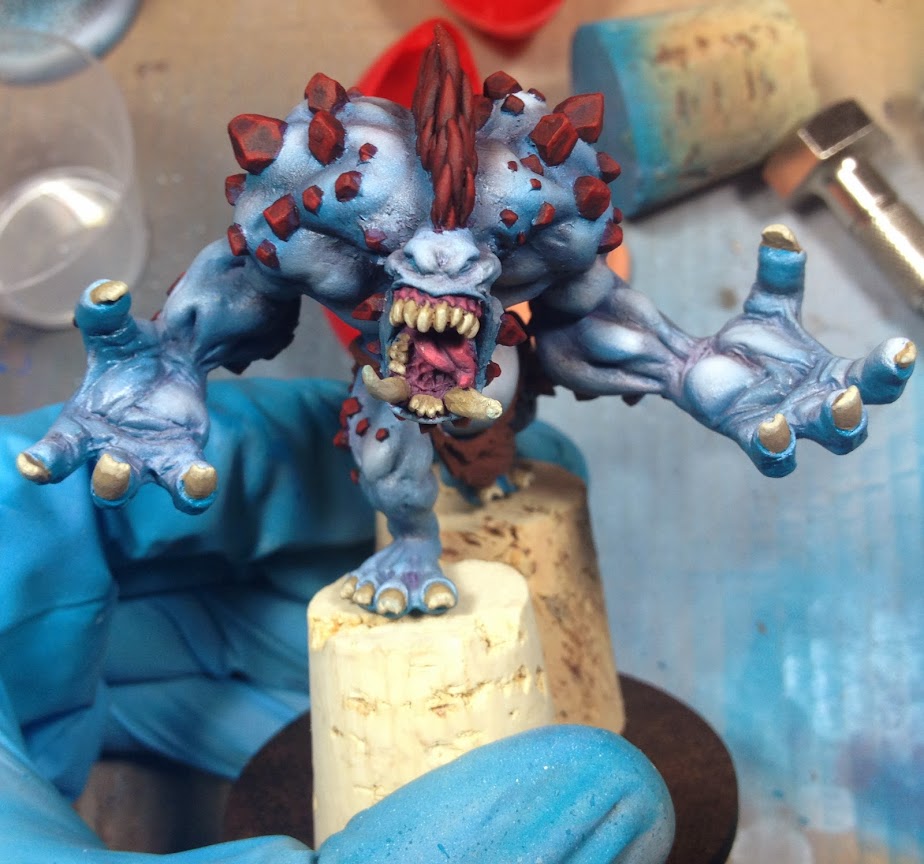
A better picture to show and compare to pre and post pigments. Also, detail time!
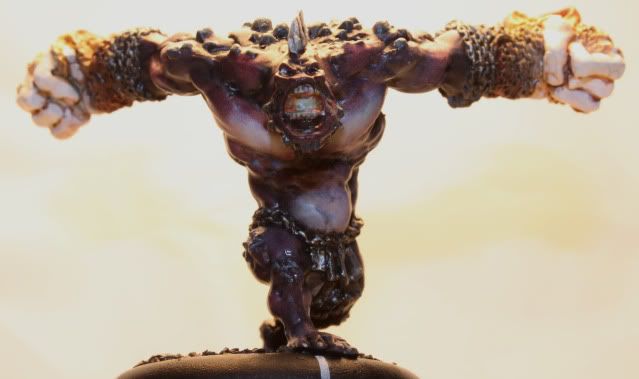
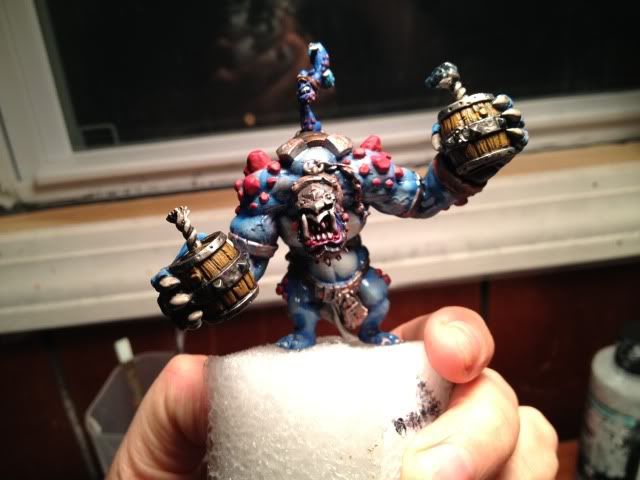
More detail is being completed.
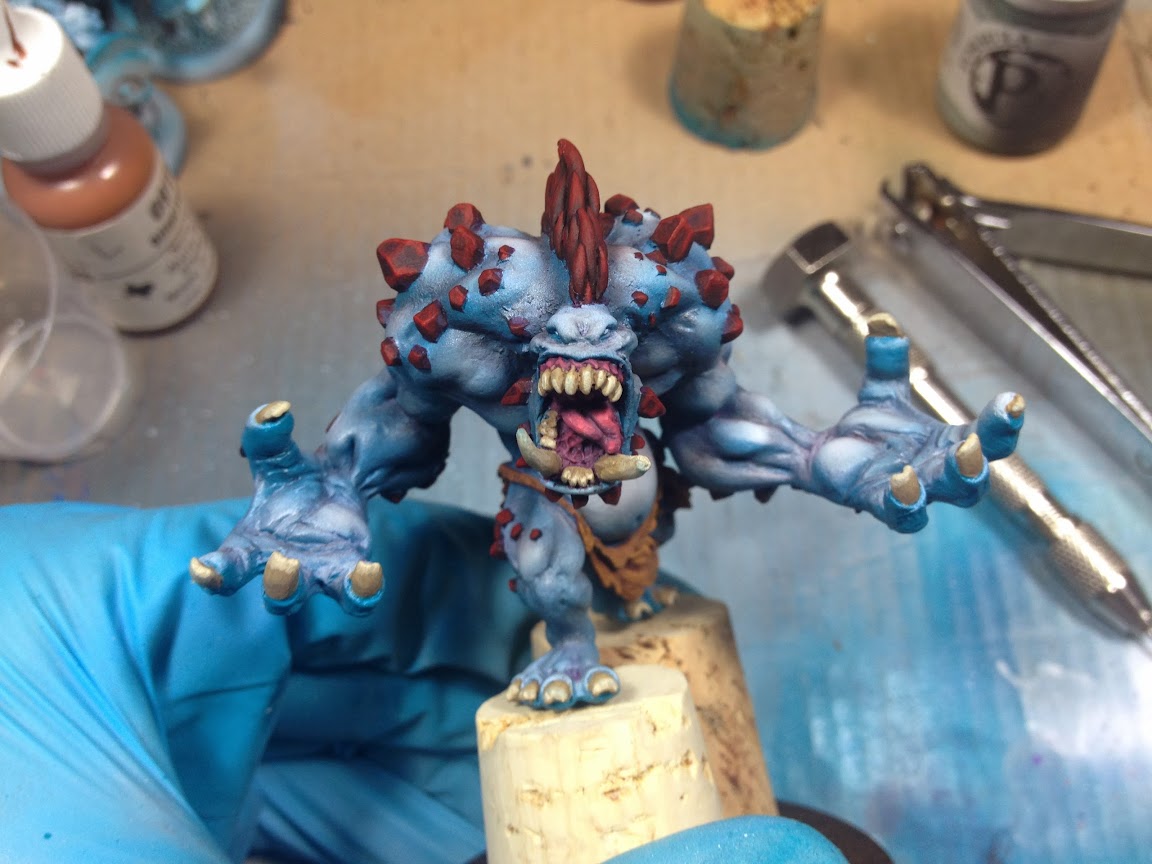
Eyes are done. Gives the model more personality.
Oil washed and cleaned up. You can see how the details pop even more.
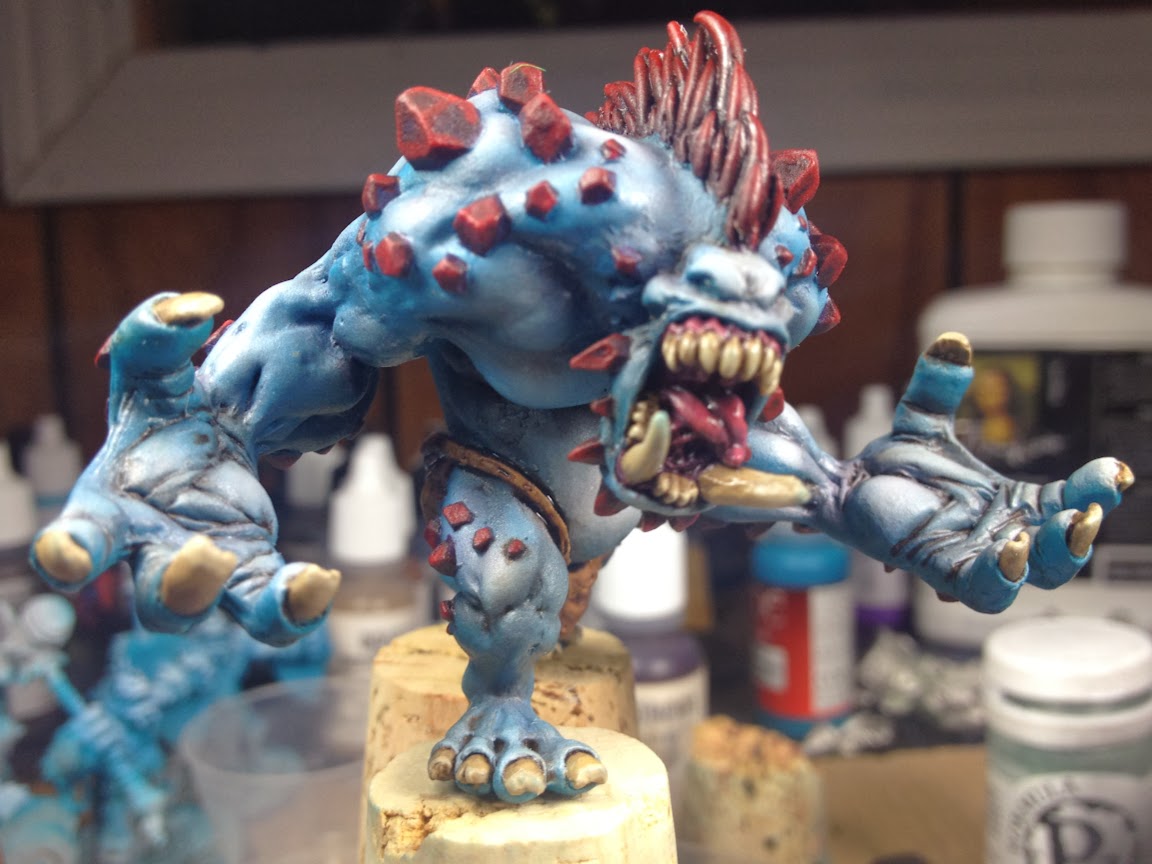
Not the best picture but added some gloss to the mouth.
I don't know if it is a good thing or bad since I am getting things done and isn't that what the thread is about?
So here is what I have done so far.
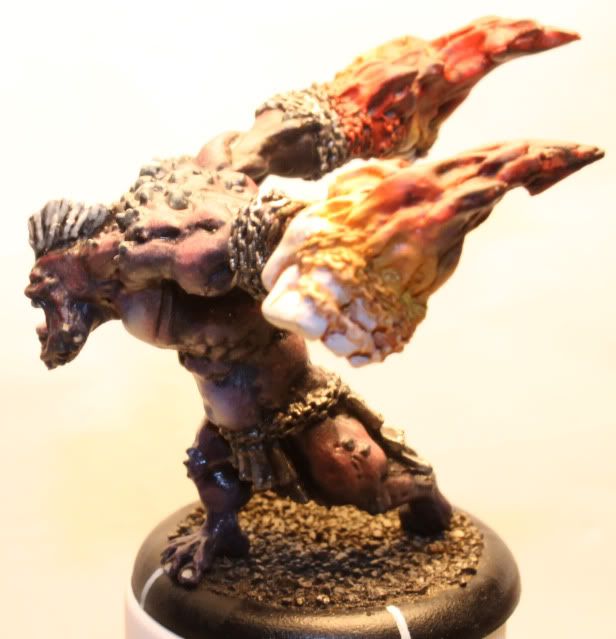
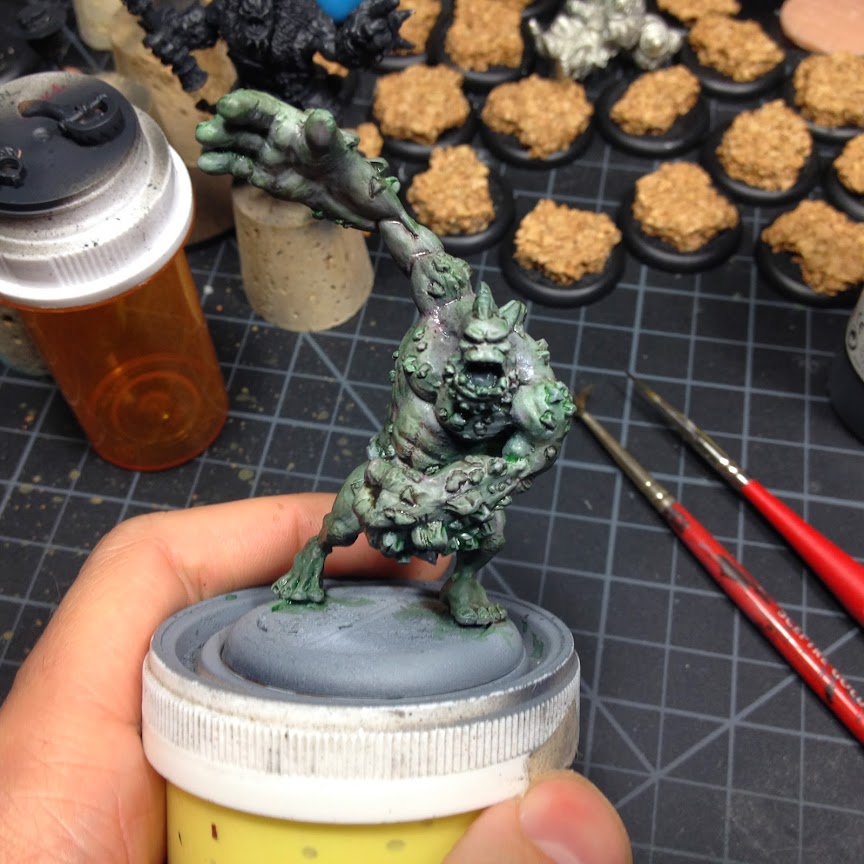
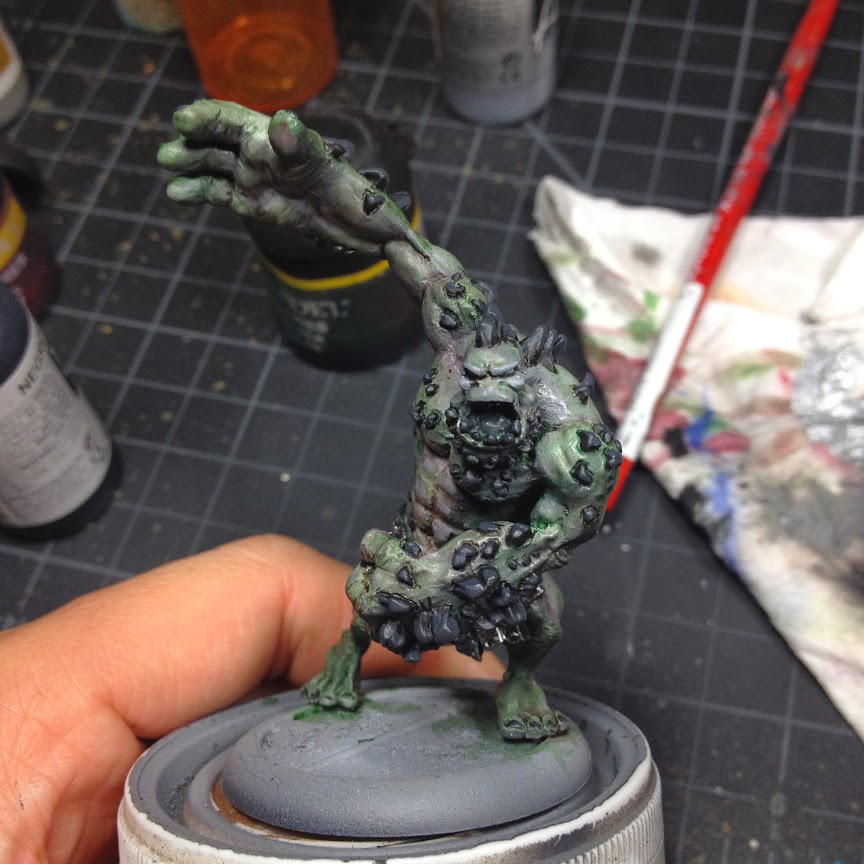
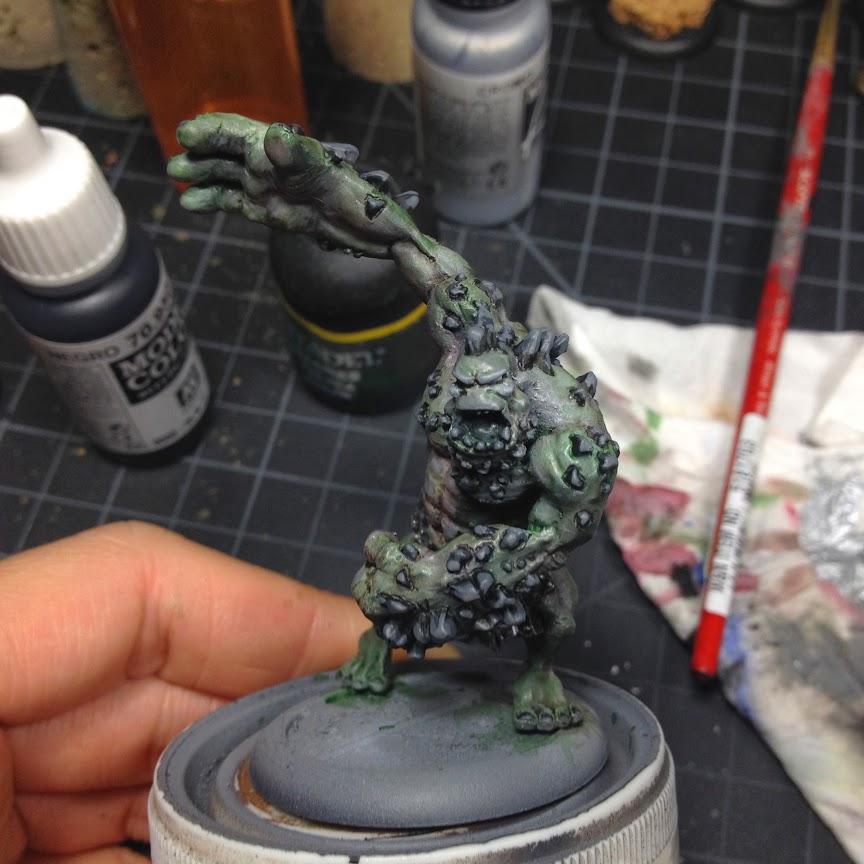
Slag Troll [WIP Process]
The Slag Troll is done. Right now I am waiting for his base to dry so I can paint it. I am trying out a new basing method as to my old one doesn't make the material stay for long.
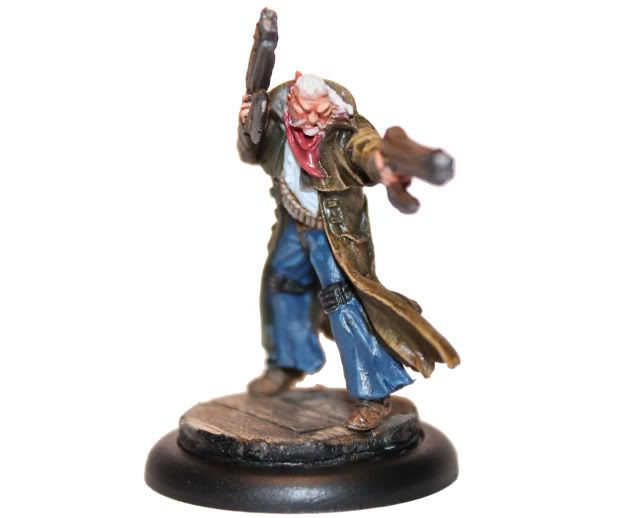
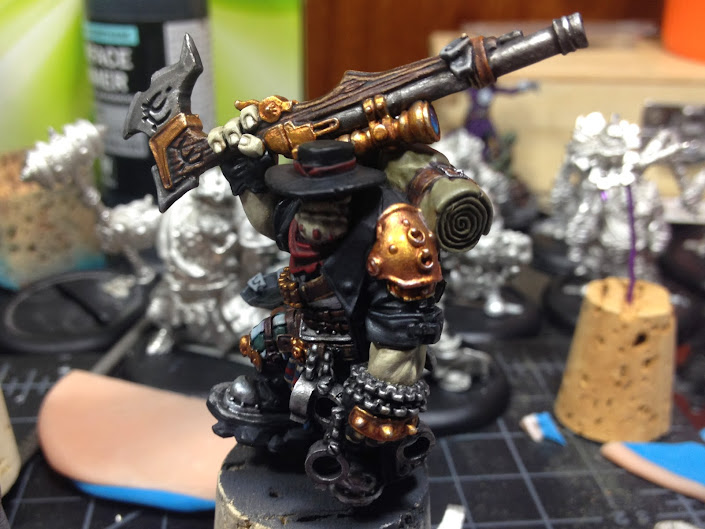
Hunter Grim[WIP Process] [Didn't want to make a December thread because one of our member is doing them as well]
I am planing to finish off Grim and his friends this week (if holiday stuff do not get in the way)