So, I've been asked how to model those typical Space Marine letters used by several chapters, Grey Knights and the Deathwatch.
And since I had some left over brownstuff and a bit of time, here we go with my first tutorial.

Before we even start, you need to know what you want to model.
This seems to obvious, but it is really not. Make sure you have an exact image in your head of what your are modelling.
Happy accidents can happen and are allways welcome, but that's not what you should aim for.
So, draw something, grab some google images, or in this case, write something down before you start.
Modelling is a race against time and to get the best results you will need every second of that hour you can mold the putty. (at least I do

)
Also, your first model won't be good, neither will your second, nor your third.
You have to practice what you are doing, especially with modelling, that's just how it goes.
Don't give up and it will be awesome.
What we need for this tutorial:
-
Modelling Putty (Brown-, Greenstuff or Milliput, it doesn't really matter. I preffer Brownstuff since you can model sharper edges with it.)
-
Clay Shaper they are kinda optional, but then again you can also model with a rusty spoon
-
Other modelling Tools namely a needle and something flat
-
Water important lubricate, without water, don't even start
So, we start with ball of putty
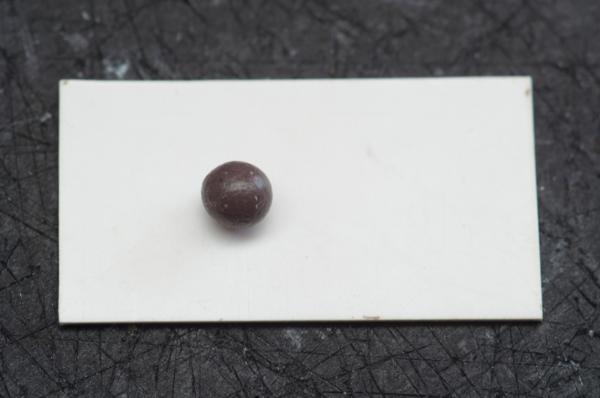
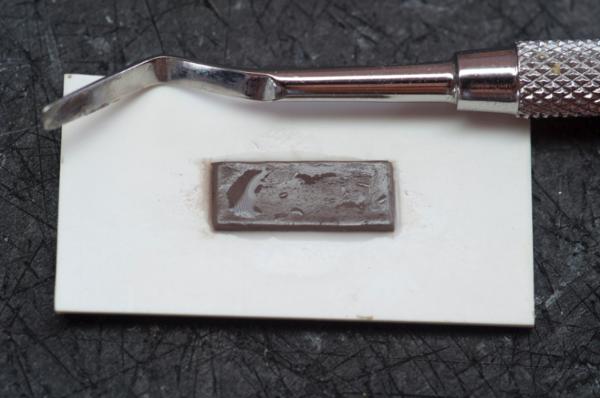
and make it into something flat.
How you do that is entirely up to you, I use a flat metal modelling tool and lots of water.
At this step you want to make sure it really sticks to the surface you are modelling it on. (that's important!)
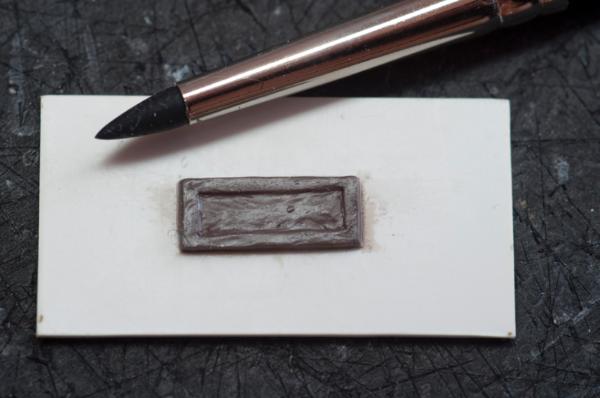
Now I'm adding a little border, just because it would look boring without.
To create smooth surfaces with a clay shaper gently stoke the surface and see how it slowly deforms. (don't push to hard)
That way you have maximum controll.
Take you time here, otherwise you will rage, then rage some more and then spend an hour punching stuff instead of 10 minutes concentrated stroking.
For this Tutorial I kinda rushed it, also the Brownstuff was about 30 minutes old, you can do better than this!
(don't use old Brownstuff on models for details, mix something fresh.)
Now use your needle to mark the top and bottom of your text.
Dip the needle in the water and add a
small drop to where you are modelling, so that the putty is not sticking to the needle, but don't add to much water!
If you can barely see the drop it's just right.
To much water can dissolve the putty (especially brownstuff and milliput) and you don't want that.
Hold the needle flat and push in, don't scratch it along the surface.
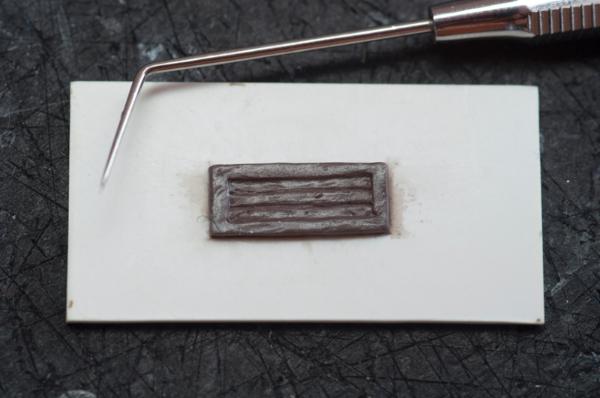
Make a little box for each letter
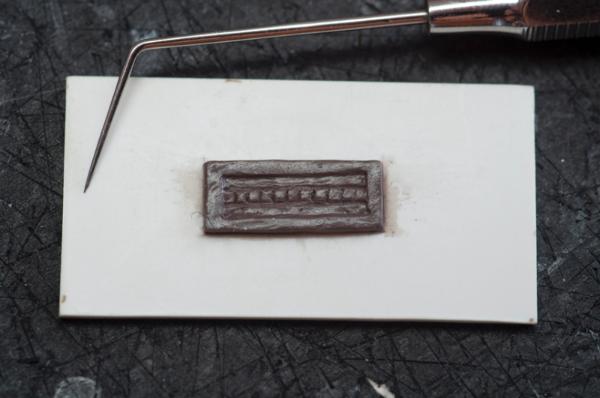
and then you push down everything that is NOT the letter.
(for details that go "outside" of the box make sure the tip of your needle points outwards)
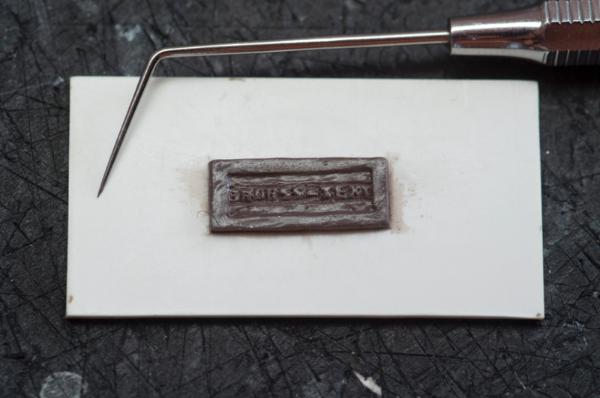
now comes the step that makes all the difference between an awesome model and one that looks just ok.
And this is flattening the letters with a clay shaper, then sharpen the details with the needle, then flattening it again.
Repeat until you loose controll of your hands and feel that you have to stop.
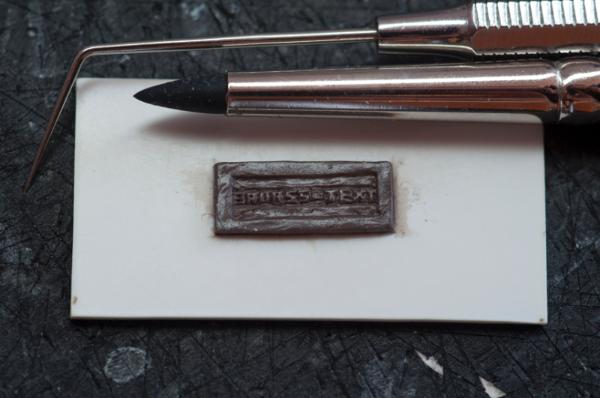
It's kinda important to find out when to stop modelling such fine details, it's the same with faces and other stuff.
Basically your modell will look better and better and better, and suddenly! You ruined it.
That's one of the skills you will have to develop, to feel the exact point when to stop with maximum result.
Now go and try for your own!
Hope this tutorial will help a bit. ; )
Regards, IPS


 Flesh Eaters 4,500 points
