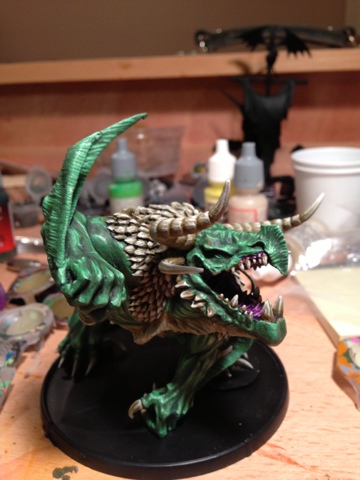
I've recently started getting very heavily into the Darklands line from Mierce Miniatures, and I thought I'd take the time to photo-document the first of their models that I'm in the process of painting. There's a bit more commentary over on my
blog, but we all know that the pictures are the best part of a
WiP, and they're all here!
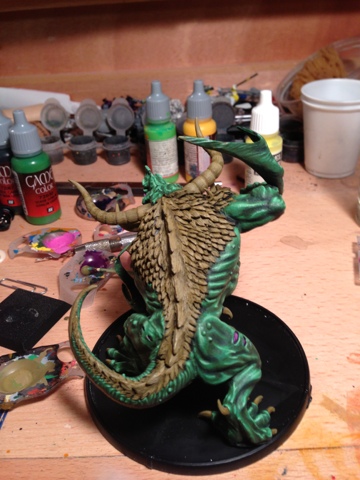
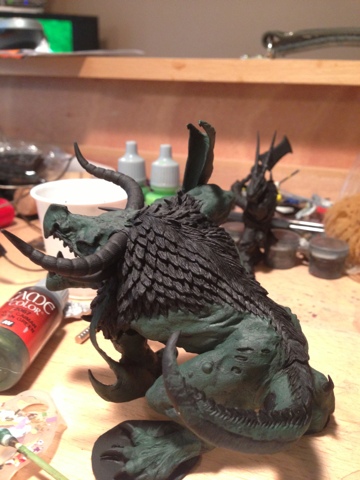
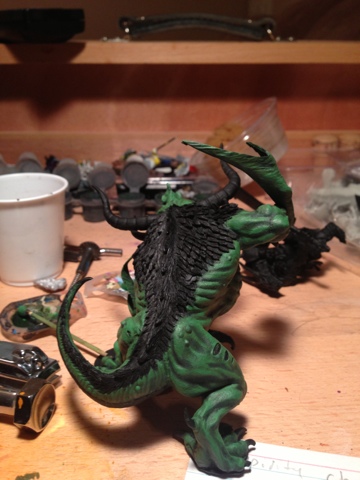
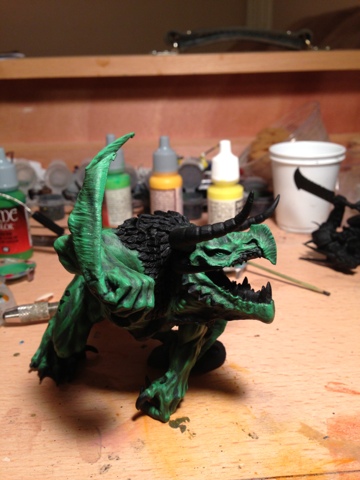
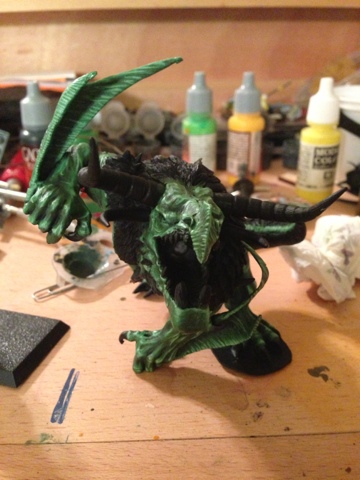
First off, some shots of it assembled but unprimed...
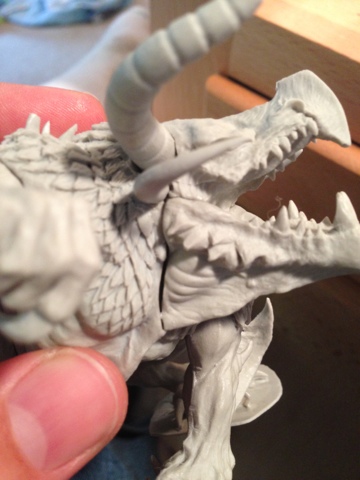
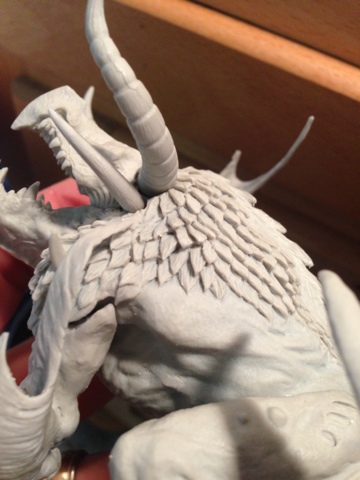
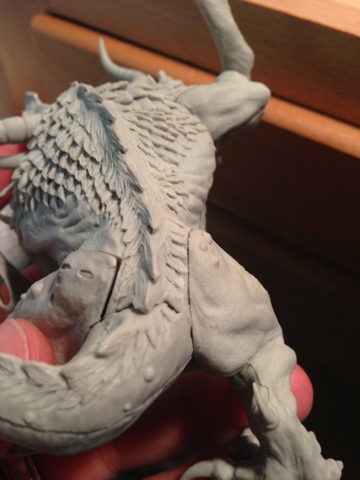
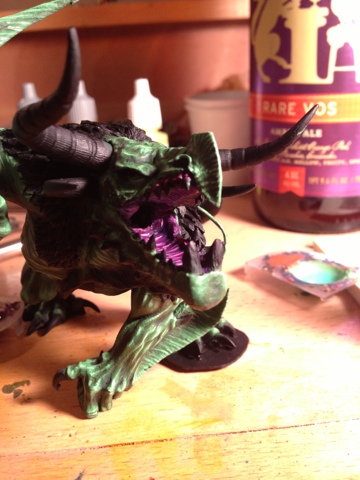
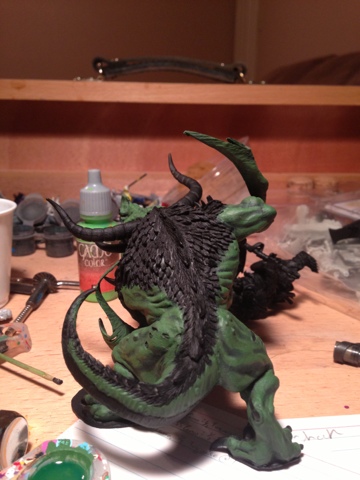
His left wing came slightly bent from the Texas heat. Rather than fix it, I've left it, as I feel it adds a bit more motion to that otherwise static arm. As you can see, it went together nicely, but there were a few gaps that had to be filled with greenstuff before painting could begin.
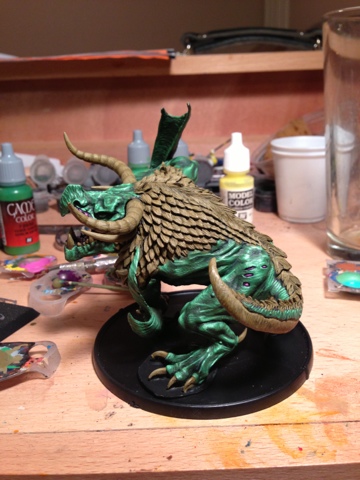
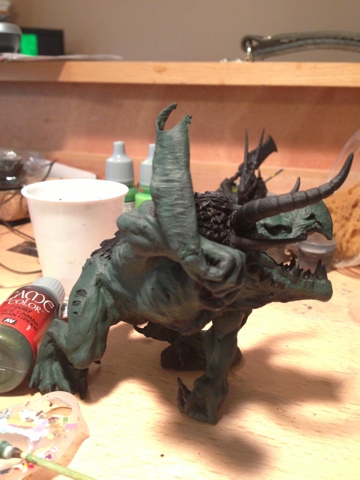
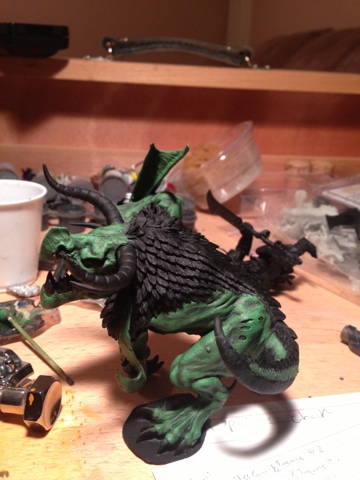
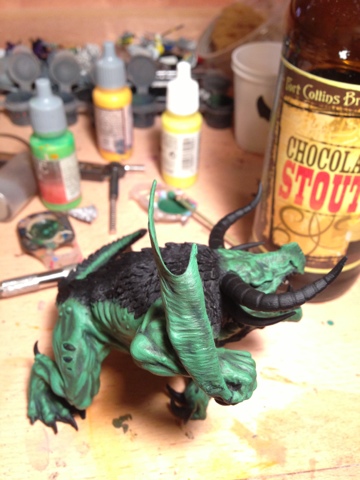
I'm using all Vallejo paint on him, and decided to go green with the skin tone in homage to the D&D green dragons. The scales will be a bone white color on all my Brythoniaid, to give them a unifying color theme. The interior of the mouth and exposed musculature will probably be in a purple range.
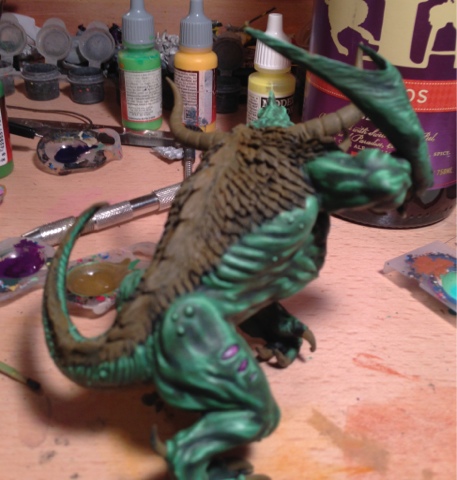
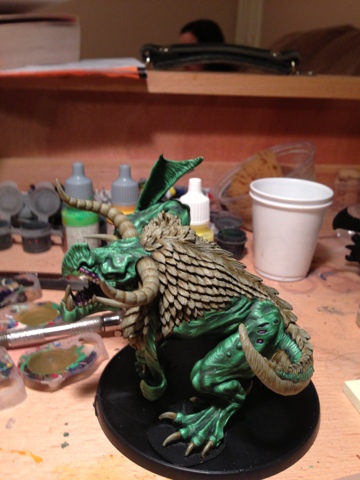
Primed black, and first base coat on the skin in place:
I started with 4 Cayman Green : 1
SS Camo Black Brown, with a drop of turquoise to bring the green closer to a blue than a yellow.
Second layer of skintone:

2 Cayman Green : 2 Goblin Green : 1
SS Camo Black Brown, with the same drop of turquoise.
Third layer:
Goblin Green and
SS Camo Black Brown, with that same little touch of Turquoise.
Fourth layer:
I've added some Scorpion Green to the Goblin Green, and I'm still cutting it with
SS Camo Black Brown and Turquoise.
Fifth layer:

The first one adds some yellow and a brighter green (Scorpion green) to start bringing it to my over-highlighted style. The turquoise and brown shades I've been using to tint the green are starting to fall off here, as they're starting to interfere with the brightness of the paint.
Sixth layer:

Now I'm putting almost as much yellow as green into the mix, and the vibrancy of the color is really starting to pop through.
Seventh layer:

1 Scorpion Green : 3 Lemon Yellow : 1 white, with touches of the
SS Camo Black Brown and Turquoise to try to keep my green tint consistent.
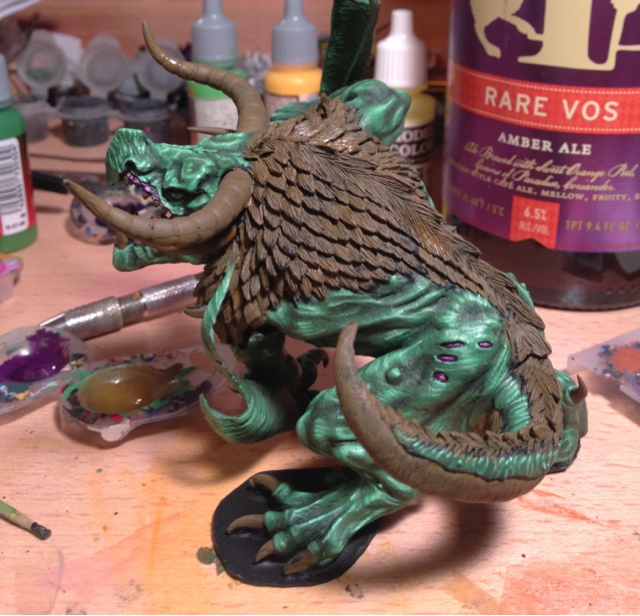
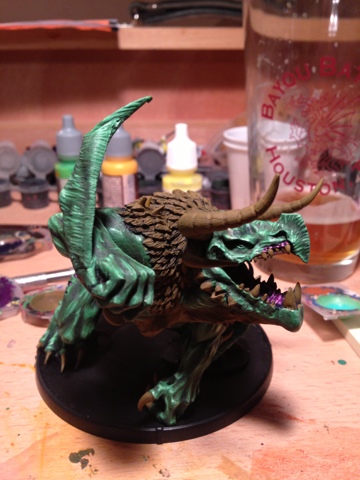
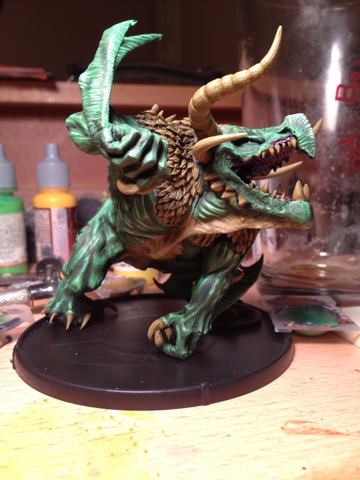
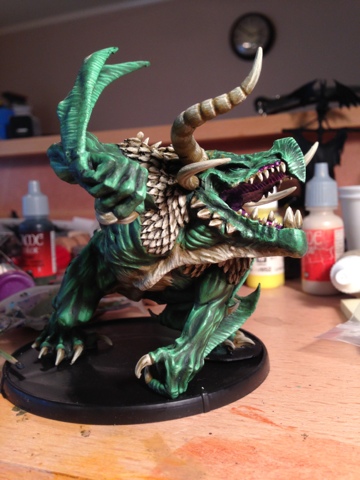
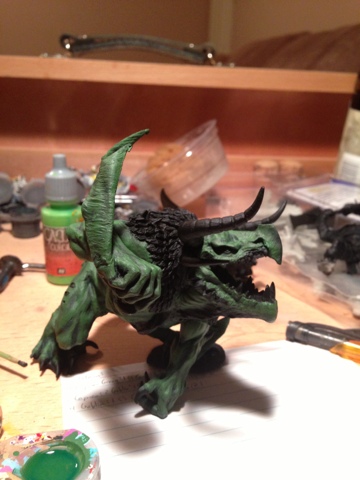
Eighth Layer:


Added two drops of white to the previous mix and just gave light touches.
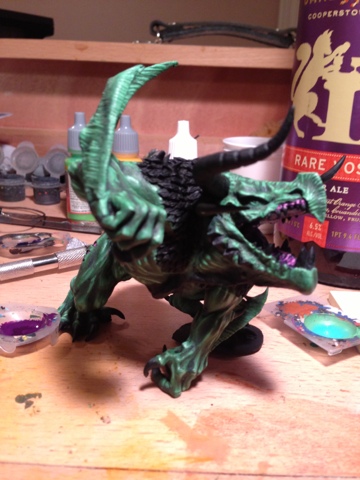
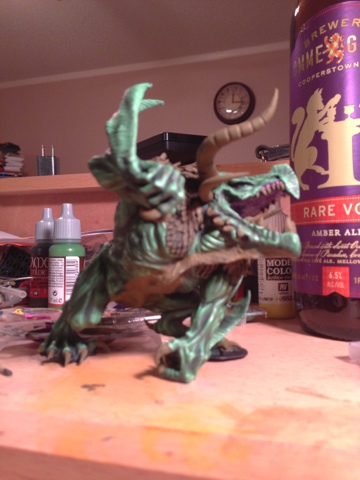
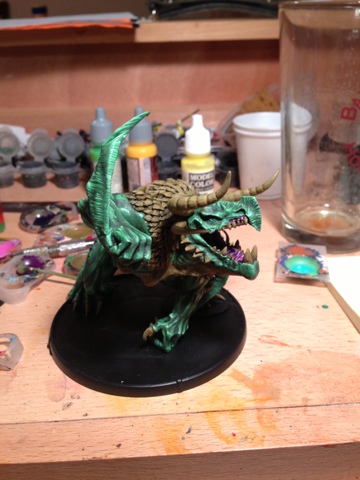
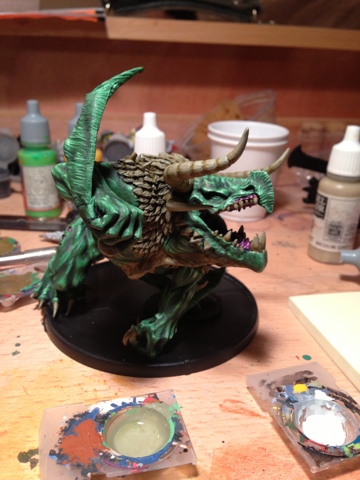
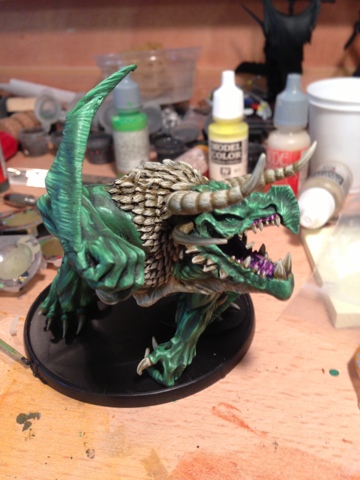
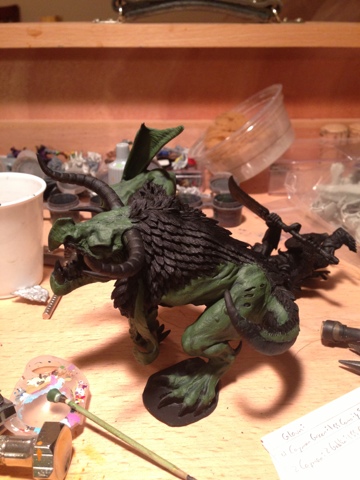
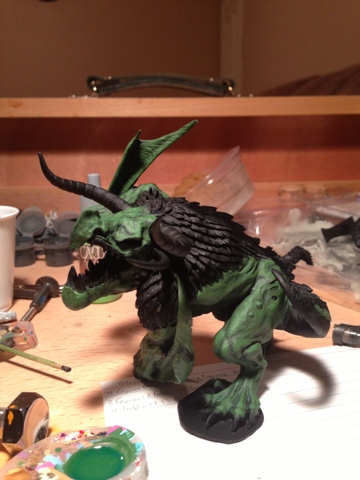
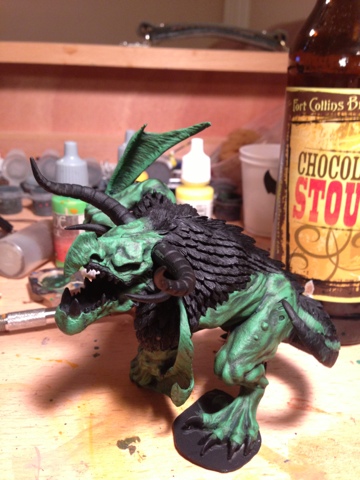
One of the last tests I always do is to turn off my painting lights and see how models look under sub-ideal lighting, just using ambient room lighting. It gives me a good idea of what the model will look like at a tournament. I thought I'd share the results of that one as well:
 Automatically Appended Next Post:
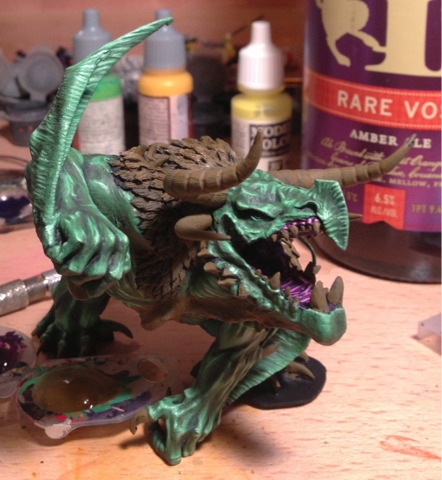
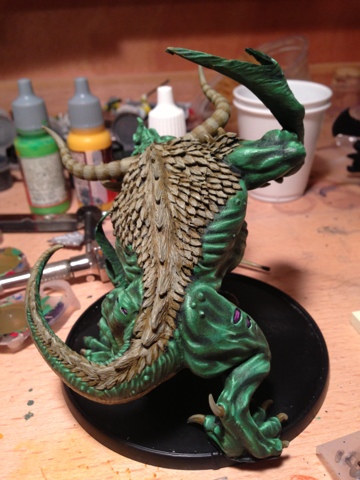
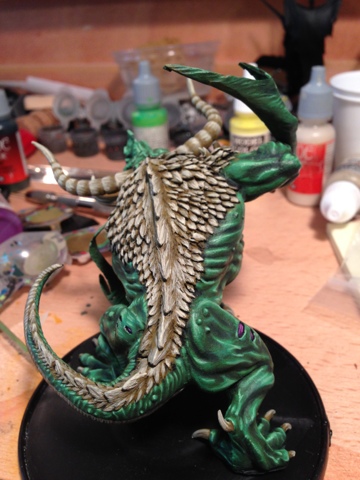
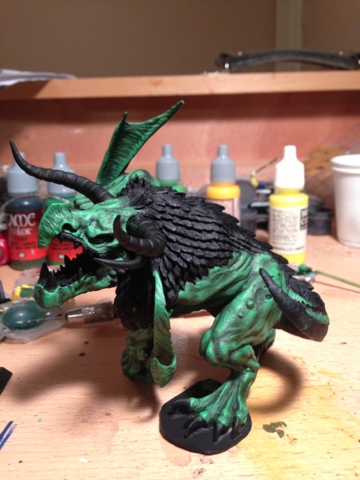
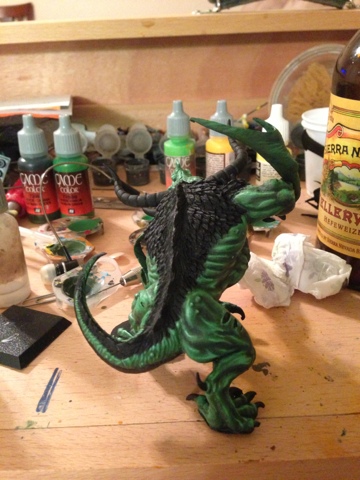
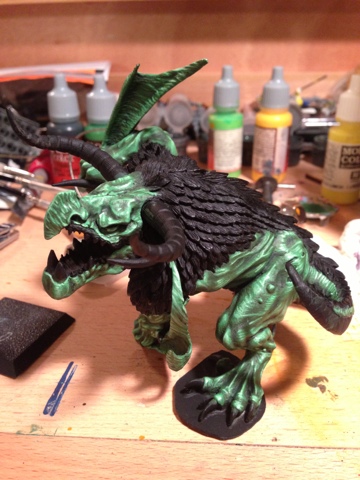
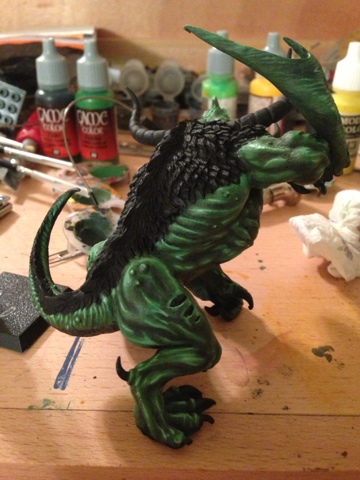
Because it's neat, here's a quick progression of every skin layer, from roughly the same angle:
I love how those last two layers, which really only cover a tiny, tiny part of the model, make the whole paint job pop into detail. It's gratutious overhighlighting, but it's been the style I've been using for a few years now, and I love the way it makes the whole thing come together.