Started to practice with the first variant of my Adepticon army for this year... that is at least until the new ork codex comes out and I jump ship for my greenskins. Adepticon
FOC for both of us, but otherwise straight out of the book. Neither of us play very often so we're sure we made some rules interpretation mistakes. Feel free to mention errors if you see them, but know that we were both happy with the game and I don't believe any misinterpretations were malicious. I do apologize for the quality of the pics... all I had was my camera phone.
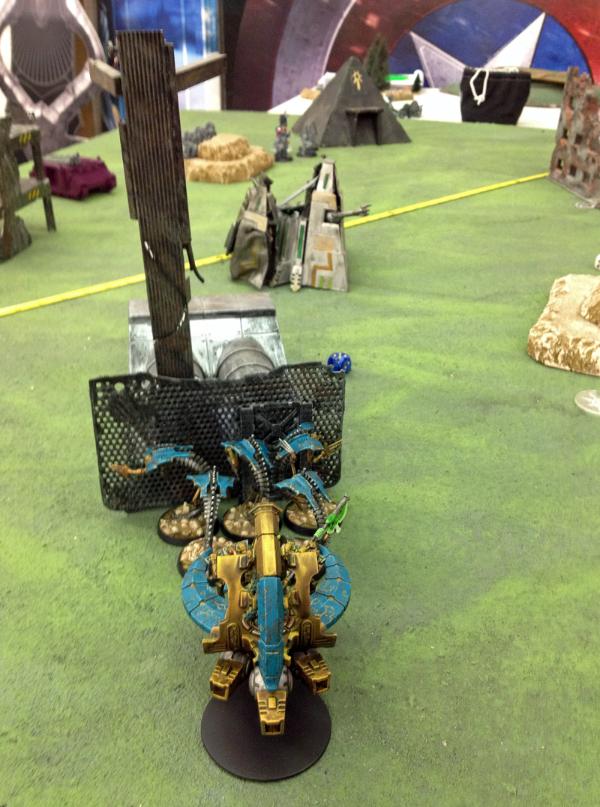
Steam Crons (my army):
HQ: Overlord (command barge, mind shackle scarabs, war scythe)
2 lanceteks
TP: 5 warriors in scythe
TP: 5 warriors in scythe
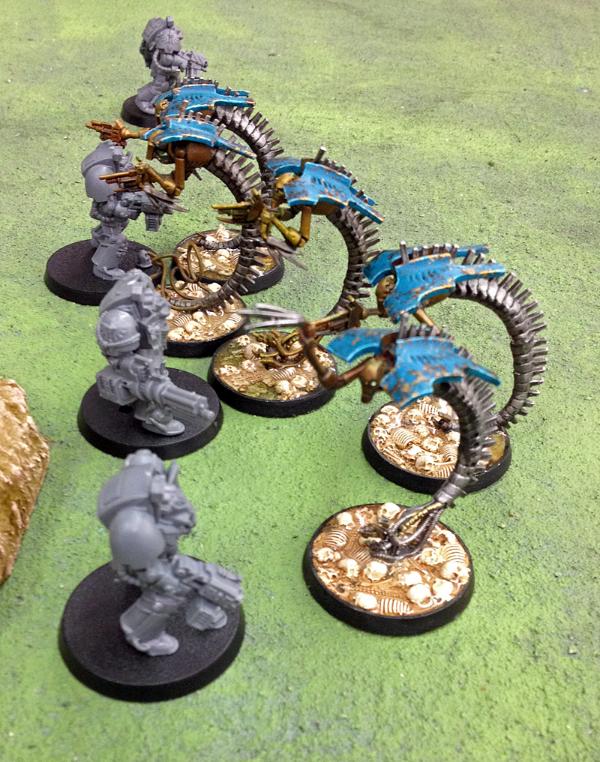
FA: 5 wraiths
HV: doom scythe
Space Marines: (Travis)
HQ: Tigurius
TP: 5 marines in rhino (grav pistol, plasma gun)
TP: 5 marines in rhino (grav pistol, plasma gun)
HV: 3 crusader
devs (
TL las cannon &
MLs)
HV: 3 crusader
devs (grav guns & bolters)
Mission: Big Guns Never Tire
Deployment: diagonals
After winning the roll offs, I deferred when it came to choosing table sides and going first.
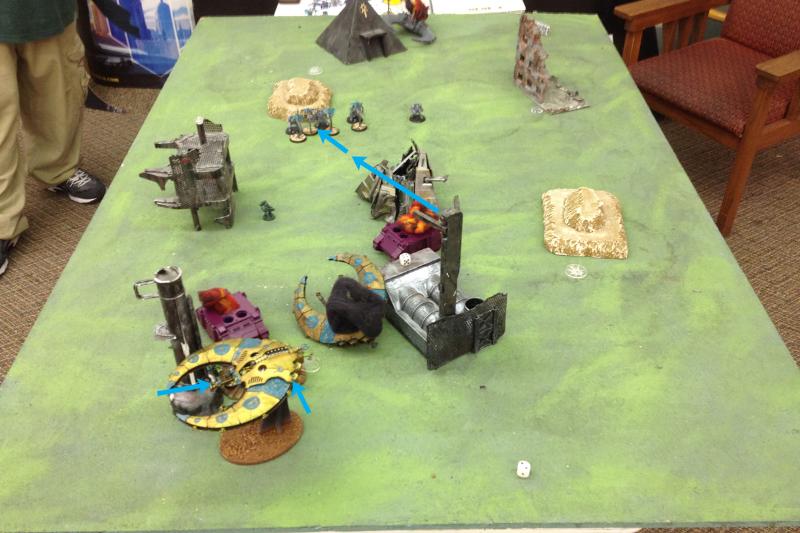
Deployment: 
Objective markers are indicated by the blue arrows.
Travis set his centurions up on my right, the
LC/
ML guys on a 2-stage hill in cover. Tigurius was deployed with the grav gun centurions.
Tac squads near to my left. Clearly, the most frightening thing in his army was the
LC/
ML centurions. That, and the fact that his heavies are now scoring so he has twice the scoring units I do. In response, I hide behind a piece of sight-blocking terrain & use my warlord power to make it night fighting on turn 1. I don't want any needless losses while I'm waiting for my support to show up. My hope is to be able to leap-frog through the terrain with the wraiths & charge the
LC/
ML centurions.
 Turn 1:
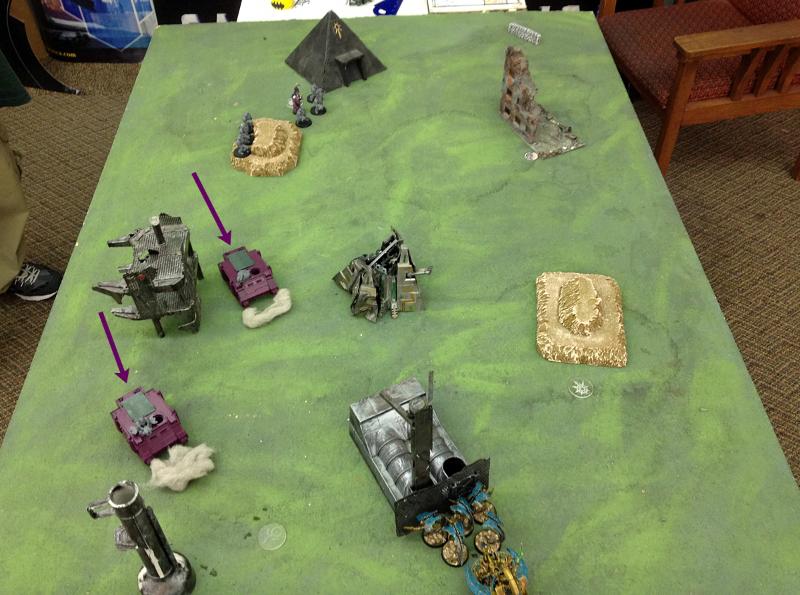
Travis moves his Rhinos aggressively forward, they pop smoke.
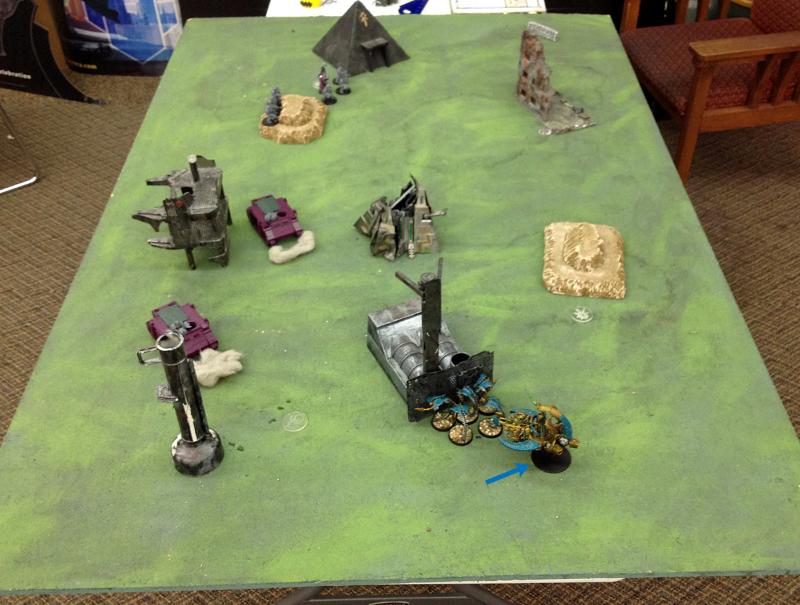
I debated going after the lead rhino at this point, but didn't want a sub portion of my army hanging in the wind while his entire army had nothing else to shoot at. So instead I scooch over and stay out of sight. The aggressive rhino move is making me reconsider what to do with my wraiths.
Turn 2: 
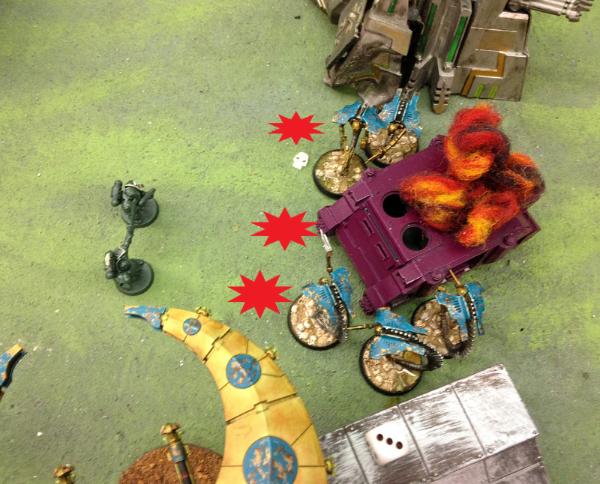
Travis moves his rhinos forward, but having nothing to shoot at can do little else. In my half of the turn, one of the night scythes and the doom scythe come on, and I move out of cover for a coordinated attack.

Shooting from the night scythe takes out the nearest rhino. The Overlord shoots and charges the evacuated marines, killing 3. The wraiths now make their charge on the other rhino in order to eliminate the last transport, however they roll a 3 on the charge and fail to make contact. On the other side, the doom scythe draws a line into the grav centurion squad through Tigurius. The shot kills one centurion and Tigurius. I was a bit confused as to how a marine super-hero could be left without an invul or a rule that says he can't be insta-gibbed... but we couldn't find anything. We also weren't sure if Tigs would have gotten a save as he was in-cover from the point-of-view of the firing vehicle, but not from the beginning point of the beam shot. I let Travis decide & he said no cover save. The tessla destructor claimed a second centurion.
Score: Marines: 0, Crons: 2 (first blood, slay the warlord)
Turn 3: 
Travis moves his centurions forward. The
LC/
ML guys split fire and bring down both the doom scythe and the
CCB... gods these guys and really turn out the firepower! The remainder of his marine squad (lower left) had fallen back out of combat last turn and are now shooting at my overlord. The rhino continues to move towards my end of the table and shooting from within wounds a wraith.

My second scythe comes on and destroys rhino #2 with tessla destructor fire. My overlord (far left) charges the last two marines from squad #1, killing both but taking a wound in the process. The wraiths have moved into a position to assault the marines as the emerge from the wrecked vehicle (and as importantly, putting them out-of-sight of the centurions), which they do, killing 3. The remaining two marines fall back out of combat.
 Turn 4:
The centurions move forward as the surviving tacticals retreat. The centurions split fire and effortlessly drop a scythe and put a wound on my overlord. See a pattern emerging here?
I'm finally in a position to use my original gambit. The wraiths move forward aggressively and charge into the
LC/
ML centurions. Luckily, both squads exchange wounds, killing the wounded wraith but leaving us locked in combat (i.e. no falling back out of assault). My surviving scythe drops it's troops down on the objective near the barge crater and they join up with the overlord.
 Turn 5
Travis moves his surviving grav centurion back to claim an objective while his lone
tac marine moves forward into cover. The big assault exchanging wounds, this time doing a second wound to a centurion (I have two markers there to show one total casualty in each squad from the last two combats).

In my half, the stranded warrior squad walks on to claim an objective. The warriors already on the table gauss the last
tac marine & the assault is a push.
Final Talley:
SM: 4 pts (1 objective, destroyed 1 heavy)
Nec: 9 pts (2 objectives, first blood, slay the warlord, line breaker)
Really fun game. Looking forward to playing Travis again & learning my rules better. We both forgot to do things that would have helped our armies at various points, but it was fun anyway.
Thanks for reading!


