Last night, I got a game in against a very good local player, who was using a slightly unconventional Tau list – short ranged but still very deadly! My list was also quite 'off the wall' – ranged Carnifexes and a Tyrannofex! The list might seem strange, but an 1850 point list with 36 T6 wounds is quite a threat, especially when it doesn't really need to close to point blank range to drop those large blasts. Below are the army lists and game type.
---
Diagonal deployment
Kill Points (Purge the Alien)
Night Fight: Turn 1
---
Tyranid List
Tyrant (Barbed Strangler,
LW/
BS, Smite, Life Leech) (
WLT –
LD of Warlord inside 12”)
Tyrant (Barbed Strangler,
LW/
BS, Iron Arm, Endurance)
Tervigon (3 powers, Cluster Spines)
Termagants x13
Venomthrope x3
Carnifex x2 (Barbed Strangler)
Carnifex x2 (Barbed Strangler)
Tyrannofex (Rending template, Acid Spray, Cluster Spines)
Tau List
Pathfinder team x7
Pathfinder team x7
FW team x12
FW team x12
FW team x6 (1) (In Devilfish)
Crisis commander (
MSS (
IC), Plasma rifle, burst cannon) (
3d6 WLT)
Crisis team (3)
MP, PR, TLBC
Riptide (
TL Fusion blasters, Ion accelerator)
Hammerhead (Railgun,
SMS)
Broadside Team (3) (2 Missile systems each)
Skyray
Sunshark Bomber
---
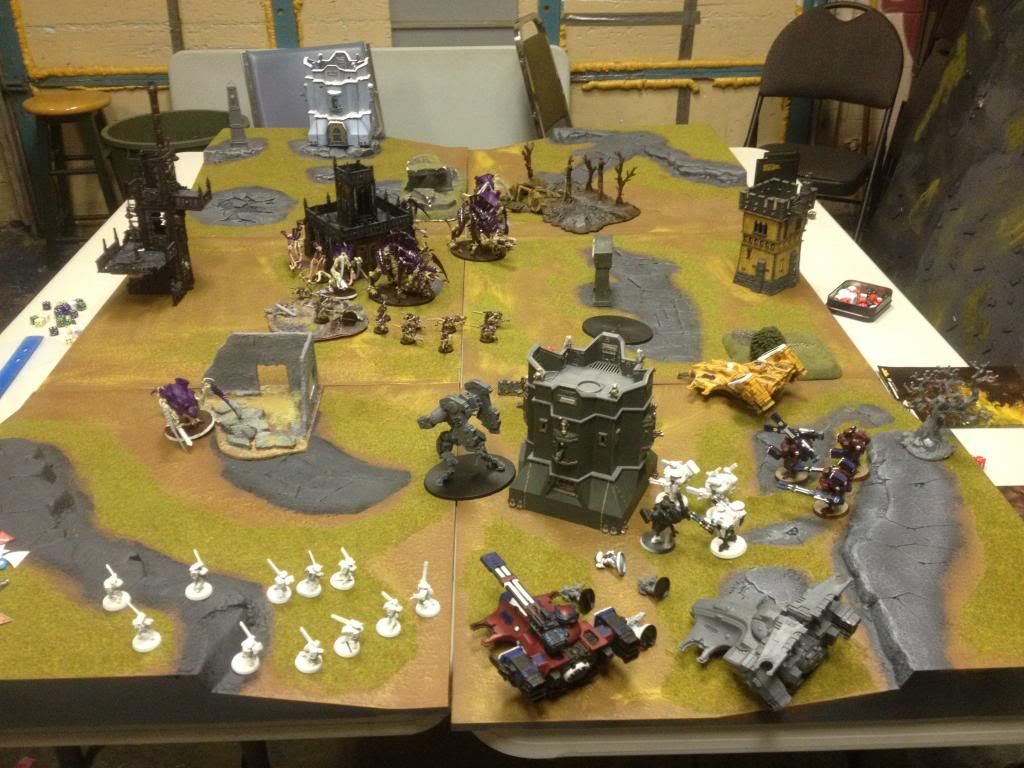
Deployment
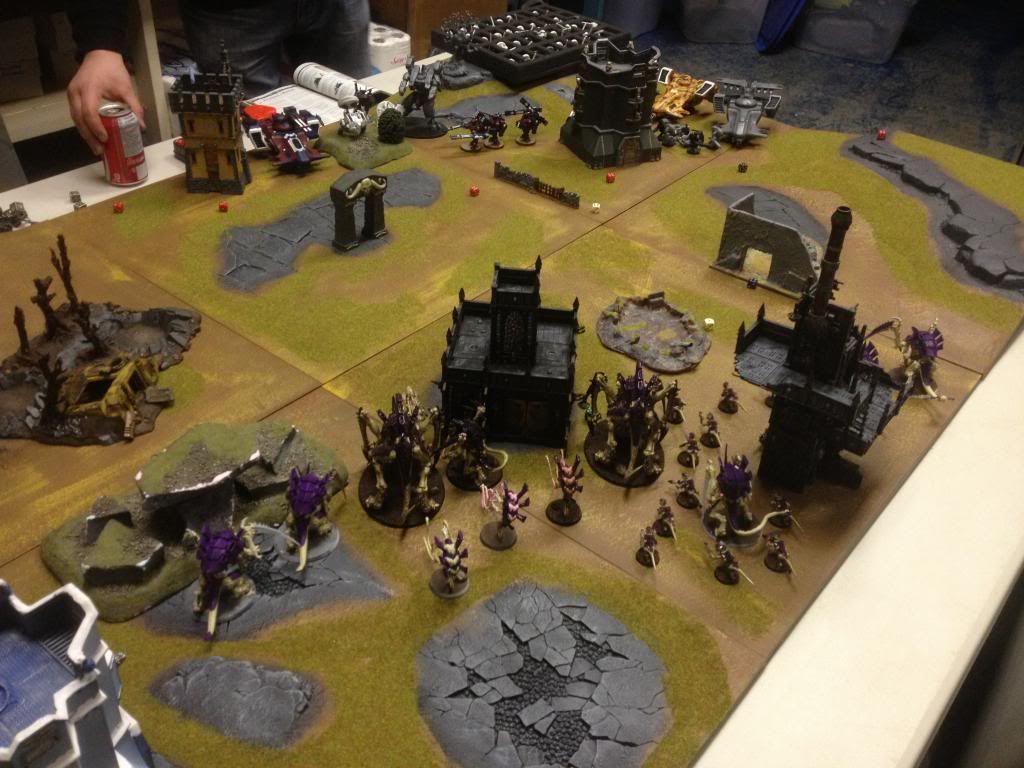
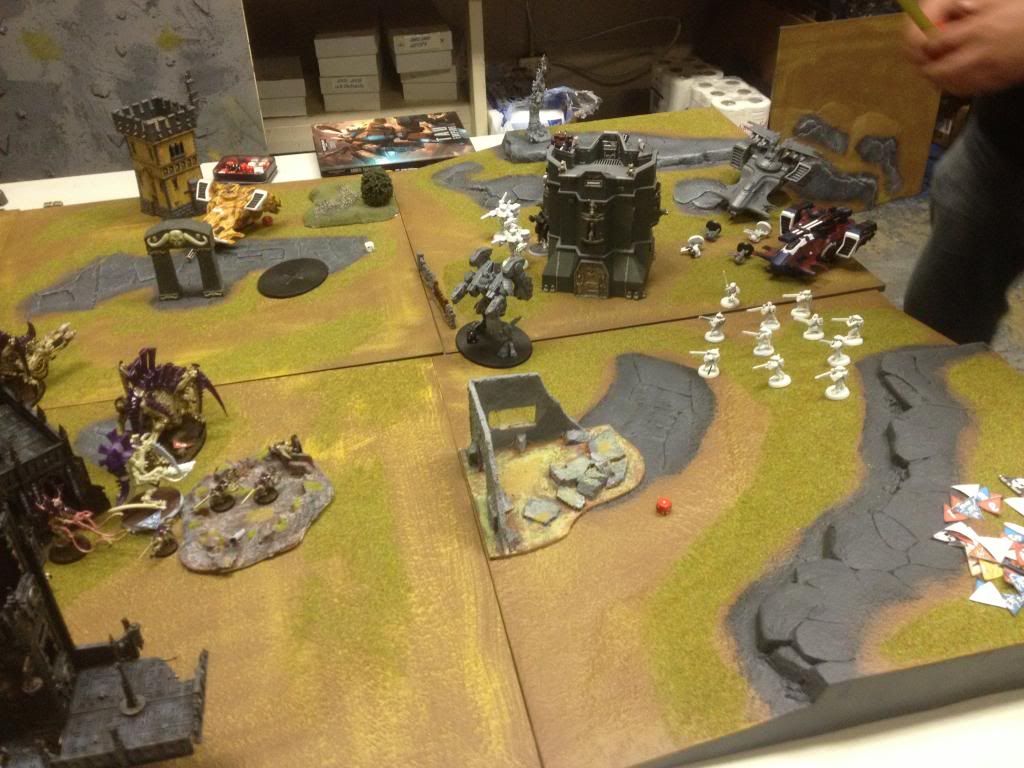
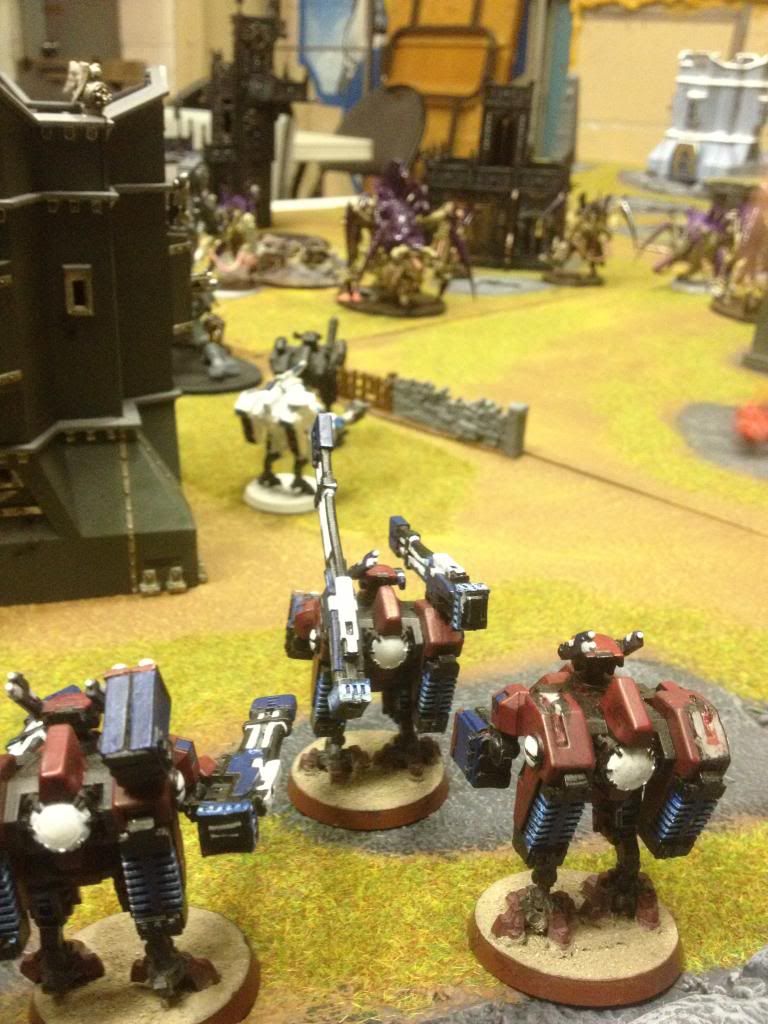
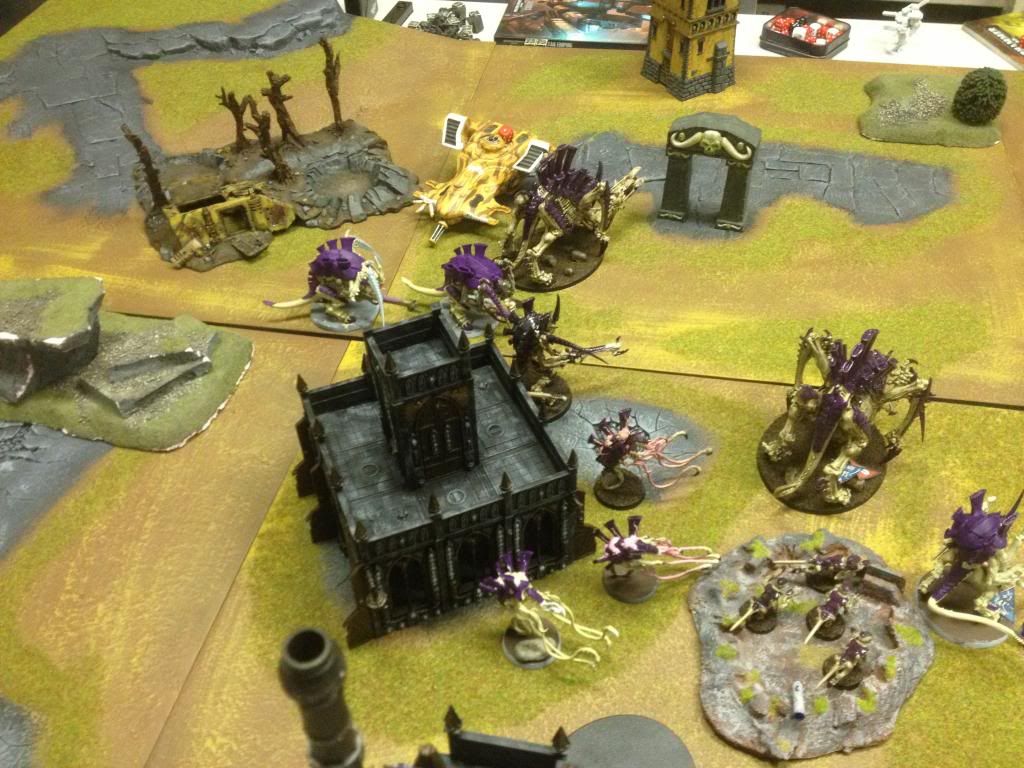
Deployment was quick and easy, I just tried to get the big bugs into good firing positions while the little guys cowered safely behind. We were in the very weird position of having an outnumbered Tyranid army that slightly outranged the Tau force... Given the mission type, this wasn't so bad. Venomthropes covered the whole army with a 5+ cover save, except for the Carnifexes on the right side.
Tau deployment involved making sure the Pathfinders were in good firing positions with one squad in cover. Tanks littered the rear of the formation, and the 6 man squad of Fire Warriors were in the Devilfish on my left flank. 6 Stealth Suits infiltrated close to the Tyrannofex, fusion blasters bravely positioned at the rear of the squad. The Riptide was front and centre. The dismounted Fire Warriors adjusted their sights as the ground tremored...
---
Turn 1 Tyranid
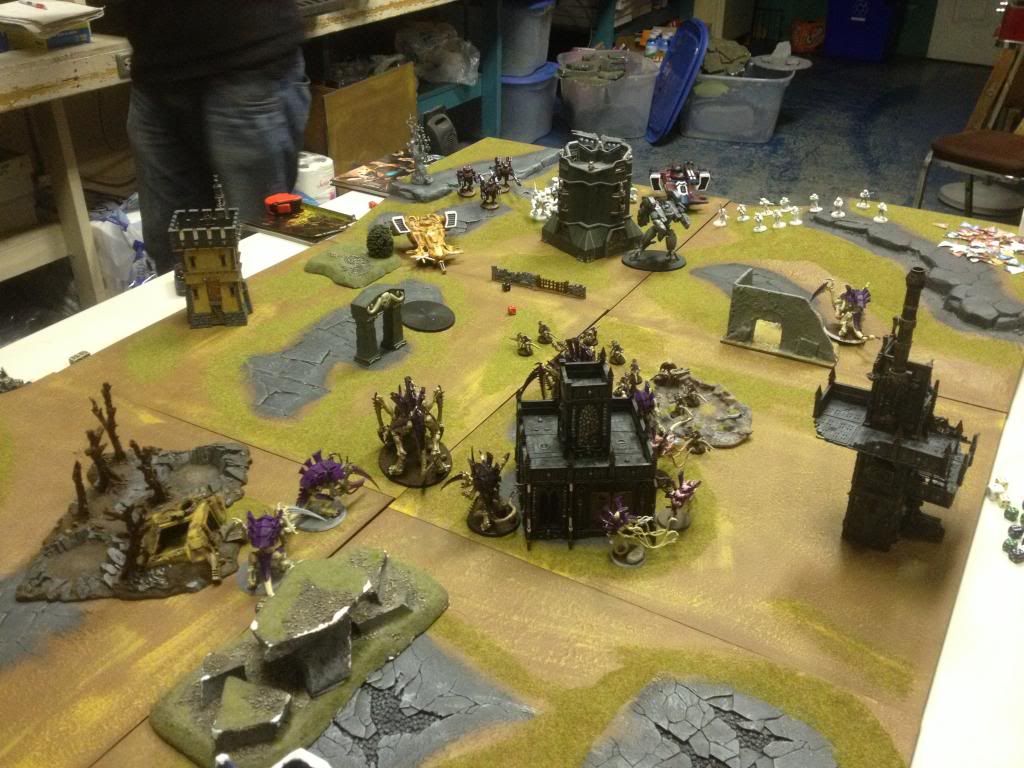
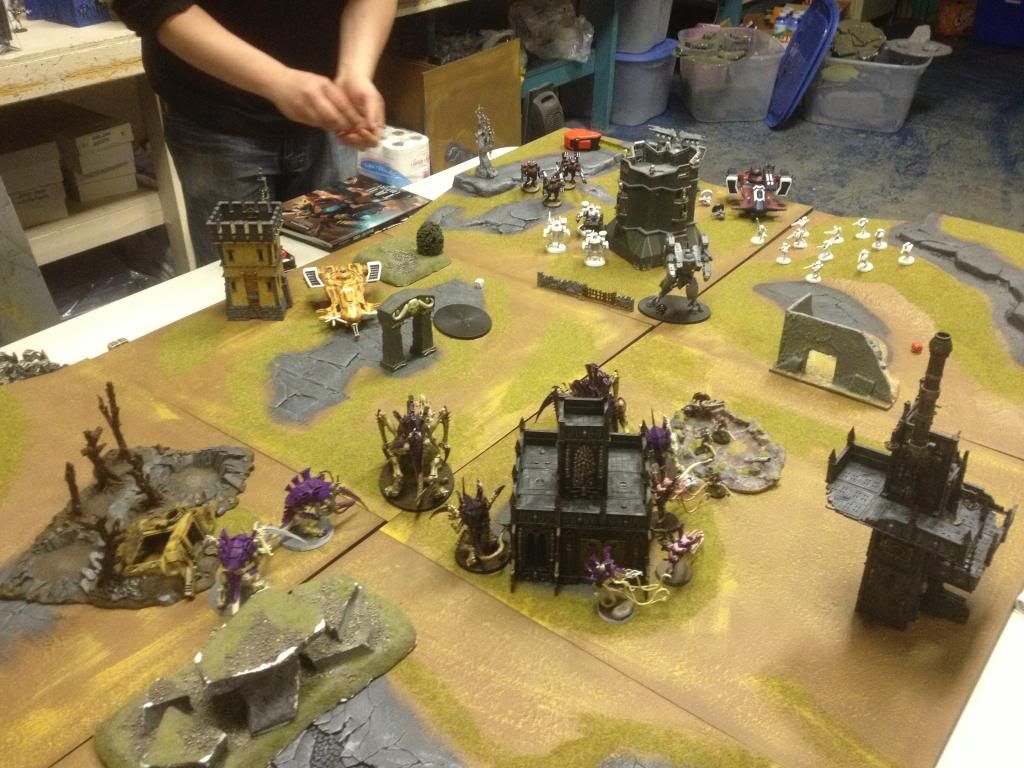
Initiative is not seized by the Tau. The Tyranid forces moved forward slightly, Iron Arm going off on the RH Tyrant. Tervigon casts Endurance on the Tyrannofex, and everything moves closer. The Tyrannofex wrecks the Stealth team with several templates, killing several and forcing a Morale check. They run
3d6 directly off the board (They were removed prior to the photo). Shooting from 6 Stranglethorn Cannons removes the left flank Pathfinders (who were beside the tree near the Devilfish). The 12 Fire Warriors who were in front of them take significant casualties from the large blasts as well, and most are killed. Termagants run into the jaws of certain death. First Blood goes to the Tyranids.
Turn 1 Tau
The closest Carnifexes are frightening to the Tau – they must die! The entire Tau army fires upon them, using 4 markerlight hits to enhance their ballistic skill. One beast is evaporated by fusion blasters, and the other is reduced to one wound. But no kill point is given up! The Skyray misses with a '1' to hit, and the Tau jet pack shuffle ends the turn.
Turn 2 Tyranid
More shooting, very little moving. The Termagants move up to screen and bait, the 1-wound Carnifex shoots at the remaining Pathfinders, kills several, and pins them. Tyrannofex moves up, and the remaining Tyrants and Carnifexes try to pop crisis suits.
Turn 2 Tau
My opponent sees the termagants as an easy kill point, and I don't blame him. A lot of tau shooting takes the Termagants down to 4 models. That cover save from the Venomthropes has already paid off big time – no
KP awarded yet. But then the right hand side Carnifex is taken down, I think by pulse rifles? That gives him some breathing room... I think the monster was worrying him.

I believe the Sunshark bomber deals 3 wounds to the Tervigon. My opponent forgets to jet pack thrust move.
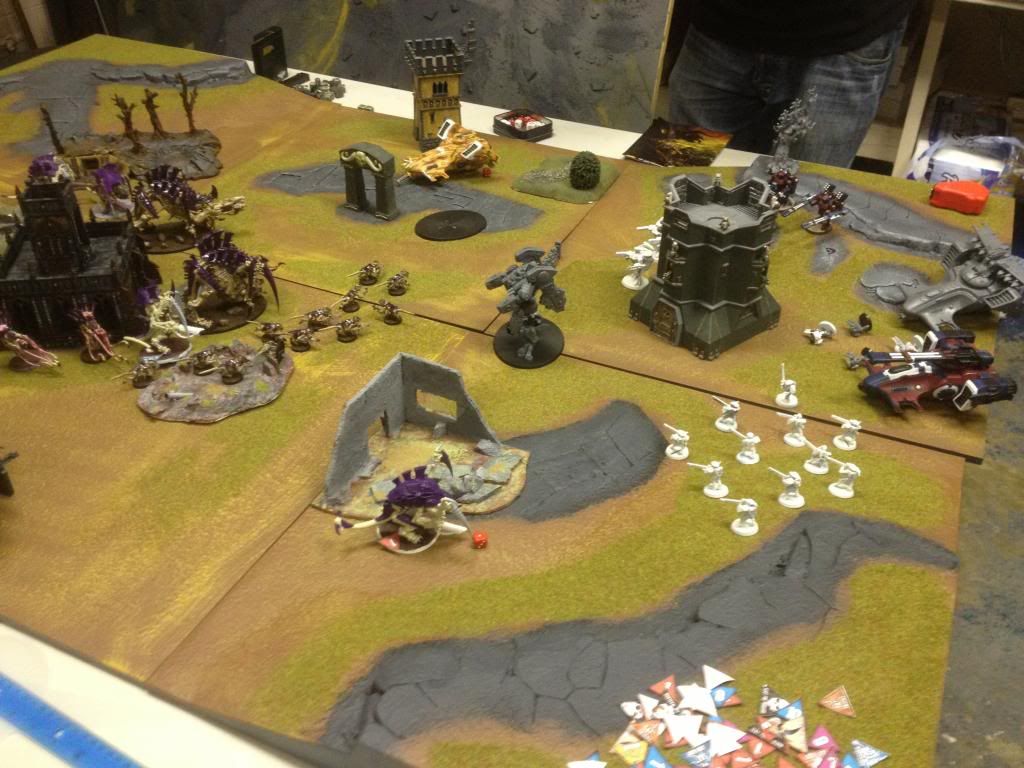
Turn 3 Tyranid
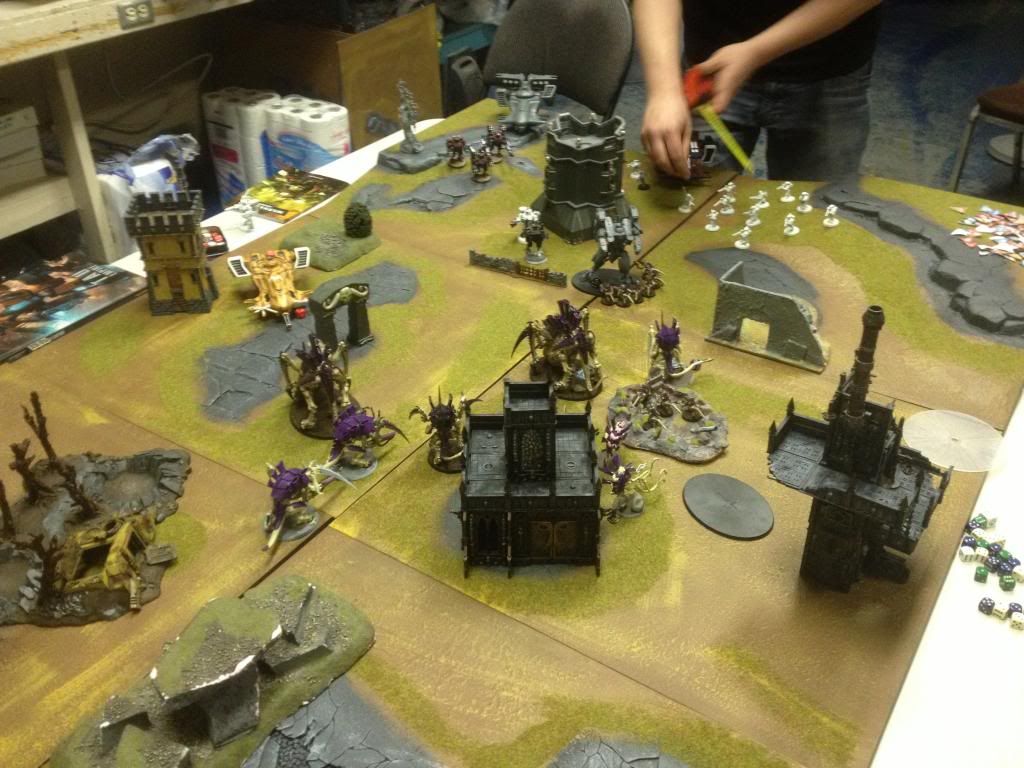
Iron Arm goes off on the Tyrant and Tervigon, for +1 and +2. 8 Termagants are spawned and run towards the Riptide, ready to tie up his shooting. Tyrant moves up to screen Termagants (That's just weird) and threaten the Riptide. Tervigon readies for a 9” charge. The Tyrannofex gets lucky and puts a hull point on the Devilfish, while a pair of Crisis suits go down to Stranglethorn rounds – but the unit passes morale and pinning.
The Termagants make their charge – and are not hit by overwatch! The Tervigon tries for the charge, but rolls '6' and can't get stuck in. Hive Tyrant tries for an 11” charge but also fails. No wounds are dealt – I lose 2 Termagants.
Turn 3 Tau
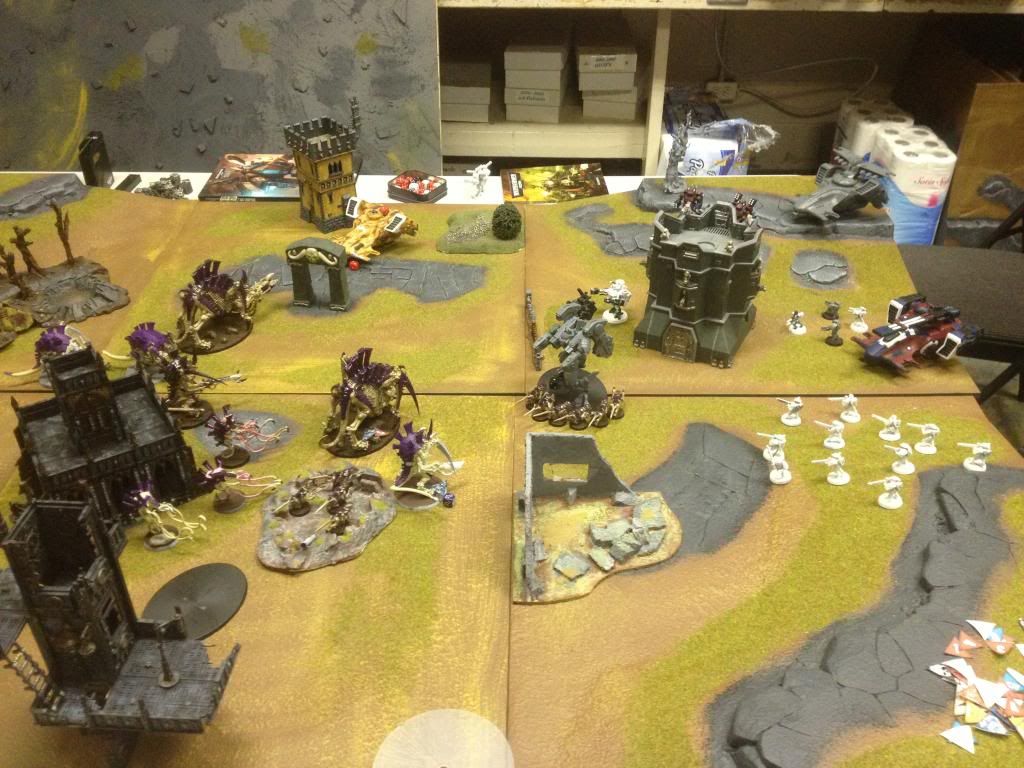
The Sunshark Bomber bombs the Termagants in the crater – but thanks to cover saves, none are killed. The Devilfish moves 12” and ends up beside 2 Carnifexes and the Tyrannofex – yes please! Dangerous Terrain check is a 6. The missilesides line up the Tervigon... and remove it from the galaxy. The Termagants are out of 6” range. Ion-drones are dropped off from the bomber near the Venomthropes. There is some ineffective shooting at the lead Tyrant – I believe the Missilesides fail to do a single wound. Sunshark flies off the board. I am very happy that the squishy Venomthropes have been ignored thus far. One or two Termagant(s) dies but they cause a wound to the Riptide, somehow. Ion drones kill a Termagant near the crater.
Turn 4 Tyranid
I forget to cast psychic powers. Uh oh. Termagants run back, somehow knowing that they are worth a kill point. The lead Tyrant gets closer to the Riptide, 3 inches away, ready for his charge. Tyrannofex destroys the Devilfish and kills one Fire Warrior in the explosion. Large blasts head downfield and put one wound on the lead Broadside – only one blast actually hit out of the three from the rear Carnifexes and Tyrant!
Finally, time to kill the Riptide with an almost-guaranteed charge from my Tyrant! I then roll snake eyes, and fail to refrain from the use of creative terminology. Well, that's nice, and really messes up my plans... I hope he can survive the hail of fire and plasma. Sigh. Another phase of useless flailing from the Termagants and Riptide occurs! No one is hurt.
Next turn is going to hurt.
Turn 4 Tau
Fire Warriors from the 'exploded' Devilfish move into a second, higher quality, vehicle. They are not hiding, however, they are just using 'tactical repositioning'. They shoot at the Venomthropes and they kill one. Ion drones don't accomplish much in shooting.
Now to the pain. Everything else focuses on the unwounded lead Hive Tyrant. Let's go down the list...
Markerlights: 2 hits.
Missilesides: 24 shots. Rerolls. One wound.
Crisis Commander/Suit: Plasma guns, burst cannon, missiles. Two wounds.
Skyray: 1 hit, no wounds.
Hammerhead: Fails to hit.
12 Fire Warriors in rapid fire range: Nothing.
That's something like 70 shots, with markerlight support, that caused 3 wounds to a T6 Tyrant. I'm OK with this!
Turn 5 Tyranid
Let's get this done. I am currently leading, barely, but need to secure my lead without losing any units. I will have to take a gamble with the Tyrant, but I'm pretty confident that it will work out. If I lose my squads of very depleted Termagants, I will have a very hard time pulling out the win...
The Venomthropes move to assault the Ion Drones. The unengaged Termagants pull back to safety and run behind the building. My Warlord Tyrant stays put and shoots at ...something. The remaining Carnifexes do the same, but to little effect. The Tyrannofex, however, goes ahead and kills 3 Fire Warriors, which breaks them and forces them to run ~7 inches towards the board edge. This removes the charge opportunity for me as I roll a 3 for charge range.
The Venomthropes kill the drones and consolidate 5” towards the Tyrant. The combat between the Termagants and Riptide is interrupted by a very angry, very injured Hive Tyrant who charges in wildly and forgets to take his I10 HOW hit. I also completely forgot to force the Fear check on the Riptide, argh! Next time. My Hive Tyrant misses with 3 attacks, and causes only one wound, which does not
ID the Riptide as he passes his
LD check. He then causes one wound to the Tyrant and kills it! How embarrassing! Combat is tied.
Turn 5 Tau
The Sunshark bomber arrives! It obliterates the Venomthropes with help from (I think) the Fire Warriors. Shooting is otherwise fairly ineffective. The Riptide manages to break the now synapseless Gants... but does not sweep them, though they are falling back. Commander thrusts
3d6 towards my board edge and just can't quite make Linebreaker. Fire Warriors continue to fall back.
---
Conclusion
The roll to continue the game is a.... '1'! The game ends, with Tyranids leading by 2 points – an incredibly close game. I have a single Termagant hiding behind a building, and the Tau commander was only about 3” from getting Linebreaker. All in all, a very enjoyable game, against a fantastic opponent! And a big 'Thank You' to our local game store, Bastion Games, for allowing us to use their gaming area!


