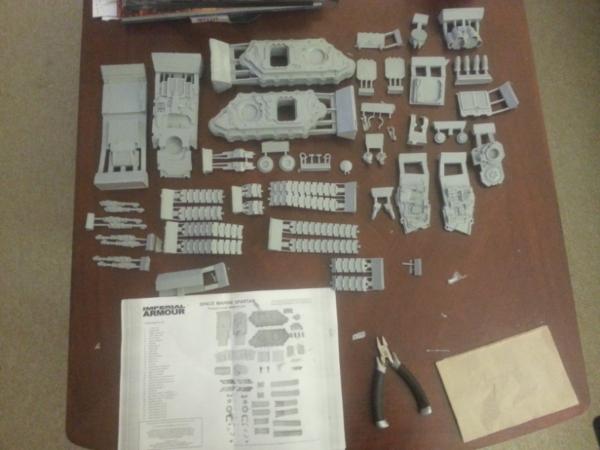
I worked on the Spartan to get it ready to paint. Using the parts shown in the original post, I cleaned the model up and prepared it for undercoating. There was significant work needed to get it where I could use it, starting with the tracks for the tank treads. There was a large amount of flash that needed to be cleaned out before I could do much with the model, and some flash that was hard to find.
The tracks were supposed to look like this.
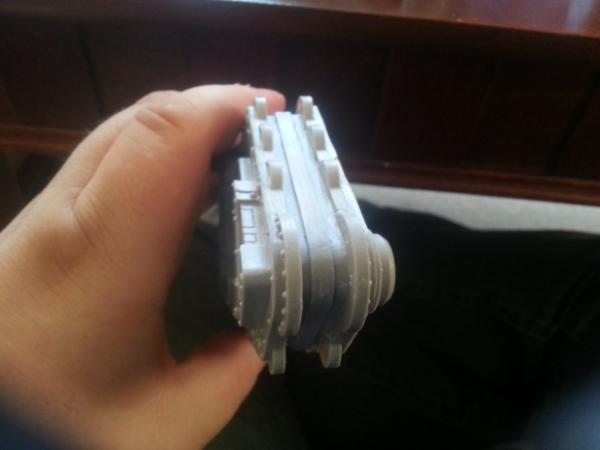
When I removed the sprue, I was left with tracks that looked like this. You will notice there is a lot of flash left in there. It presses up between the wheels and the track in tight bunches, not leaving you with a clear indicator of where one begins and the other ends. Also, it's in an irregular shape. You can't see it in this picture, but some of the flash was wadded up like gum.

After some time spent carving out the tracks, I ended up with something that looked like this.
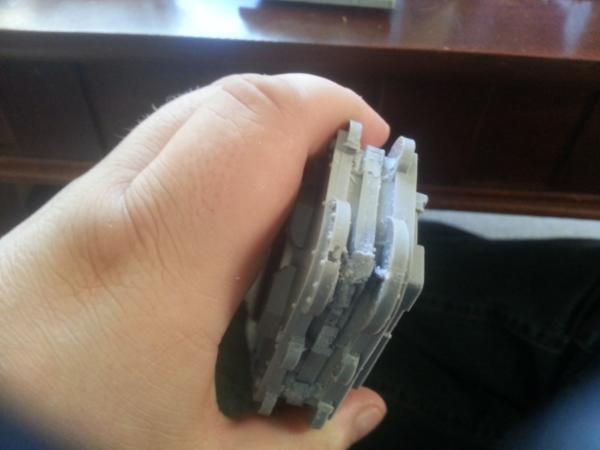
So this turned into a carving project. I was able to scrape, file and punch out the flash into the shape of a track with much effort. Word of warning, make sure you wear a mask when you carve the tracks out. It kicks up a fantastic amount of dust. I did remember to put one on, but my dog was sitting close to me and started gakking after a few minutes. Also, notice how close the wheels are to the tracks. Once I carved out the tracks, I tried to fit the actual treads onto the model. They didn't really fit on the side with the flash, so I needed to do another round of sanding.
In the picture above, you will notice that there are substantial air bubbles in the wheels around where the flash was. These air bubbles permeated into the wheel itself, and I was able to break off a lot of the inside of the wheels with my finger. I had to put some modelling clay into the wheels themselves in order to keep their form on the inside. Some of the wheels did not look entirely round after I was done with this step, but I don't think it will be noticeable on the finished model.
Once I had all the pieces cleaned up, I started assembling the model and thinking about how I am going to paint it. It was clear this is something that should be done in parts, mostly because I want to do up the interior. So I worked out the following pieces to work on:
- The hull
- The top
- The left treads
- The right treads
- The left lascannons
- The right lascannons
- The bits
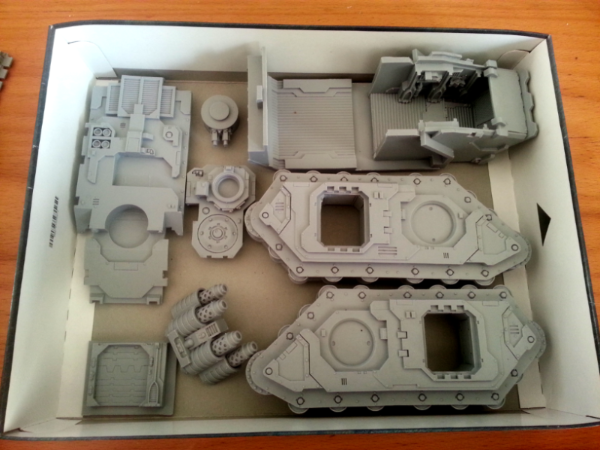
I started assembling all the parts, only to realize Forgeworld had given me 4 left hand lascannons instead of 2 lefties and 2 righties, as seen in the picture below.
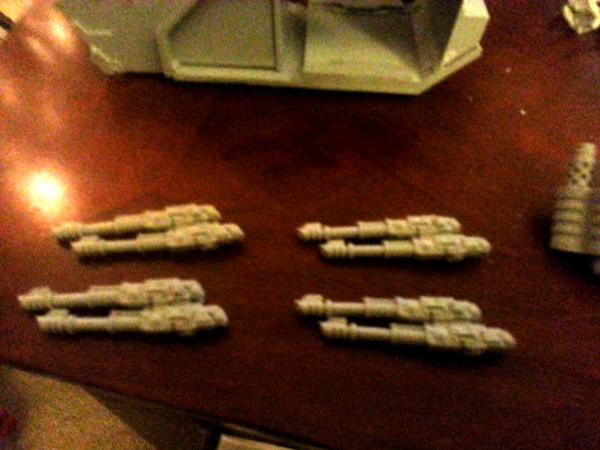
If you are building this model, immediately check to see if you have the proper assortment of gun parts. I called Forgeworld to report the problem, and the stockist seemed a little too familiar with the issue. He immediately asked me some questions about the presence of pegs in the lascannons, without having to take the time to look anything up. You can tell left from right by the presence of pegs and holes, and you can't assemble any of the guns without the right parts. It takes Forgeworld 7 - 10 days to cast the proper parts, after which they will ship them to you.
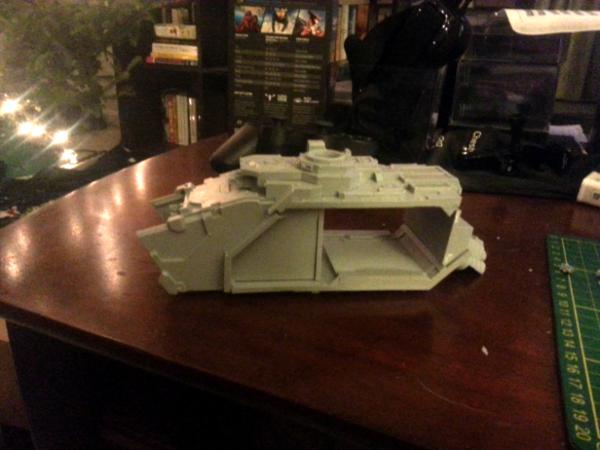
The next challenge was assembling the hull. It comes in an assortment of big pieces, with a bottom, a top, a left side, a right side, and a 'back' to the front hatch similar to what you find in a Rhino. The image below shows how it all fits together.
Notice that the top did not sit naturally on the rest of the hull at first. This was because there are a series of small bits attached to each part of the model, little triangles of resin that stick out at 45 degree angles. They are located in the corners of the model within each part. I took a picture of the top of the tank to demonstrate what they are.
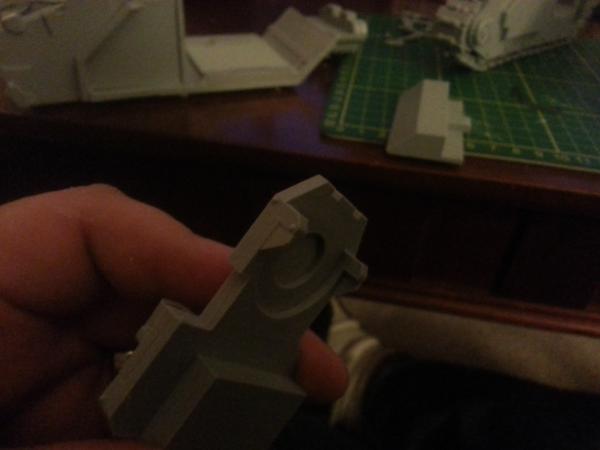
Save yourself some trouble - the first thing you do, remove all of these little nuisances. They prevent the model from being assembled and are really easy to miss. Forgeworld absolutely should include some instructions about the importance of this, I lost at least an hour just figuring out where they all are. If you are looking at a piece from the right angle, you can completely miss them.
After all the carving, sanding, patching, gluing, sizing, checking, questioning, cutting, trimming, etc, I did get everything assembled. I cleaned the model with some soapy water to get any remaining resin dust off of it, and ended up with the following pieces ready for undercoating.
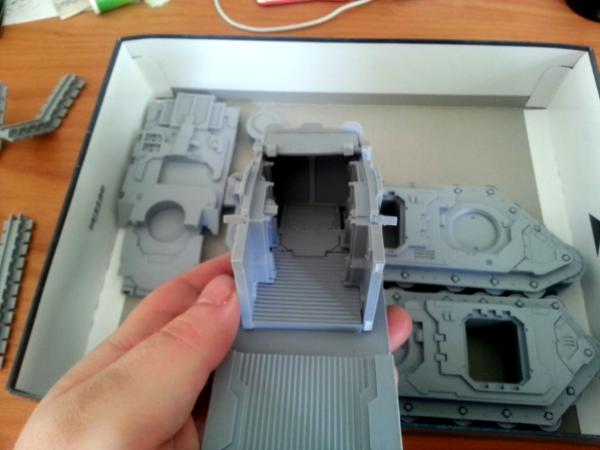
After all that work, the model is pretty good looking. Here's a shot of the interior with the back off, there's a terrific amount of detail and it almost makes me want to magnetize the hull so people can get a look.
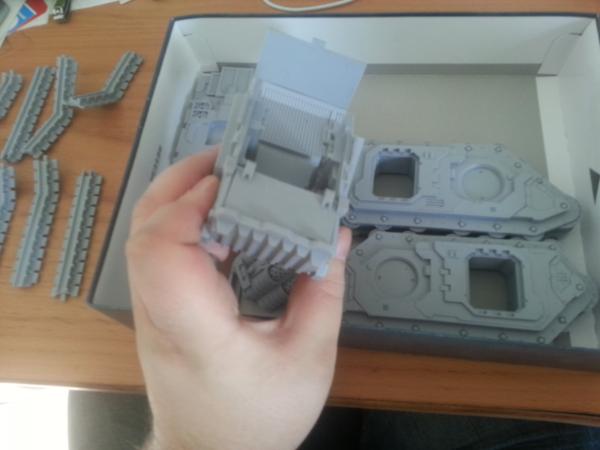
Here's the same from the front:
Now, I don't mean to sound disappointed with the model, because I like putting a little bit of work into my pieces and think anything is better after a little effort. At the same time, this is not a job for first time modelers. I could have easily knocked out the wheels at any time when I was carving out the tracks. It wasn't clear whether the little triangles belonged or not, and it took a lot of time to figure out that they were preventing the pieces of the model from coming together properly. I really just wish Forgeworld would have gotten the order right. It would be nice to have been able to undercoat the whole thing at the same time, because many of these pieces fit together very precisely. I don't want to paint the thing up and find out I need to do something with the gun assembly. I ordered a Fire Raptor at the same time and am a little paranoid that there might be pieces missing from that one as well.
Next up: basecoating, magnetizing and waiting for those guns to arrive.


 Grey Knights 7500 points
 Inquisition, 2500 points
 Baneblade