Greetings all! This is a step by step guide on how I make my own customised weapons from plasticard. Sometimes you just want a specific style of sword, but finding and/or acquiring the right bits can be nigh-on impossible. So if you have a few hours spare, the solution is to make your own!
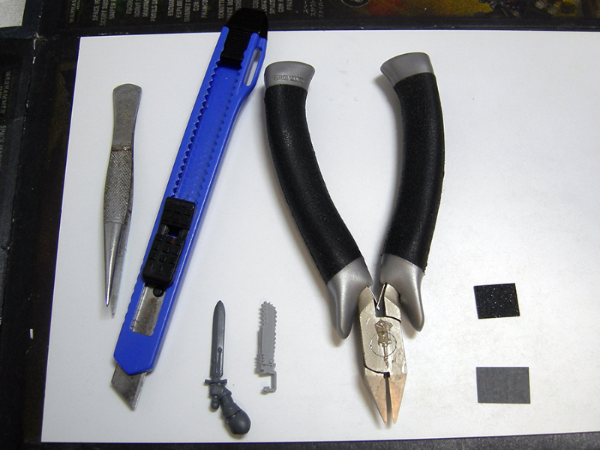
Tools:
Plasticard - 0.06" thickness and 0.015" thickness. I find the
Gale Force Nine plasticard variety pack a fantastic way to get a bunch of different thicknesses of plasticard all together.
Stanley Knife or other craft knife
Plastic Cutters
Tweezers - not necessary, but still useful.
Sandpaper - one rough and one smooth grade, though the smooth isn't entirely necessary, just nice for really polishing off the weapon.
A modelling saw is also useful, but again not entirely necessary.
Super glue or plastic glue.
Some weapons for reference! Especially useful to help keep your weapons to a proper scale. Reference pictures for the weapon you're planning to make are also helpful!
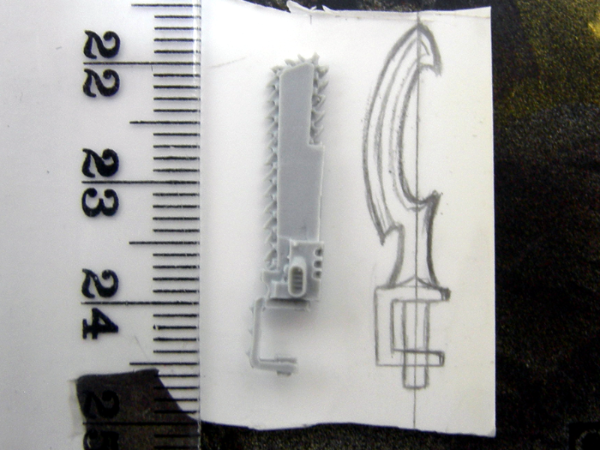
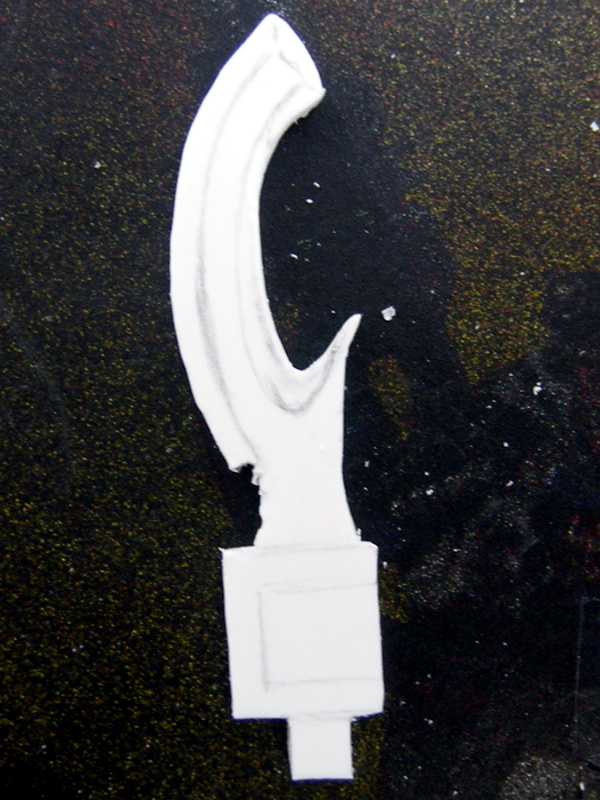
First off, design and sketch your desired blade onto the thick plasticard. For this weapon, I'm going for a khopesh-style blade for a pre-Heresy Thousand Son assault marine, so I used an assault marine chainsword from Forgeworld for size reference. It's fine to make the sketch slightly larger than what you want the weapon to end up, since it's easier to trim things down if they're too large, but much harder to add stuff if it ends up too small.

Don't try to accurately cut out the weapon immediately from the plasticard, it's more difficult than it really needs to be. Just start off by getting the rough shape first, then begin trimming away the excess from the sides bit by bit.
This whole thing is a messy process, by the way. Be prepared to have plasticard dust and bits EVERYWHERE.

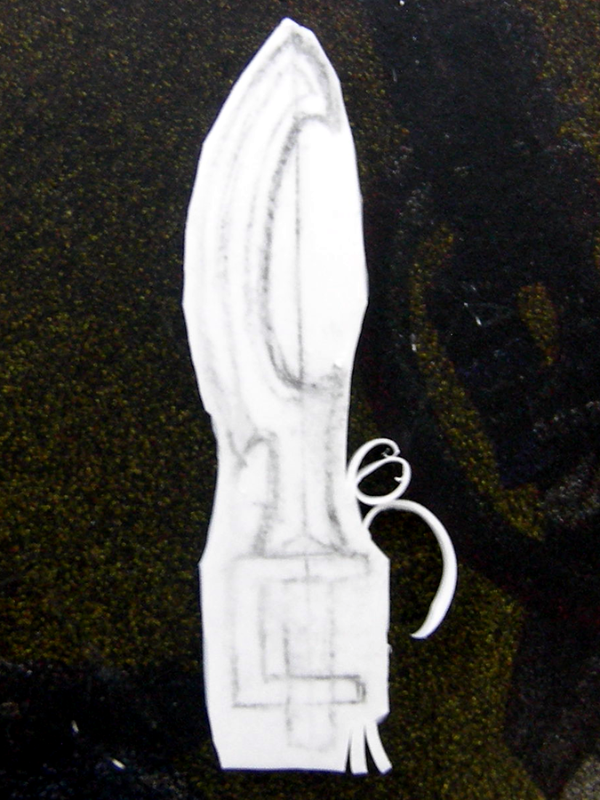
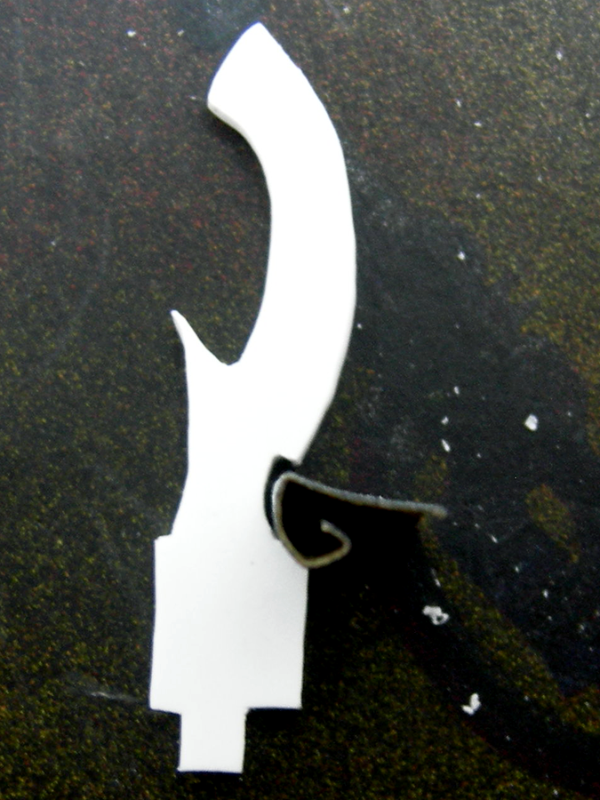
This pic shows some of the ways I shape the plasticard - trimming it away strip by strip, almost like peeling an apple. Or for larger chunks, cutting in slices, then trimming those off. Plasticard's much easier to deal with if you just cut off thin layers, instead of trying to carve out large chunks.
The drawing will most likely rub off the plasticard while you're working, so you'll have to re-draw it on every now and then to remind yourself where everything goes. Or you can just keep a copy of your design on a piece of paper or something nearby, that works too.
To get into the inner curve of the blade, I used a modelling saw to cut in the grooves and make it easier to carve out the inner chunks a bit at a time.
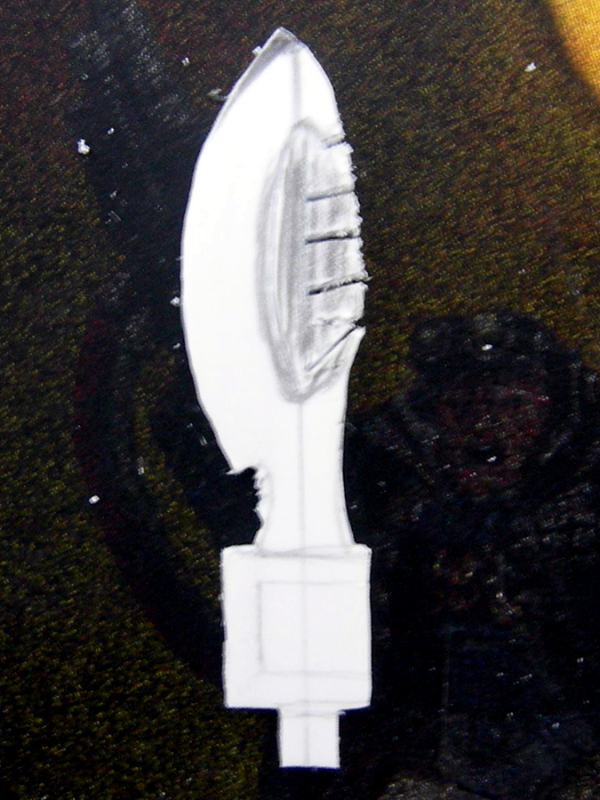
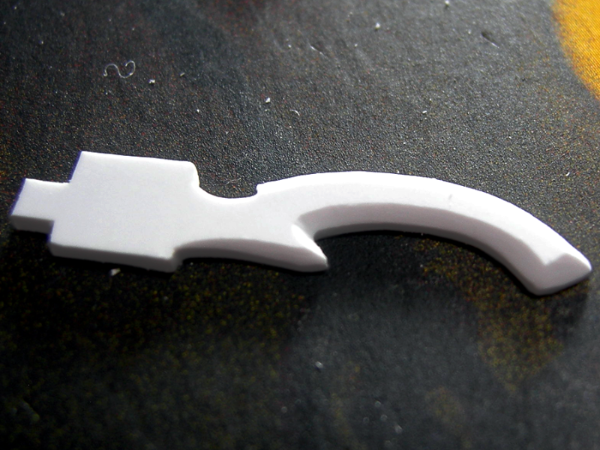
This is the sword once it's been mostly trimmed down to shape. You can see some of the rougher areas where I haven't been able to get a clean edge with just the knife alone, mostly on the left side of the blade's neck.
This is where the sandpaper comes in, to smooth out all those rough areas and refine the overall shape. Cut out a small piece of it, then fold or roll it into the desired shape to get into those awkward areas.
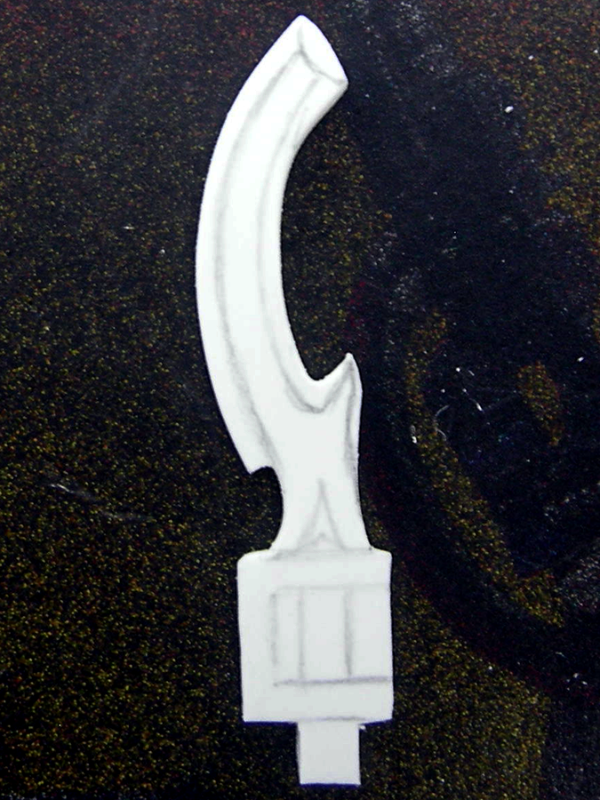
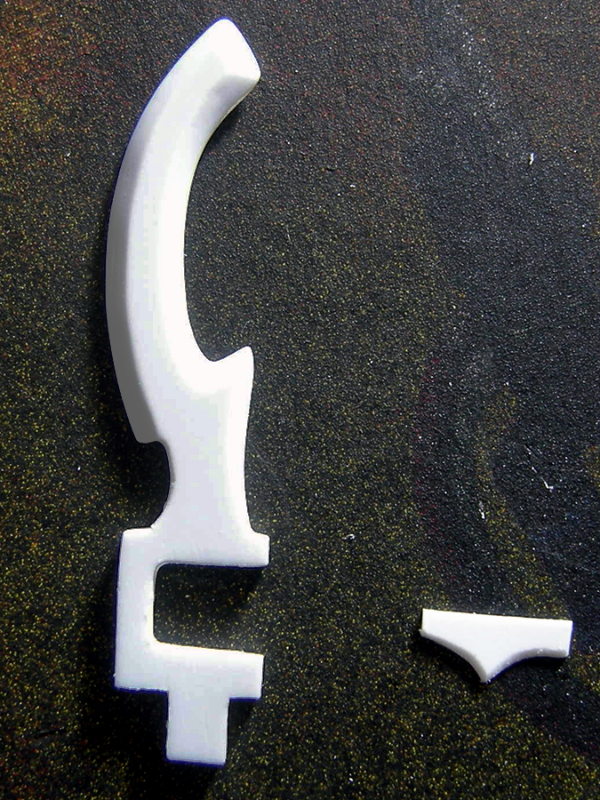
Here's the sword once the overall shape of the blade has been finished! I left the hilt for now though, since I didn't want to end up breaking it while working on the blade. It also gave me something to hold on to.
Now comes shaping the blade properly. Use the knife to carefully begin peeling away the corners of the plasticard to shape one side of the blade's edge. Don't try to take off a lot at once - if you accidentally take off too much, it's very difficult to fix it. And remember you need to do this again on the other side as well, so again, don't take off too much!

You can also use the knife to scrape down the plasticard - it doesn't take off as much as cutting, so it's easier to control. Scraping also helps smooth out the rougher places.
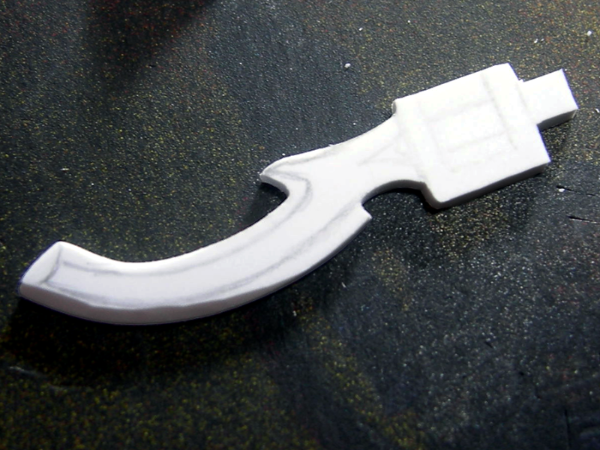
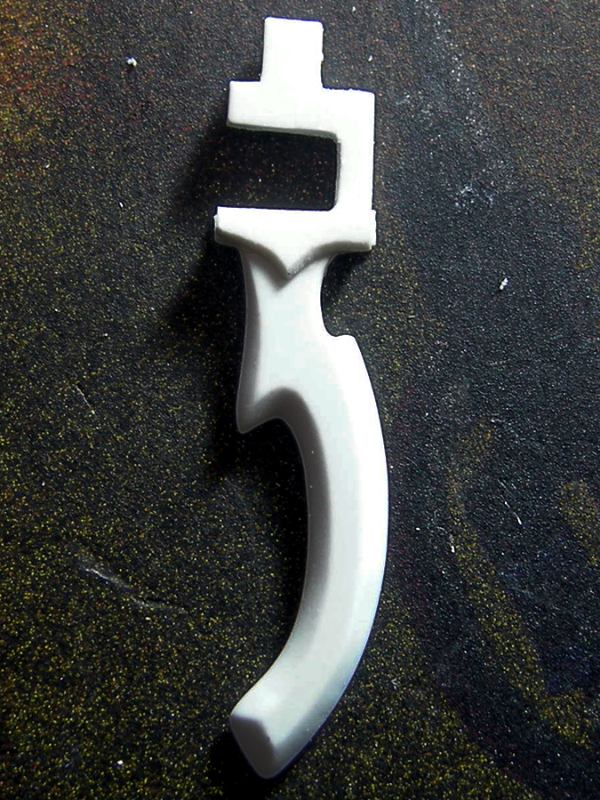
This is the sword with one side of the blade done. Just repeat the process on the other side. Once you've used the knife to shape the blade, use the sandpaper to refine the shape and smooth out any rough areas.
Now that the blade itself is done, time for the hilt! I roughed out the hilt's shape, then cut out a piece of the 0.015" thick plasticard to stick on and shaped the edge the same way I did with the blade. This can be very fiddly! Don't worry about getting a perfect fit though - it's better for it to be slightly larger than you need, so you can trim off the excess later.

The sword with one side of the hilt glued on, and the sketch of the piece for the other side before I cut it out.
Both hilt pieces glued on, but still rough! Once the glue's dry though, you can use your knife and sandpaper to trim off the excess and shape the hilt the same way you did the blade.
I kind of forgot to take some more progress pics while working on the hilt and guard - mostly because I hadn't entirely decided what I was doing, and was making up the details of the guard design as I went along, admittedly. I just used my knife to scrape off the corners of the guard, round it out, and shape the pommel, then used the sandpaper to smooth everything off.
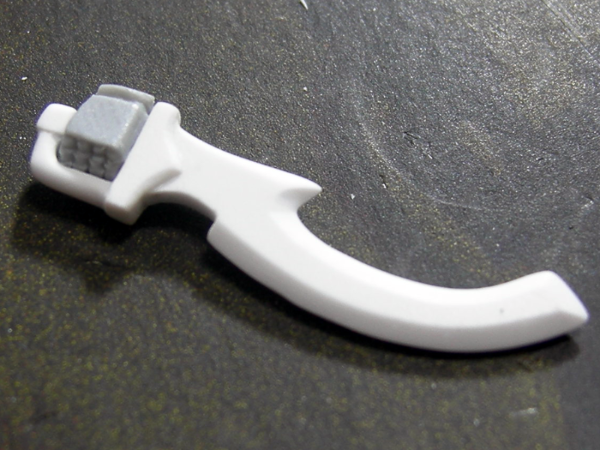
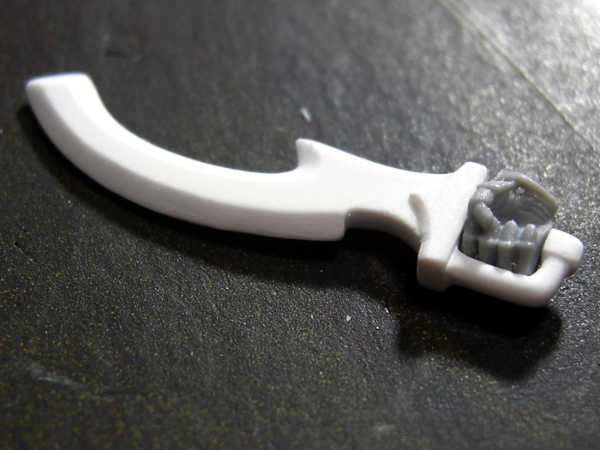
So here's the finished weapon along with the hand to hold it!
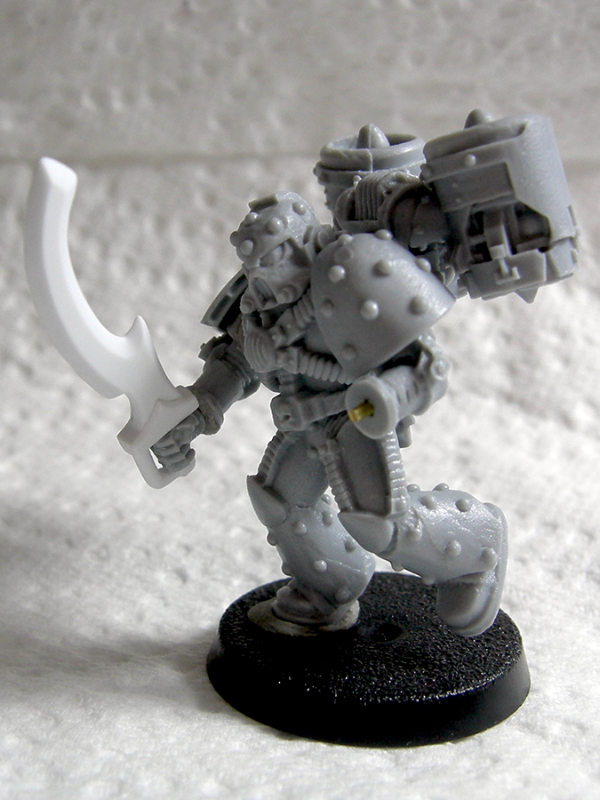
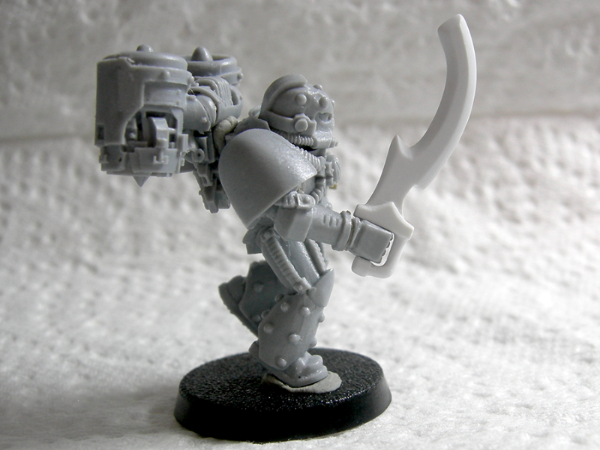
And here's the (temporarily blu-tack'd together) assault marine with his fancy new stabby thing!
I hope you all found this guide useful!
Keep an eye on my P&M blog (linked in sig) to see other weapons I've made, and the progress of the assault marine once I actually start putting him together properly!


