I figured I'd show a step by step process of how I built my power klaw for anyone interested
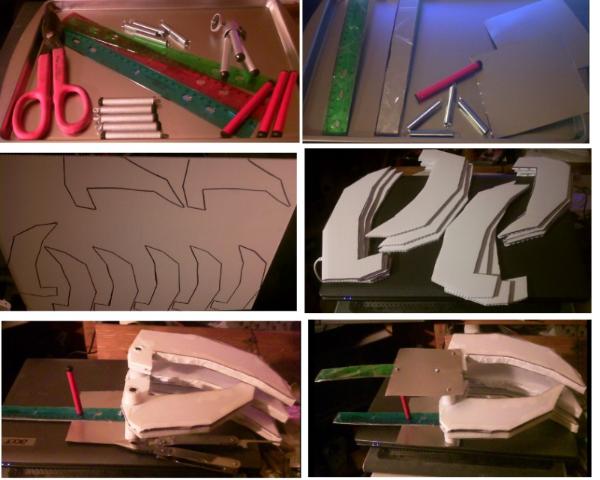
In the first pic you see the basic materials dollar store cookie sheets, mini camera tripod legs, a couple rulers and some tin snips
The snips had a rougher time cutting the cheap sheets then I had thought but one used stripes to reinforce the rollers and cut pieces I'd use later to hold the fingers
I cut out 9 pieces (3 each ) for the fingers and 3 for the thumb from my cloroplast before glueing them together into four digits. I therefore used packing tape along the edges to make them seem like one single piece.
I then used dollar store cutting mats cut to fit each side of the fingers hot glued in place to seal the tape
I bolted the the tripod legs to the frame, and drilled the hinge points on the fingers. I used bottled water caps as spacers between each finger before sliding them into place and bolting down the final framing piece.
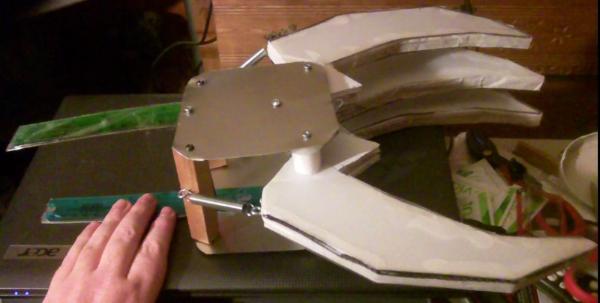
Well I finished my paw internal construction. I attached the springs and have the each claw connected to a ring I can pull to contract the claw.
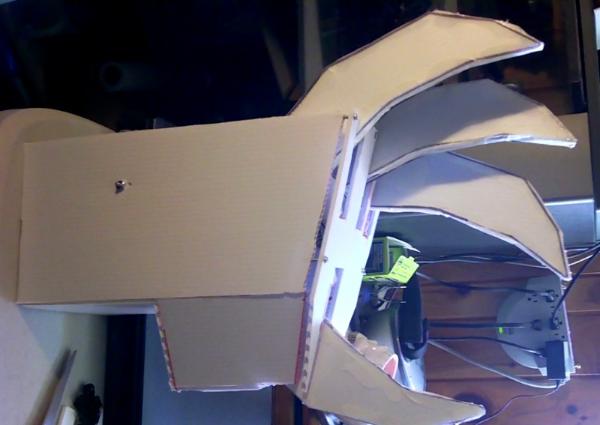
I used most of a sheet of Cloroplast measuring the dimensions needed to fit claw assembly, hand, and fore arm into the klaw. I then cut the panels before hot gluing them and bolting them into place as well as attaching the claw assembly to the inside of the shell. I measured out the needed area for the face plate deciding on an angled palm for a better grip and made sure the face plate would match up with the slits in the shell for the claws.
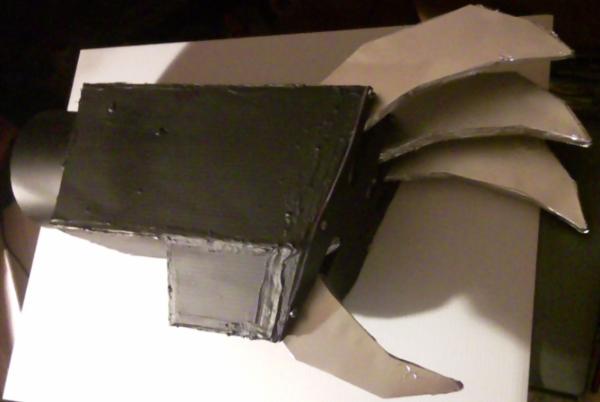
lastly all you need to do is paint it My paint skills are admittedly rough but thats part of why I go for the Ork ascetic
Automatically Appended Next Post:
now the above covered the build of the for arm. Here I want to show you the upper arm build
I will admit the upper arm was built first it was used as part of a robotic arm ending in a set of Clamps style pincers.
I made several mistakes with this design pincers were made of wood and tended to close with crushing force, the hinges were awkwardly placed, and the surgical tubing used for the tension was too strong so I opted to replace them with a more orky design, and improve my work. I may at some point rebuild the clamps since I think the shell is a good one.
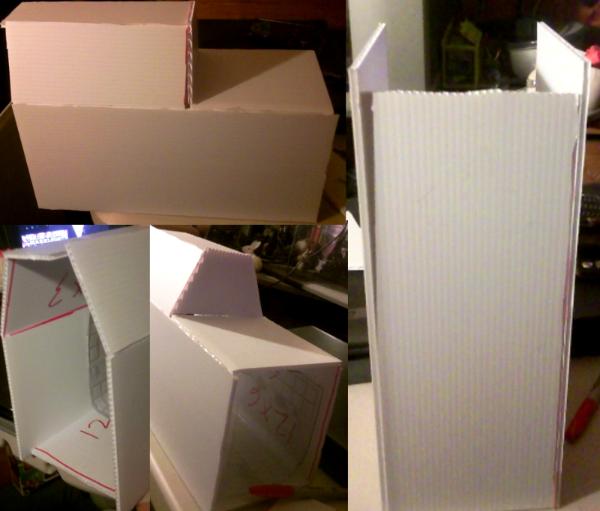
upper arm base
Most of my stuff is built on the cheap so you will see lots of dollar store re purposes here
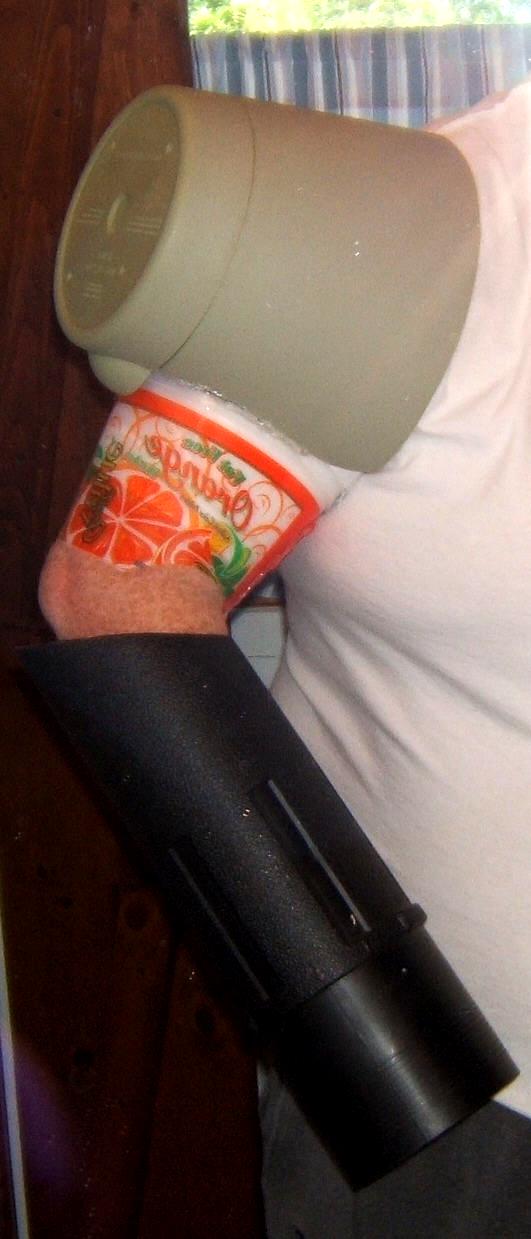
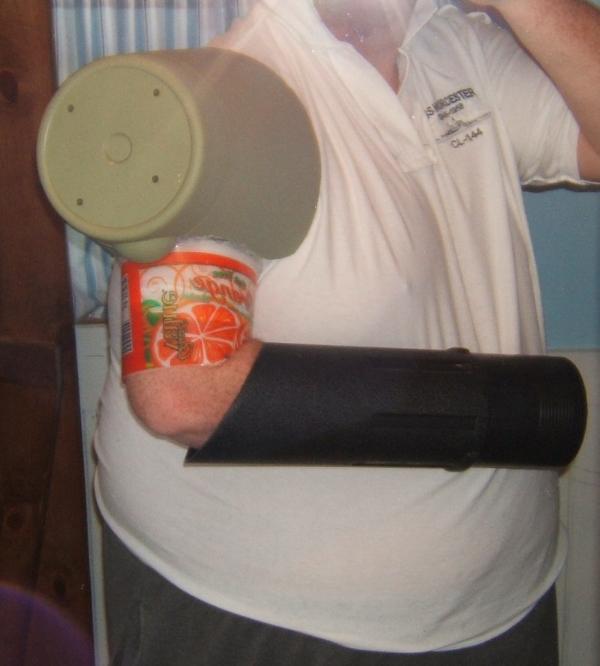
The shoulder joint is a large plastic flower pot I used a hot knife to make the opening for the arm to slip through and a empty plastic sherbert tub for the upper arm
It was hard work emptying that tub but I was willing to make the sacrifice *pats belly*
I still needed an elbow joint I used a 3 liter water bottle for that, It already had some nice grooves in the surface that would simulate a crude hinge joint. I also removed the pour spout from the off side reversing it and gluing it back into place. a small loop of hem elastic was used to attach the elbow to the arm it was also layed across the inner elbow to keep it in place.. to give the shoulder a nice flat look the discarded top of the sherbert tub was glued down to the end.
three coats of flat gray followed by 2 coats of silver spray paint gave it that nice armor feel
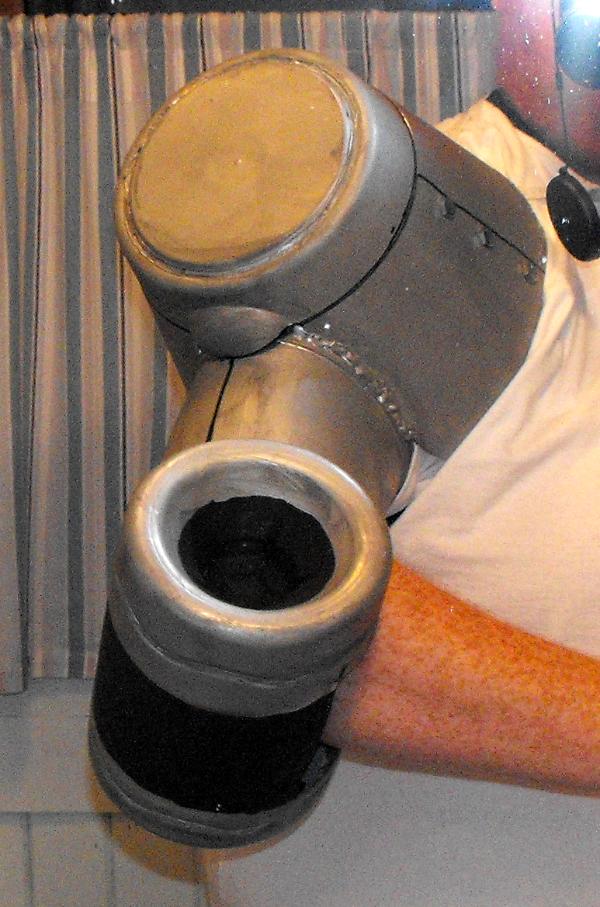
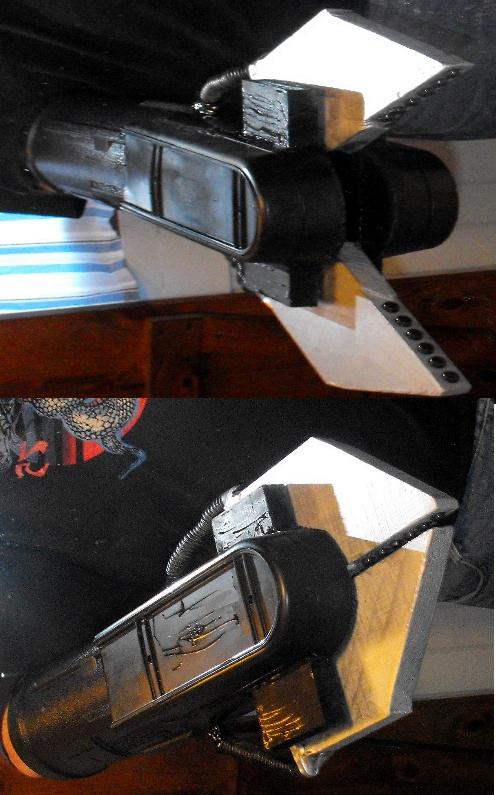
I did some light distressing to give it a used feel I also added some bolts, hot kniffed and blackened some seems to the shoulder piece added black to the inner pieces of the simple joint including the part that is meant to be the connection to the pincer claw the black of the claw is meant to make it look like one piece.
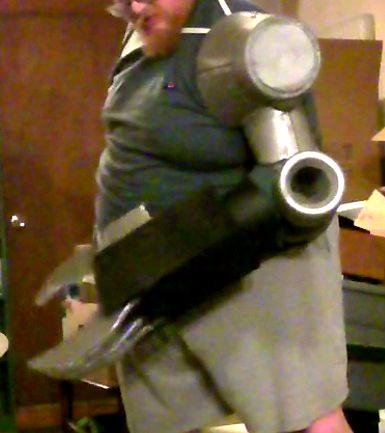
here it is all together. Its over all done though I do need to add some orky symbols to the shoulder guard and do some claw detailing but Its a nice build
Heck it even works
https://youtu.be/21K1HozaDiM
Sorry about acting like a goober there
I have a nice range of motion and can even lift a sixteen ounce water bottle (probably more but thats the most I tried) I know you can see my arm in the elbow joint but I figer a tight black sleeve will complete the illusion pretty well
Sorry to be a bother. I figured I'd start by showing off something mostly finished. Tomorrow I'll start showing a different build. maybe the plasma pistol or chainaxe does anyone here have a preference. I like both of them but I will admit I'm prouder of the axe


