Switch Theme:

Help with terrain and washes  [RSS] Share on facebook Share on Twitter Submit to Reddit
»
Author Message
Advert


Forum adverts like this one are shown to any user who is not logged in. Join us by filling out a tiny 3 field form and you will get your own, free, dakka user account which gives a good range of benefits to you:
  • No adverts like this in the forums anymore.
  • Times and dates in your local timezone.
  • Full tracking of what you have read so you can skip to your first unread post, easily see what has changed since you last logged in, and easily see what is new at a glance.
  • Email notifications for threads you want to watch closely.
  • Being a part of the oldest wargaming community on the net.
If you are already a member then feel free to login now.


Made in au
Regular Dakkanaut


I was wondering if could please get some help. I am in the process of making some ruins, I wanted the effect to look a bit like ancient desert ruins (with regard to the actual structure). I painted them a soft yellow and the made a wash with the same yellow mixed in with some dark brown and black.

This is what it currently looks like( see below). I am going to then highlight the ruins with some of the same yellow mixed in with some white. I am very uncertain as to how washes are supposed to look on terrain and so was wondering:

1. Does this look about right (at this stage of completion).
2. If not, what have I done wrong? Is there something wrong with the wash colour, consistency or application?

Please ignore the board upon which it is mounted, will be dealing with that later.
[Thumb - image.jpg]

[Thumb - image.jpg]

   
Made in au
Raging Ravener


It looks all right to me. But for starters I would have painted them a much darker colour, maybe a nice deep brown if they are meant to be mud bricks. After that I would drybrush progressively lighter shades in smaller amounts till you have the effect you are looking for.
I use tester pots of house paint for terrain, much cheaper than using model paints.
   
Made in gb
Thane of Dol Guldur


Bodt

Yeah start with mournfang brown, then add coloured glazes, then brybrush with mixes of bone and grey. This is what i use to make the sort of colours you see on buildings in iraq etc.

Heresy World Eaters/Emperors Children

Instagram: nagrakali_love_songs 
   
Made in us
Oozing Spawning Vat


Olympia, WA

So, I build a lot of terrain. Something I've done for washing was Michael's Crafts $.99 acrylic paints. I know they aren't high pigment, but it looks incredible for anything natural. I'd grab a bottle of "Burnt Umber" and-for the life of me I can't remember the exact name-but a dark orange. Mix each in a separate small bottle with a three-to-one mix (three parts water), and and see how thin it is, and if it's appropriate for what your doing. Water down from there. The acrylics give a nice natural look to the pieces. Definitely highlight that with drybrushing like mekugi and queen_annes_revenge suggested.

A suggestion, for desert rock, I'd use light browns as your base and drybrush darker as you move up in layers. Again, I can't reccomend Michael's acrylics enough. Being that they are not so bold, they look much more natural. Plus they are dirt cheap for nice sized bottles. Take a look at my blog link in my signature if you'd like to see what I mean. All of my stuff was painted with $1 acrylics. Hope this helps.

~Mike H.
http://squirrelbrainterrains.blogspot.com/ 
   
Made in au
Regular Dakkanaut


Pretty awesome terrain. Can I ask about the rationale for starting light then going dark? I thought that you usually did it the other way around? Is this situation dependent (and if so what dictates the change)?
   
Made in us
Brigadier General


Chicago

I'm with those who say go dark to light. As for paints themselves I prefer the Delta Ceramcoat paints that every craft store but Michaels seems to carry. They have a much better pigmentation and are quite smoth, though they do cost about a quarter more per bottle. They are the craft paint that is closest to miniature paint and I use them on my minis as well

You might like this easy formula I used for this cathedral that would be good for a desert rock.

Full Article here: http://chicagoskirmish.blogspot.com/2014/09/terrain-cathedral-de-la-pegasus.html
Start with a dark brown (Burnt Umber is a good one) then a wetbrush of Terra Cotta (deliberately not painting all the cracks so some of the brown shows through. Then followed by a light drybrush of Bamboo. It's three quick steps that will quickly give a nice mottled medium brown appearance. I let a fair amount of the undercoat still show through, but you can always apply the terra cotta and bamboo a touch heavier to make it look a bit less dirty.

For a bit more depth, try the formula used for this piece.
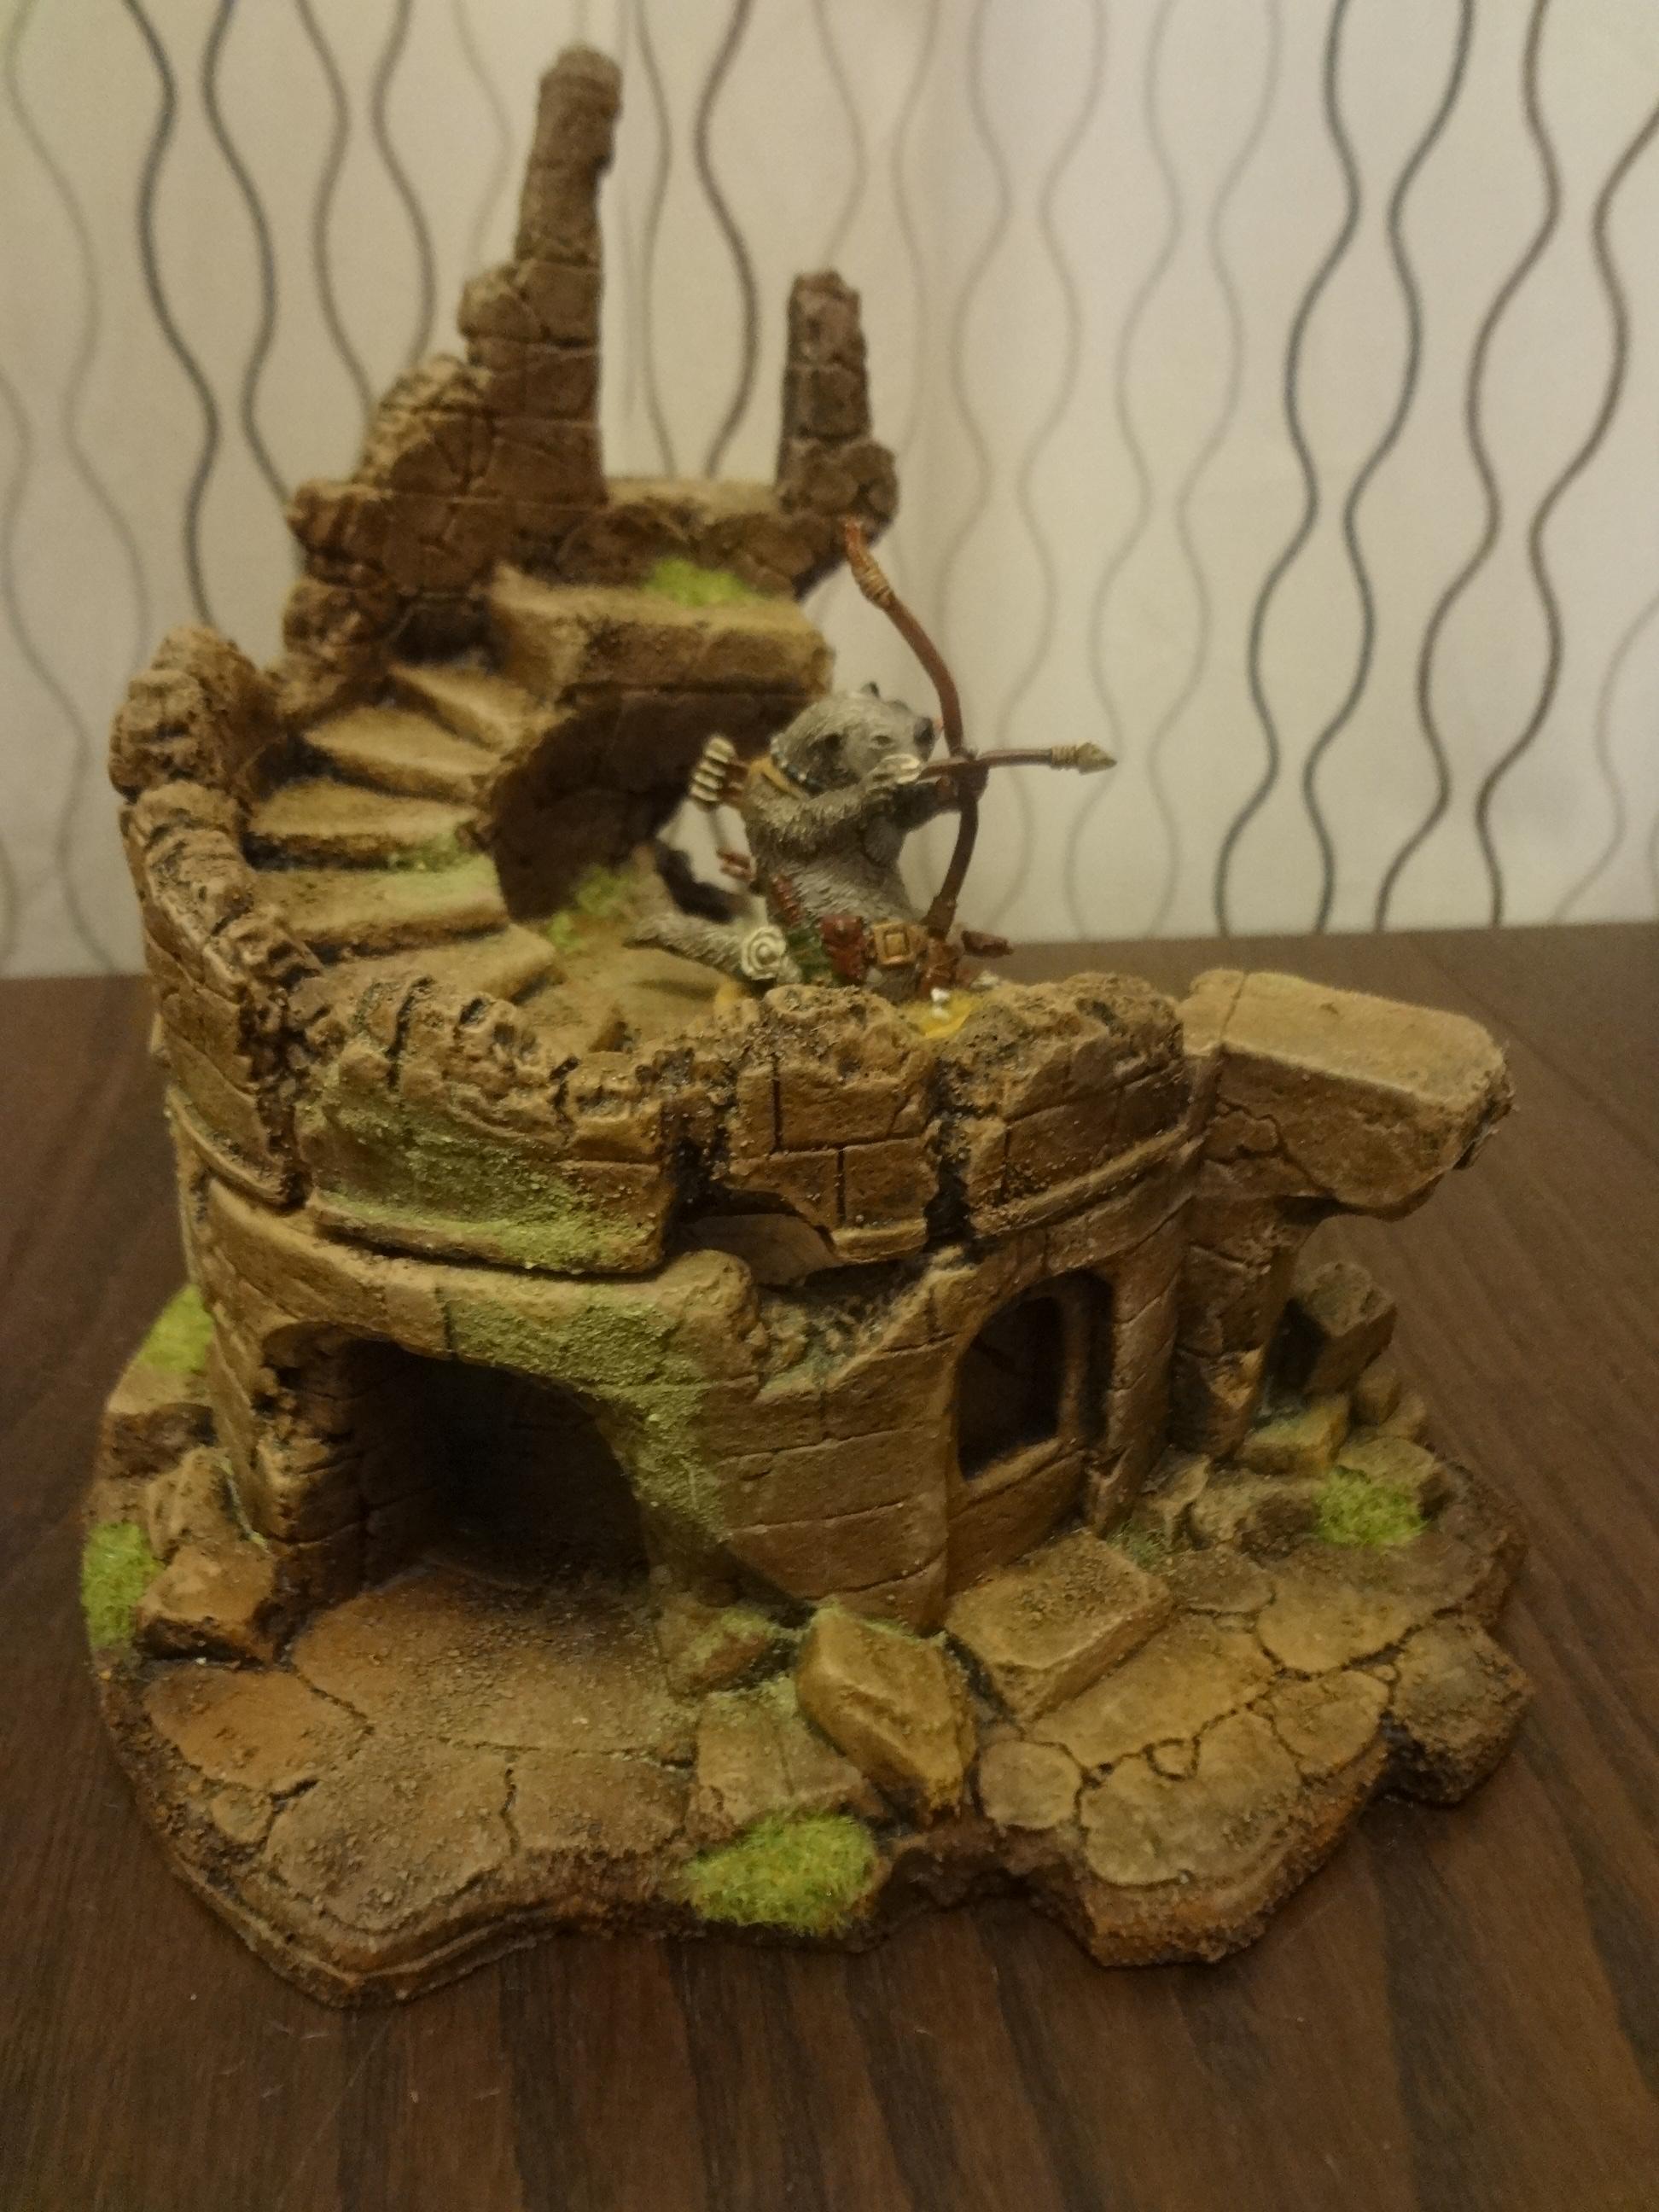
Full article here: http://chicagoskirmish.blogspot.com/2015/06/dragons-dont-share-but-mike-does.html
Black Gesso base/prime, Sprinkle on just a bit of sand here and there for some more texture, Wetbrush a mix of Burnt Umber and Red Brick (not sure the exact color), Wetbrush with Terra Cotta, Drybrush Trail Tan and Drybrush of Bamboo.

This message was edited 2 times. Last update was at 2015/06/21 03:40:33


Chicago Skirmish Wargames club. Join us for some friendly, casual gaming in the Windy City.
http://chicagoskirmishwargames.com/blog/


My Project Log, mostly revolving around custom "Toybashed" terrain.
http://www.dakkadakka.com/dakkaforum/posts/list/651712.page

Visit the Chicago Valley Railroad!
https://chicagovalleyrailroad.blogspot.com 
   
 
Forum Index » Painting & Modeling
Go to: