I have no issues with the
GW sculpt, it's just not what I want. So I am making my own. Putting this in stages and as a sort of tutorial so hope it helps.
My Greenstuff basics. (I claim to be decent but no pro) For example...(for some reason I feel the need to prove I can do some sculpting, as this is Dakka)
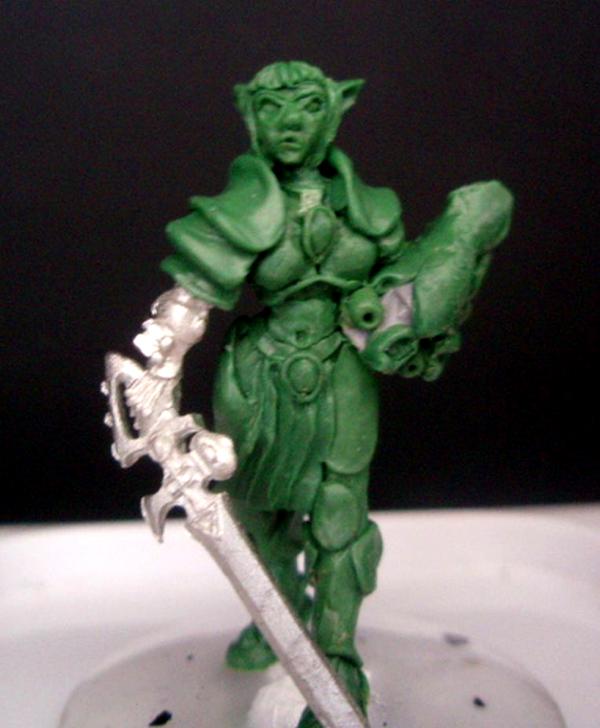
More in my gallery and I'd love to help someone just starting.
A; I use a wire armature made from 16 gauge stem wire from a craft store. I sculpt on a wooden disc as the base. 16 gauge matches a 1/16th drill bit. These material cost less than 5$ for enough to sculpt 20+ figures.
B: I sculpt in greenstuff. I buy the tubes from ebay. I almost always use a roughly 60 yellow/40 blue mix. I have had people on Dakka go nuts over this and even insinuate that only a complete moron would do that. However, I do, it works great, and a search of the internet will turn up many experts suggesting this. However, more yellow is softer, so find your own comfort zone. My absolute favorite greenstuff basics can be found here, if you want to sculpt in
GS, read it please, I could not explain it any better.
http://www.modernsynthesist.com/2012/04/how-to-sculpt-tools-of-trade.html
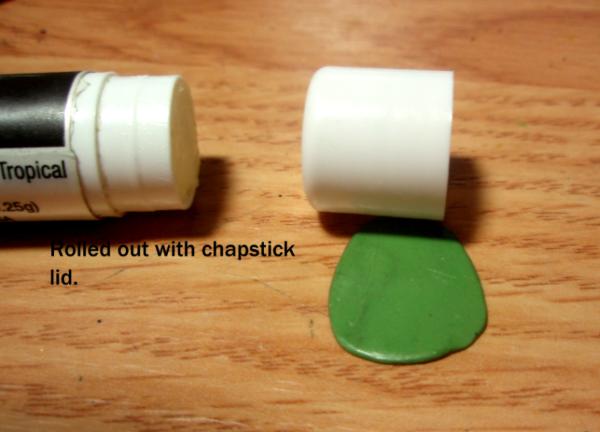
C: I do most of my sculpting on the armature but when doing flat things like capes, dresses etc, I flatten my
GS on a piece of pergo flooring. To keep it from sticking I use chapstick brand lip balm. A teeny bit rubbed on the tile works. I use the lid of the chapstick to roll it out to the desired thickness, then an x-acto to cut to shape. I will explain more of this as I show step two pictures below. Now the gross part...to lubricate my tools and fingers I use...saliva. Yeah...whatever, I just do. A water dish works just as well.
D: Super glue of any type adheres almost instantly to
GS. So if you have a fiddly part you need to stick to the mini and then flex (like a wrapping on a shaft or a dress or cape) a dot of super glue at a connection point can work great.
F: Patience grasshopper! To do good work (well, for me to do good work) I MUST build up in stages. Two hours drying time between steps at the very least. Nothing is worse than sculpting an awesome looking skirt on a mini, and while then moving onto the boots, mashing the skirt into a fingerprint. NOTHING!! (Again that tutorial says it all best...)
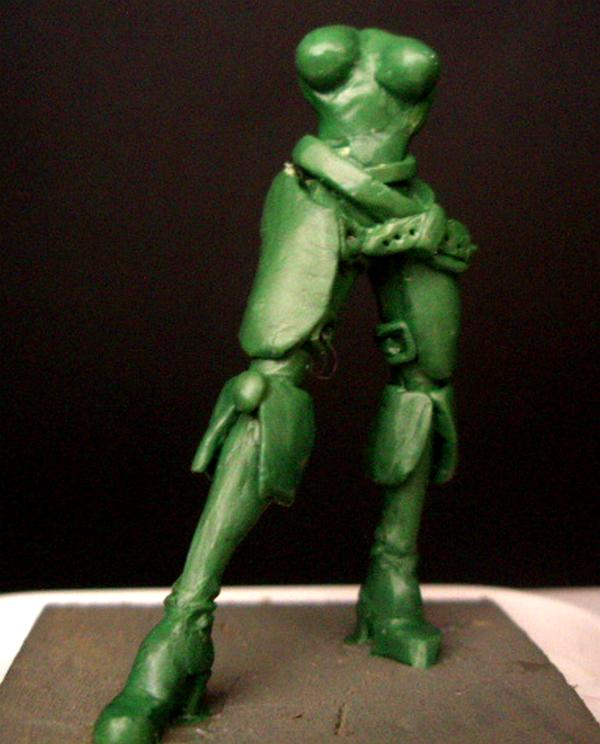
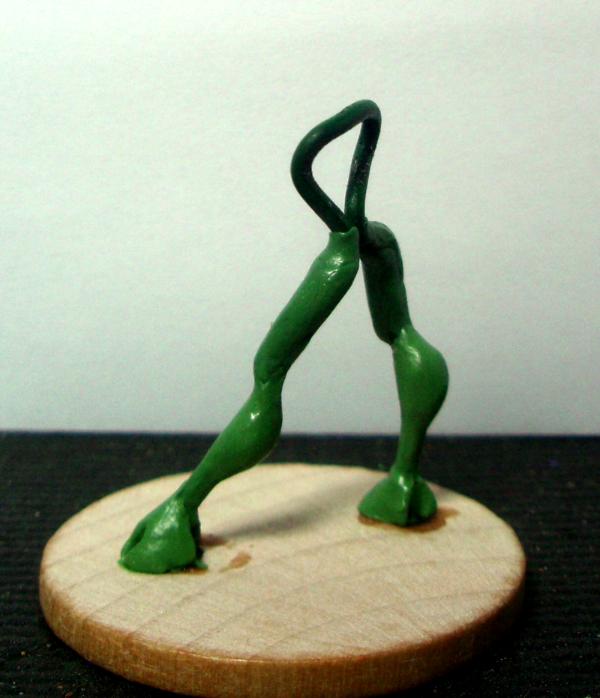
STEP 1:
Armature built. I purposefully made her larger than a standard daemonette as I wanted her to stand out. As you can see I do my armature in one long run, left leg up to a triangle I will use for the torso (often, after the legs are sculpted, I will cut off part of the triangle and build on just one wire). It is important to get this right and in the pose you want., as there's no going back. Spend a little time on this. I leave extra wire where the feet are so I can pull it through drilled holes in my disc, and then clip it off. I cover the armature with a thin layer of
GS because even with that green coating on the wire, the
GS can slip and slide. As you can see I've roughed in the legs and hooves. Both will get a "smooth" coat in the next step. A note: No two mixes of
GS have the same exact color. This can make it look like there's a line where it meets etc. In truth those are perfectly smooth and will disappear when primered. Pics:

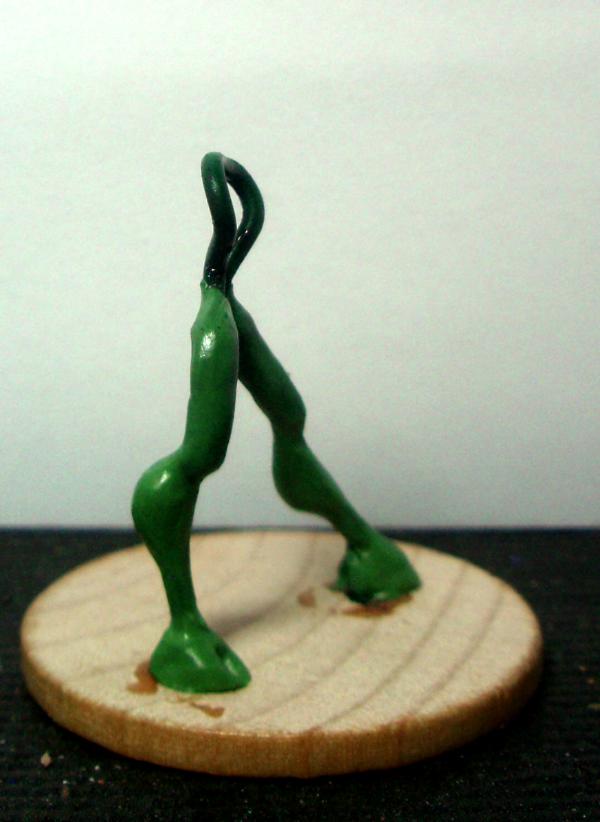
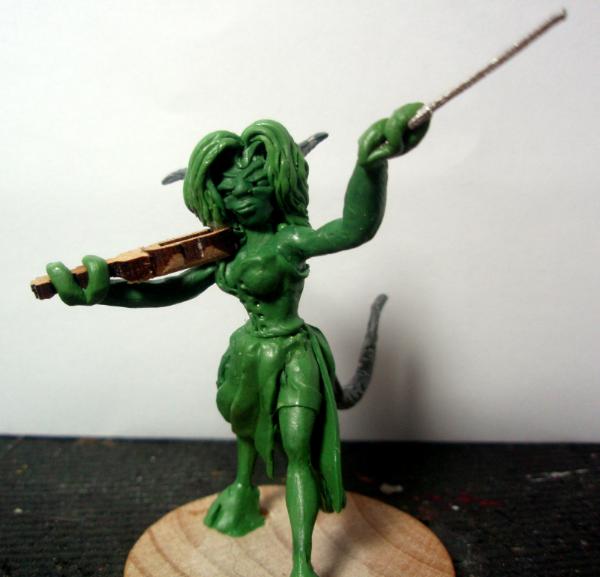
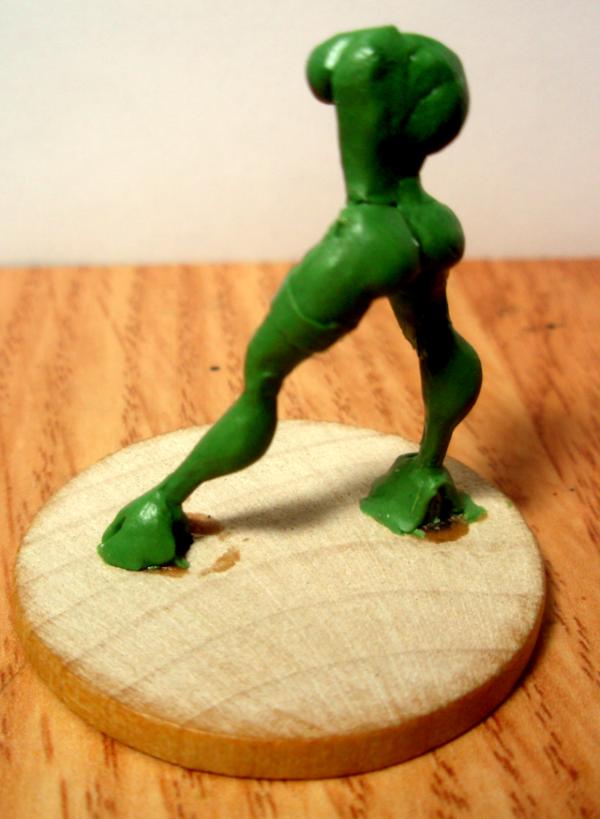
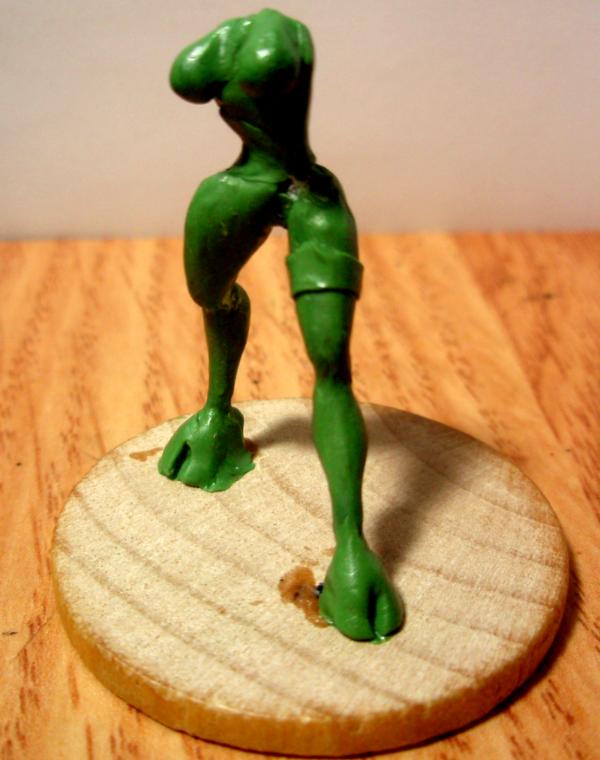
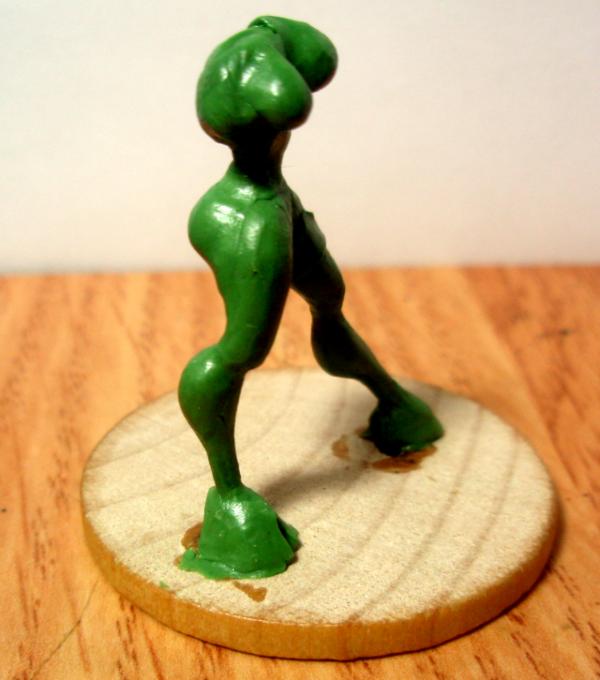
STEP2: I built up the legs and torso into the desired shape. I wanted her to have a pose with one hip out. Her instrument will sit on that hip cradled in her right arm, while her left will be raised as if beckoning some unfortunate victim. In this case I added stocking tops with a thin bit of
GS I rolled, flattened, and cut (see my explanation on the dress below for how this works), and worked on the hooves. In truth she's a bit busty...but hey, it's slaanesh. Pics
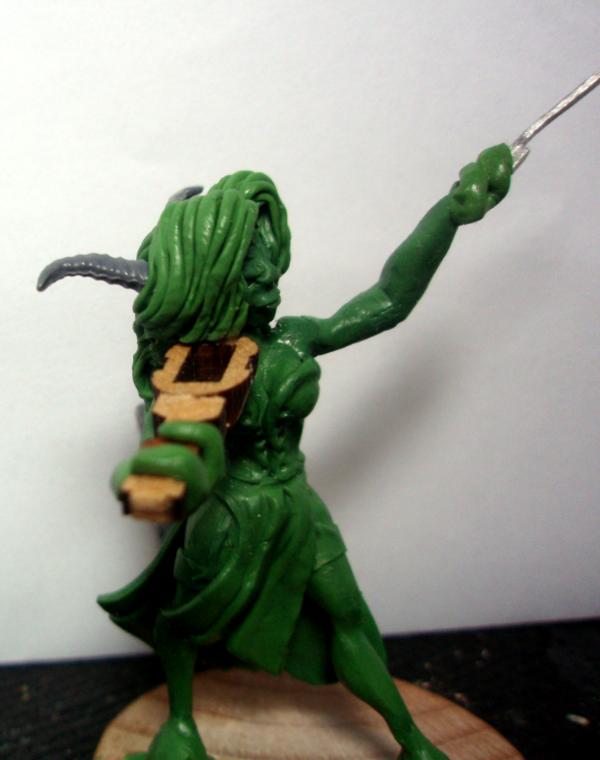
STEP 3:
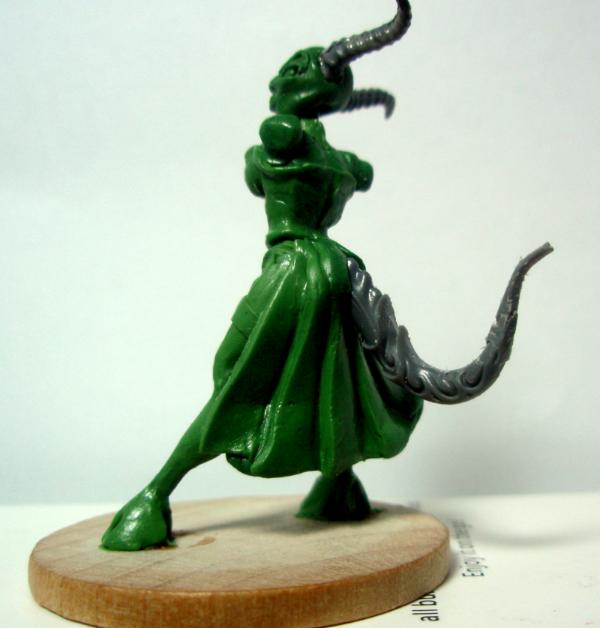
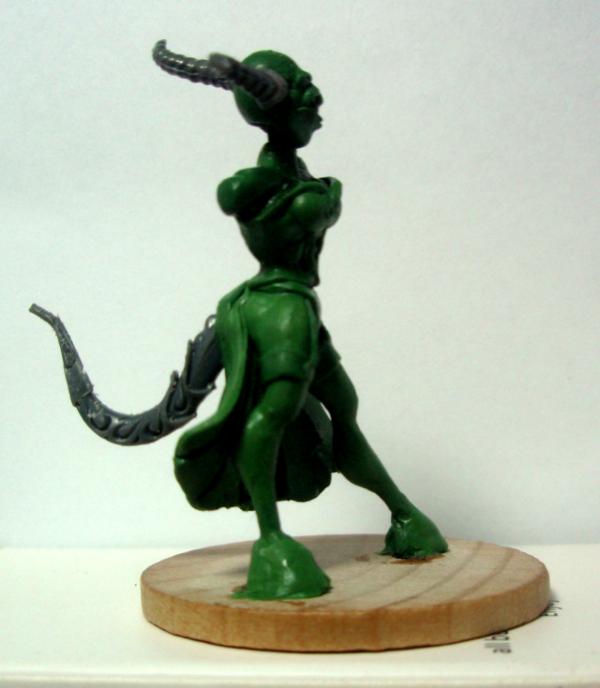
Details going in. The torso got a corset complete with holes made using a toothpick tip. Most of the work here went into the dress.
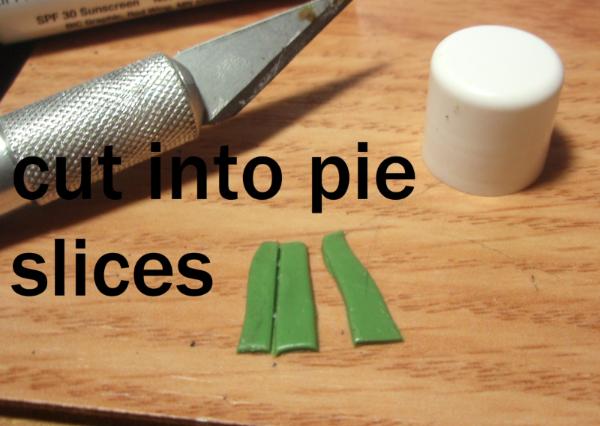
The dress was made by rolling out a sheet of
GS (as explained above with the pergo piece and chapstick). I then cut it into a triangle shape, with the top point of the triangle cut off so that the bottom and top had flat edges. The top was about a half inch, the bottom 2 inches. I then carefully cut that into five roughly equal pieces top to bottom (run your x-acto through the chapstick so the blade does not stick). With that done I pried up one piece and superimposed it on the next to create the fold. I then used my cone tool to blend the edges and create the illusion it folds under. I repeated this. This technique leaves some issues (like dents and tool marks), but the plan is always to re-cover it with thin
GS to smooth. I then set it on the miniature using the super glue method at the waist. this made it stick and let me carefully flex it into the shape I wanted.
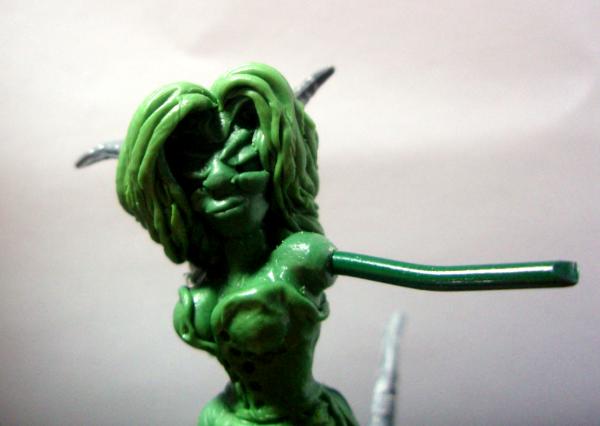
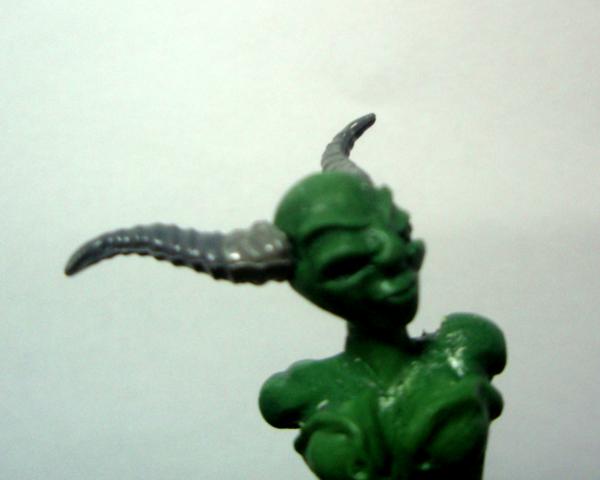
I also took this time to sculpt a head. Since I made the sculpt larger than a standard miniature, I needed to do my own. This might have been a mistake, as this is where my skills falter. In any case, I sculpt my heads on a wire stuck into a cork. I rough a head shape, then take a wedge shaped tool and press in eye sockets. Once firm I fill the eye socket with a round ball of
GS (a teeny one), then sculpt eyelids, brows and cheeks under it. The mouth is done with my x-acto and shaping tool. Faces are uber duber hard, and yes, she's no beauty but the truth is, I got a great expression I love...but do wish she were more beautiful.
Pics:

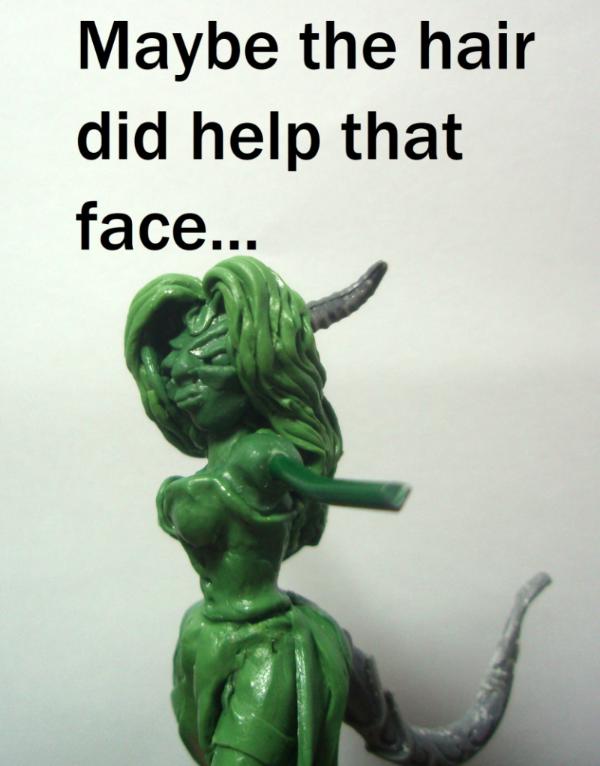
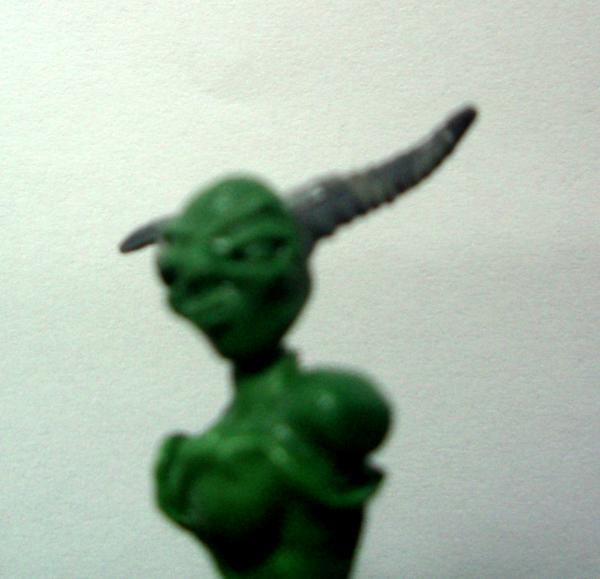
Close up of the face: Please don't laugh too hard.
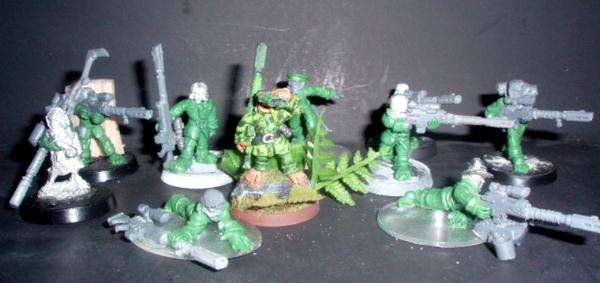
And a size comparison:
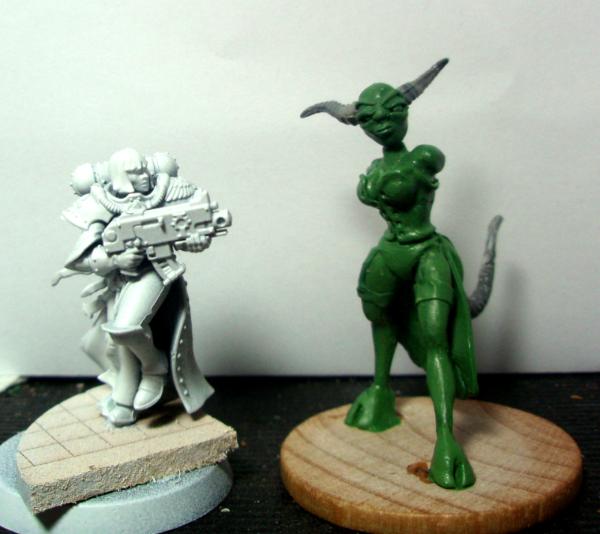
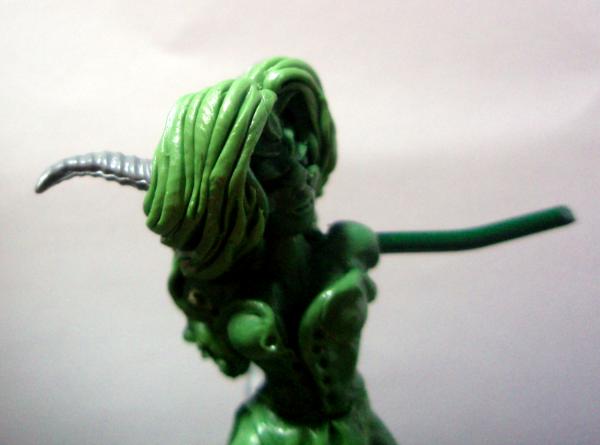
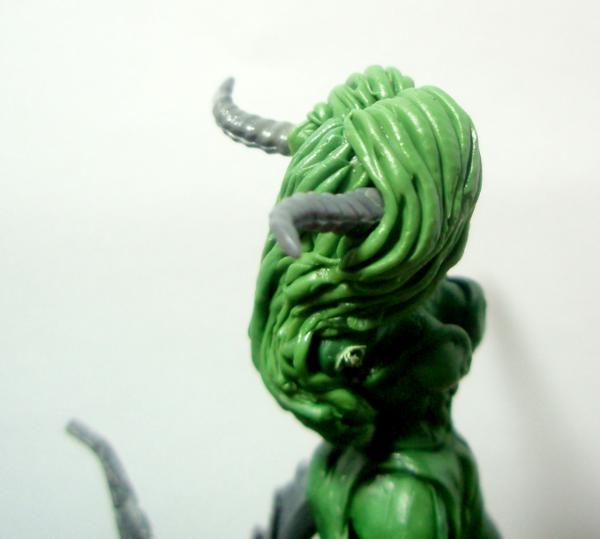
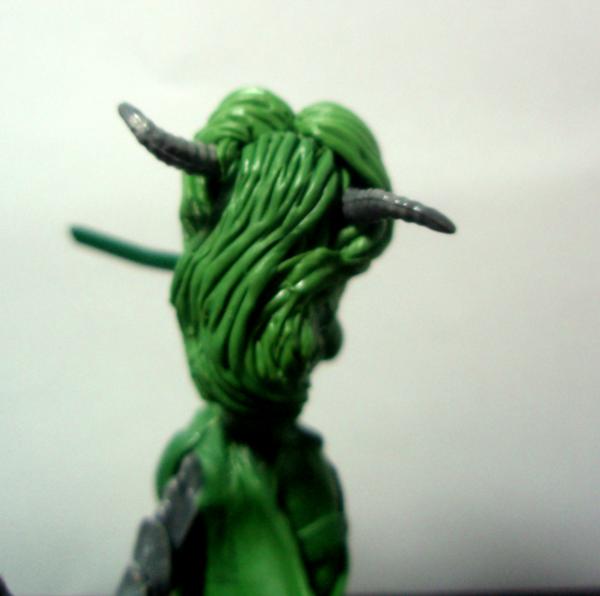
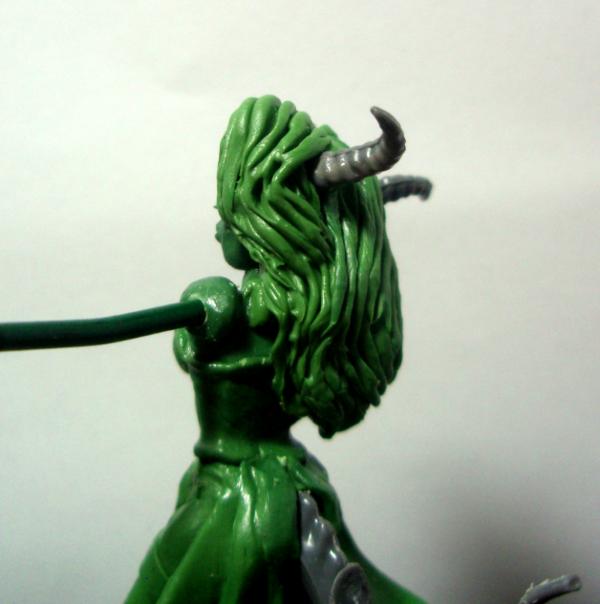
I decided I could never sculpt a harp and so ordered a bit. I hope it will prove a decent scale. The arms are waiting on it. I cannot decide if I want her to have daemonette claws or regular hands. Anyone with an opinion on this (or any of this) please share. My next step is hair and that will be later today, and in stages. She'll probably end up with the wave of hair partially hiding that face and then flowing down her back sort of like this:

The more I look at that face, the more I hate it...there may be changes.
(edited: forgot a pic and a few ideas)


 Really?! It's not just the experts who say 'more yellow', it's
  Great job building it up and getting it smooth, very impressive. I like the 'swoop' you put into the legs.

 Most of her work is a bit before my time, but while her human(oid) figures are good (I have an eye on a couple of her Reaper minis for a future project) I think she's one of the best creature sculptors to grace this wee fantasy miniatures industry. Top three or four at very least. Her old Grenadier dragons, while maybe a bit small by today's standards, still look better than most that came after.