Had one from cardboard, white paper and aluminum tape. Over a year the cardboard wore down and was falling apart.
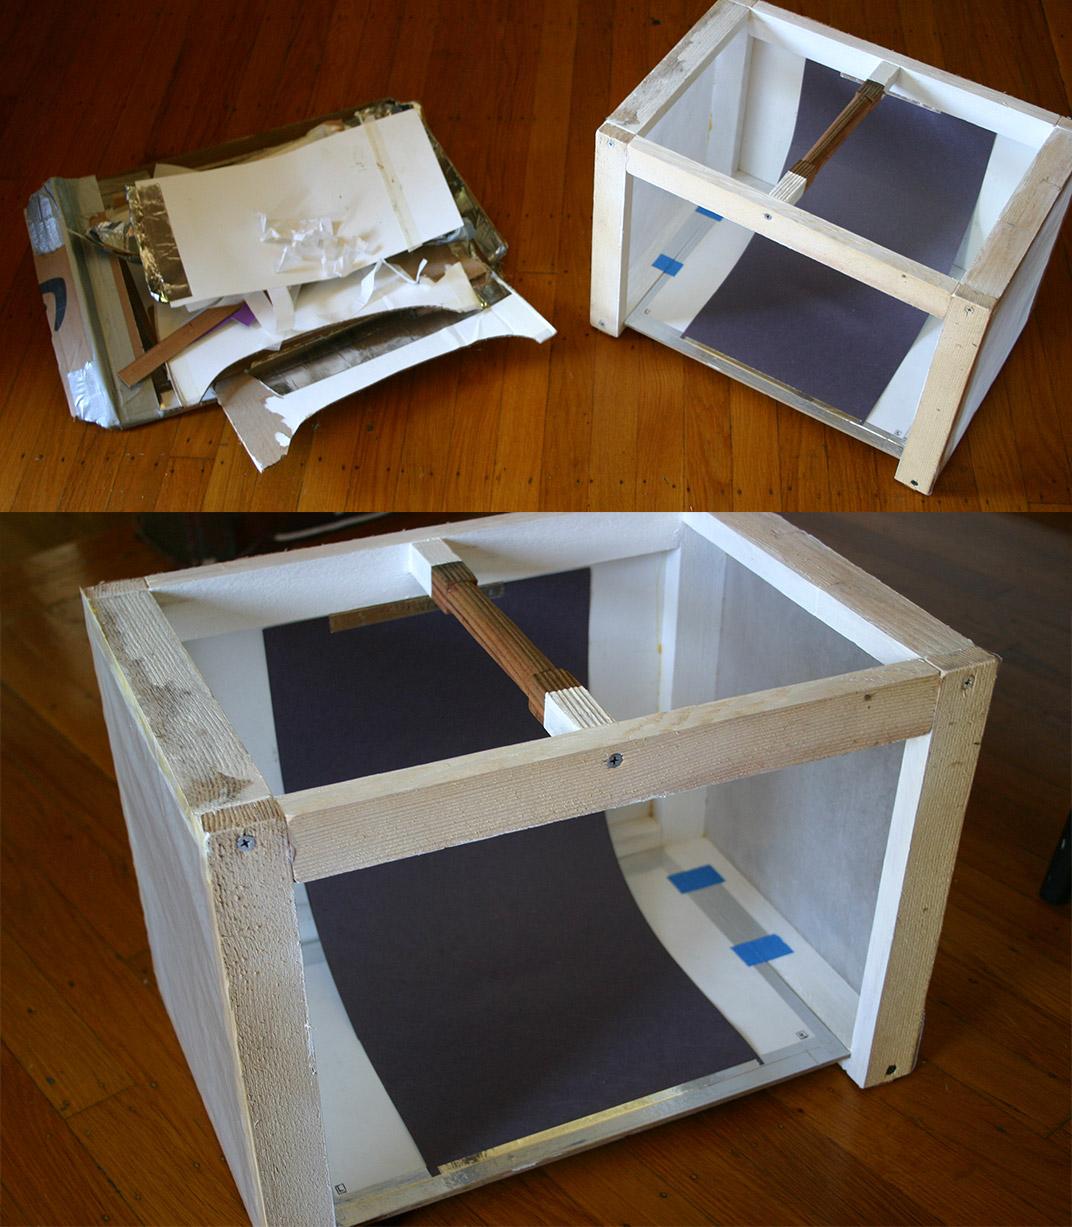
On the left old box salvaged for parts and pieces, on right new lightbox!
Original box was just a box with white paper interior held with duck tape on outside and aluminum tape on the inside.
The light source was 4 portable rechargeable LED work lights that would be placed inside on the box and shined at the 4 walls. The bounce light was awesome, but! because it was LED, it shined with frequency, and camera would pick up on those black horizontal frequency lines left some pictures fine some darker and some unusable. So I had to take 4 shots and hope one of them turned-out ok.
New box maintained original design but, I wanted something smaller so it can be placed on the table and put away quickly, something with a handle that is easy to handle, something sturdy that will last longer than a cardboard box and wont crumble if a towel falls on it, and with open top so I could use my desk lamps, that do have have that frequency horizontal black lines, in addition to 2 LED work lights, and something cheep so I do not have to buy anything else but use what I already have.
Found some wood in the yard, had the tools, saw drill, woodglue ets
4 (x)vertical columns 12"
3 (y)horizontal beams 14"
5 (z)thick sections 10"
__________________________
Glue with clamps ( I had the harborfreight clamps)
3 (y)horizontal beams, 2 on top, and one on bottom back, leaving bottom front missing a horizontal beam.
5th (z) section in the middle to serve as a handle.
When glue is dry, drill small holes into the corners for the screws
Screw in the screws carefully not to split the cheep wood.
Paint wood insides white with acrylic paint, few layers if need be.
__________________________
Back - is solid salvaged cardboard with white paper.
Sides - Just white paper glued with wood glue. (at first tried baking paper, but it did not defuse outside light enough)
Top - is left open
Front - a curtain screen hanging on tape, with hole cut out for the camera (the hole is to max white wall surface area for the light to bounce inside the box.
Bottom - 2 cardboard pieces stacked glued, or one thin wood piece (eyeballed) cut to fit flat, also covered with white paper and aluminum tape.
__________________________
Pictures
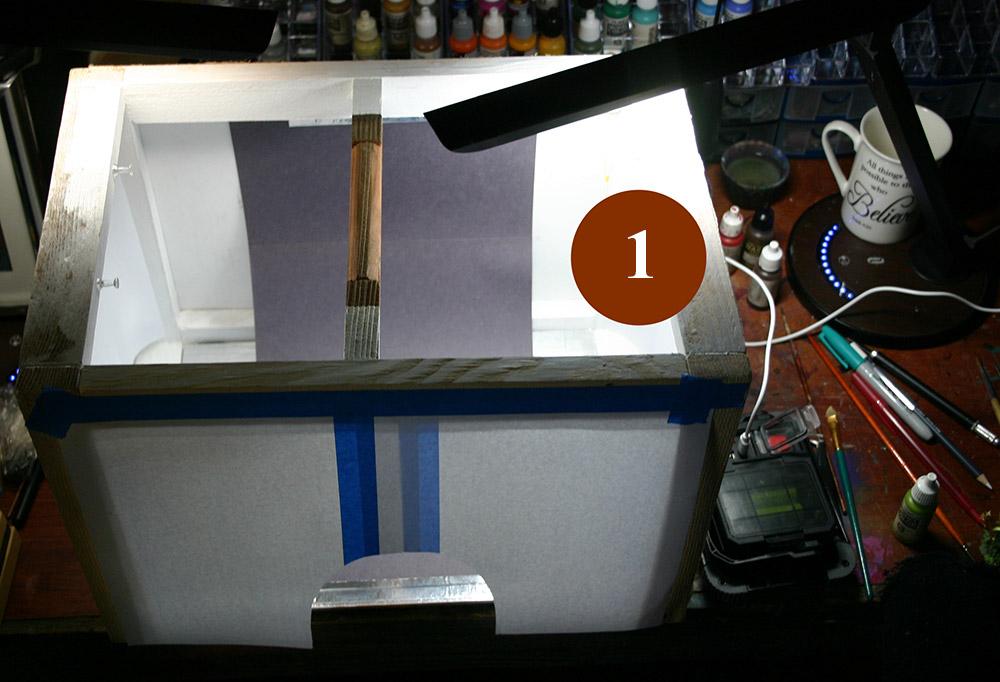
1 - I have desk lamps that can hang over the box and provide light. One of the LED Work lights is charging from the desk lamp usb port.
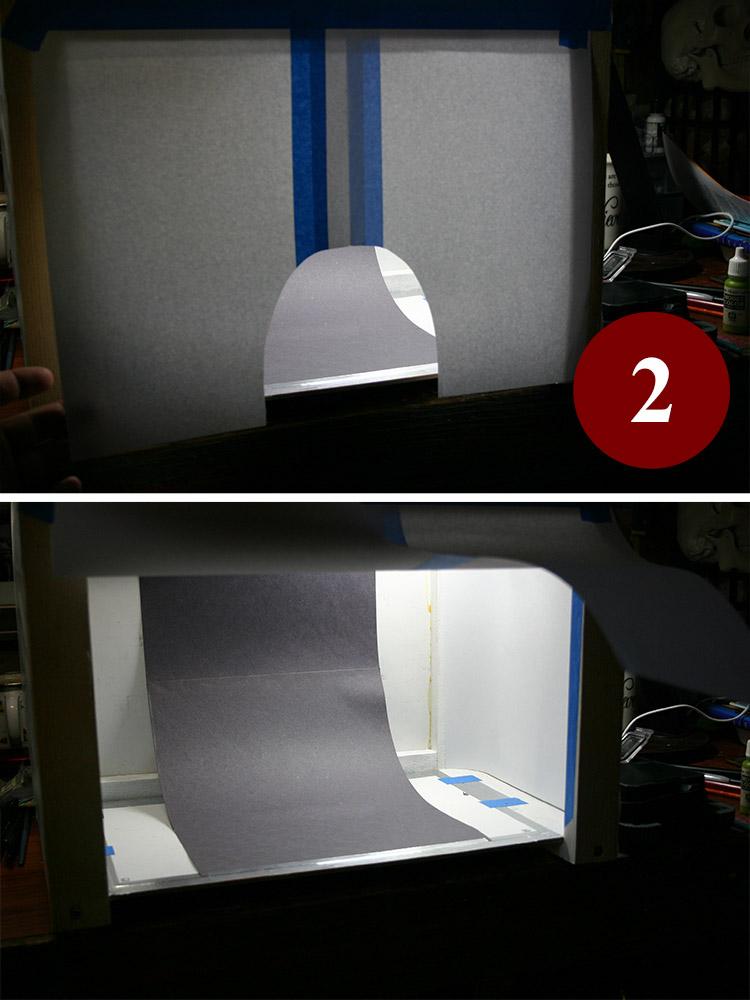
2 - Piece of paper hangs like a curtain that keeps bounce light inside as much as possible. easily replaceable.
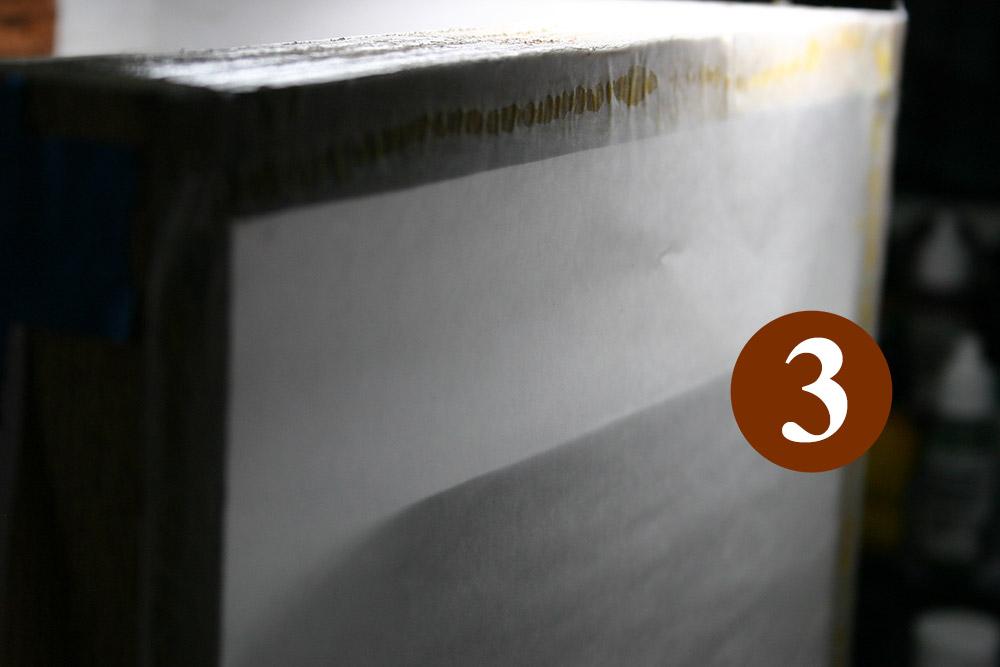
3 - White paper directly glued to the sides. It is not sturdy and can be easily poked through, but it is just as easily fixable and i think that balances out.
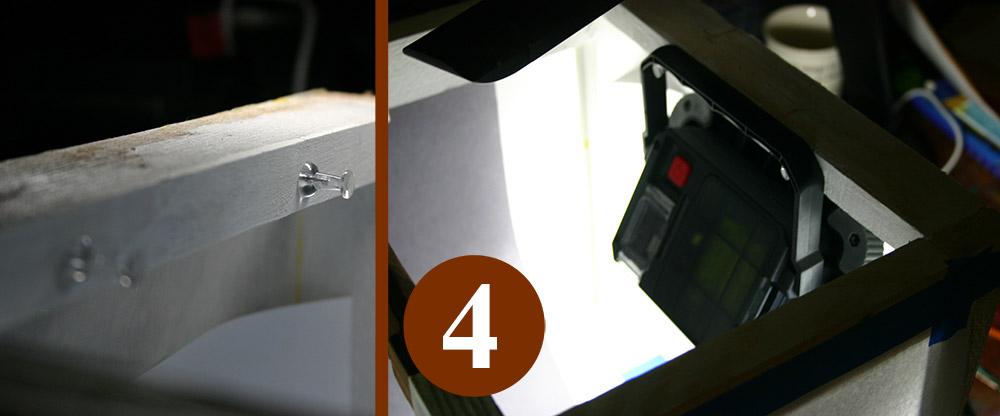
4 - Because the new box is much smaller, I cant put LED work lights inside the box, but still want them to shine from the inside. 4 pushpins, 2 for left 2 for right side to hang the lights on, shining inside the box but away from the model.
5 - all done!
https://forum.reapermini.com/index.php?/topic/92549-dryad/
Lights I have are not the best, but way better than my old tiny bulb desk lamp.
ps- Being cheep, I only realized how absolutely crucial good lights are for working and photography after I got them. In future shall skimp on everything but the lights