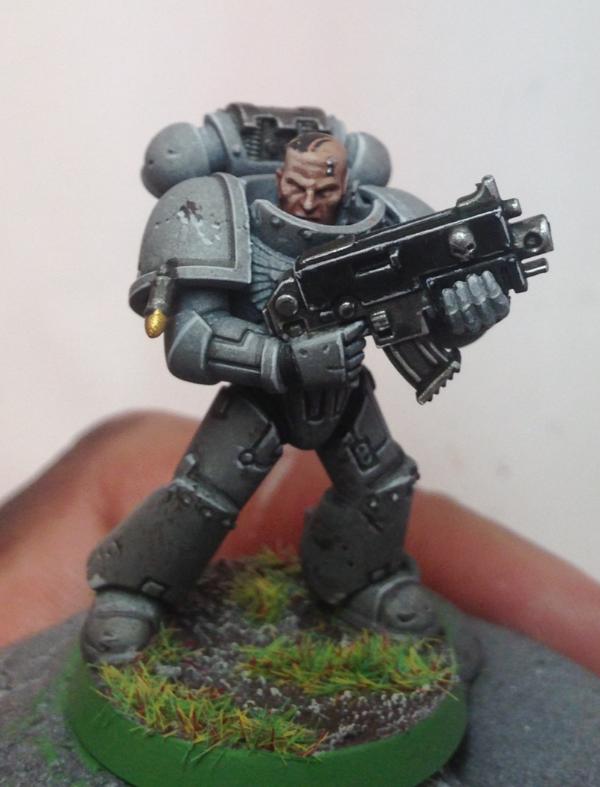
Hey Guys!!! So with my recent painting of a space sharks army, ive actually been asked how i did the chipping and weathering for the marines. They look like this...
So, since ive been asked a few times, and its been commented on, about my chipping techniques or whatever, i thought
id make a tutorial on how i do it!! Finally!! welll....i guess here we go! (This is in my pm blog. Sorry if youve seen this twice!)
http://www.dakkadakka.com/dakkaforum/posts/list/0/395565.page
So....::
Bebops Tutorial on.....
Firstly, i Think this information is available elsewhere and its nothing new and my way is simply my way, not maybe the best and certainly not the only.
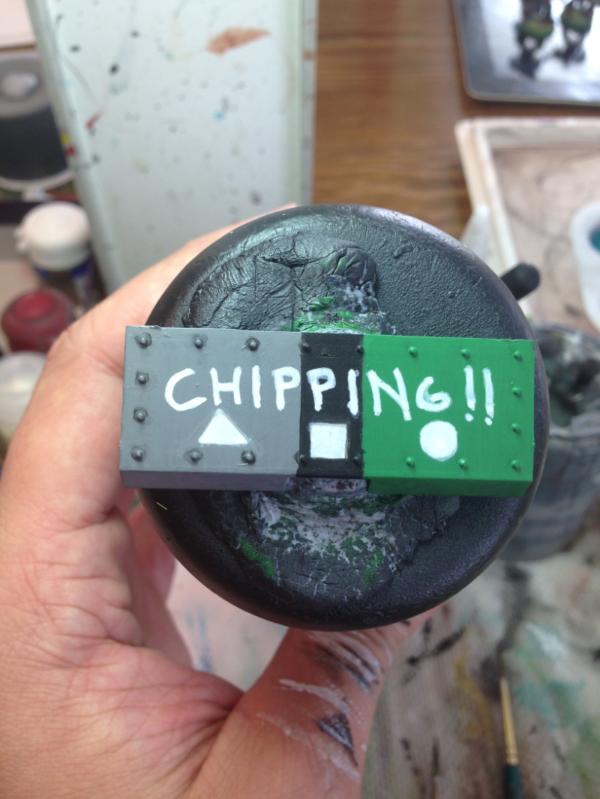
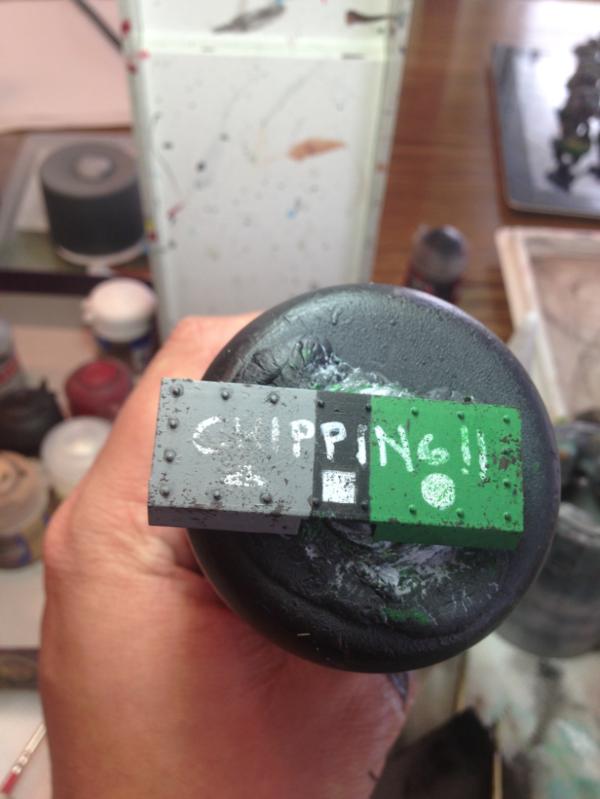
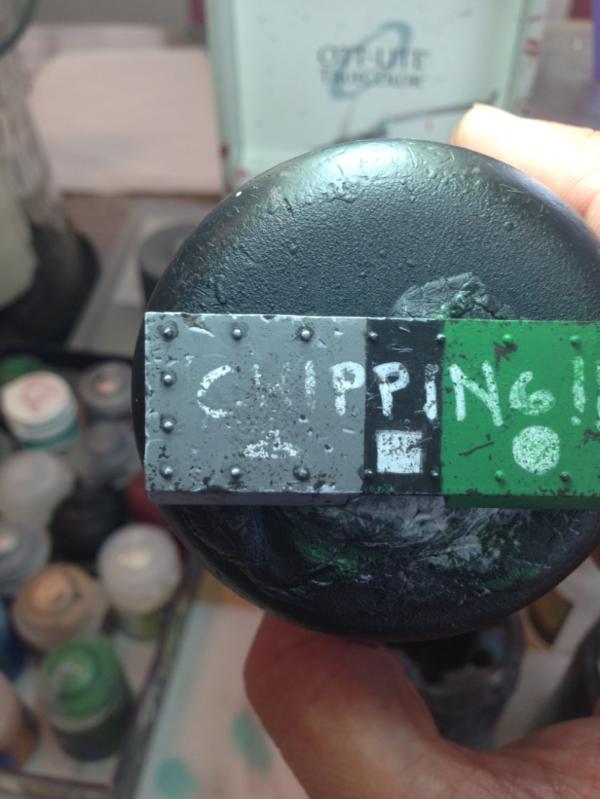
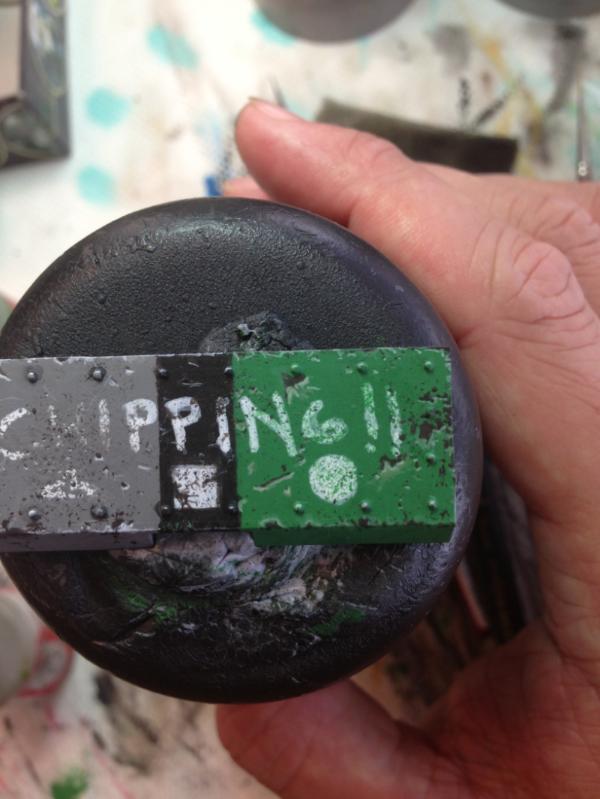
So the top picture here is the piece we will chip and weather. Ive included 3 colors just so you see how its done and some obvious shapes and text to weather as well.
Notice that that those details and rivet shading has already been done before i weather and chip said item. (Yes my sharks still dont have their chapters logos, which is not ideal, but this is a hurdle im confident will not be an issue.)
Step One.
Have prepared model to weather.
Step Two (Skip to Step 3 if you dont have decals/logos you want weathered)
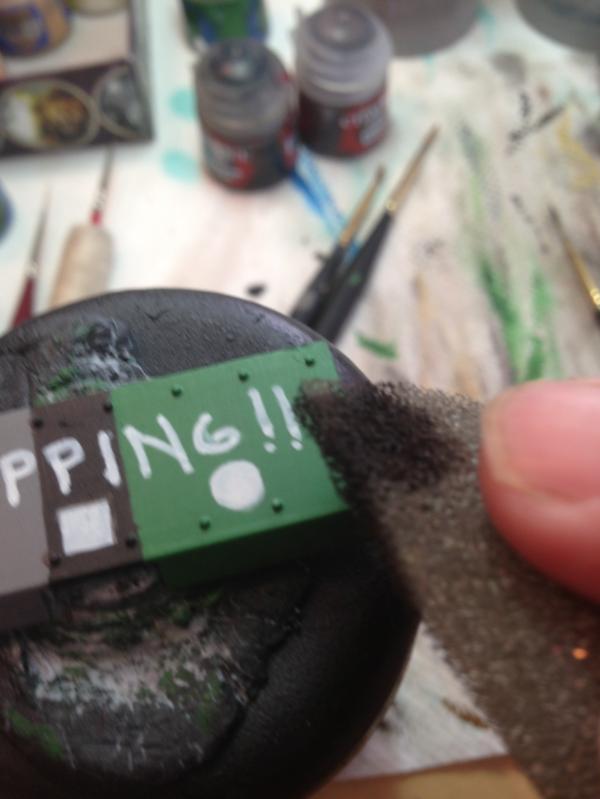
Take your Sponge (a small one is best for tiny minis. But experiment!

)
And dab the base colors first (sorry no pic). In this case its Dawnstone, Black, and Warpstone Green. After letting the paint dry a bit on the sponge, i dab freely the sponge onto the piece, focusing on icons i want to pull back if there are any.
Step Three
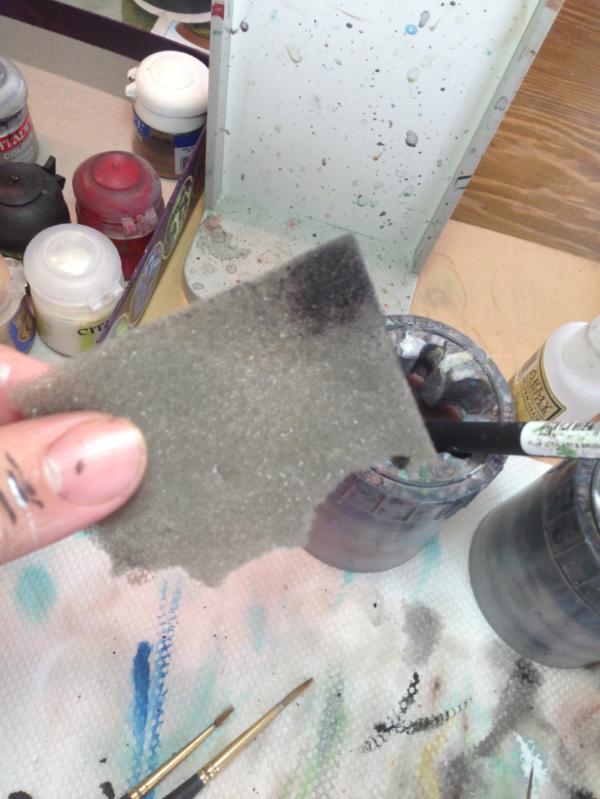
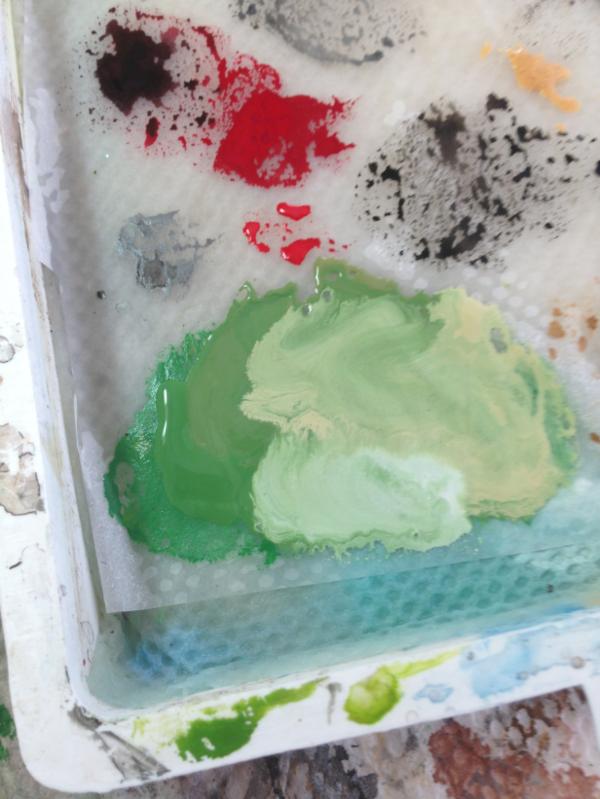
AFter that, take your
chip mix, which is a mix of dryad bark and black.. looks like this...

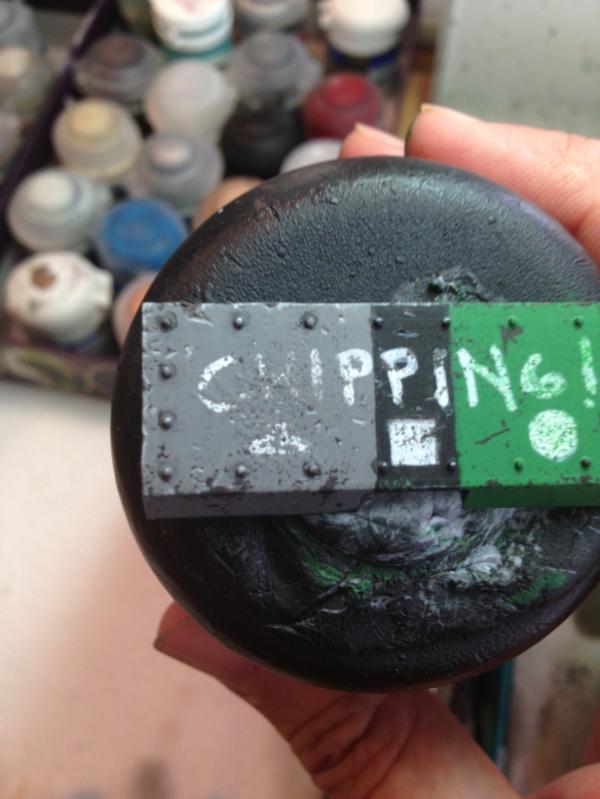
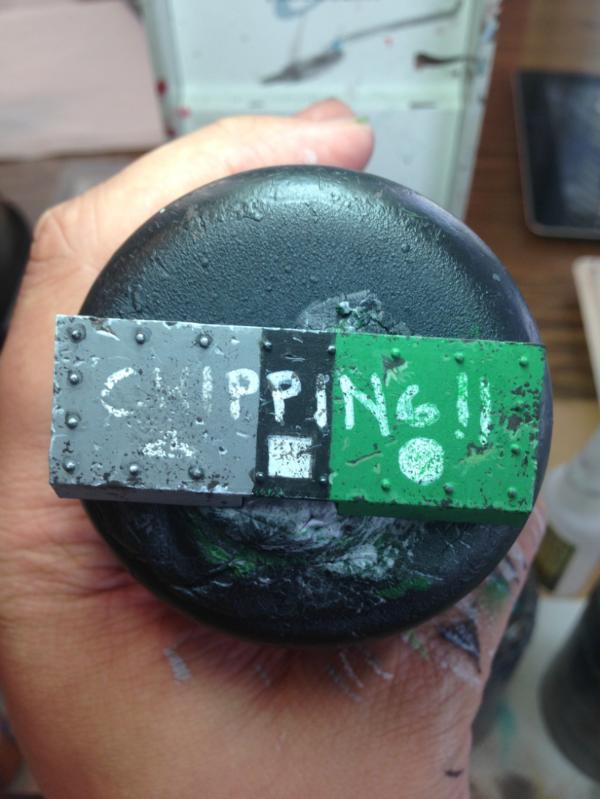
And dab around piece in the ssme fashion as step 2, this time focusing on edges and places where wear happens more. etc etc.
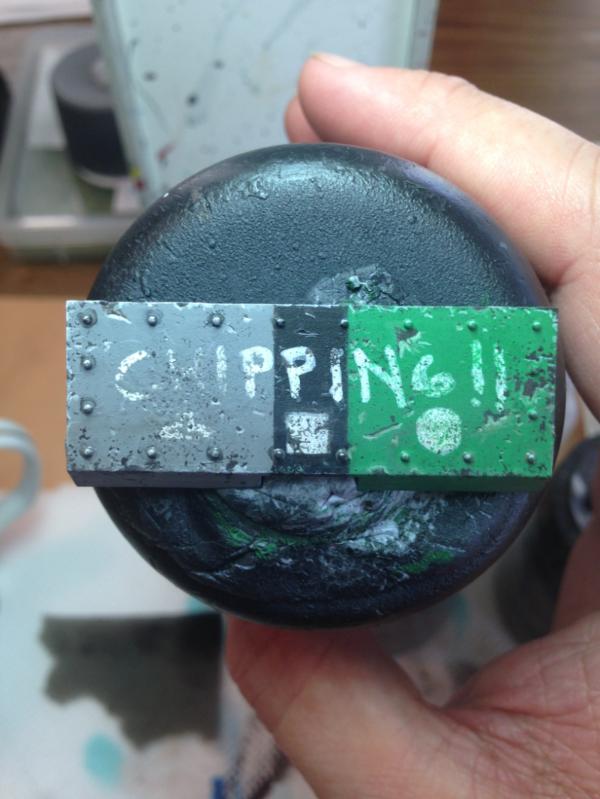
At this point we have this.
Now notice a couple things. This is ALL the sponge work. It will make your model look dirty grimy. Almost like its had an oil wash. You can look that up. It really adds more than just the chips. Theres now some depth and almost rust to it.
Step Four (optional)
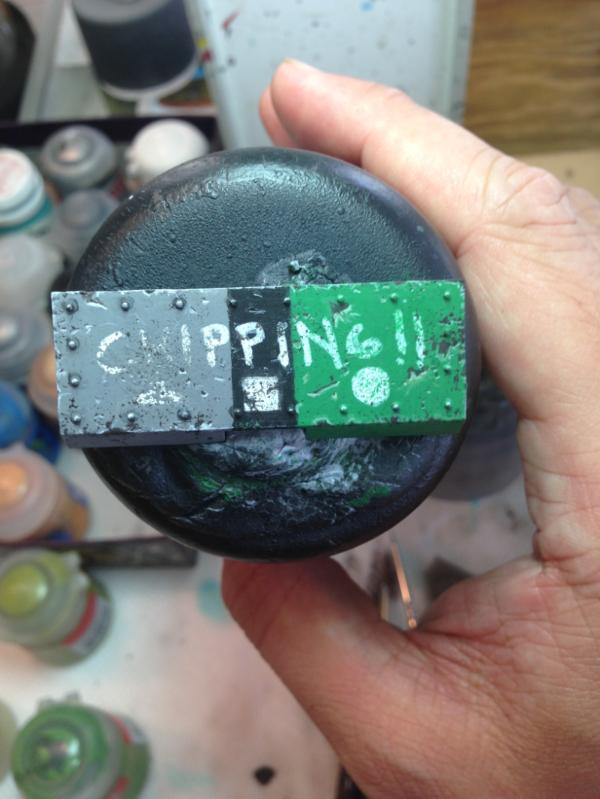
I take my very tiny detail brush which i will use mostly from now on...
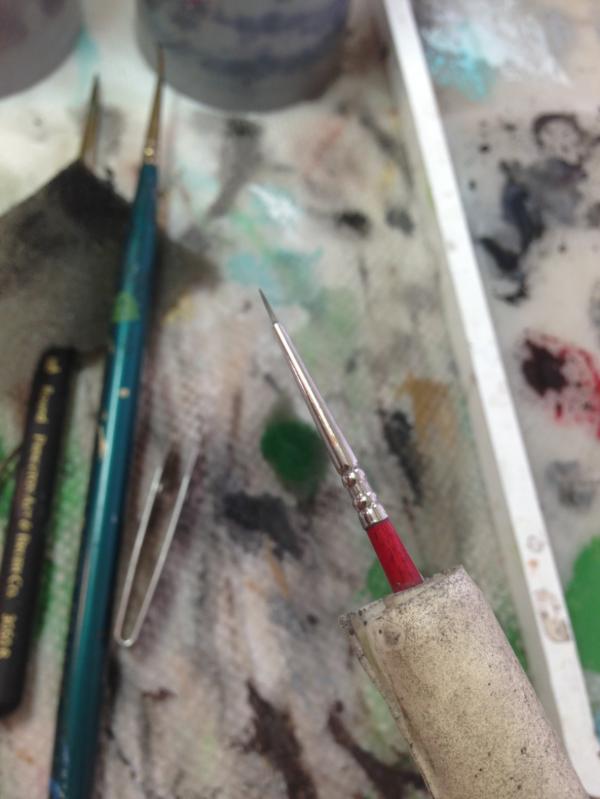
and i use the same chip mix and add a few extra bits of damage as i see fit, scratches and what not. Its more just for fun. Or if i want more weather or gashes or etc etc. The looks like so...

subtle but its there.
Step Five
Now we are going to start highlighting the chips. And ill start on the grey side. For dawnstone i used a mix of Administratum Grey and White. Its somewhat random but i kinda let my eye just find the chips and bigger scratches. You are going to highlight the bottom edge of the chips you see. a little slash. Feel free to have fun and add extra scratches and chipped paint with the hight light color too. Experiment with too much, too little. Youll find your groove. On the edges i kinda make a "nununununununuunununu" motion
wth my edge highlight and it creates the effect of unevenness and chips and scratches. I mind the drk brn chips as well to give me more shape and the occasional bent line. When you are done you should be like so:
Next i build highlights and add even sharper whiter slashs and chips to the bigger and more pronouced chips...Then we have this:
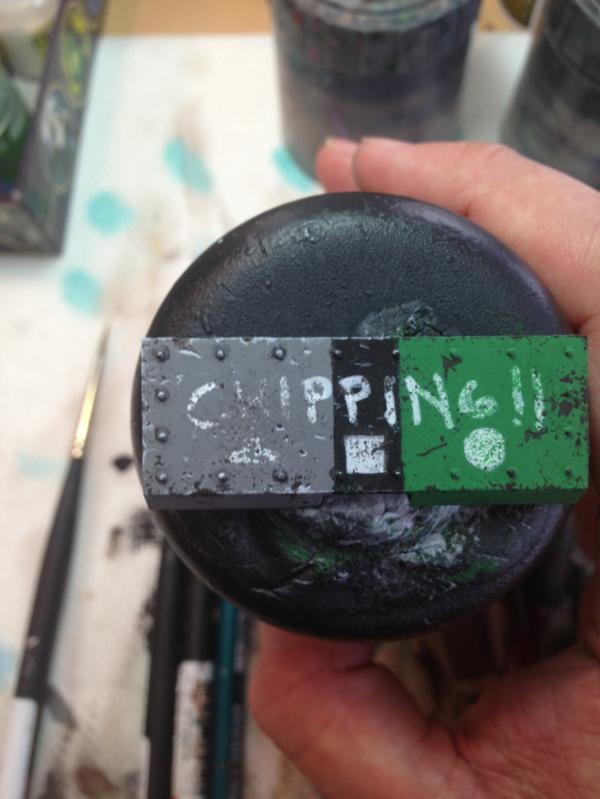
Finally i go pure white and and sharpen the nastiest or brights or sometimes just random, chips...as well and add a slash of almost black to the deepest grooves as well. This will create an uneven depth to each scratch. Some bigger etc etc...The final effect for the grey is this....
Notice also i used the same grey for the black.
For the Green, i did the exact same steps, ill just show the pics and the colors used...
MY CHIP MIX IS ALWAYS THE SAME OF 50 / 50 BLACK PLUS DRYAD BARK, NO MATTER WHAT BASE COLOR
FOR THE GREEN SIDE
 Step 6 (optional)
For my marines, i made a mix of brackwater, a dirty wash of my chip mix, and put several layers of it on the feet. In this case, i put it on the lower 3rd of the model and blended it up. Its just made it look a bit more grimy. DO NOT USE WASHES for this. They will leave a film. I Prefer to always use actual paints for glazes, not the inks, washes, or glazes they make. Anyways, its kinda to simulate a subtle (in this case very) oil wash. Again google that. And finally youll end up with something like this...
Jeez, that took a while! Longer to make this tut, by far. I have no idea if itll help you guys...but its the way i did my marines!
http://www.dakkadakka.com/gallery/images-47942-40127_Space%20Sharks.html
My Kroot were done this way but without the sponge. I simply painted the scratches on. Tidy and more comicbook like.
http://www.dakkadakka.com/gallery/images-47942-37931_**Kroot%20Rebel%20Alliance%20Showcase.html
Hope it helps you guys!! If it does, please leave some love and tell us how your chips go!
Cheers
BB


 1800
1800  550
550 


 ~15000 Astra Militarum:
  ~1200 | Adeptus Custodes:
  ~3500 | Leagues of Votann:
  ~1200 | Tyranids:
  ~2600 | Stormcast Eternals: