Switch Theme:

Making modable IG hw teams. Now with tutorial.  [RSS] Share on facebook Share on Twitter Submit to Reddit
»
Author Message
Advert


Forum adverts like this one are shown to any user who is not logged in. Join us by filling out a tiny 3 field form and you will get your own, free, dakka user account which gives a good range of benefits to you:
  • No adverts like this in the forums anymore.
  • Times and dates in your local timezone.
  • Full tracking of what you have read so you can skip to your first unread post, easily see what has changed since you last logged in, and easily see what is new at a glance.
  • Email notifications for threads you want to watch closely.
  • Being a part of the oldest wargaming community on the net.
If you are already a member then feel free to login now.


Made in au
Dangerous Leadbelcher


Australia

Edit: Tutorial at the bottom. (at least it will when I finish writing it)

Seeing as I had nothing to do for a while, I decided to make modable hw bases for my IG force. Mainly it so that I can remove them when they go into buildings or if there are blast weapons abound, and with the upcoming codex, the teams have to be mounted on one base. To make it, I drilled holes into a normal base, using a pedestal drill in my school's DT department, I then glued a bit of card to the bottom, and trimmed it using scissors and later a file. GS was squished into place around the holes. Before all this I had sanded the base flat in line with my army's basing, and after all that, I went and scored the lines, added some cardboard to put in a small step and glued random bits to the ground. The process didn't take too long, only an afternoon and 10 minutes of my lunch break, but that was just because I wasn't entirely sure what I was doing. This sort of thing has been done before, with removable loaders etc, and it's obviously not viable with the normal way that the teams are assembled, but is it really that great an effect to go do over an entire army (probably going to have quite a few more bases eventually)?


This message was edited 3 times. Last update was at 2009/04/28 09:25:13


Made in au
Dangerous Leadbelcher


Australia

Well, even though it seems that no-one cares, I've started doing things like this to all my hw teams. Removable loaders and whatnot. Here's my latest one which I just did this afternoon:


The loader has his own separate base where he's sitting up against some ruins.
Made in au
Dangerous Leadbelcher


Australia

assultmarine wrote:DO A TUTIORSAL I BEG U


Well, I did describe what I did in the OP, and it does involve using a special cutting thingy for a drill, but sure, next time I try it, I'll take and post pictures

ph34r wrote:Honestly, I did the same thing and just as I neared completion... the new codex came out. I now regret spending all that time modding bases, and I would not recommend doing it knowing what the new codex brings.


Yeah, I know what's coming. Mainly I play in casual games, and the people won't really mind. This is just for if people get shirty. I probably will though, as it keeps me occupied between the drips of miniatures I buy. Well done for doing it for an entire army though.

This message was edited 1 time. Last update was at 2009/04/06 10:47:12


Made in au
Dangerous Leadbelcher


Australia

Well, I just bought a new hw team, and school goes back tomorrow, so I should have a tutorial up soon.
Made in au
Dangerous Leadbelcher


Australia

Right, a tutorial was asked for, and thus, a tutorial was received.

With the first one that I made, I hadn't done anything to the 
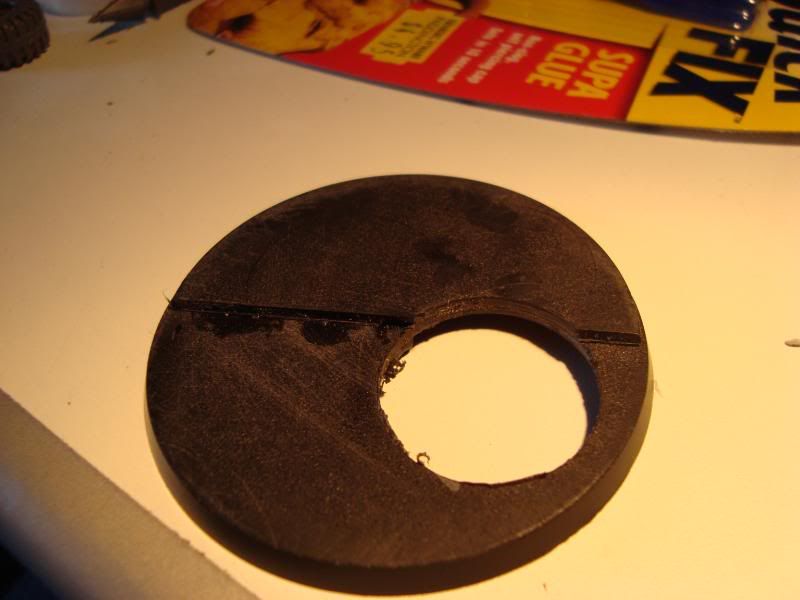
hw base before I started, apart from file it flat. As I was doing something a wee bit different this time, the base already had half an old sentinel base stuck to it.


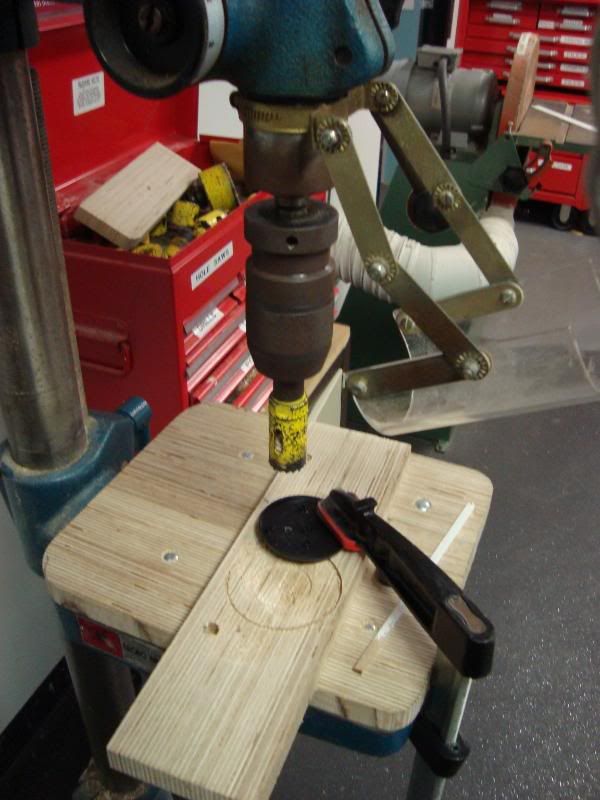
This didn't change much, except that this time, I only drilled one hole and I drilled from the bottom side this time. Which is what you should do anyway to avoid making any marks if the clamp slips. And it will prevent warping from the pressure of the drill.

I used the pedestal drill in my school's 
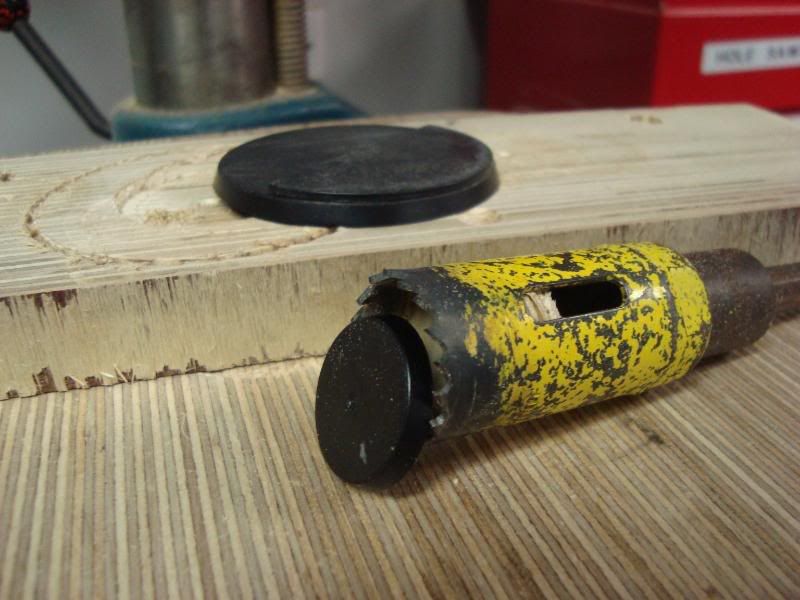
DT department, using one of the circular blades the same size as a small base (50mm). You could probably do it with some clamping and a steady hand using a normal drill, but I wouldn't recommend it unless you insert a normal drill piece in the middle of the blade to steady it (sorry I don't have pictures to explain this better, I only thought of it now).


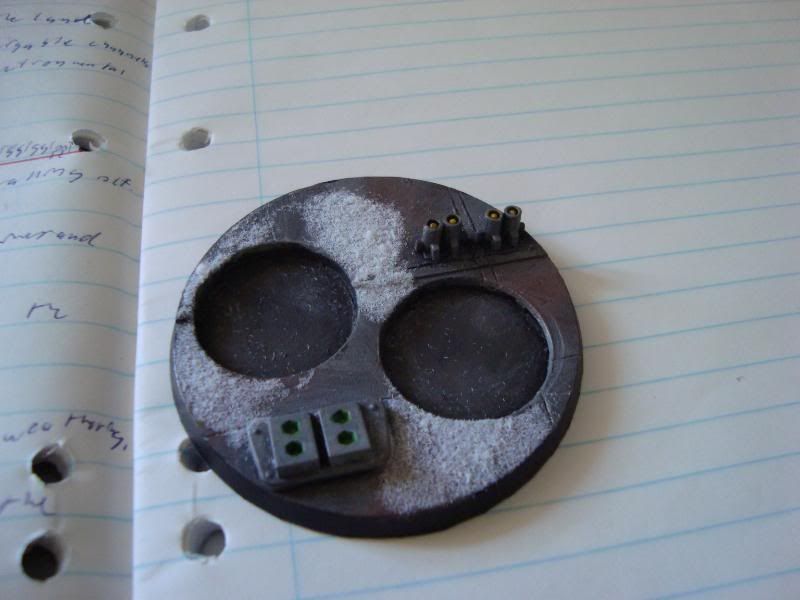
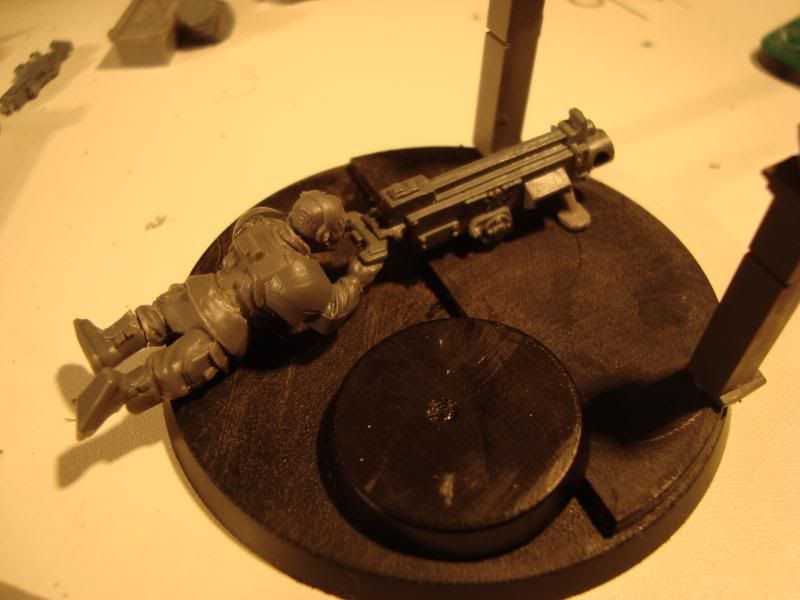
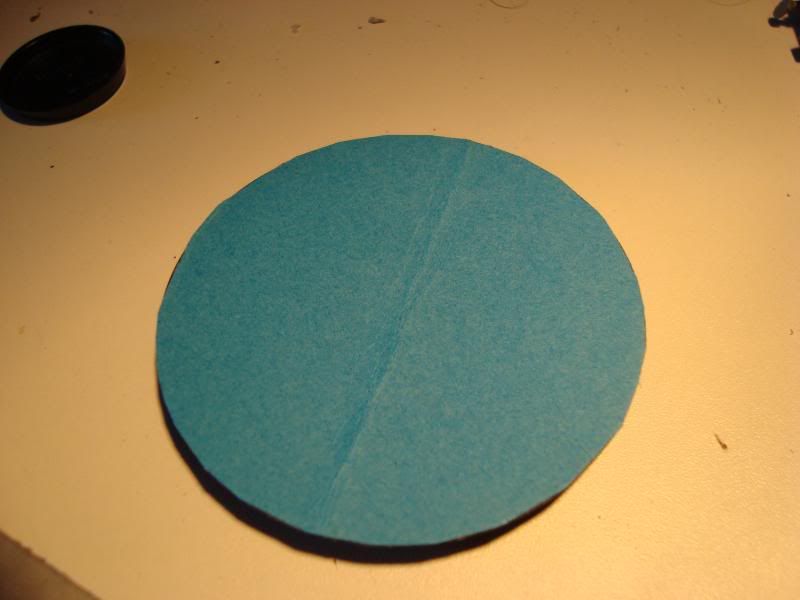
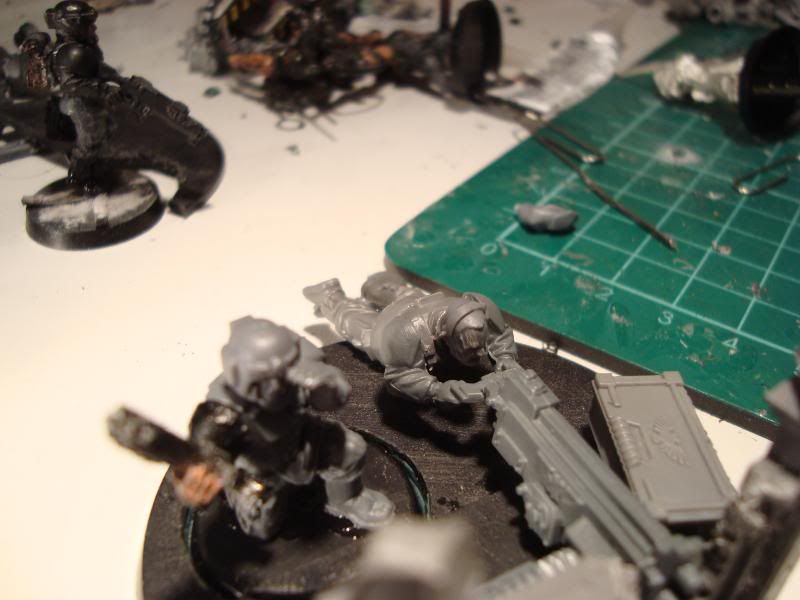
With this drilled, I cut out a piece of card to around the right size, glued it on, using the rim and the cylinders that stick out of the bottom, and trimmed it to the correct size.


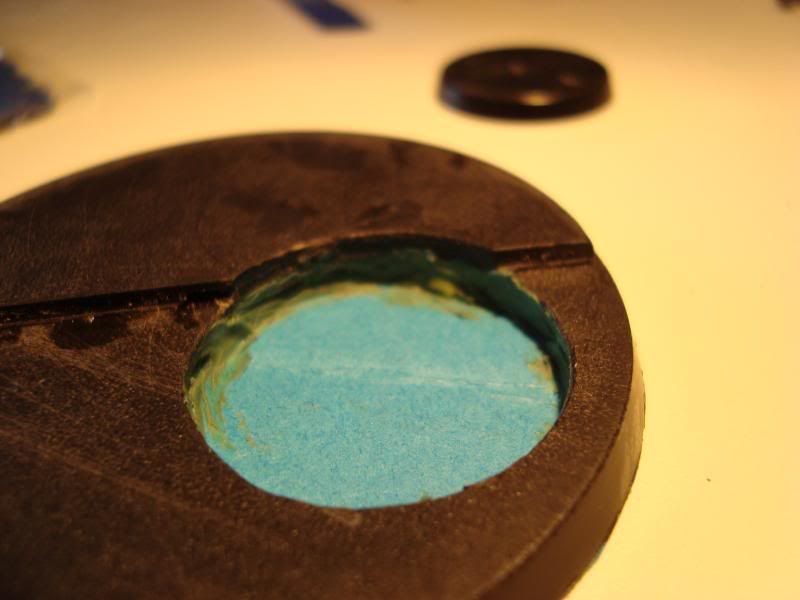
I then went and stuffed greenstuff in the gaps around the hole I drilled, smoothing it out using the circle bit on a sculpting tool. (It wasn't particularly neat, but I still got it smoother than what is shown in the picture)


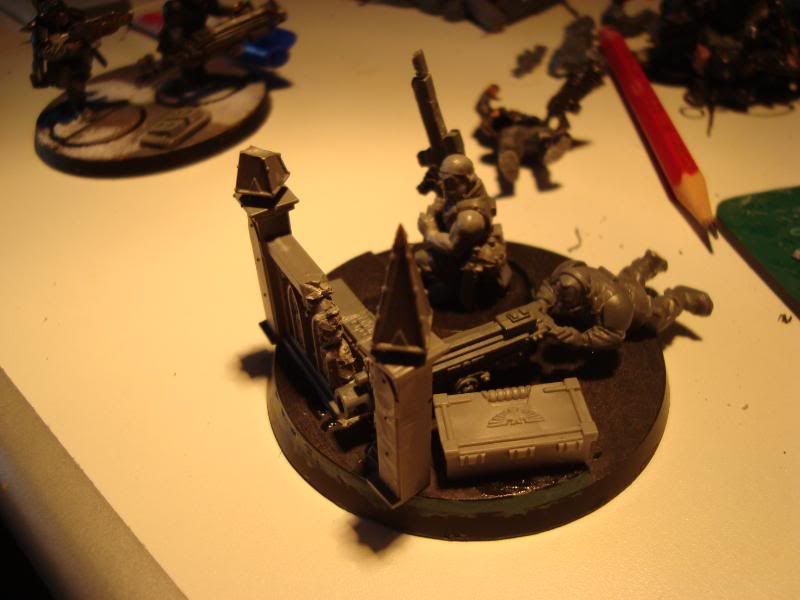
And test it until right.


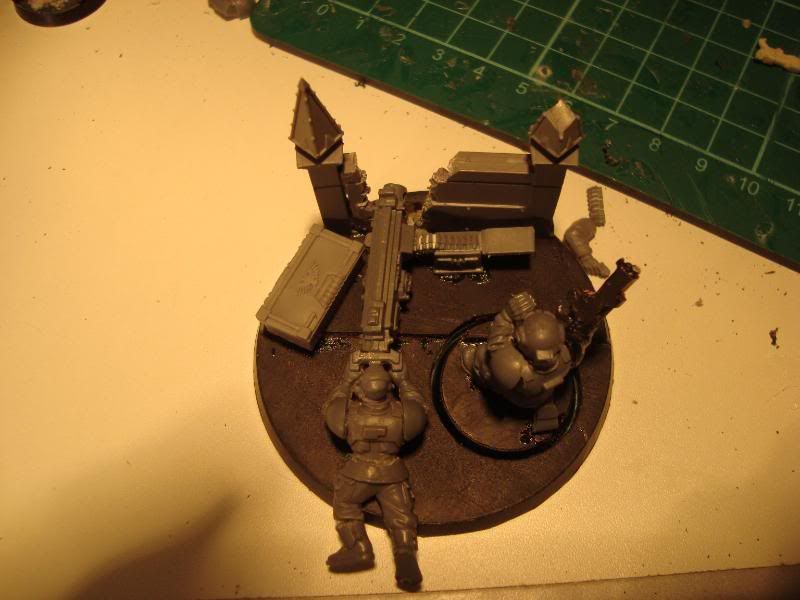
And that's how you make these bases. Bear in mind that I only made them for 
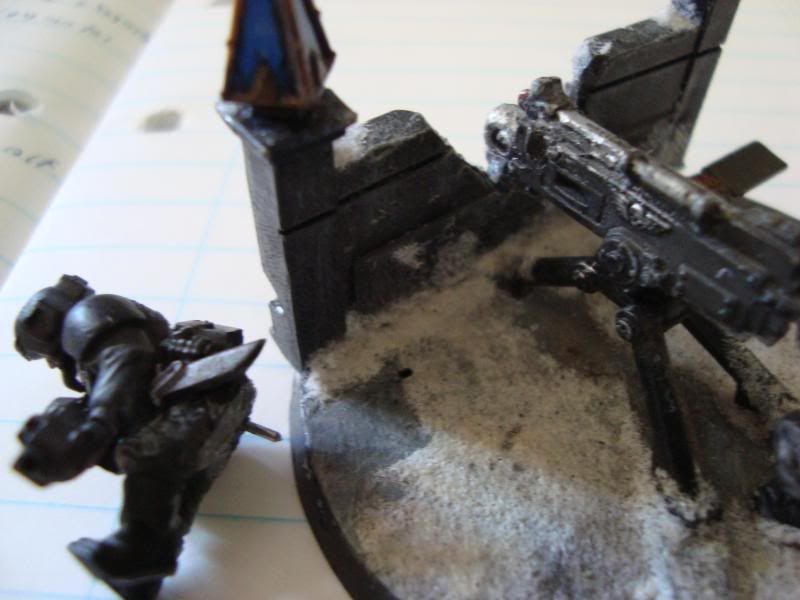
hw teams, so that they can spread out, or you can use them as wound markers. Also, this works just as well for two people.

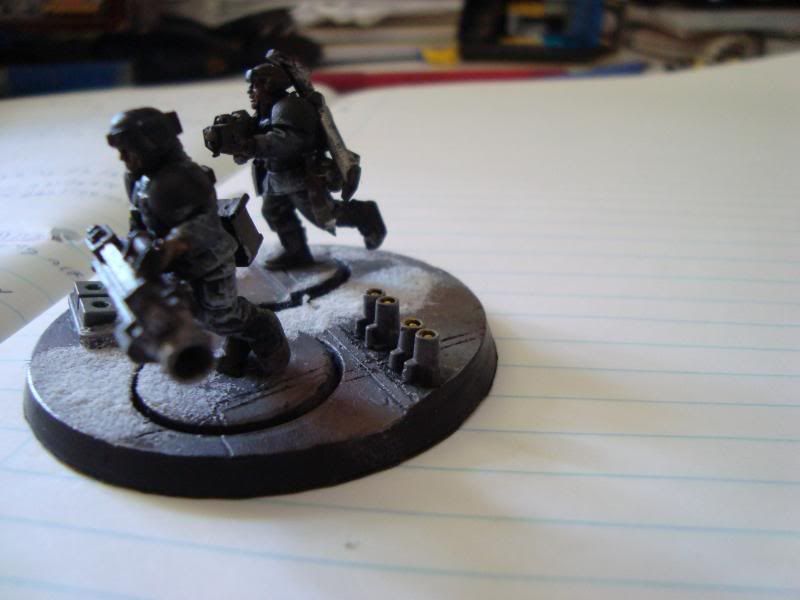
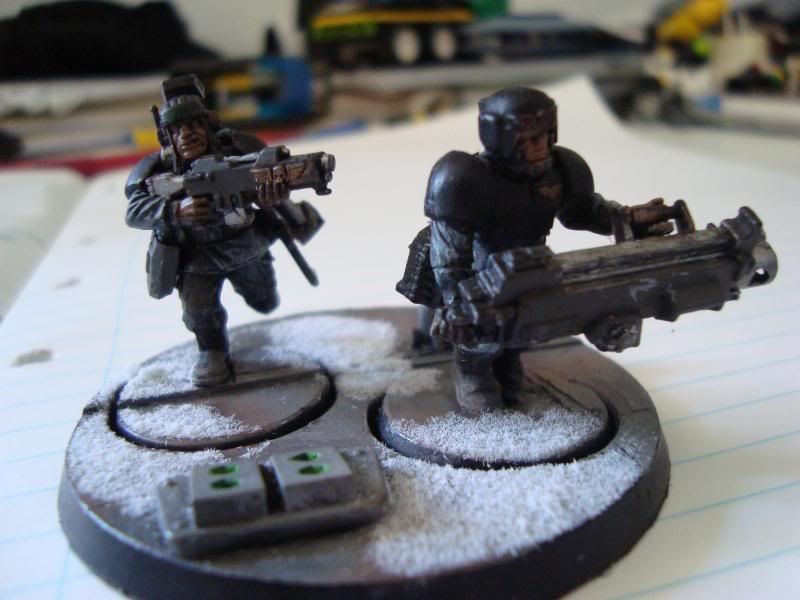
And now, for the rest of the construction of the team.


Hope this helps.


This message was edited 2 times. Last update was at 2009/04/28 09:44:07


Made in au
Dangerous Leadbelcher


Australia

Myrlyn wrote:I plan on doing the same kind of thing with my heavy weapons teams, only I'll be using magnets. That way I can make the weapons, loaders, shooters, and in some cases, terrain, all modular.


I've actually managed to make some of the weapons modular. They can be pulled off and replaced and whatnot. The only thing that I've found that makes this difficult is that the autocannon and the hb are the only two that have a similar enough shape. The lascannon has a different length from the pivot to the bit where the triggers go, and so it's pretty difficult to make a modable team.

Go luck with it though.
 
Forum Index » Painting & Modeling
Go to: